80 xs650 Bobber build

Rat Rods Rule

Help Support Rat Rods Rule:

This site may earn a commission from merchant affiliate links, including eBay, Amazon, and others.

Inked Monkey

Tarzan's tatted best friend
Joined
May 11, 2007
Messages
506
Location
Kansas City
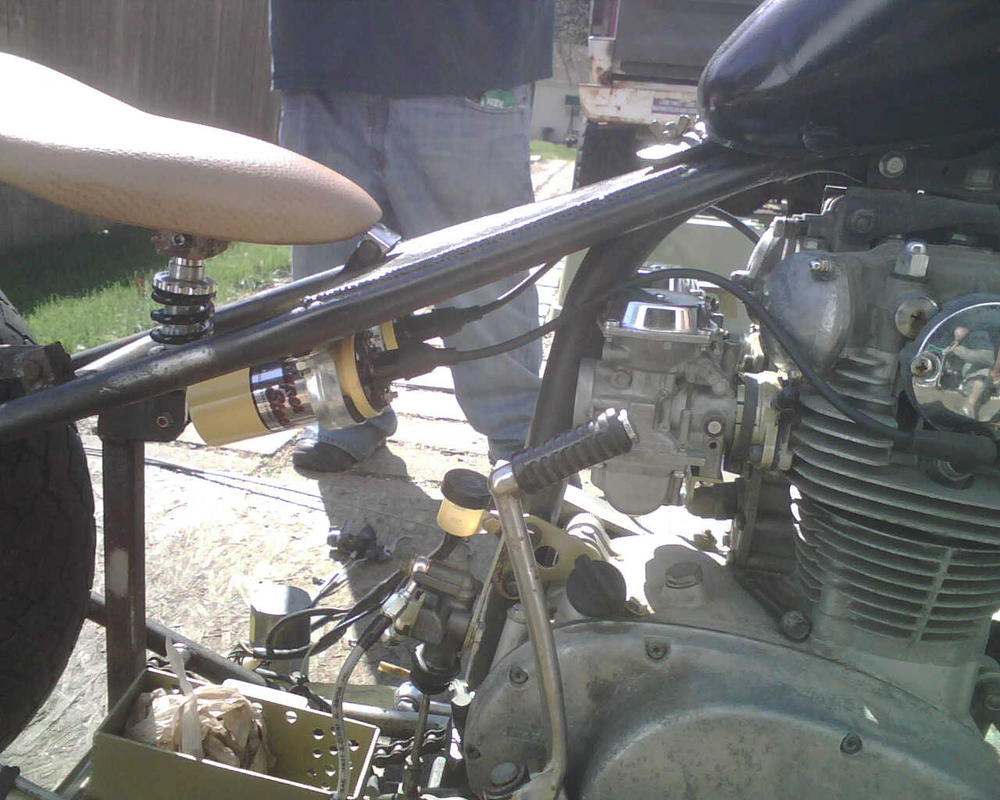
Alright guys and gals, figured I'd get you up to date on my latest project. For starters, last year I was hit head on by a car while riding my Ducati. I am really lucky to be alive, but the bike was totaled. I had a couple xs650 carcasses laying around so I started to chop them up. This build is straight backstreet, low budget style, so don't be too harsh on me. Here's me mating the stock frame to an old Black Widow choppers hard tail section. It was supposed to be a 4 inch stretch, but me and a buddy were able to get closer to 6 out of it.
 

Attachments

  • cid_778.jpg
    cid_778.jpg
    122.9 KB · Views: 108
Here's a headlight a buddy found for me off a 30's Masey Harris tractor. And here is one of the mock ups after the hardtail was added. I decided to use the stock 16 inch rear wheel and 19 inch front wheel to give it that prostreet look.
Also you can see the tank I scored off the bay for $40.
 

Attachments

  • IMG00297.jpg
    IMG00297.jpg
    109 KB · Views: 48
  • IMG00323.jpg
    IMG00323.jpg
    115 KB · Views: 100
I bought some Lil Daddy Roth bong water green flake at a car show for the frame, but I'm gonna ride it this summer to work all the bugs out before final paint. The wheels are probably gonna be this crazy green from the parts store. Here we were trying to mock up the seat using a shock off a bicycle.
 

Attachments

  • cid_750.jpg
    cid_750.jpg
    124.9 KB · Views: 74
  • IMG00316.jpg
    IMG00316.jpg
    23 KB · Views: 63
I couldn't find any handle bars that fit my taste, so as you can guess, I decided to make my own. They are 12 inches up and angled out a little, with only about an inch between the peaks. The 7/8 stock was only $8 and I made two different versions of these. I added the gussets for strength, plus they look sweet with the holes.
 

Attachments

  • IMG00328.jpg
    IMG00328.jpg
    107.3 KB · Views: 43
  • IMG00330.jpg
    IMG00330.jpg
    124.8 KB · Views: 49
I couldn't imagine paying the price for a plate and light mount, so I took some scraps from the trailer fender that I used for my rear fender and made one. The light is a repop of a 54 chevy truck with a bunch of LEDs inside. Should be bright as all get out. Also here is a pic of the carbs after I rebuilt them.
 

Attachments

  • IMG00329.jpg
    IMG00329.jpg
    87.6 KB · Views: 48
  • IMG00377.jpg
    IMG00377.jpg
    111.3 KB · Views: 44
I wanted to use as much from the original bike as I could, so I just turned the stock foot pegs and mounted them to my lower rail. I built a pivot for the brake lever and installed it with some bronze bushings. In order to use the stock rear brake master cylinder, I had to twist it upwards and build a bracket to hold it. I just modified my right motor mount to do this. The reservoir is off the Ducati. You can see the battery box I built in this pic too.
 

Attachments

  • IMG00376.jpg
    IMG00376.jpg
    132.6 KB · Views: 58
  • IMG00383.jpg
    IMG00383.jpg
    113.4 KB · Views: 48
As I mentioned earlier, I used a trailer fender from a farm supply store for the rear. I had to split it and weld it back together to get the proper length and width. Here you can sort of see it along with the front mount I made.
 

Attachments

  • IMG00396.jpg
    IMG00396.jpg
    93.6 KB · Views: 48
I wanted a small sissy bar so that I can strap a bag to it and it also serves as the rear mounts for the fender. In this pic you can see it along with the plate mount installed. I just took some solid 3/8 bar and bent it in the vice. I might have to make one out of thicker stuff, but it seems really solid for now.
 

Attachments

  • IMG00397.jpg
    IMG00397.jpg
    138.5 KB · Views: 61
Here's where the bike was sitting at this point. It's really comfortable for my frame, with arms pretty much straight forward and legs at 90 degrees.
 

Attachments

  • IMG00385.jpg
    IMG00385.jpg
    142.1 KB · Views: 95
I've always thought that fake oil tanks looked a little hokey. So instead of making one, I mounted my dual 12v automotive coils there. I think they look all high performance hanging there.
 

Attachments

  • IMG00388.jpg
    IMG00388.jpg
    113.3 KB · Views: 62
Here's a pic of the pipes that I picked up from Gordon Scott. They fit and look awesome and I bet they are gonna sound freaking sweet!
 

Attachments

  • IMG00393.jpg
    IMG00393.jpg
    144.1 KB · Views: 62
Here's a pic of the rear exhaust mounts. I used these cutouts of mermaids that are really close to my tattoo on my left arm. Something different and personal. This is when I had the bike apart for an application of black paint.
 

Attachments

  • DSCI0116.JPG
    DSCI0116.JPG
    122.6 KB · Views: 47
Here's the bars after completed and some pics of the bike as she's sitting right now. It's been raining all morning, but it looks like it is passing. So now it's time to get out there and wire this beast. She's so close I can taste the road. Now if only I can keep 16 year olds from running into me.
 

Attachments

  • IMG00382.jpg
    IMG00382.jpg
    122.8 KB · Views: 46
  • DSCI0118.JPG
    DSCI0118.JPG
    121.8 KB · Views: 57
  • DSCI0119.JPG
    DSCI0119.JPG
    118.2 KB · Views: 68
  • DSCI0120.JPG
    DSCI0120.JPG
    112.7 KB · Views: 71
Umm the charging system on this thing is weird. Think I have most of the wiring figured out, but not completely. Hope it doesn't burn down
 
Oh and I dropped off the wheels to get the tires mounted and balanced. The tires I got are from the 70's!! They are actually older than me, but still in good condition. And I ordered the long ass chain.
 
Yeah none of my buddies fit on it. The seat is really low but with the bars they have to stretch forward. I'm 6'3" and it fits me perfect :D
 

Latest posts

Back
Top