Alienbaby17
Well-known member
Hey all-
I started this project at the beginning of September of this year. I was chronicling this all on a different forum but have since parted my ways with them.
I'm moving it here if nobody objects...")
The basic plan is this.
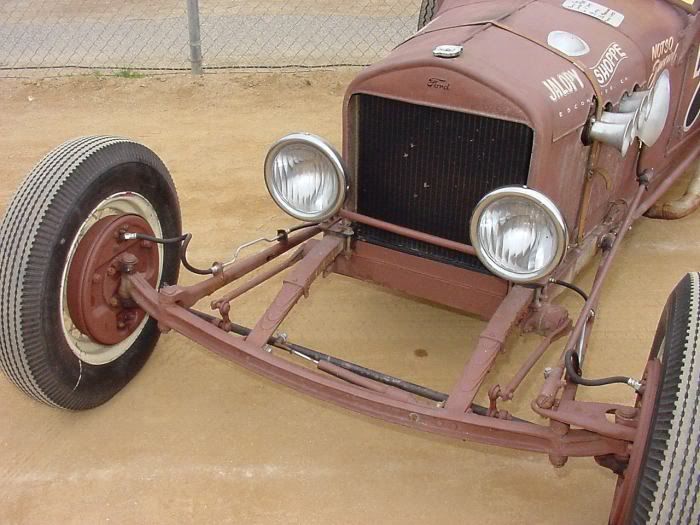
Build a safe, semi-reliable, (and most importantly FUN) "driver" for under $3000. And oh yeah- I want to have it done and on the road in a year.
For those of you familliar with the Killbillet (WWW.Killbillet.com) site you may have seen this feature on there (Under $3000 Club). I LOVE that section. In a world of mega-buck rods and muscle cars that cost more than my house I think these kind of projects really keep the average working person interested and from getting too discouraged by the cost of mega-dollar rides. It helps them realize it IS achieveable to do this themselves without spending the kid's college fund.
MY Basic Budget.
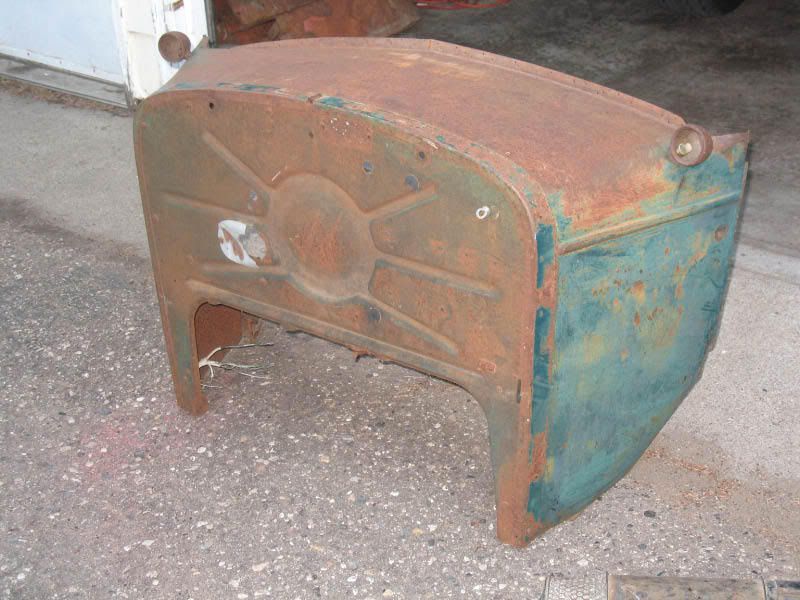
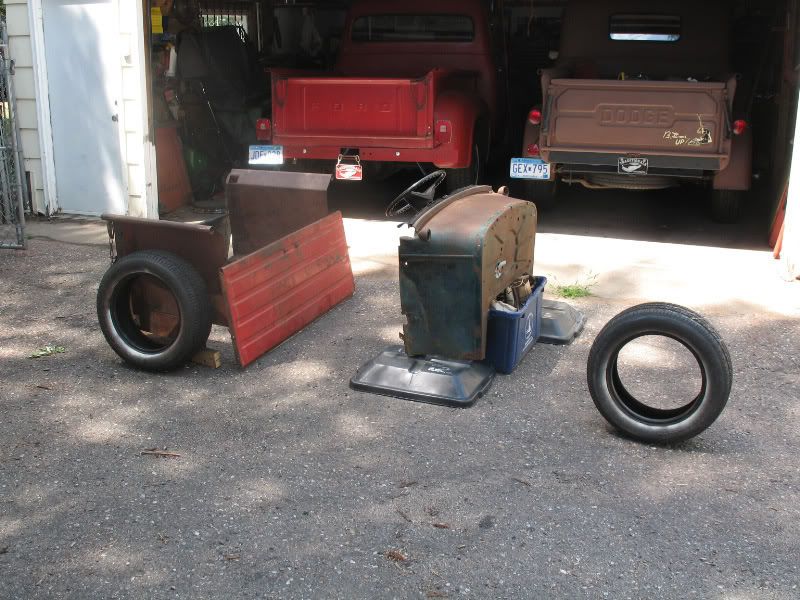
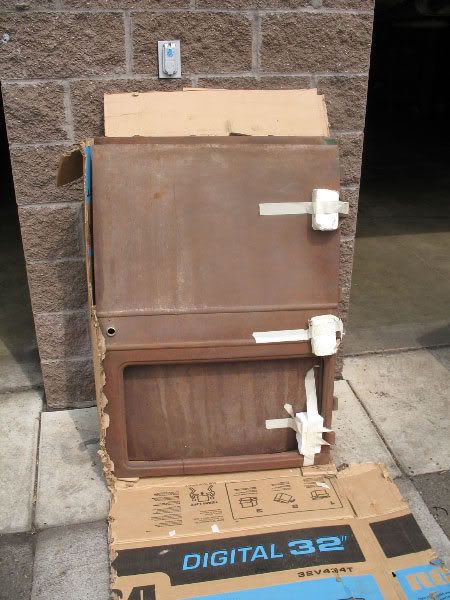
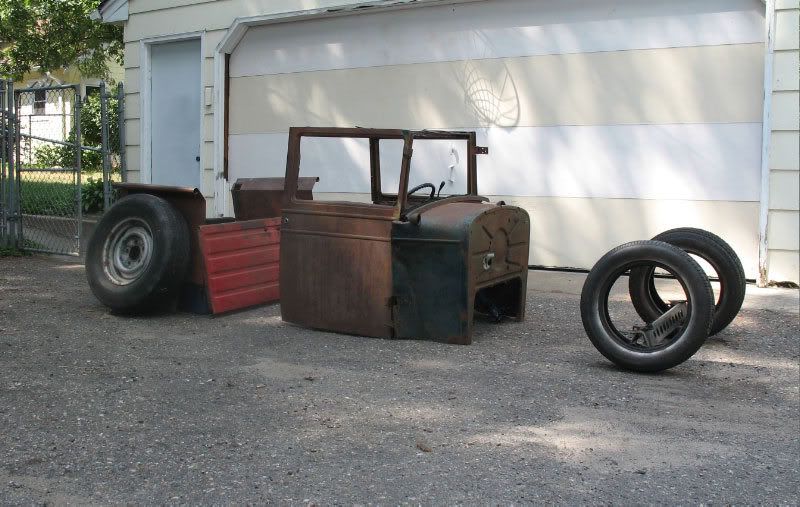
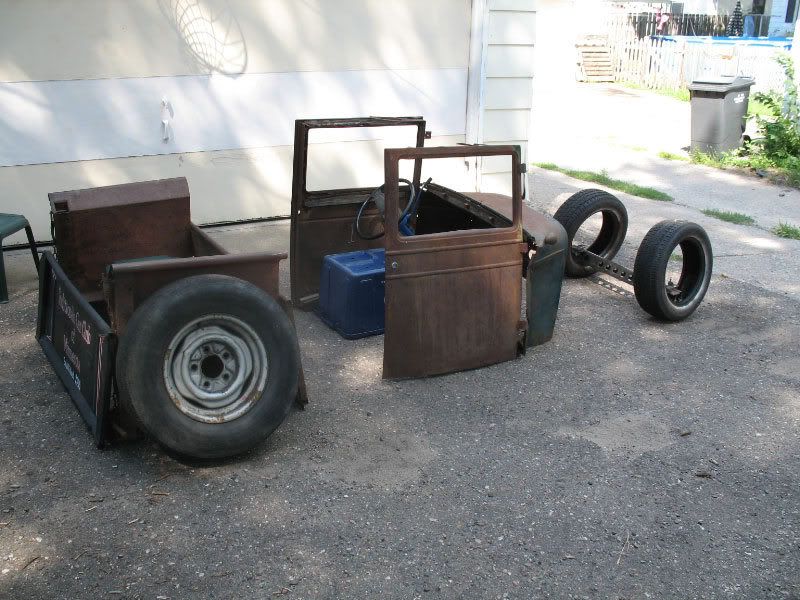
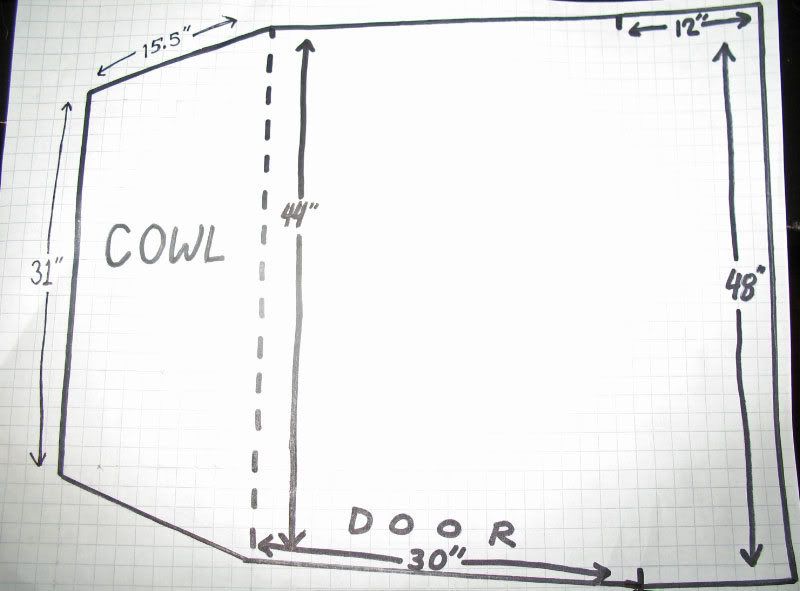
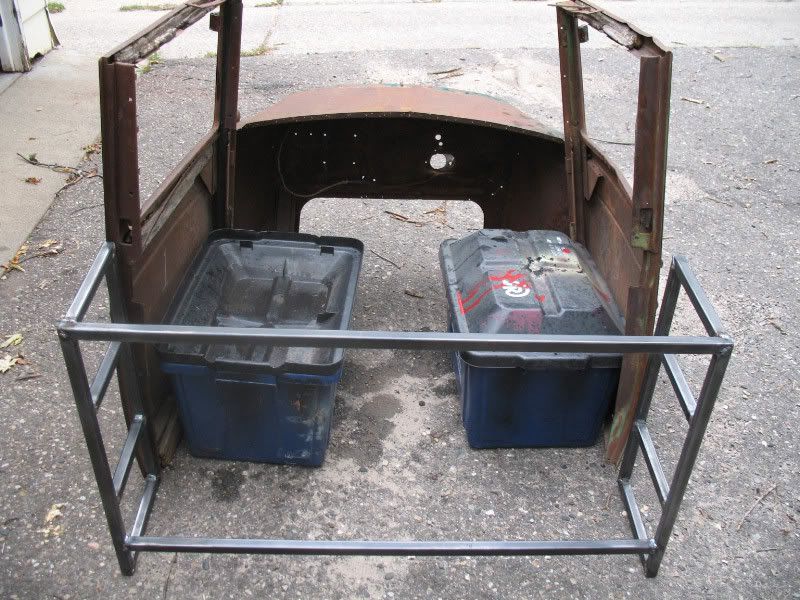
$500 Body.
$1500 Chassis.
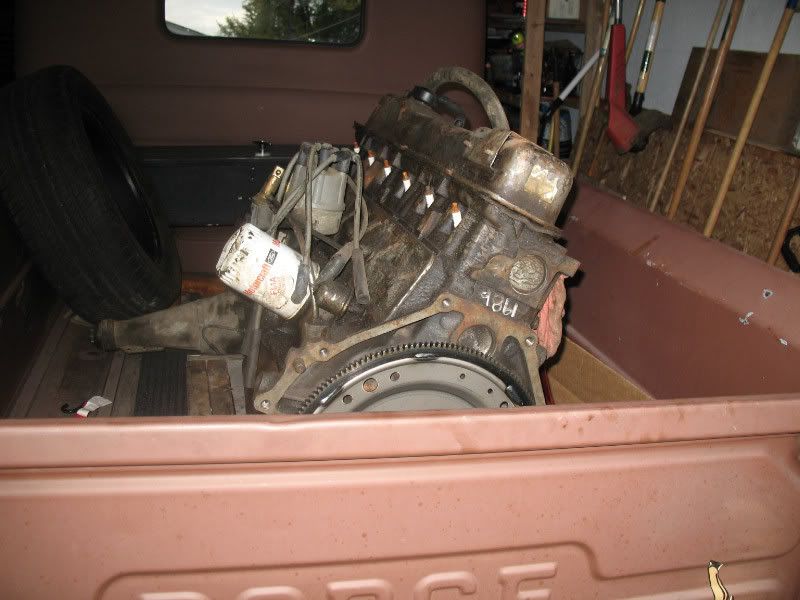
$1000 Drivetrain.
The clock is ticking...
I need your help and input. Feel free to contribute, intellectually, insprirationally, mechanically, or financially.
Jay
I started this project at the beginning of September of this year. I was chronicling this all on a different forum but have since parted my ways with them.
I'm moving it here if nobody objects...
The basic plan is this.
Build a safe, semi-reliable, (and most importantly FUN) "driver" for under $3000. And oh yeah- I want to have it done and on the road in a year.
For those of you familliar with the Killbillet (WWW.Killbillet.com) site you may have seen this feature on there (Under $3000 Club). I LOVE that section. In a world of mega-buck rods and muscle cars that cost more than my house I think these kind of projects really keep the average working person interested and from getting too discouraged by the cost of mega-dollar rides. It helps them realize it IS achieveable to do this themselves without spending the kid's college fund.
MY Basic Budget.
$500 Body.
$1500 Chassis.
$1000 Drivetrain.
The clock is ticking...
I need your help and input. Feel free to contribute, intellectually, insprirationally, mechanically, or financially.
Jay