36 Ford Bobber Build

Rat Rods Rule

Help Support Rat Rods Rule:

This site may earn a commission from merchant affiliate links, including eBay, Amazon, and others.
look over how I did my 49 chop for some ideas. Torchie is another good source to look for ideas. some will translate to your build, some won't.
 
Ya, the more I think about it the harder it seems so I decided to just split the darn thing and go for it! Now that it's cut, I have to just work on getting it back together instead of worrying about it! Anyway, I put the cut as far back as I could to have the rails as parallel as possible. They taper all the way back but it gets less the further back you go. I also tried to find a spot where there is minimal curvature in the outsides of the rails and well as being in the flat at the top of the door opening. These dang cabs curve in every imaginable direction!!!:eek: 
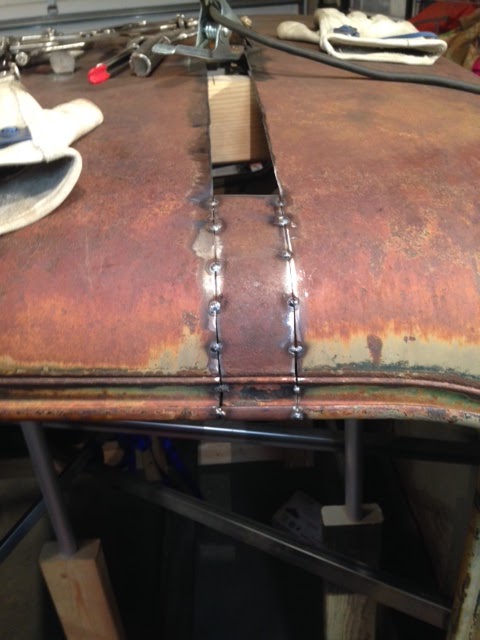
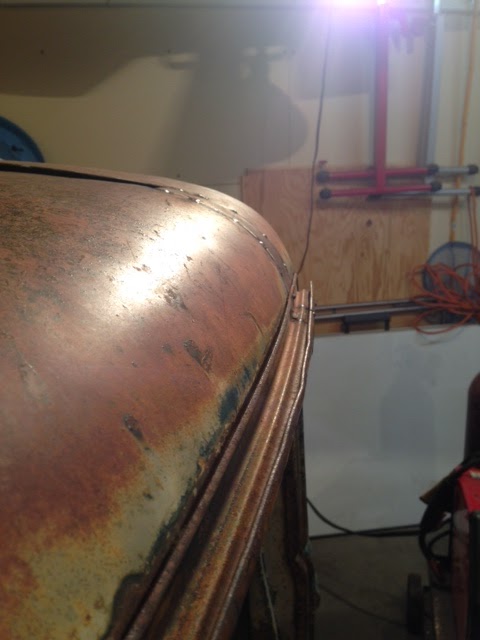
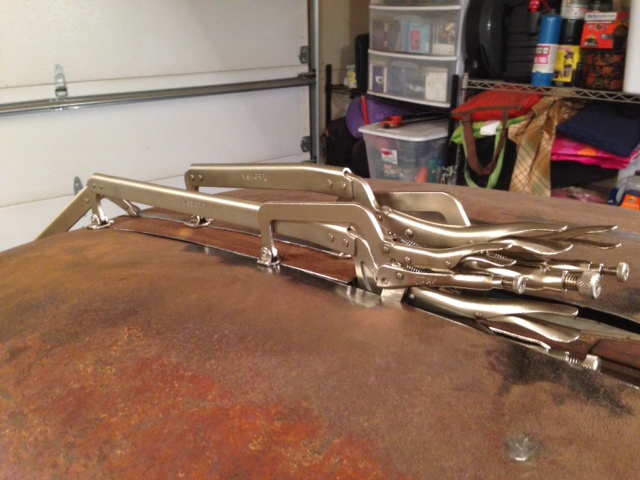
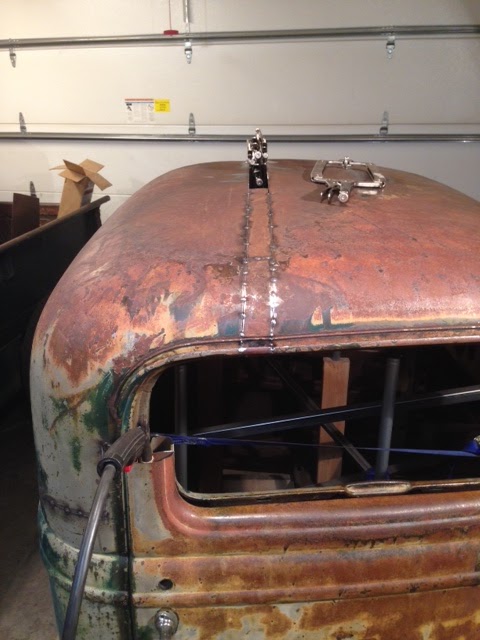
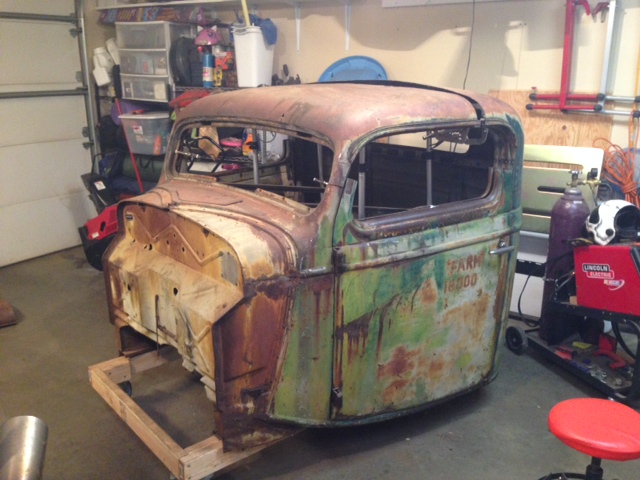
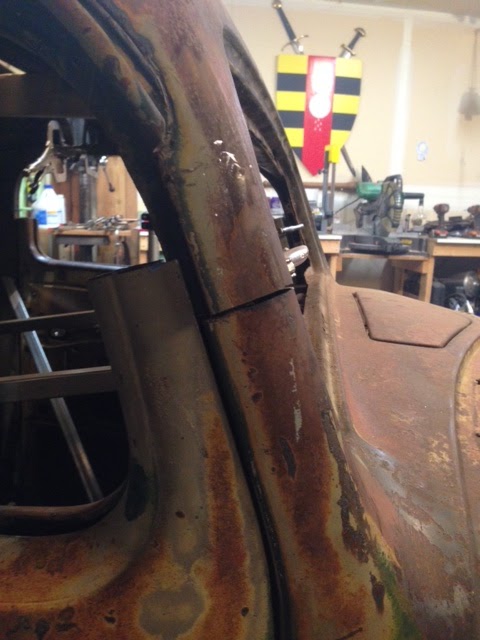
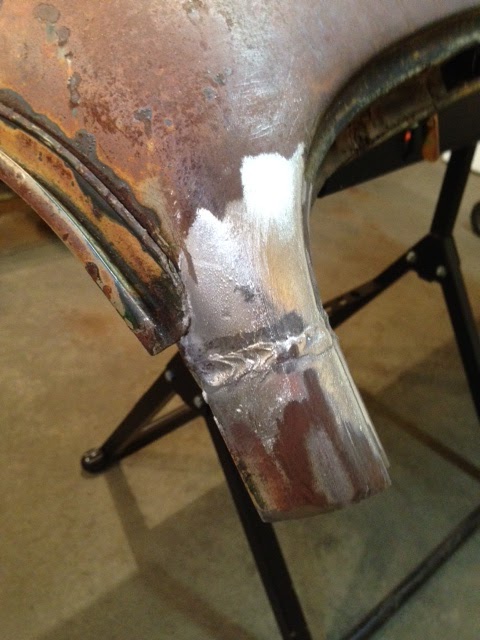
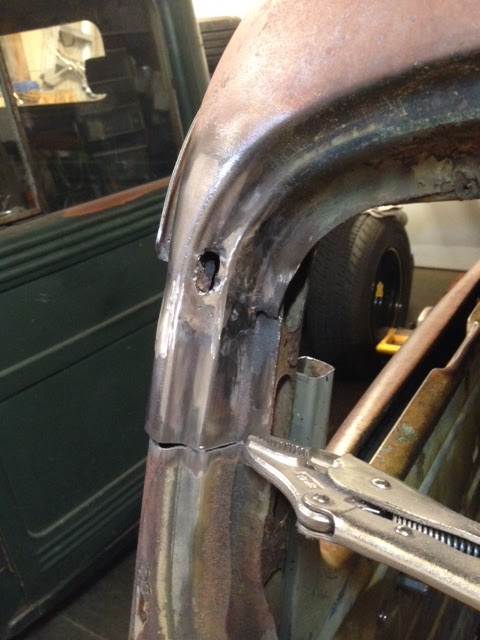
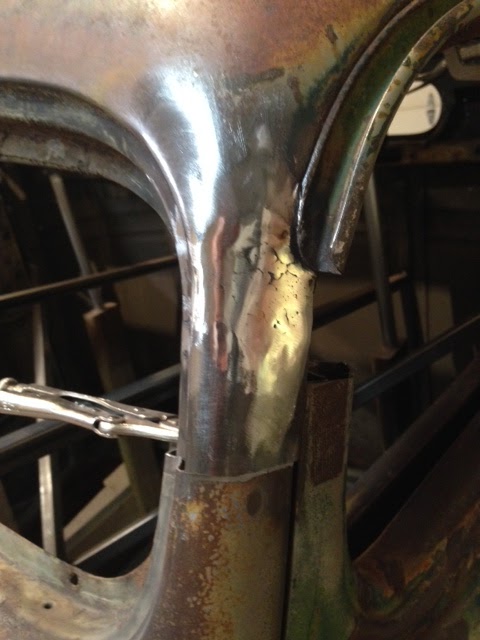
Of coarse the roof sprung all over the place when I cut it. I see the beauty of the truss structures that Gold built! Oh well, I think I can get that sorted out all right.

The next challenge will be lining up the A pillars and blending all of those curves. They line up fairly close at least so they don't have to move a lot but there is a lot of work to be done there.

chop%2B17.JPG


chop%2B18.JPG


chop%2B16.JPG


chop%2B19.JPG


chop%2B20.JPG


chop%2B21.JPG
 
Well, I found another issue... There is a fair amount of lead in the driver's side A pillar :eek: 
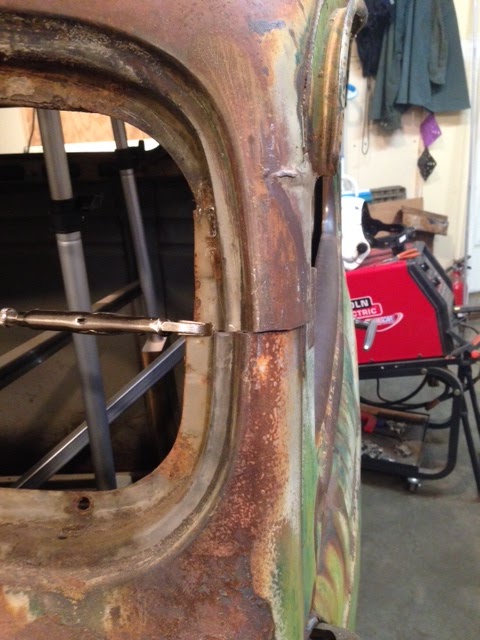
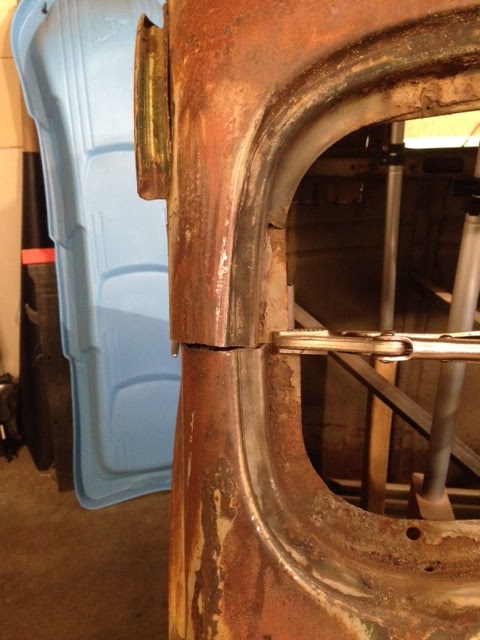
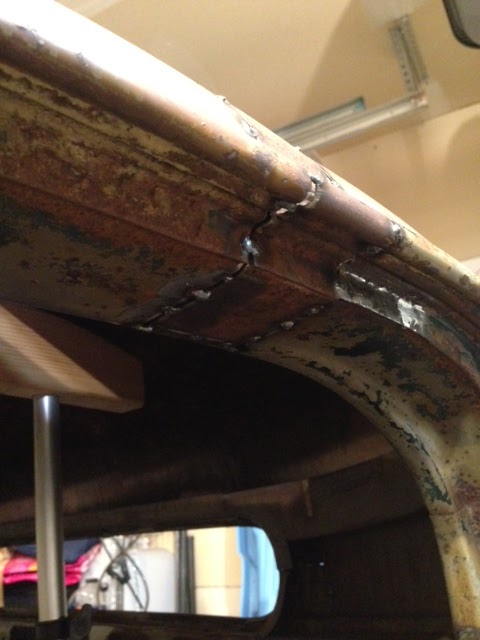
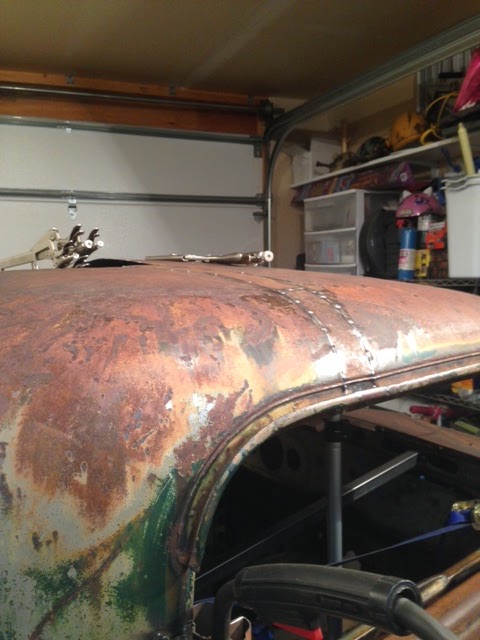
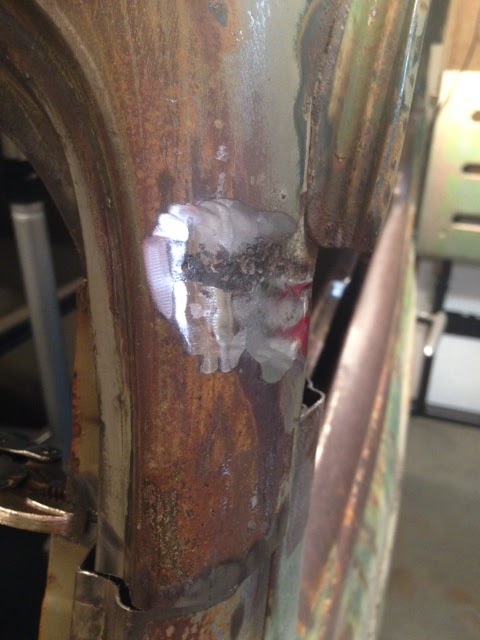
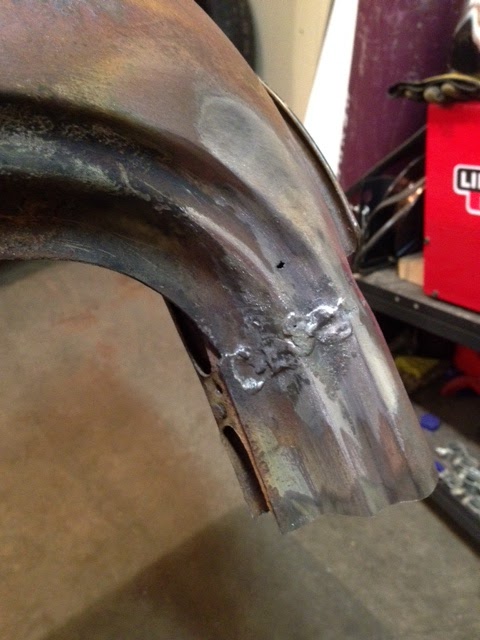
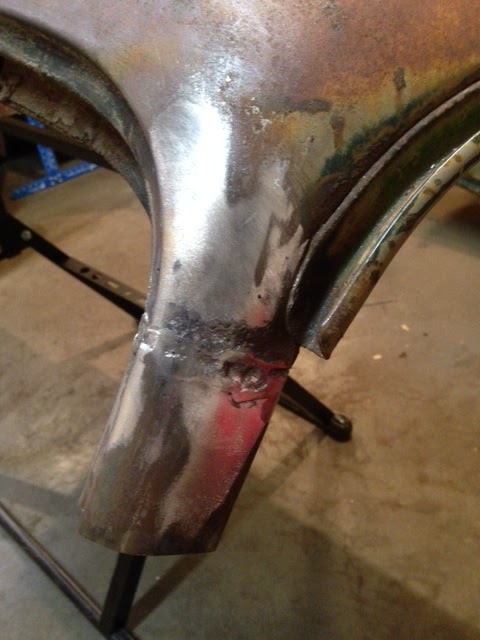
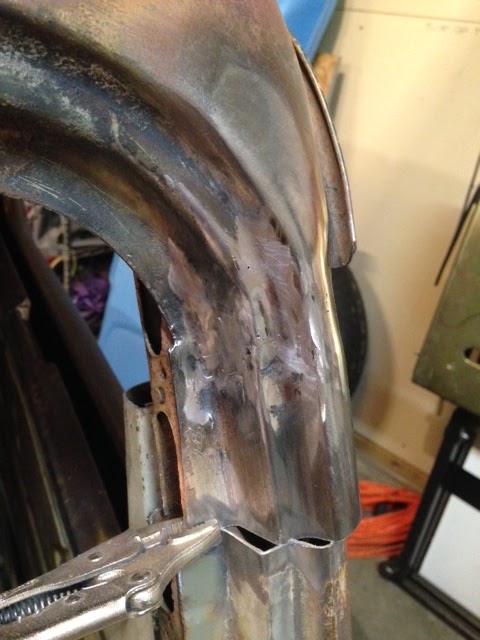
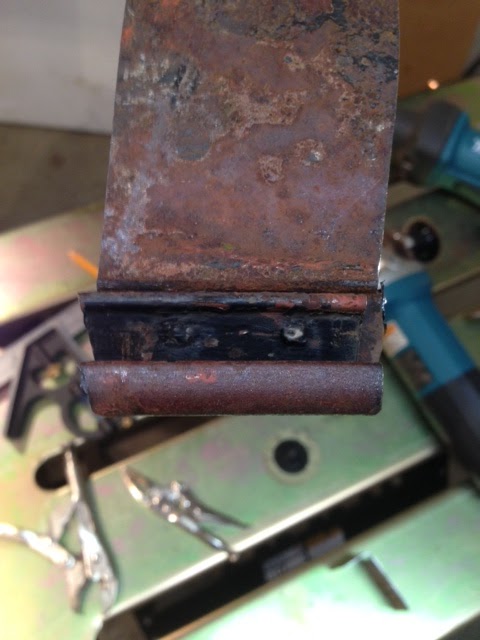
I started grinding on it and realized that that isn't the best idea. I'll take a torch to it tonight to try to get it all off and see how it looks underneath. I would guess that at the thickest point in the area that I ground down, the lead is at least 1/8" thick if not thicker. Anyone have any advice on fixing the damaged area of the A pillar?
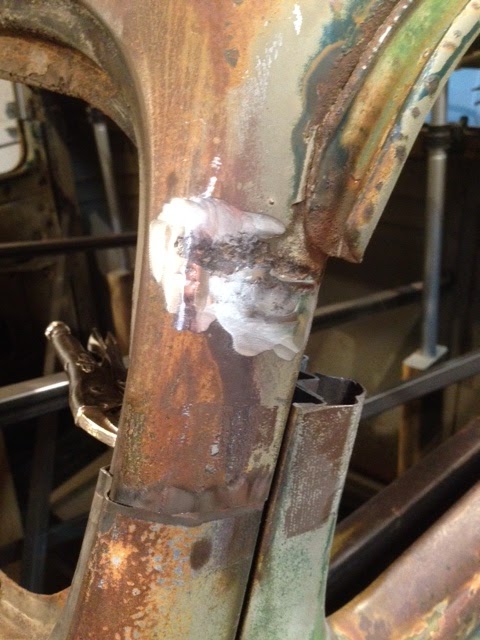
lead%2B1.JPG


lead%2B2.JPG
 
If there's one on the other side then they are factory joints.
I use an angle grinder with a wire wheel to remove lead. Wear a painters paper mask.
When you're done, you can just leave it or clean the metal and fill it with body filler.
 
WillyD, i had the same lead surprise when i chopped the sprint, found when i tried to weld the pieces back together.
Like OI said, clean it up and off as best you can and use body filler.
I tried to put lead back in and found out i didn't know a damn thing about it.:eek:
 
Last night, I took a map gas torch and suited up with mask, gloves, and face shield and melted the lead out of the pillars. Turned out that there was lead in both pillars over what I assume are factory welds. The torch and a wire brush took care of the lead very well. I then ran a cup brush in a drill over it to clean it further. I was surprised at how thick the lead was in some areas. It will be interesting to see how the windshield frame fits now since there was a lot of lead in the seat for the frame. The factory welds are pretty ugly! I also found some rust holes under the lead. I welded a few of them closed and have one larger one left to patch. I also filled the factory weld low spots with my own weld and ground it all out. It's far from perfect right now but it's at least good enough to finish the chop and then think about what to do with it later. There is a fairly big dip to the joint on both sides.

lead%2B3.JPG


lead%2B4.JPG


lead%2B5.JPG


lead%2B6.JPG


lead%2B7.JPG


lead%2B8.JPG


lead%2B9.JPG


lead%2B10.JPG
 
It's been slow going the last few weeks. My work moved to a new building so I didn't have the energy to get out in the garage as much as I usually shoot for. Anyway, I got the passenger side door frame/roof section tacked in. The drip rail on the piece that I had was smashed so I had to cut a piece of out of the section from the drivers side that I had left over and piece it in. It came out pretty good. Not quite a good as the drivers side but I think it will do.

drip%2Brail%2B1.JPG


drip%2Brail%2B3.JPG


drip%2Brail%2B4.JPG


drip%2Brail%2B5.JPG


chop%2B25.JPG


chop%2B26.JPG


chop%2B28.JPG
 
I made some progress on the filler sections on the center of the roof. I will do the center strip in 3 sections to make it a bit easier to fit it all together.

Lots of clamps in a small space!

chop%2B29.JPG


chop%2B30.JPG


chop%2B31.JPG


chop%2B33.JPG
 
Looking good [cl
You might think about some of these clamps, they take up a lot less room.

Keep at it, it's coming along nicely:D
 

Attachments

  • spr 0285.jpg
    spr 0285.jpg
    105 KB · Views: 37
Ya, the long ones have to be used carefully. I have a bunch it the t-bar clamps but I don't really like them because they force a pretty wide gap between pieces. I have trouble getting good tacks with that wide a gap and I find it hard to feel the alignment. I guess nothing is perfect but they all have their uses in certain situations. I still have a lot to learn about it all, that's for sure.

Willowbilly, looks like I don't need that drip rail piece afterall! I had enough left over from the good piece.
 

Latest posts

Back
Top