wyke 32 sedan

Rat Rods Rule

Help Support Rat Rods Rule:

This site may earn a commission from merchant affiliate links, including eBay, Amazon, and others.

cornfield customs

Well-known member
Joined
Mar 16, 2008
Messages
1,027
Location
Loveland OH
i have some pics of this car being built in my around the shop thread but decided to make a dedicated thread to the car. i will back post some

I started another project a while back, The Wyke 32 sedan. the plan is a chopped sedan, slammed high boy. that is the basic idea, and a lot of little trick touches to make it stand apart.

here is the body as it came in, took the body apart and sent it out to be chem dipped. should be back in the next couple weeks


while that is being done i started on the chassis. got the ASC rails set in the JIG. As in most stamped aftermarket rails there are some imperfections from the stamping process


so i heated hammered and dollied out the rought spots.


then machined some body bolt blocks, and welded them in the chassis. after that i applied some weld through primer to the inside of the rails


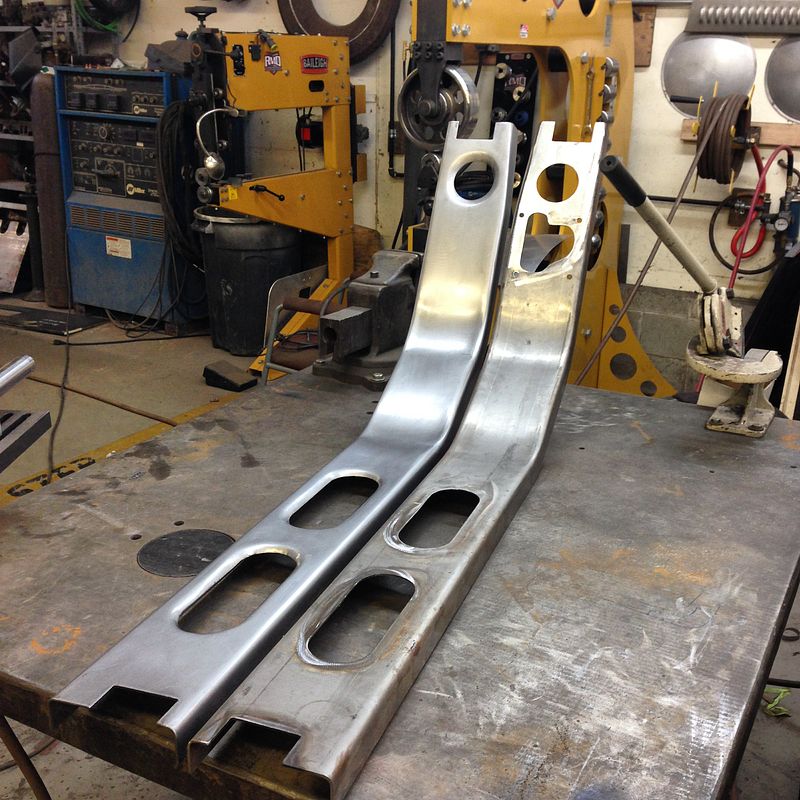
decided to pinch the rails inward at the fire wall. wanting the rails to be same wide as the grill shell at the xmember and keep the front horns. also wanted to straighten the front horns. so i clamped on a heavy piece of angle, heated and shrank them to get it straight


all cleaned up


made the front spreader bar, slightly curved it for a little style, also pie cut the top and bottom of the rail and tapered them to fit the 1.75 od tube for the spreader bar


then moved around the rear. The customer and my self really liked the rear of the Steadfast 32 sedan so we borrowed a few ideas and changed them a little bit for our own taste

did the spreader bar to match the tank lines, made the matching lines on the bar go half way around the tube to make the bar stand out but blend in at the same time.


also decided to recess the bar into the tank similar to the Steadfast car. pushed the bar forward about 2.5 inches


then trimmed the rails, tapered the top back to match the tube, and metal finished back out. still need to work on the tank sheet metal but that is for another day


started working on the custom flat rear cross member as well


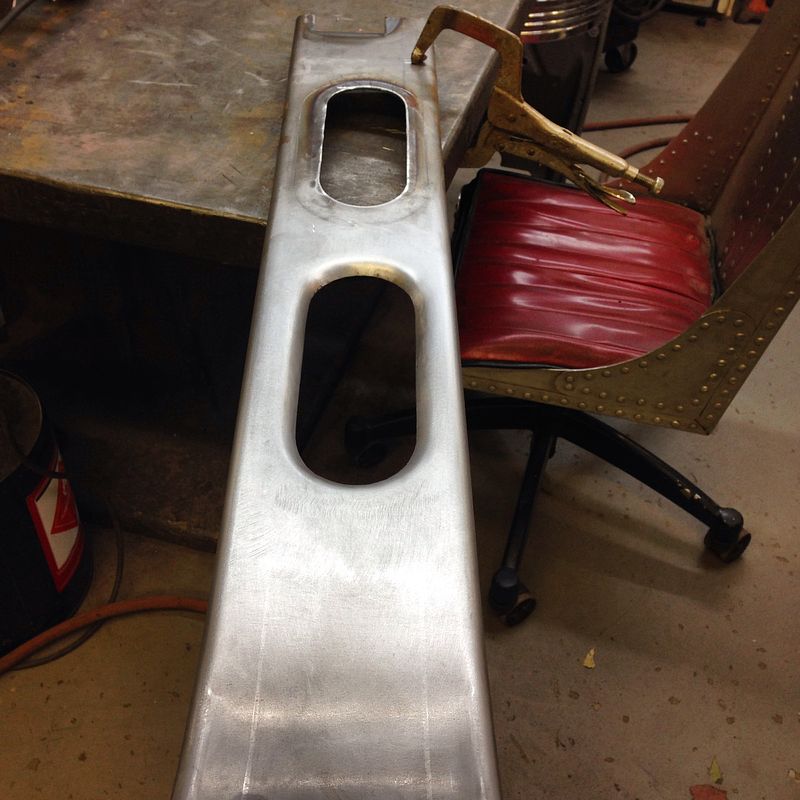
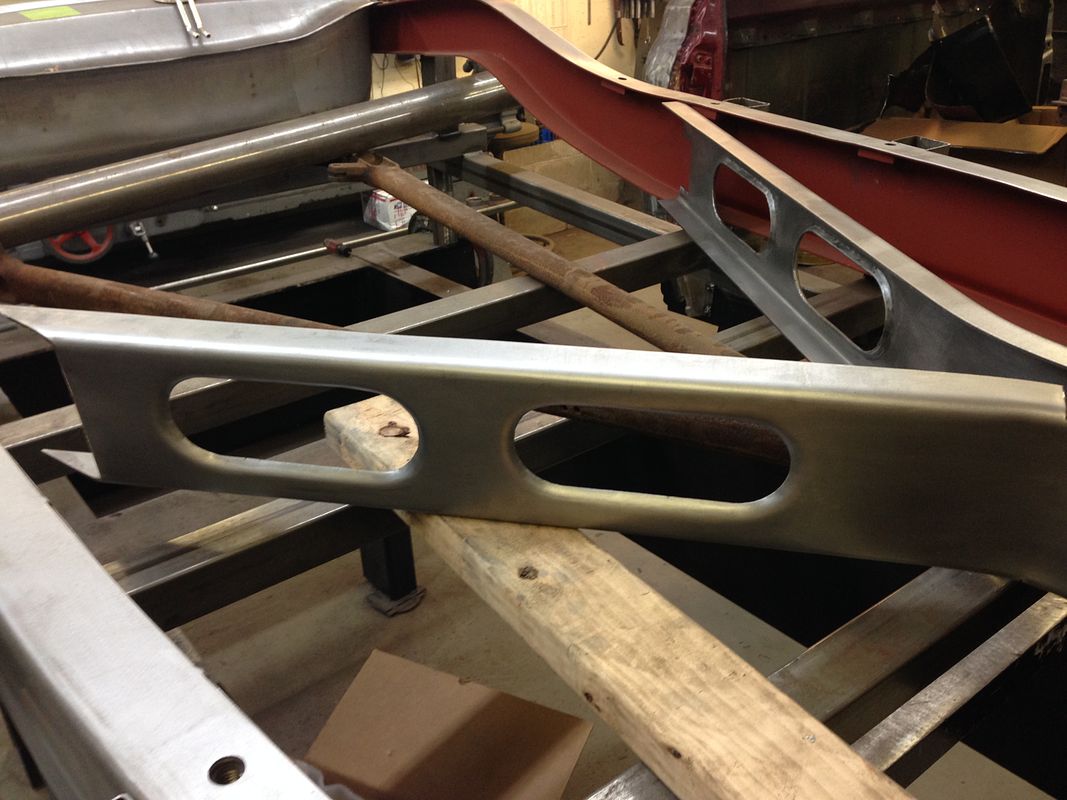
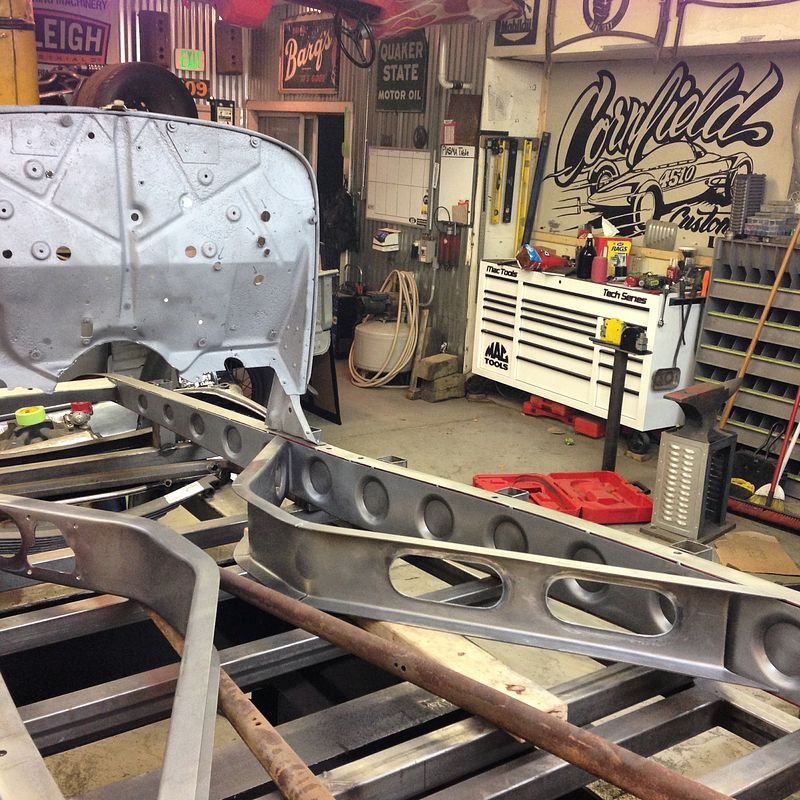
got in a chassis engineering center section kit. did not like how plain it looked. so started cleaning it up and belled the oval holes.


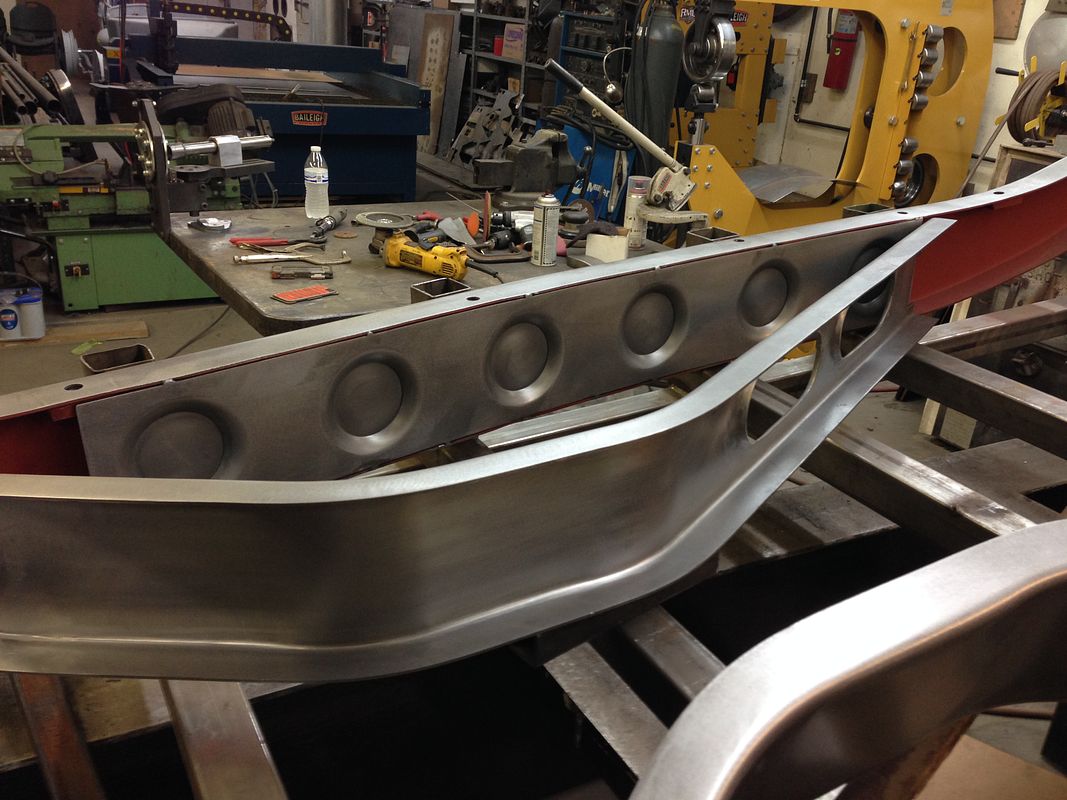
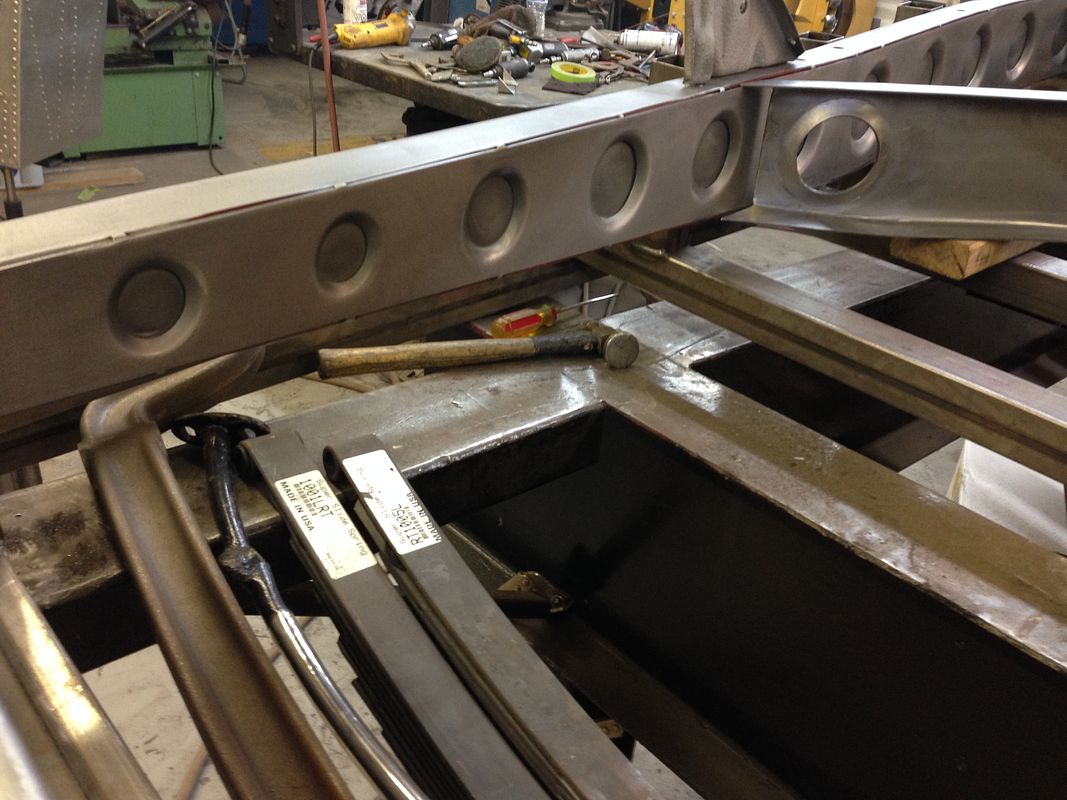
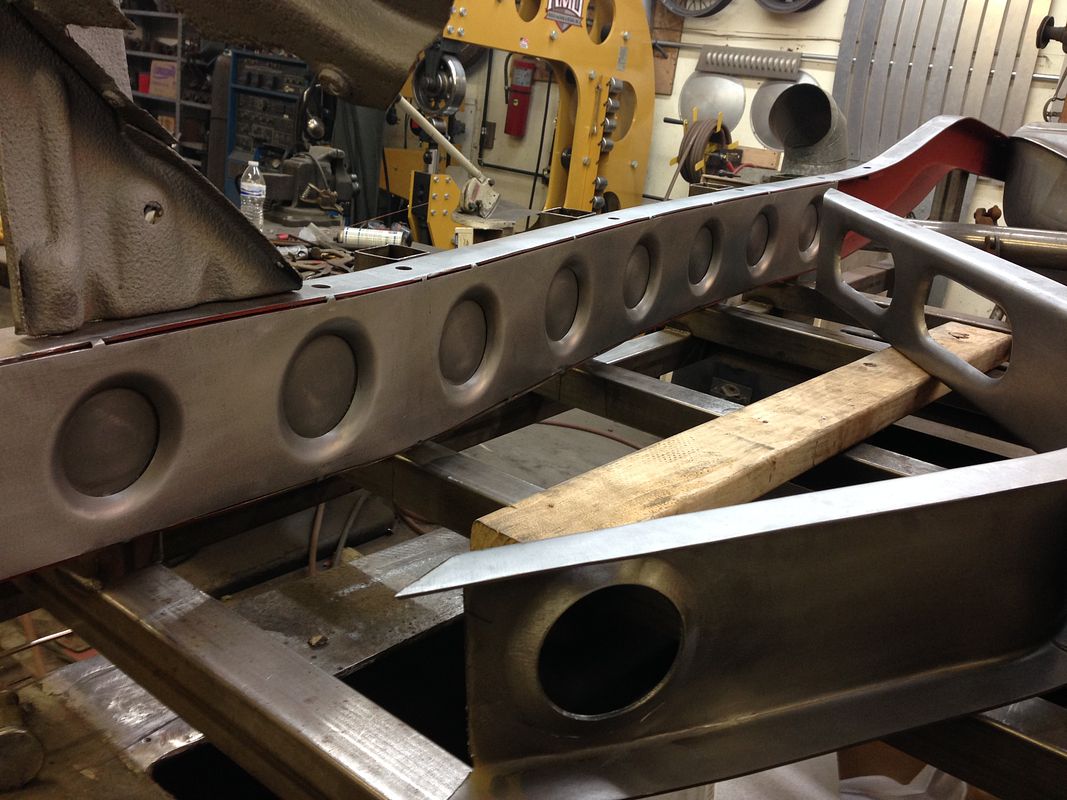
started cutting and fitting the boxing plates. the customer really likes the look of dimpled boxing plates but doesnt like the idea of stuff getting down in the rails. so i dimpled the plates, then cut and tig welded plates on the back of the dimples. so it has the look, but sealed up from the elements


test fitting up the center section to boxed rails


made a front mount fixture to support the engine while i designed and made the motor mounts


then made the mounts. hand made both the frame side and block side mounts. uses a standard biscuit style rubber cushion


then moved on to the trans mount. it is made from .250 mild steel


and made a top plate to help tie together everything


adjusted the angle of the pedal assembly to work correctly

 
the body and parts also came back from the chem dip shop


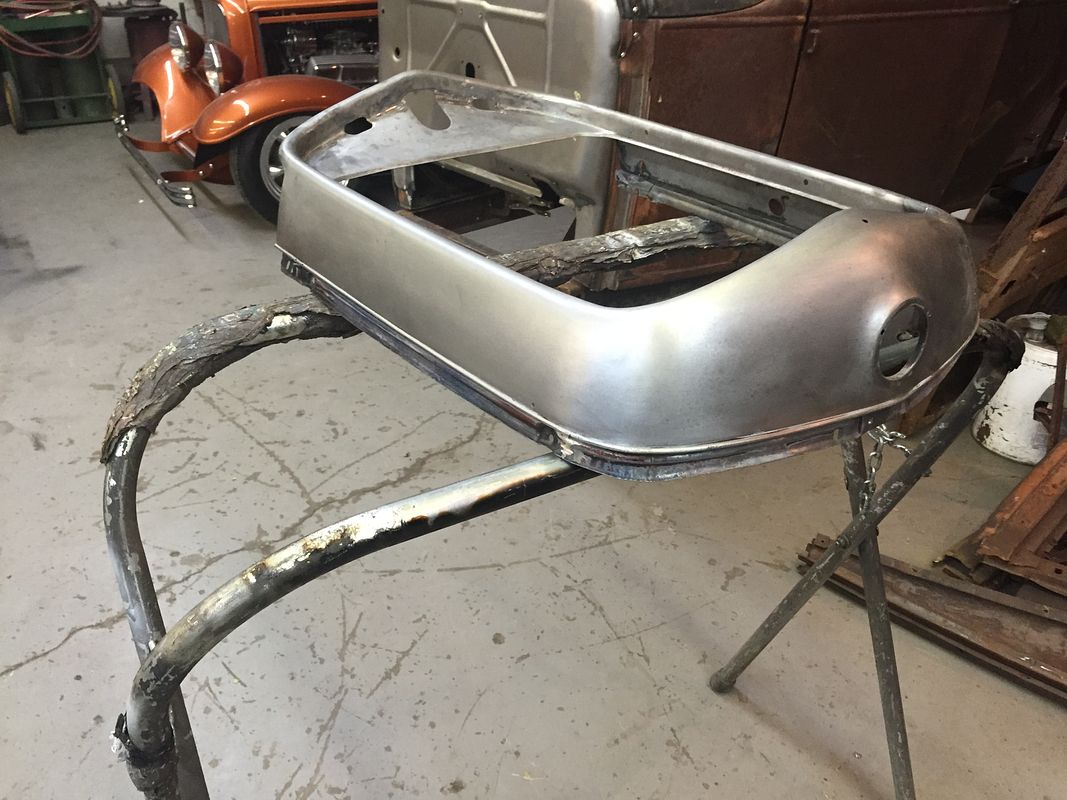
i had to fix a weird hole in the grill shell that was leaded over


after the repair


radiator in from walker, and the hood in from Rootlieb. so of course i had to cut all of those new parts up lol. had to modify the mount tabs on the radiator to sit right on the chassis with it being pinched so hard in the front.


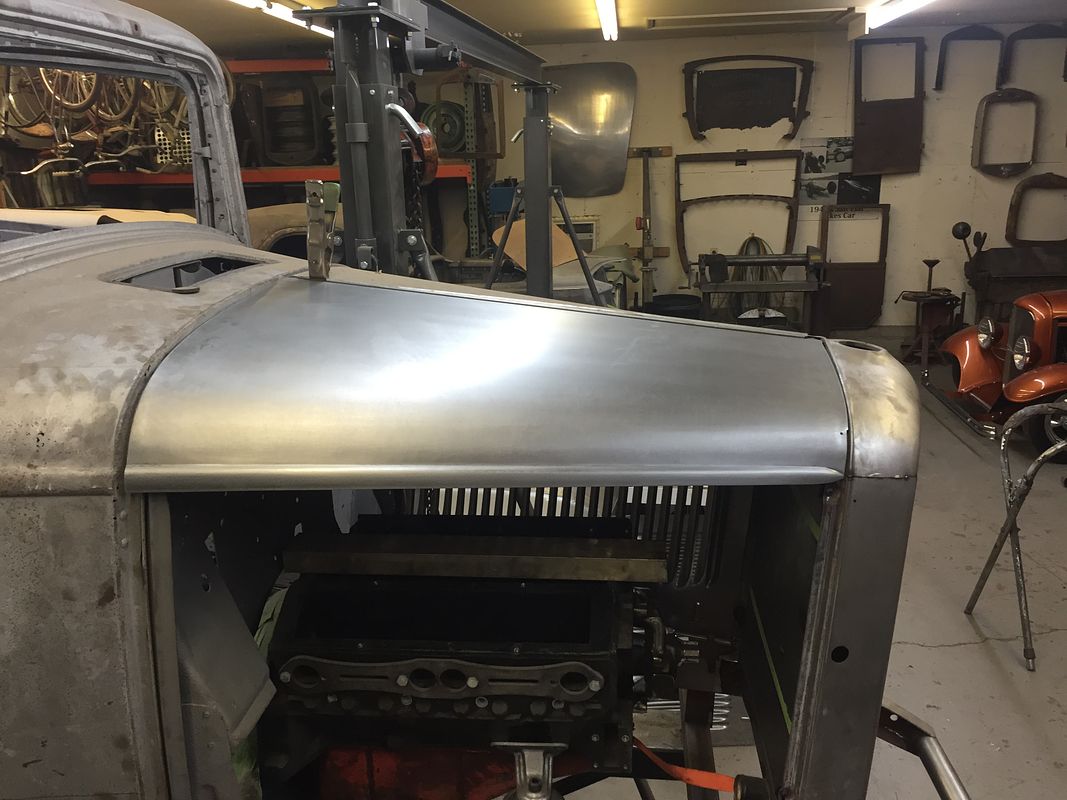
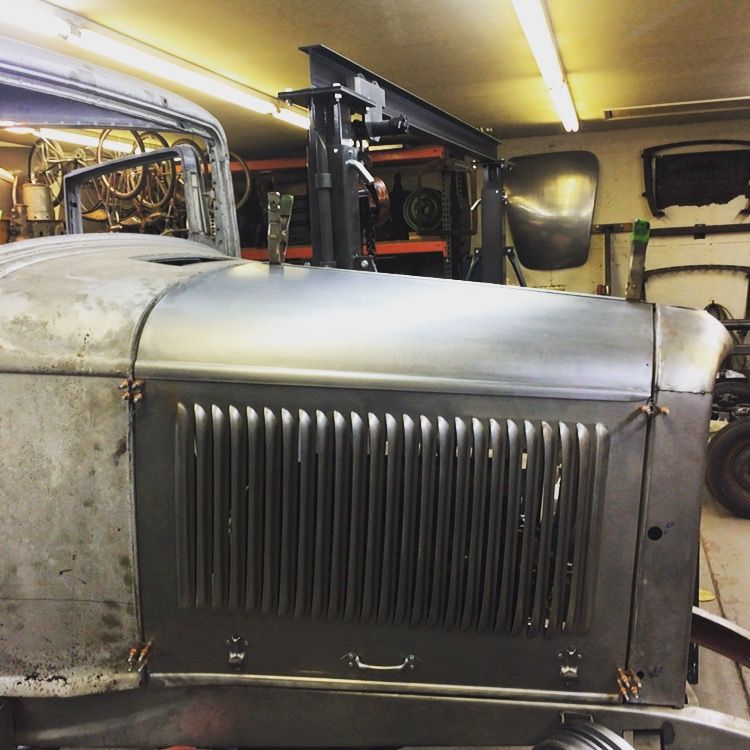
Then mounted the hood sides square to the cowl. i wanted the front end of the car to be more aggressive looking at a stand still. so i laid it out and cut a pie cut put of the hood top. .625 in the front tappered back to nothing at the rear. and cut .250 out of the grill shell to finish the look. those numbers dont sound like much, but man it really changes the look of the car. here are some pics of it all cut and clamped up


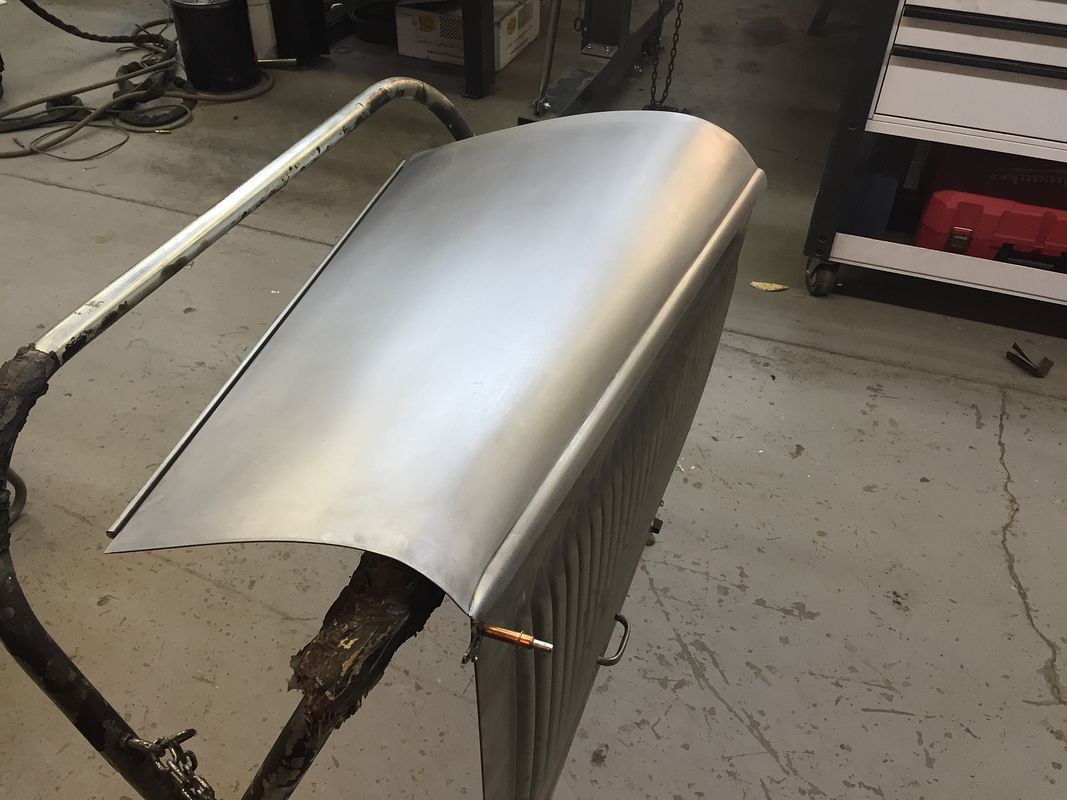
started to weld up the hood tops from where i section out the .625 in the front and wedge cut it back.

trimmed and fusion tacked with the tig


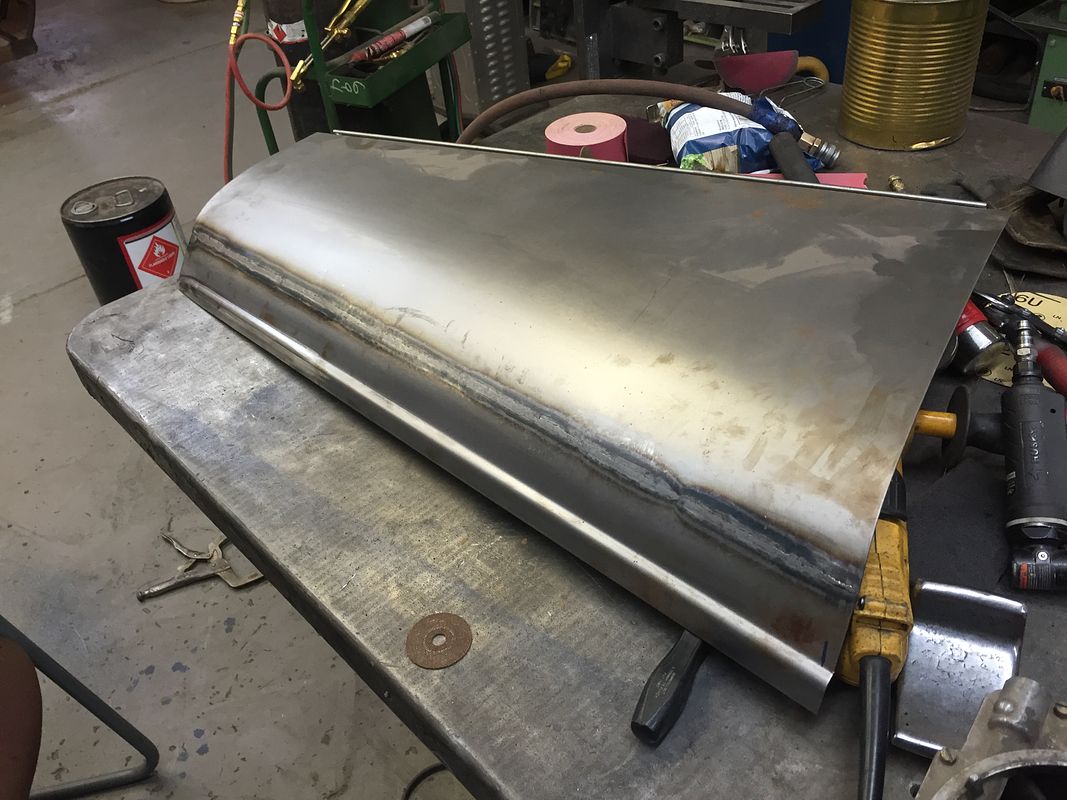
then fully welded with the tig, one end to another. before grinding the weld i planish out the weld in the planishing hammer to get the welded area back to some what straight


after some hammering, dollying, slapping, a couple hits with the shrinking disc. it was pretty good. then metal finished out with 80 grit sand paper and a red scotch brite.


pass side put back together


driver side done


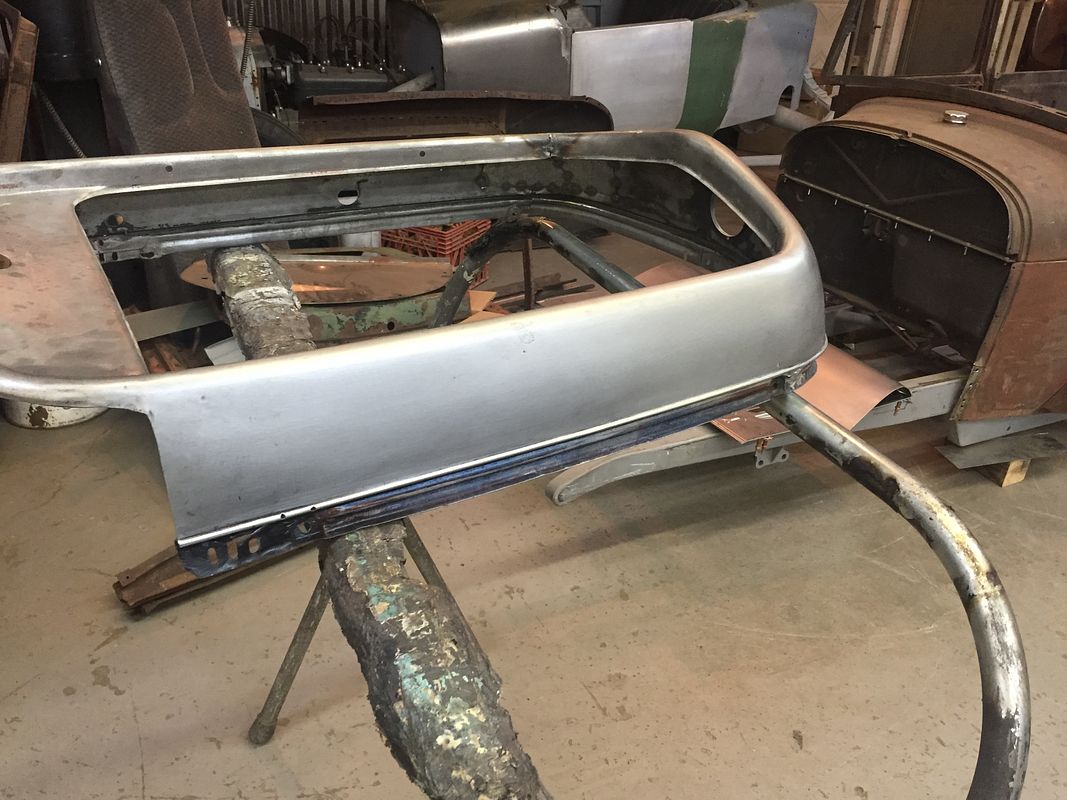
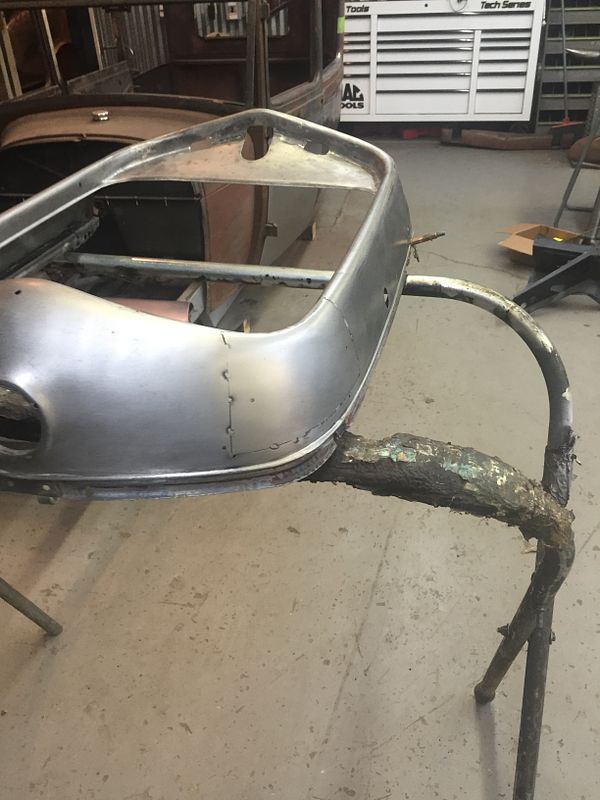
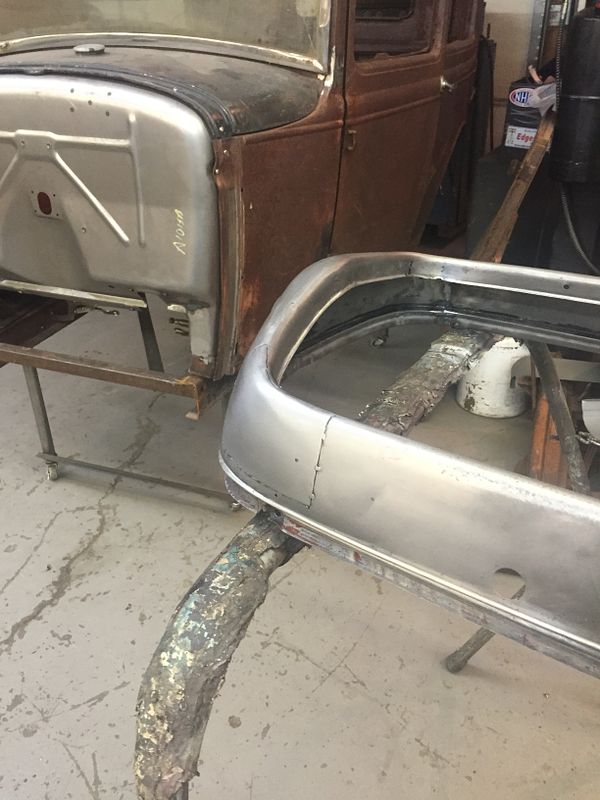
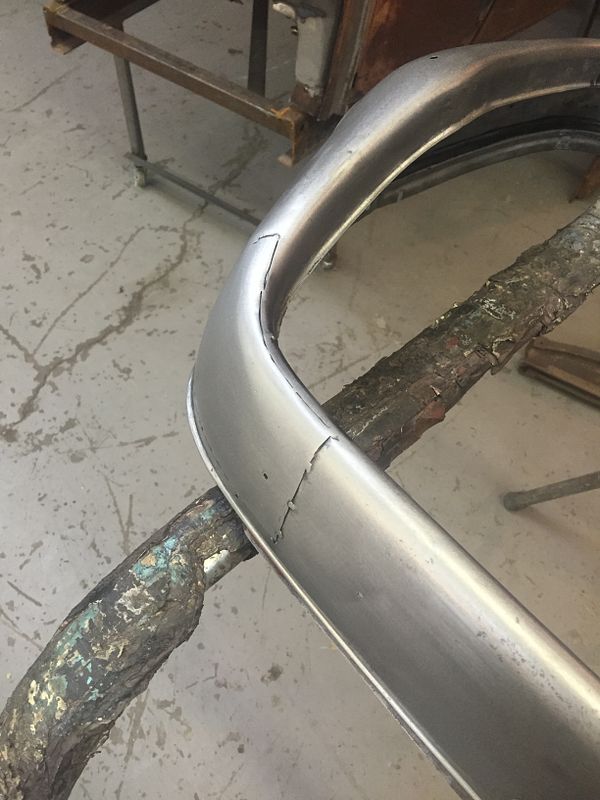
one side welded up. and metal finished out. shaved the holes in the side, and welded up the seam from where i chopped the shell .250 of and inch


went to work on the other side and found a lot of little thin spots , which may have been from when it was ground and leaded back in the day. so i had to cut out the entire corner and make a new one. i over sized the new patch more than i needed to for the thin spots and removed the patch i did earlier so to only have one patch, instead of two. i wish i would have found the thin spots before patching the shell before, to save some time.

here is the patch tacked in and ready to tig weld up
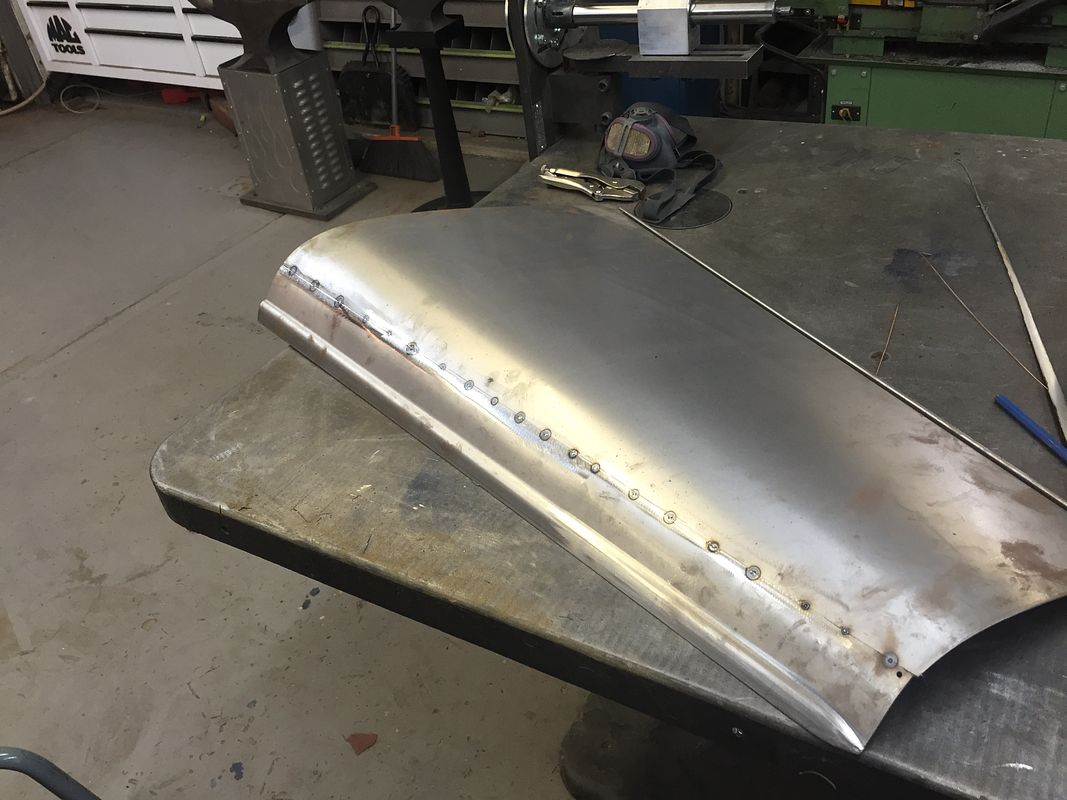


got the grill shell all finished up today, and everything clamped back up. still need to weld up the cleco holes


we had Joshua Shaw do a rendering of the car


started tearing everything down to finish welding and smoothing out the chassis, and get it sitting on the ground


weld grind repeat


got the rear end housing all put together and smoothed out


chassis on the ground


first initial on the ground shot


trying to get the car into a presentable full rolling chassis, with engine, trans, firewall, hood, radiator and grill shell for cincinnati cavalcade of customs, and detroit for my booth. it is getting close.

got the rear suspension finished up other than shocks , and the panhard bar

 
here is the bottom of the trans cross member/ ladder bar mounts. all welded up and smoothed out


had some parts show up and had to test fit them to make sure all our measuring was right to fit under the hood


got the steel mock up block all painted and dressed up, about ready to go back in the chassis


and got the front friction shocks in and working


more to come on this project in the next couple weeks

and got the front friction shocks in and working
 
the bases of the shocks are speedway friction shocks. i made the arms

got the frame smoothed out a good even texture. wiped it all down with gibbs oil and starting putting things back together


things were put on hold on my end for a couple months while i was dealing with preparing to move shops into our new location. didnt want to cut on the car to move it when it was in a good spot to be moved and sit for a little but while we got back up and running.

so now the fun starts. we started on the chop. 4.5 inches in the rear, and 4.125 in the front. leaning the posts back. we also used my signature curled relief cut in the rear corner to radially shrink the compound curve of the body to get everything to line back up. still lots more to do with the doors, hinges and cowl, but have it all tacked and working my way forward, welding and finishing as i go. here are some pics


Wow!!! Just, wow. The amount of time, attention to detail and patience you have is above what I've seen other shops do. You sit are a master at your craft. Question, how did you bell the oval holes in the crossmember? Just hammer and dolly or did you have to make a die for it?
 

Latest posts

Back
Top