1946 Oldsmobile 78 Reserection {my way}

Rat Rods Rule

Help Support Rat Rods Rule:

This site may earn a commission from merchant affiliate links, including eBay, Amazon, and others.
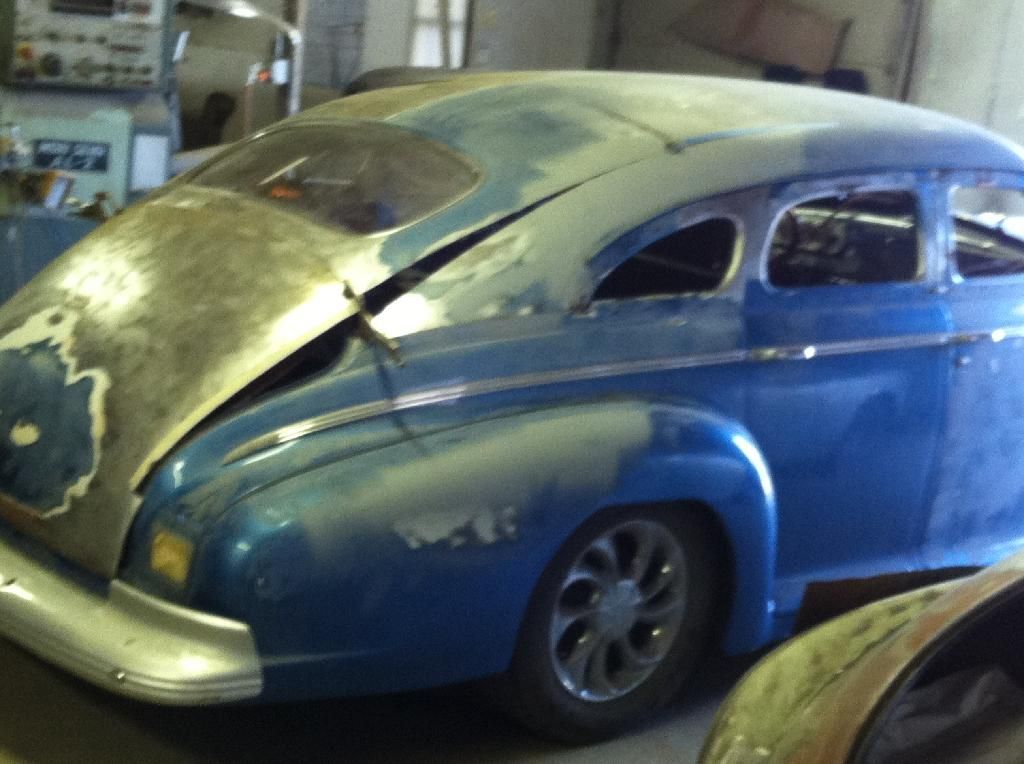
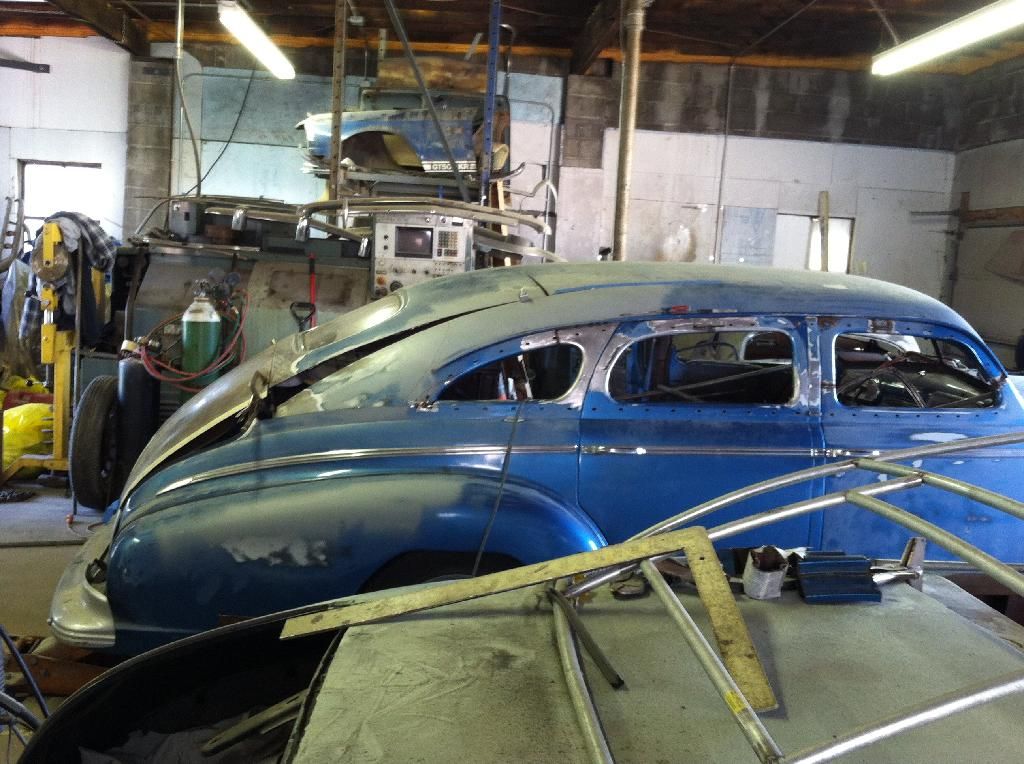
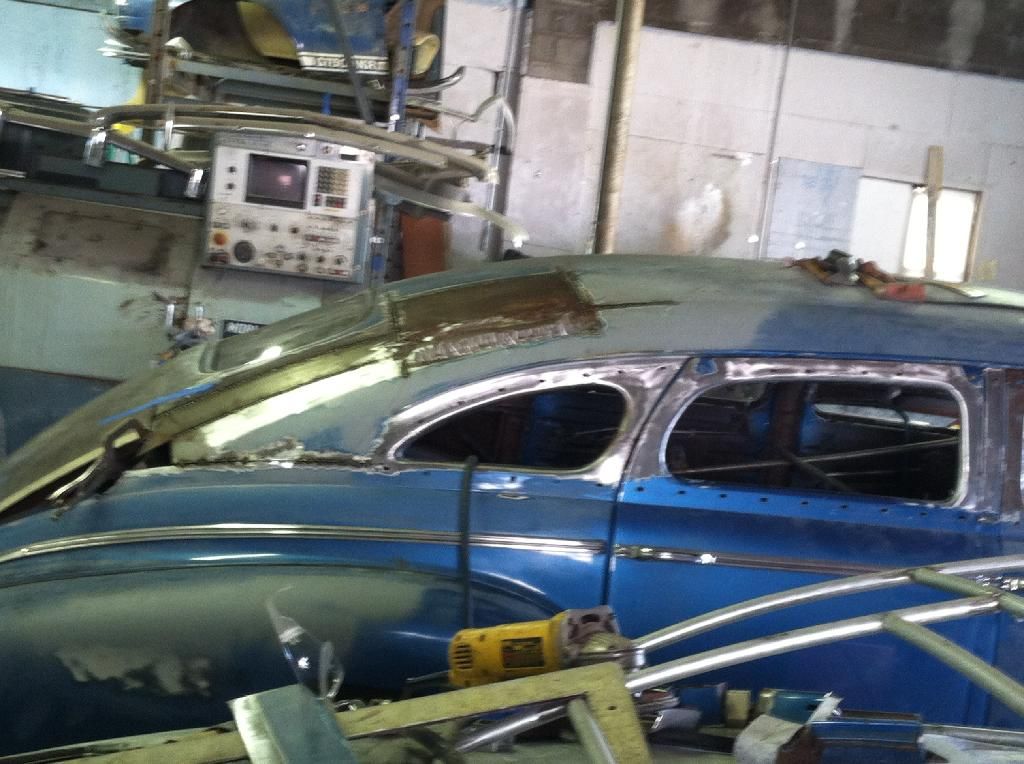
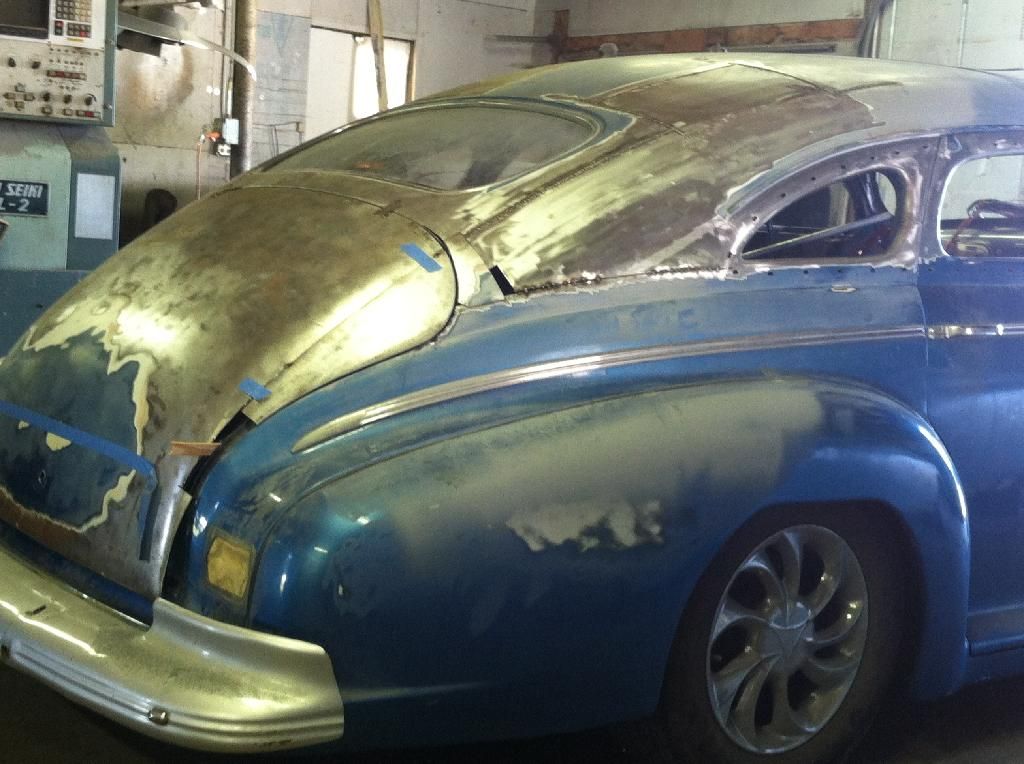
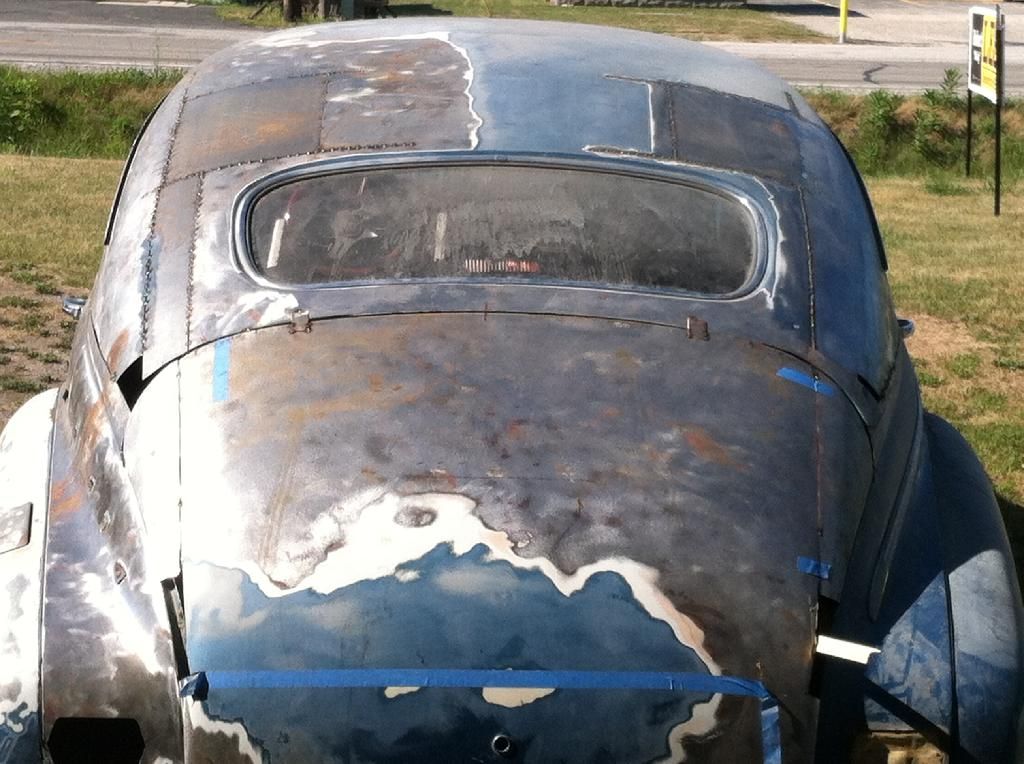
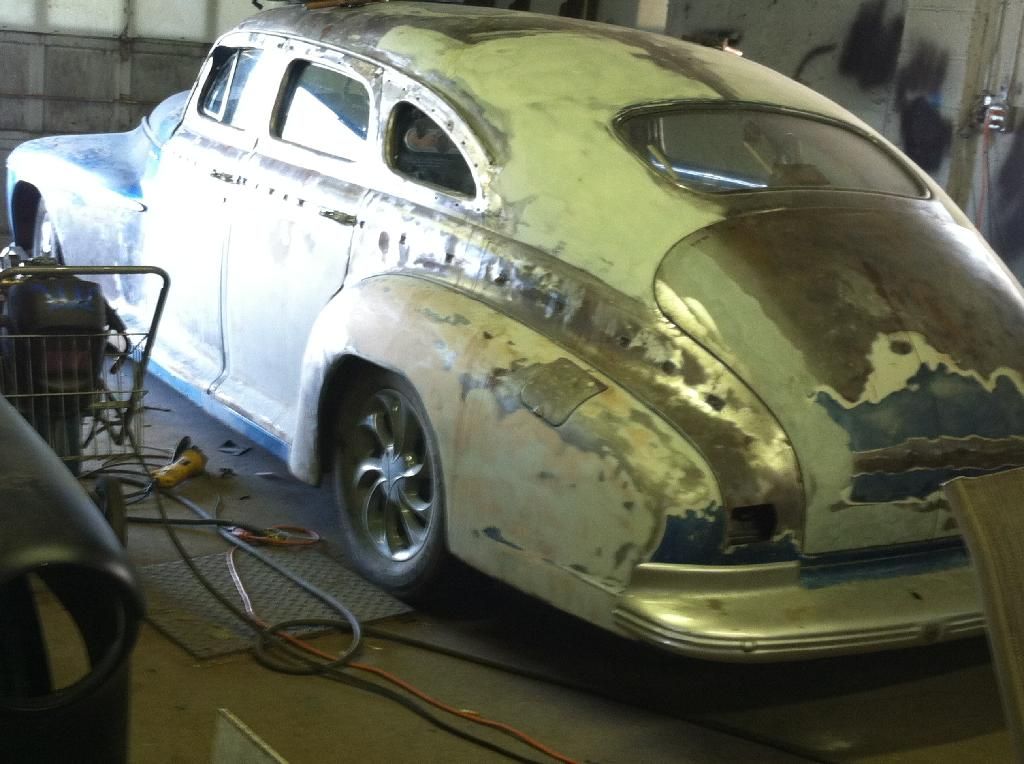
This is a 4 door fastback I did, so the roofline does have a different contour but this may help. This was also 3" chop.

Hard to explain but remove the decklid sided, the trunk will be short due to the chop


Here's the tough part to explain but "decrown" the roof, it will set the roof skin lower while bringing it back to close to stock position at the same time


You will see the bottom of the decklid needs to be cut and brought in, I just cut the inner lid and reshaped to fit. Then cut and fit the sides


With that being said, I'm currently doing a 2 door with a much more aggressive chop , 4 front and 6 back


I'll apply the same principle but will still need to make up an 1 1/2" so my plans are to move the rear window up a bit as well as split it under window and stretch the package tray, hinge assembly back to line up.
Hope it helps a little
 
Windshield is almost done.
 

Attachments

  • 001.jpg
    001.jpg
    99.6 KB · Views: 204
  • 002.jpg
    002.jpg
    65.4 KB · Views: 192
  • 003.jpg
    003.jpg
    90.4 KB · Views: 208
Make sure you keep the windshield opening all in the same plane. When I spread my top out to connect the A-pillars, the top center "beak" pulled down and skewed my windshield opening. Made a mess trying to get it back flat. Mine was a 4-1/4" chop though.
 
Thanks Sam for the advice, the center beak dropped 1/2 a inch so what do you think would be my best solution? Also her is the door frame front section.
 

Attachments

  • 005.jpg
    005.jpg
    126.3 KB · Views: 198
  • 006.jpg
    006.jpg
    61.2 KB · Views: 186
  • 007.jpg
    007.jpg
    91.8 KB · Views: 200
Well, I'm not really the one to ask since that was the one part I struggled with. I used a jack and slowly pushed the center back up as I made relief cuts near the corners. But if I did it again, I think I'd cut all the way through the inside header. I'd PM Old Gold on that, he seems to know what he's doing.

The drip edge from the A-pillar was exactly the right length to fill in the section in the roof on mine. I think I used the back section of the door to fill the door top too, but my door has a flat back.
 
Sam, I don't split the roof corners, I pie cut the bottom cowl corners and bring them in.
Makes it easier, for me anyway, when I do the door frames.
 
Hard to see in this picture, but look at lower corner of windshield.
It depends on where you make your pillar cuts and how much you take out, sometimes you gotta do both cowl and roof
 
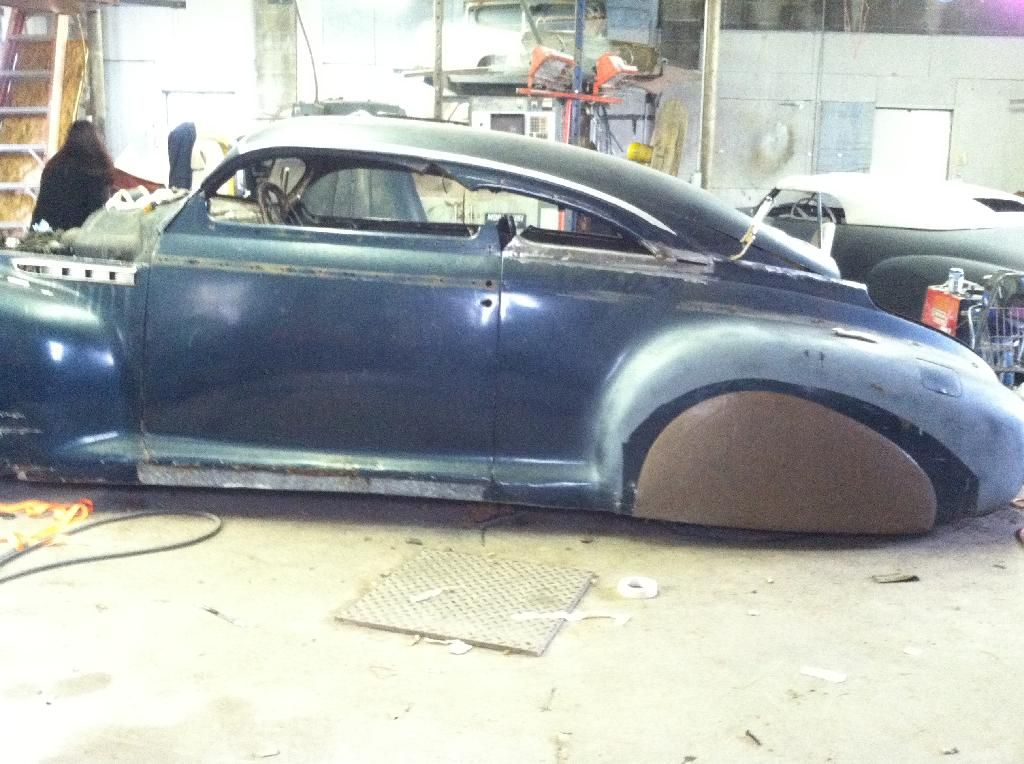
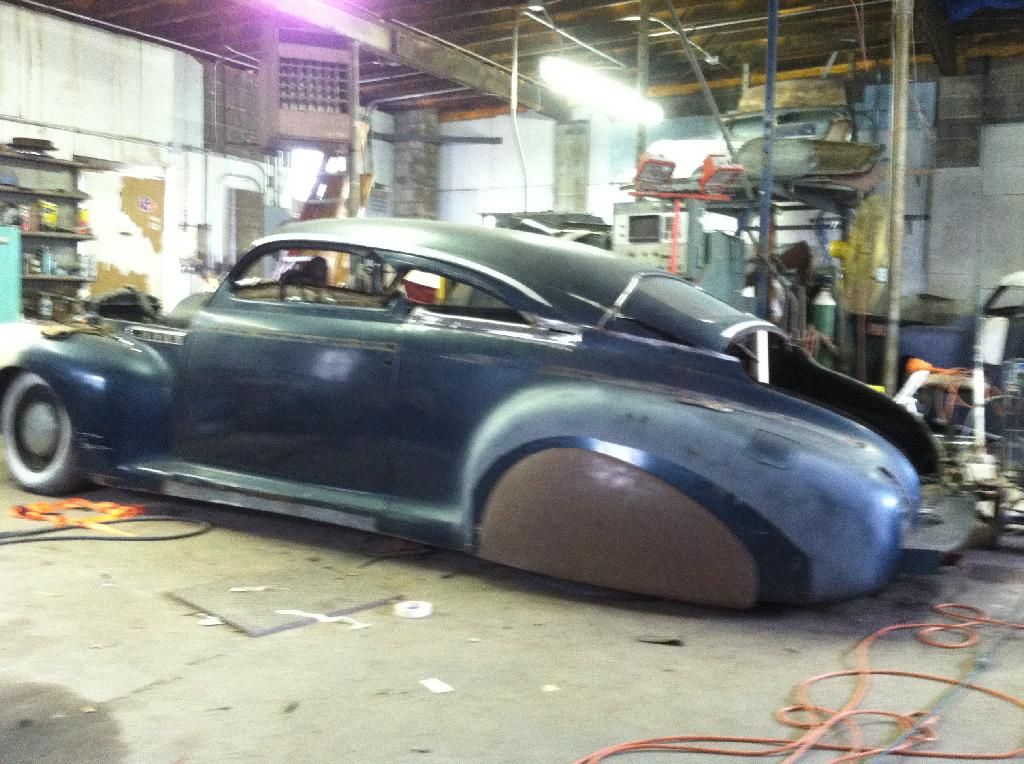
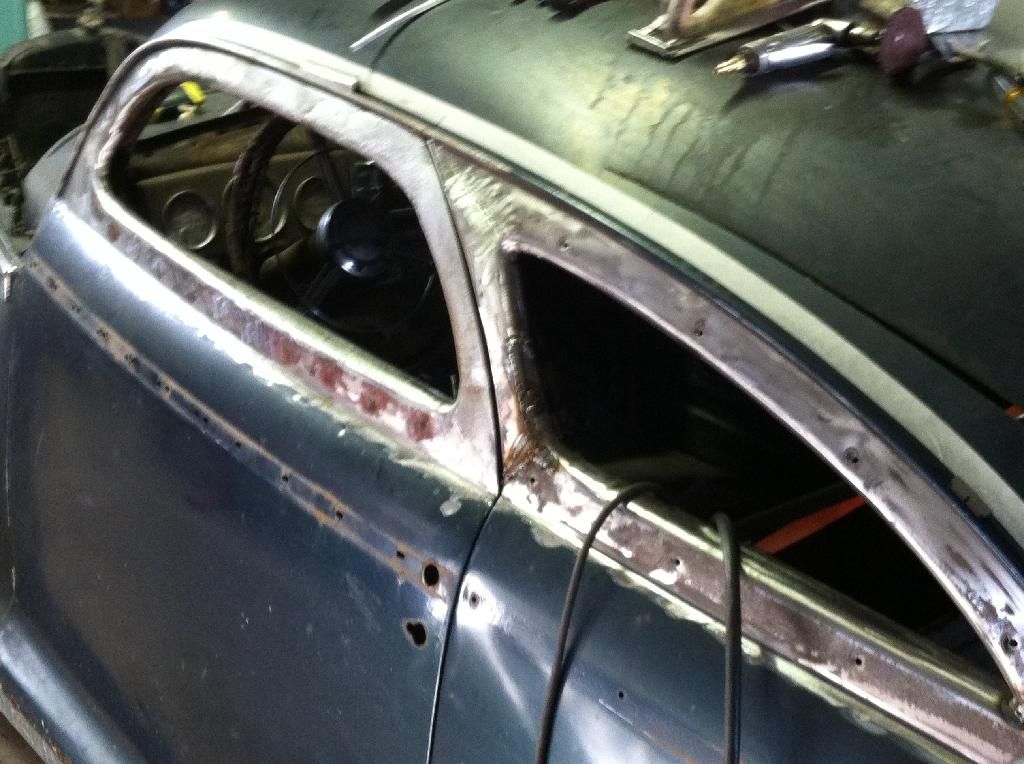
Change of plans the window section was clamped together with the roof, the contour looks great so I am going to leave the window and the trunk alone and not chop the back section, the side windows are at a great angle and still slope and the door windows are level and not slanted.
 

Attachments

  • 020.jpg
    020.jpg
    116.5 KB · Views: 256
  • 022.jpg
    022.jpg
    110.4 KB · Views: 270
  • 023.jpg
    023.jpg
    115.8 KB · Views: 255
  • 024.jpg
    024.jpg
    68.5 KB · Views: 252
  • 025.jpg
    025.jpg
    66.8 KB · Views: 239
That's a different way to do it.... how will you straighten out the drip rail line at the joint between the front and rear of the roof, since lowering the front of the rear section brings it down, forming a mild V when viewed from the side. What is the plan to match the height of the front and rear sections - pancake the front section?
BTW, the laser is a great idea for projecting lines onto the body [cl.
 
She will be sweet when she is done but wow will that be a lot of welding and grinding!!!

I feel the welding and grinding woes.... my poor 40 Chevy looks like Frankenstein's baby...lol

Loving the way your doing this build, I agree about the rear window leaving it, I think it flows very well![cl
 

Latest posts

Back
Top