Smallfoot's AA

Rat Rods Rule

Help Support Rat Rods Rule:

This site may earn a commission from merchant affiliate links, including eBay, Amazon, and others.
Back on 4 wheels! Got the frame cleaned up and another coat of flat black. Slid the s10 rear under it and tied it all together. Still have to fashion the ebrake changes, but I can roll the chassis around again. Gonna do some more welding to the underside of the box and try to get this thing looking like a truck again this week. Thanks for stopping by...

 
Turned the cab up on its nose, sandblasted the loose rust off the inside, then treated with ospho. Tomorrow I'll seal and paint the parts that will be easier now than later. Also cut the main dash panel out. Was going to do the mock up on gauge placement but couldn't find a single marker that would work. Need a few things, so a trip to the store is due tomorrow. My intentions are a beaded dash, along with removable gauge panel, hinged breaker panel and a glove box. We'll see how it goes...

 
Ha! No Torchie, it was a controlled move this time and no old geezer rolling around in it...
Guess I'll have to see if I can get some help on bead rolling the dash. When my buds were out the other day our intentions were to roll his Bronco visor and my dash but I didn't have my pieces even cut out yet. His went real easy with 2 people working the bead roller. Makes it a whole lot easier for good lines and I'll be looking at this pattern from now on...
 
Been moving along some. Sand blasted the loose rust off the inside of the cab then spray coated ospho on it. Dried 2 days and then wire brushed it then brush painted some Ford gray inside. Also took the bed out of the box and treated the inside of the box the same way along with a coat of poly satin to the bed. I'll get another coat on that tomorrow. Also started laying out my gauge panel and the lines of the dash that I'll bead roll. More on that tomorrow too. Thanks for checking in...
 
Your dedication to that "small pile of crumbling iron oxide" is amazing.
[cl

Not sure if it's dedication or delirium IronRat!! Thanks...
Didn't get much done today with interruptions. Did take delivery of new wheel adapters. I can go back to my other wheels now to this s10 rear. Got about halfway done with connecting the ebrake for the last time when a call came in about parts arrival. Last coat of satin poly went on the bed. Pix tomorrow...
 
hillbilly turnbuckle

Thanks 89johnny!

Got the cables cut and my hillbilly turnbuckle attached. Everything works great. Used the Jeep cable stops and placed them a little different on the frame to add clearance. Used a cable hanger off the s10 to add some pre-load to the cable and keep the clearance to the drive shaft. Also painted the new drums and placed my adapters and wheels. Wound up with 71 1/2" in rear, outside of tire to outside of tire, to the front which is 68". Itching to see the box and cab back on to get the closer look at how it'll turn out. still kickin...
 
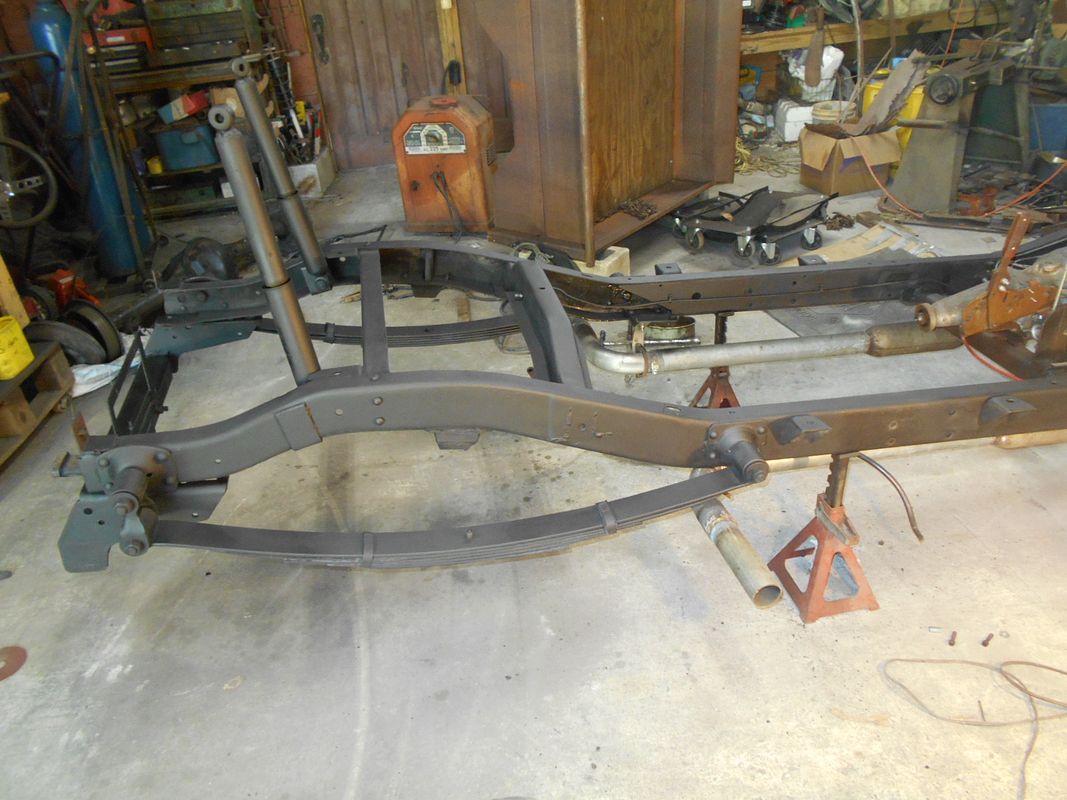
Lots of pushing and shoving around the barn going on today. I'm sore and tired. Got it lined up and rear mount bolts are in but not tight yet. I've decided to make a small change to the front mounts, mainly for ease on getting to them and some for just better strength and cushion. I had flat plate on the subframe and a through bolt through the side of the frame to a welded nut. Worked good! No cushion...and not very easy to get to...
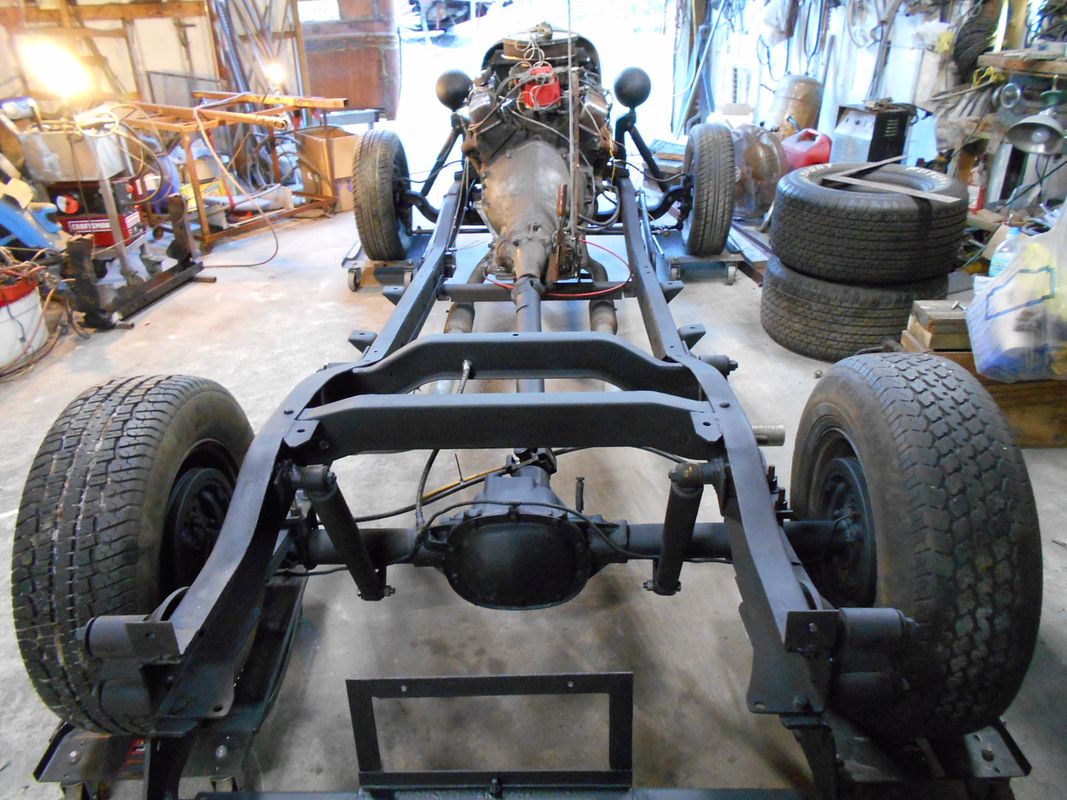
I've got another spot to put 2, still in the corner front. They will allow me to use my cab bushings made from the conveyor belt I have. Where I have it sitting now is 1 bushing at the back, the front has 2 and this will line up with a very small radiator and grill shell change coming soon. Still doesn't look right with it up on dollys but maybe tomorrow I'll get the bed on and drop it off the dollys...gettin to look like a truck again.
Gotta give Jegs a call back. Right size and fitment...one of the wheel lugs on the adapter spun just trying to take up slack with a cross wrench up on jacks. No pressure involved, just never tightened up. Hope I don't have a problem getting it off. jeeze!
 
I'm liking this build. Are those the seats on the wall in the picture of the cab hanging?lol.
Frankly, I had considered it...lol! Thanks Willowbilly3!

Set the box on today and I'm liking it. Still have to do a small adjustment to the cab position, but I believe I won't have to move the cab or bed again. Now to get on with some floors and inside stuff.
Have a little embarrassing tale too. That problem was strictly pilot error on my new adapters. I went thru calling Jegs this am before going to the barn to work. Got them set up to accept a return and got the shipping label from fedex sent, only to go down to see if I could get the lug nut back off and pull the adapters to send back. Don't know where I got it but I picked up a dud lug nut off the floor that was not part of this build. Don't know which derelict it came from but there were no threads left. I looked around for the one I was supposed to use, found it close by and all went well. Still shaking my head over that...
Anyhoo, thanks for stopping by!
 
Last edited:

Latest posts

Back
Top