
Hoovail
Well-known member
I started my Model A Sedan build in October '13, and will play catch-up to it's current state.
This is my first time doing any sort of build like this. I'm a "Jeep Guy" and have built a few. I got the Rat Rod bug a few years ago, and I'm excited to get started! Most aspects of the build will develop as the build happens, and what parts I find.
Here are a few of the things I decided on for sure:
Custom Frame - I'm thinking 2X4 3/16"
Air Bags front and rear
6" Chop
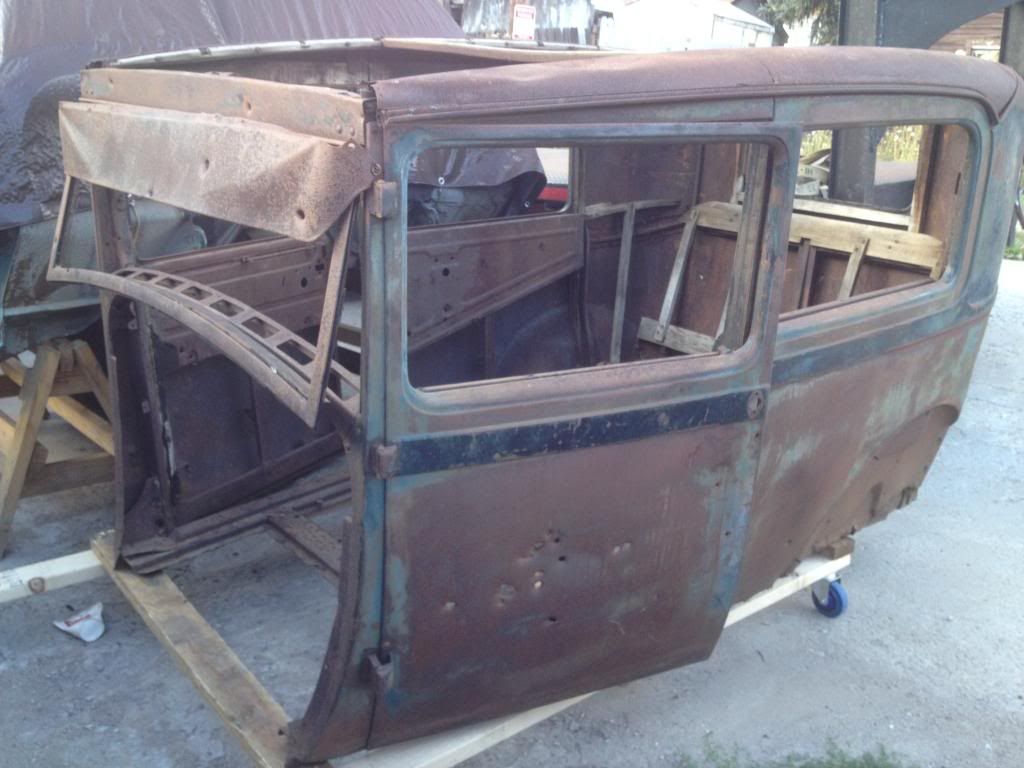
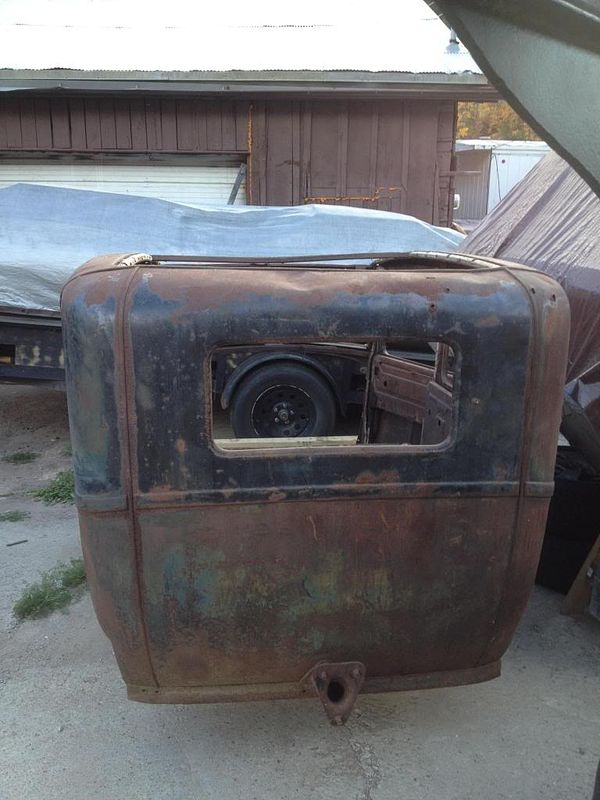
Here's what I got!

Being the new guy, any and all recommendations, advice, and criticism are much appreciated!
This is my first time doing any sort of build like this. I'm a "Jeep Guy" and have built a few. I got the Rat Rod bug a few years ago, and I'm excited to get started! Most aspects of the build will develop as the build happens, and what parts I find.
Here are a few of the things I decided on for sure:
Custom Frame - I'm thinking 2X4 3/16"
Air Bags front and rear
6" Chop
Here's what I got!


Being the new guy, any and all recommendations, advice, and criticism are much appreciated!


