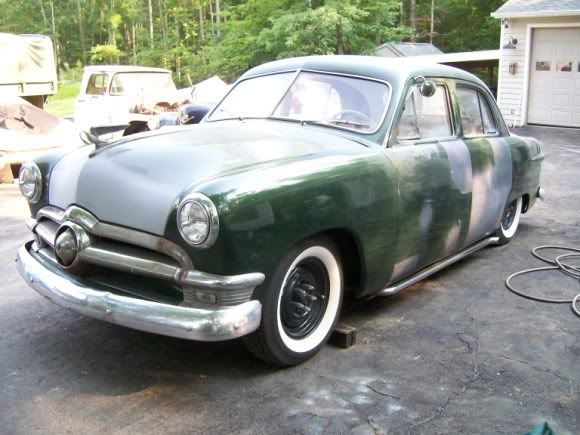
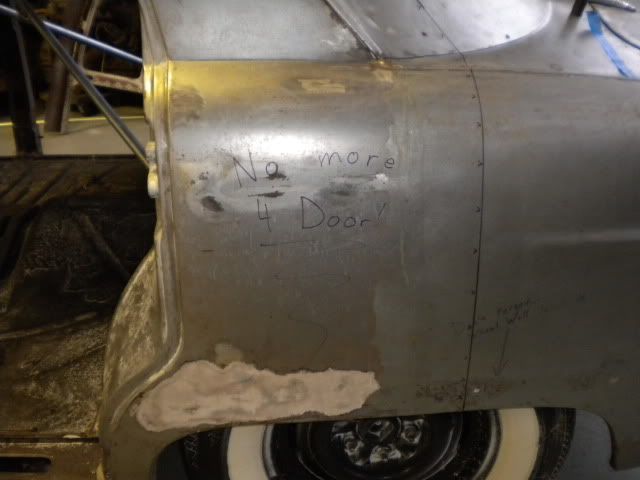
Here's my '50 4 door.
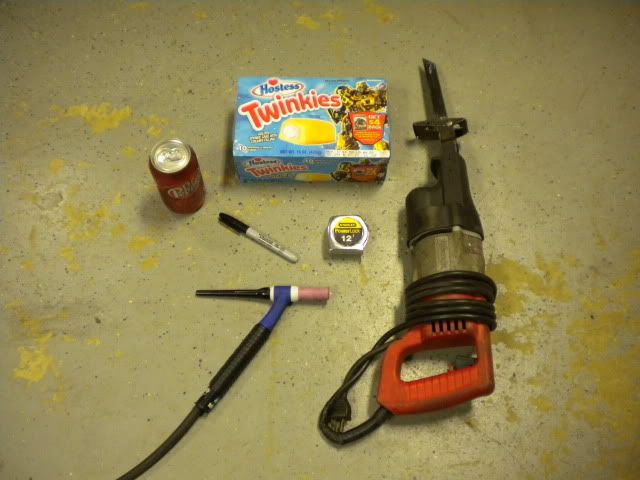
I want a chopped 2dr. So, better get to work. Here's the main tools you will need to complete this task.
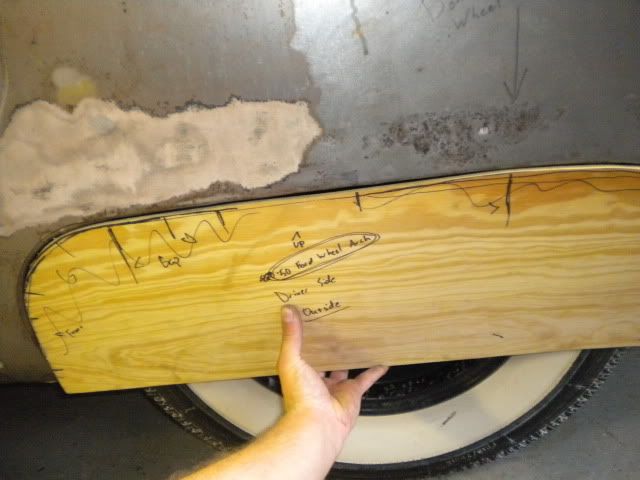
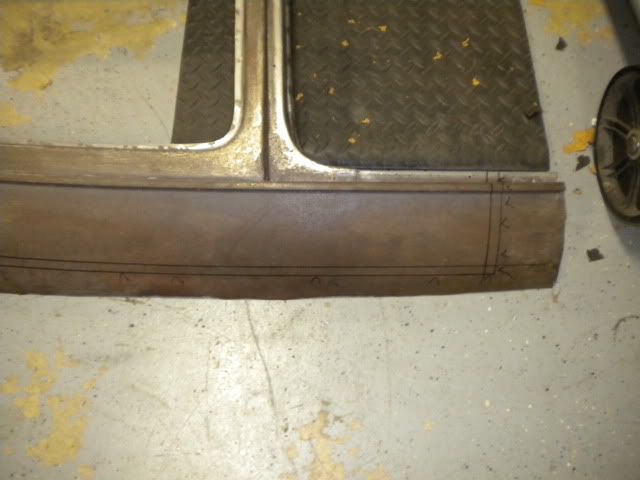
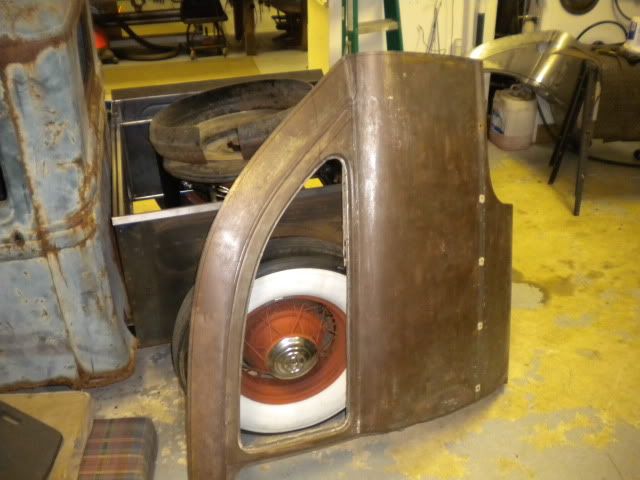
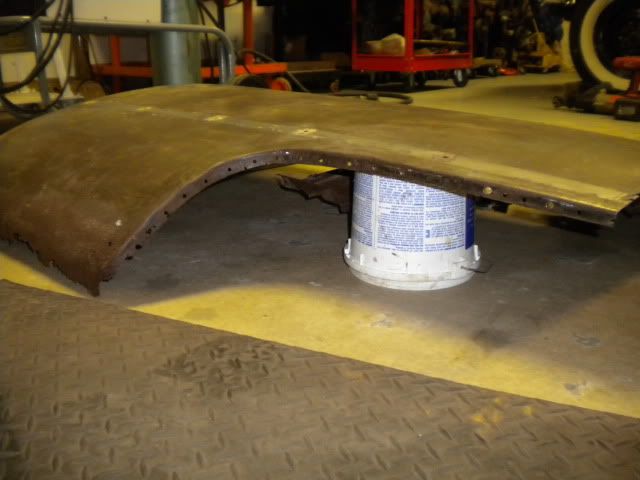
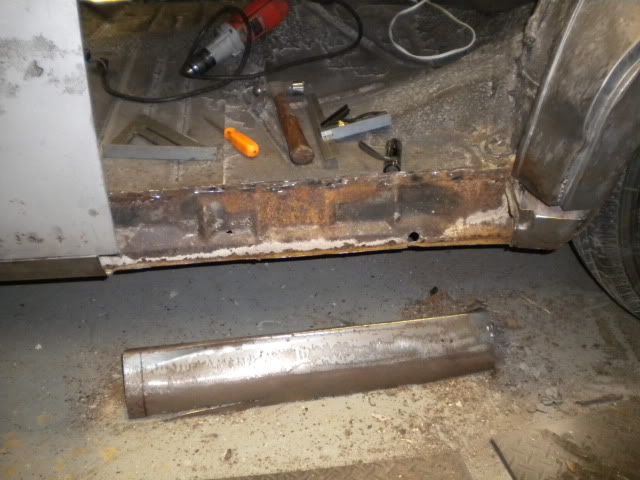
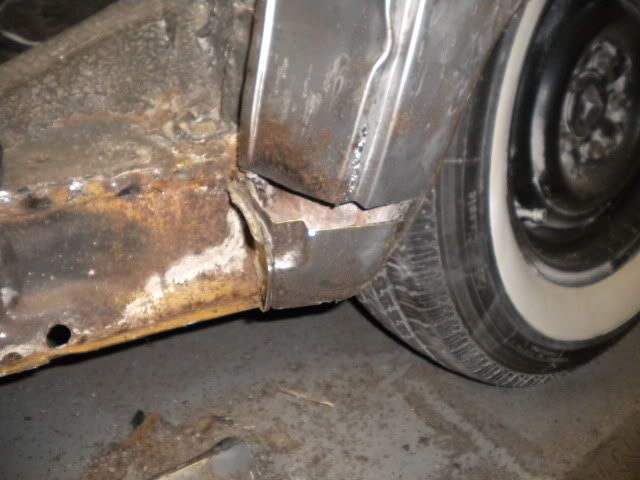
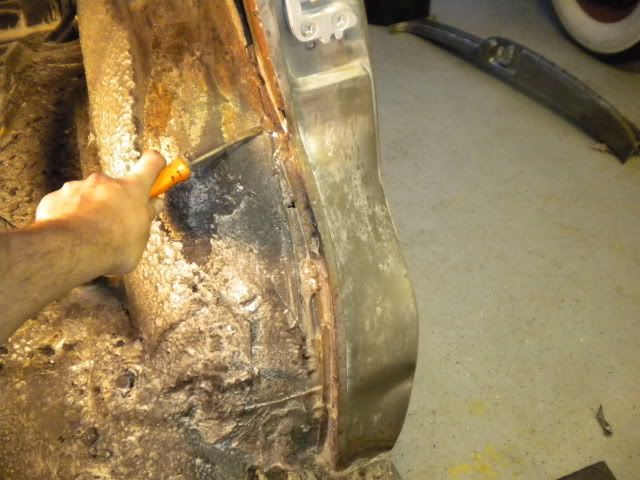
Step 1. Completely strip and blast the car and all necessary parts. Including a pair of 2 door front doors (swap meet find) and 2 door rear quarter panels I cut off of a parts car (don't worry, it was beyond worth fixing.)
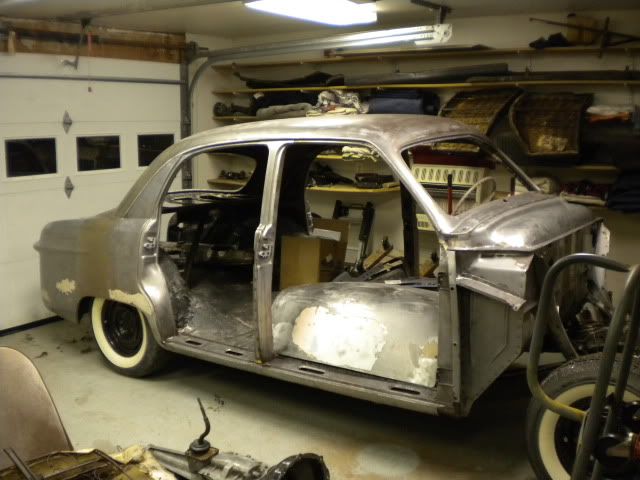

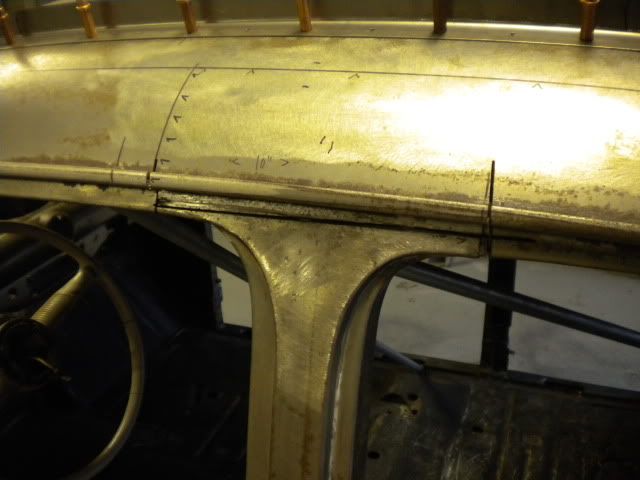
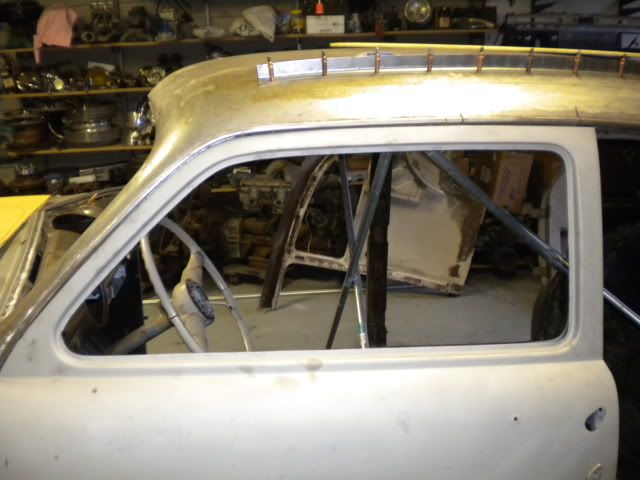
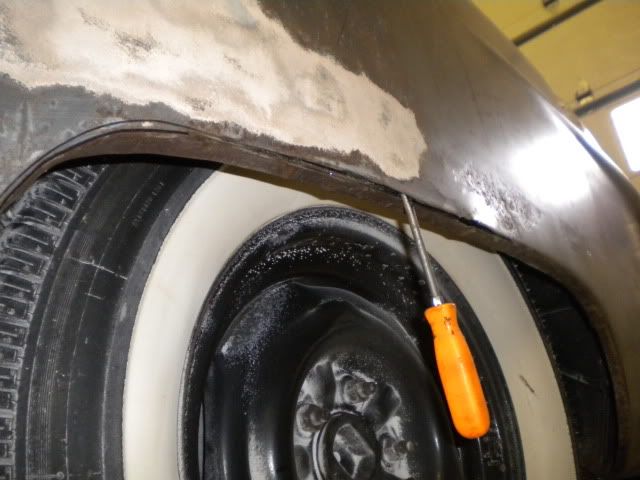
Here's the 2 door front door on the car with the 4 door b-pillar still in place to show how much longer it is.
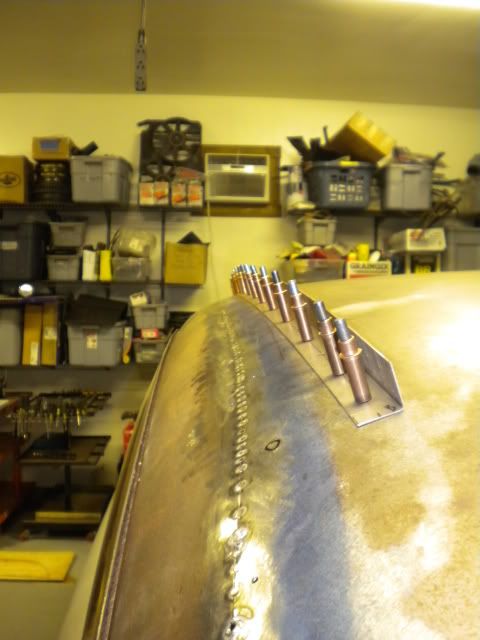
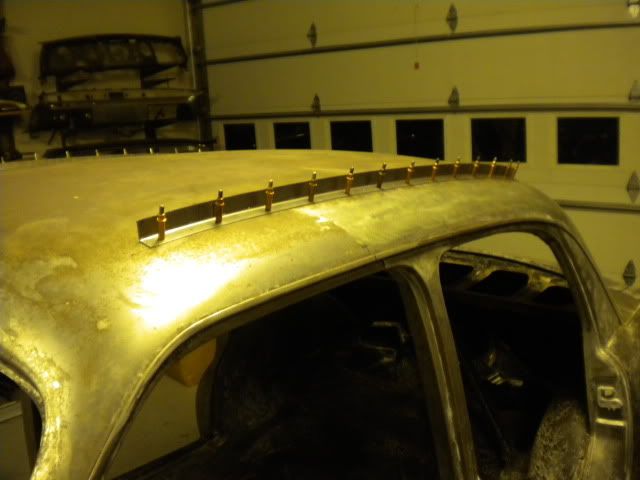
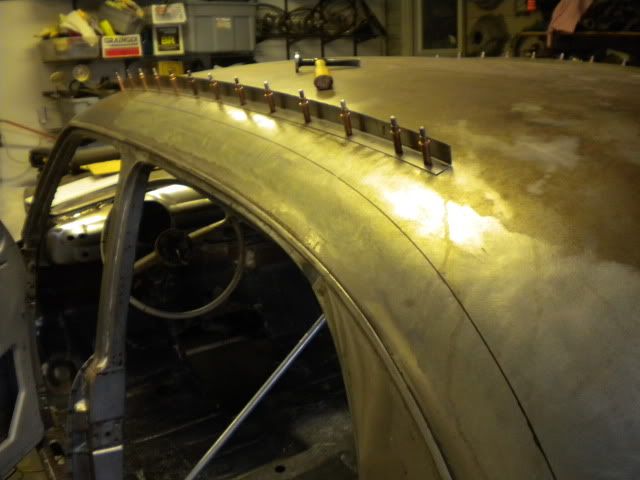
I left the donor car unbraced when I cut it apart so I could see what moved around. The roof skin was WAY floppier than I had thought it would be so I bent up some 90 degree pieces of 18ga and punched some 1/8 holes for Clecos.
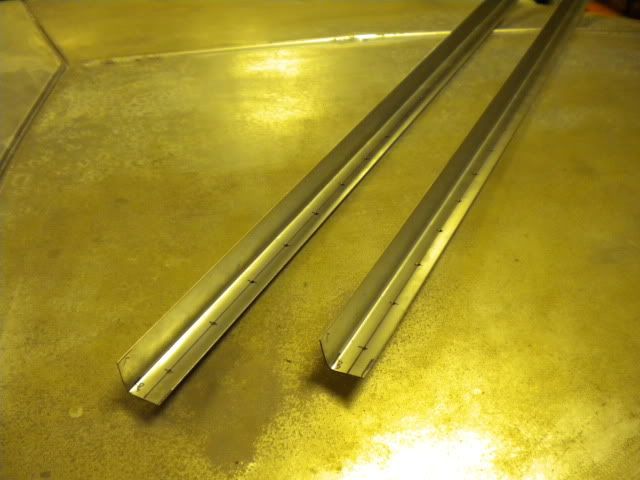
I used the shrinker/stretcher to get them to match the contour of the roof and cleco'd them on.
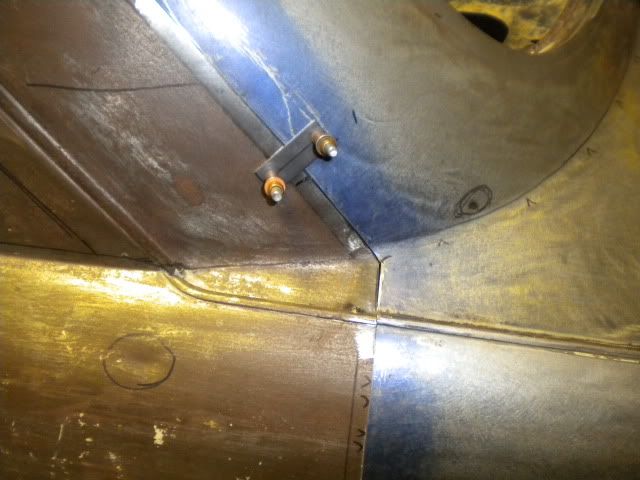
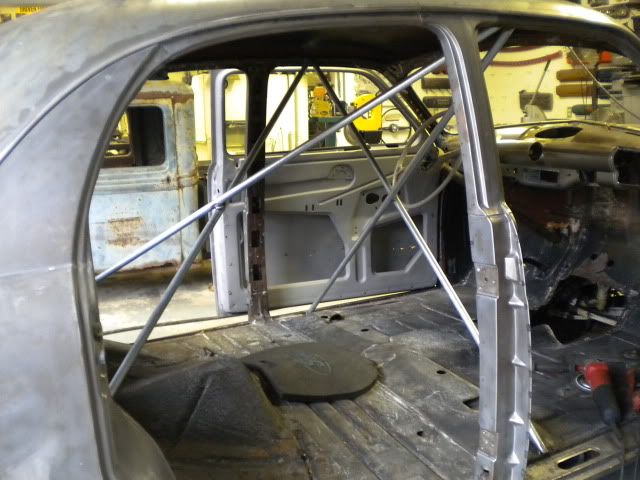
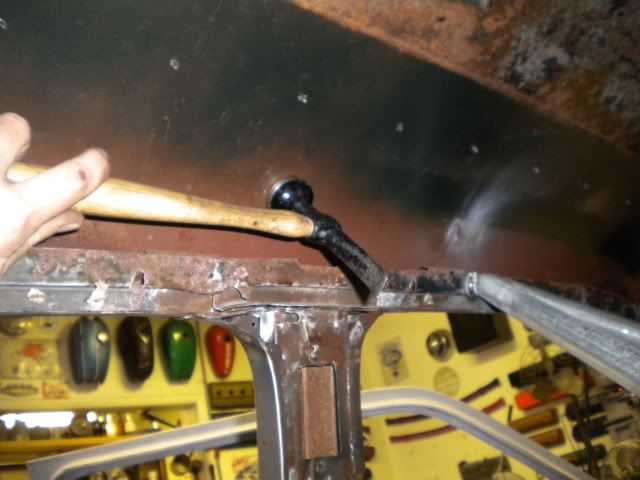
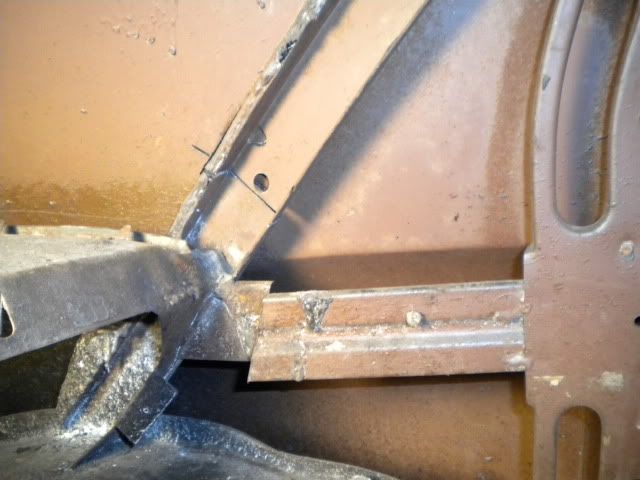
I then braced up the inside, getting the tubing as close to the cut line in the door frame as possible.
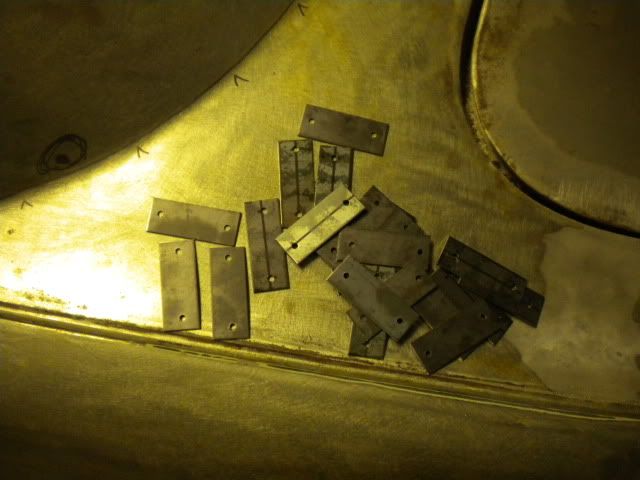
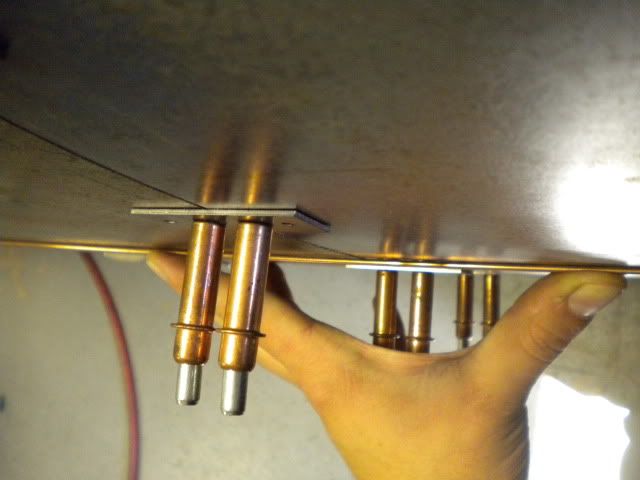
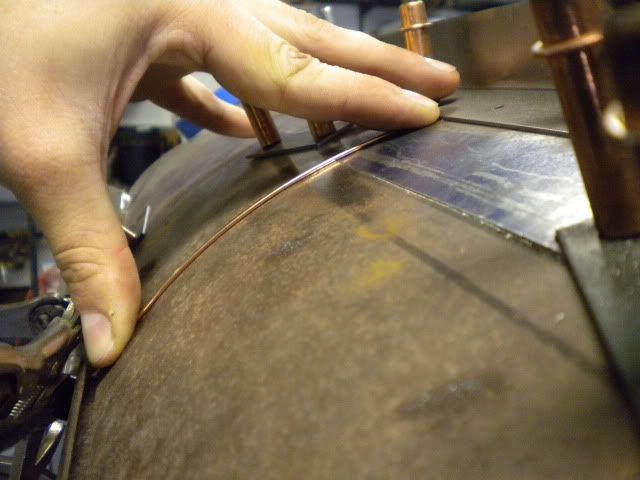
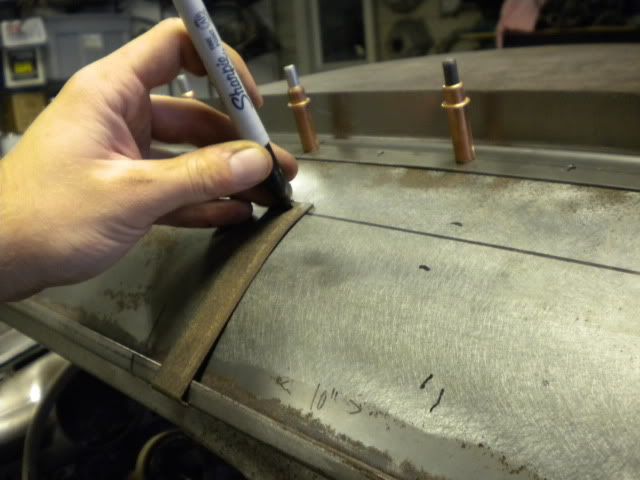
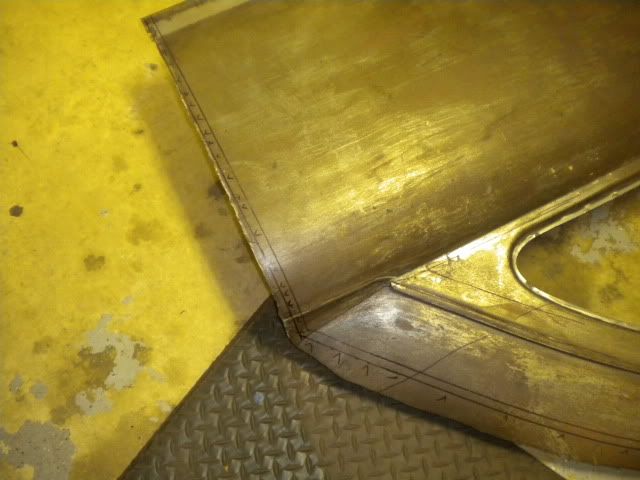
To mark the cut line in the roof and donor quarter panel I made a simple sharpie holder out of scrap sheetmetal.
I want a chopped 2dr. So, better get to work. Here's the main tools you will need to complete this task.
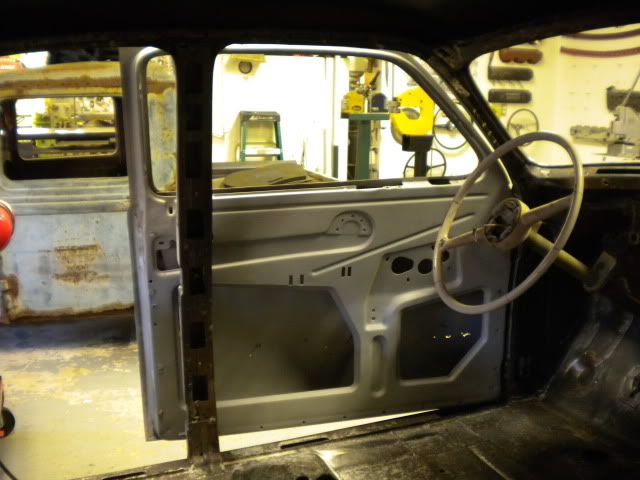
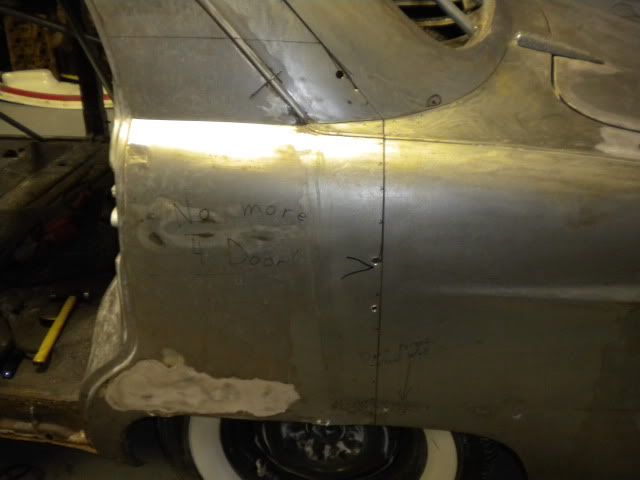
Step 1. Completely strip and blast the car and all necessary parts. Including a pair of 2 door front doors (swap meet find) and 2 door rear quarter panels I cut off of a parts car (don't worry, it was beyond worth fixing.)
Here's the 2 door front door on the car with the 4 door b-pillar still in place to show how much longer it is.
I left the donor car unbraced when I cut it apart so I could see what moved around. The roof skin was WAY floppier than I had thought it would be so I bent up some 90 degree pieces of 18ga and punched some 1/8 holes for Clecos.
I used the shrinker/stretcher to get them to match the contour of the roof and cleco'd them on.
I then braced up the inside, getting the tubing as close to the cut line in the door frame as possible.
To mark the cut line in the roof and donor quarter panel I made a simple sharpie holder out of scrap sheetmetal.


 [ddd
[ddd