Party Rat Study

Rat Rods Rule

Help Support Rat Rods Rule:

This site may earn a commission from merchant affiliate links, including eBay, Amazon, and others.

400orbust

Well-known member
Joined
Jan 23, 2014
Messages
109
Location
SW Washington
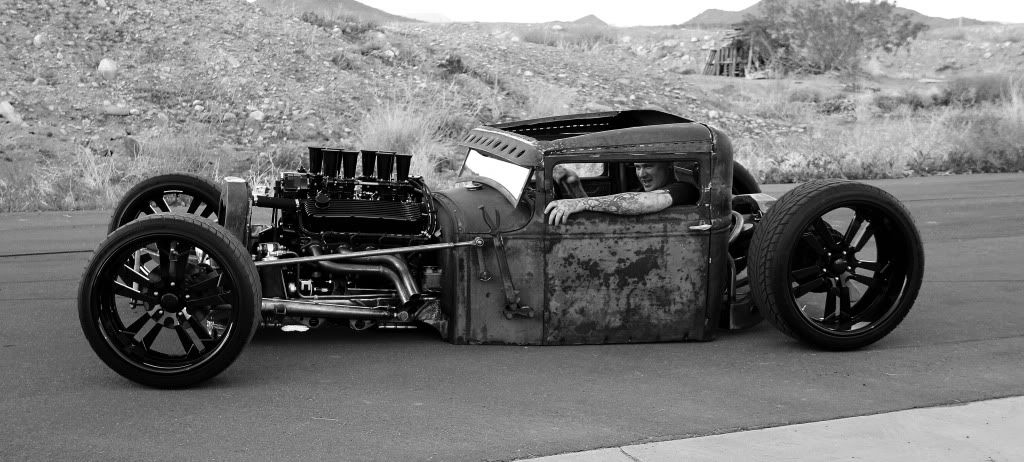
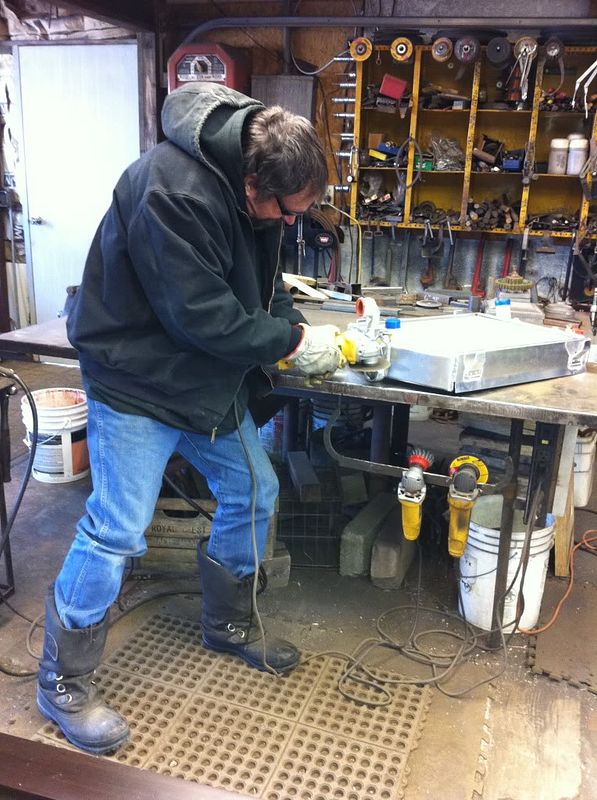
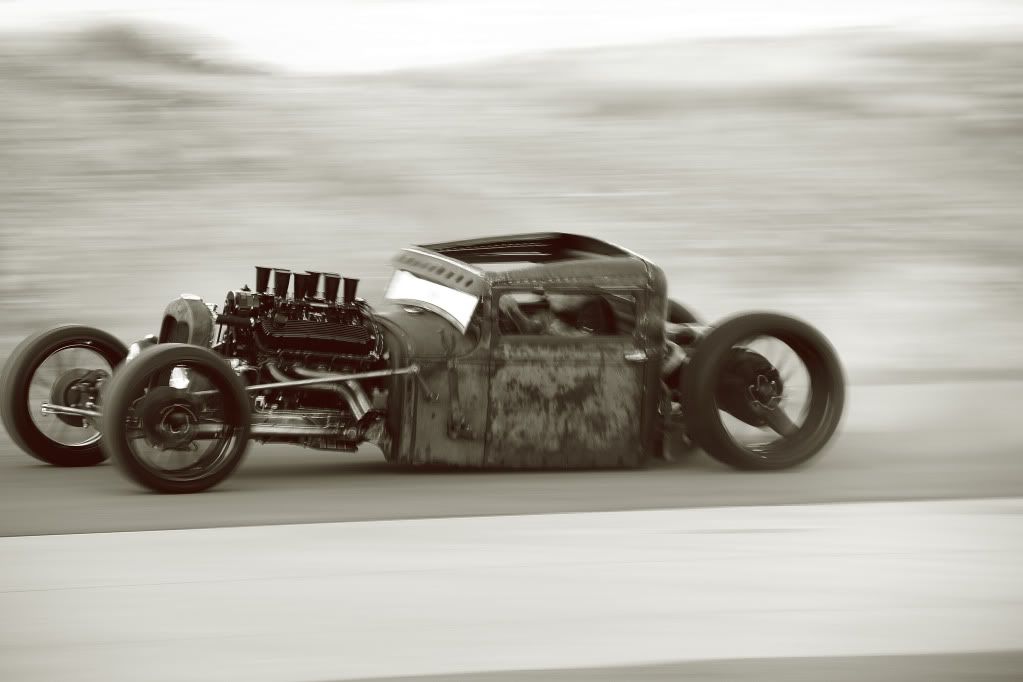
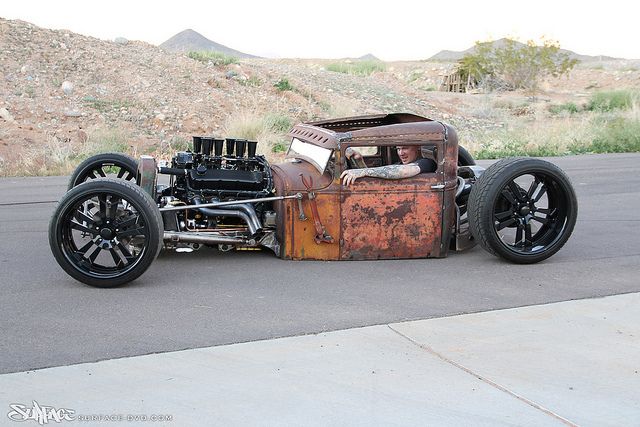
So I introduced myself awhile ago and said I'd start a build thread eventually. I promised a start....however I'm not promising an end. I titled this the Party Rat Study because I fell in love with Mike Partyka's ratrod; "party" from his name and "study" because I'm realizing there is a lot to building a car that has so far in just the beginning phases resulted in hours of planning and studying and learning. So this build will somewhat be a clone of his original idea. I really struggled with using his idea as I like originality but in the end with the effort that is involved I took some advice and am building the car I like. So...all credit to him for the general idea and layout.
 
Last edited:
For those of you not familiar with the Partyka Rat here it is:


1deac0c42cf52507b7acf1de7943562f.jpg
 
I was able to aquire a 30 or 31 Model A hardtop cab for reasonable. I have a driver door but need a passenger door if anyone knows of one available.
 

Attachments

  • 2014-02-15_14-12-35_114.jpg
    2014-02-15_14-12-35_114.jpg
    44.2 KB · Views: 74
To start I purchased a sheet of 1/8" steel from the local steel yard and started cutting the rear arches for the axle/diff to nest up into. This will be air suspension and I want the frame to sit on the ground so I made pretty dramatic arches. I cut them out with my new plasma cutter and a 1/8" ply template but I still had to c clamp them all together and do a lot of grinding to get them all exactly the same.
 

Attachments

  • 2014-03-22_19-08-06_365.jpg
    2014-03-22_19-08-06_365.jpg
    48.6 KB · Views: 57
I found a 3/32" steel cylinder on craigslist for dirt cheap that was used to hold coiled metal of some sort so I sized the top arch to match the drum and then cut the drum and welded it on as the main cross support for the 4 frame arches.
 

Attachments

  • 2014-04-20_14-55-31_306.jpg
    2014-04-20_14-55-31_306.jpg
    45.5 KB · Views: 60
  • 2014-04-20_18-45-17_960.jpg
    2014-04-20_18-45-17_960.jpg
    46 KB · Views: 86
For the bottom crossmember I used 1/4" plate. I figured this needed to be stout as this is where everything will come together. I only have a 110v mig welder so I used all the tricks I know to get good weld penetration into that 1/4" bottom plate. I hope the welds hold. I'm still considering purchasing a bigger welder and stitching those welds up even more. Not sure on that.
 

Attachments

  • 2014-05-12_16-26-02_733.jpg
    2014-05-12_16-26-02_733.jpg
    56.9 KB · Views: 88
Next I connected each pair or frame arches with 1/8" steel strip 2" wide. I cut out some wood blocks on the band saw that matched the curves so I could bend that stripping into shape before welding. It worked very well but was a fair amount of effort to get it to all sit just right. I did this for both the bottom arch and the top arch. You can see in the pic I cut grooves in some 2x4s to hold the frame arches in alignment while doing all this.
 

Attachments

  • 2014-05-05_15-05-10_219.jpg
    2014-05-05_15-05-10_219.jpg
    58.4 KB · Views: 105
After the sides were secure I cut out most of the steel drum to make room for the upper rear crossmember/airtank. I also used 3 different tubing sizes and cut holes through each pair of arch frames and welded the tubing into the holes. This was for looks but also to give the frame more rigidity. You can kinda see it in this pick. I'll post a better pic of those later and the arches all finished. I ground down all the welds and 'polished' them smooth with 3m roloc discs on a die grinder. Super happy with the result of that. I couldn't find that pic so I'll get another one up of that also. I have the rear axle on jackstands in the pic...making sure I liked the results and that everything was fitting right.
 

Attachments

  • 1405211655041.jpg
    1405211655041.jpg
    28.9 KB · Views: 114
Last edited:
While building the arches I bought an 8.8 explorer rear axle with limited slip and disc brakes. For my design I need the pinion in the exact center so I disassembled it and had the long side tube and long side axle shortened at Woody's 4x4 in Vancouver, WA. I had them do it to ensure the axle was completely straight. It was kinda pricey but they seemed to do a good job. They sent the axle off to someplace in Idaho to cut and respline it....that guy did and outstanding job. The new cut splines and retainer clip groove look factory. The diff 'pumkin' is still off center but the pinion will be exactly in the middle when all assembled.
 

Attachments

  • 2014-05-16_15-20-46_680.jpg
    2014-05-16_15-20-46_680.jpg
    51.1 KB · Views: 58
Last edited:
I started this project this past early summer so bringing us up to date I have started building the upper rear crossmember/airtank. This piece with hold the air for the suspension as well as being the main support for the rear arches. Just as the axle tubes will nest up into the arches the differential pumpkin will nest up into this crossmember when the car is on the ground. I welded in 4 threaded bungs. I think I probably only really need two...one for air in and one for air out but I figured now is the time to put them in. I'll probably put a pressure relief valve in one of them. 3 are on one side and the 4th which will probably be the relief valve is on the other side which will be facing away from the cab.
 

Attachments

  • 1418187215895.jpg
    1418187215895.jpg
    34.6 KB · Views: 105
  • 1418187213886.jpg
    1418187213886.jpg
    30.7 KB · Views: 101
Last edited:
The front frame will be boxed and further reinforced model a frame. I found one at the Portland PIR swap meet this past spring. The pic is my good buddy carrying it for me on his bike and trailer. Bikes were a good idea btw if any of you ever go. It was my first time and we would've been dead walking and carrying the stuff we bought...the place was huge.

Edit...that pic won't upload for some reason.
 
That is where I'm at now. I have a new and busy job and 3 young kids plus lots of other projects but I'll keep grinding away on it here and there. Hope some of you will enjoy this and please if I'm screwing something up or you see something I'm missing anywhere along the lines let me know...this is all a first for me. In the meantime I'm looking for a 30-31 model a pickup passenger door and I think...maybe... a buick nailhead or buick 455 for the motor?? Input always welcome....Jeremy.
 
Wow... you have some mad skills, thanks for sharing your jig idea, I have that one stored in my 'to be used soon' memory.... I think you are dead on with a 240V mig... it is important to get penetration on the joints that require strength... I've been there... just fixed part of my 1st build this week where I didn't get solid welds..:eek:.. fortunately it broke free in my driveway! I've put over 5,000 miles on those welds before they broke, it was by the grace of god it happened in my driveway, or else things could have gotten ugly....

I'm tuned into this one![P
 
I'm a fan!

You've got an amazing start & your inspiration has a build thread on RRR as well.

I can't wait to see what you come up with, the rear suspension on this rod is one of my favorite.

-Chaz

Well Between working a Full-Time Job & Tha Ratrod Project, I haven't had time to keep up on this Build thread like I should have...

Here are some more Pictures

IMG_1304.jpg


IMG_1303.jpg


IMG_1297.jpg

Willie Hard @ Work
IMG_1325.jpg

Bonehead Hard @ Work
IMG_1038.jpg


IMG_1302.jpg
 
keep at it.. its looking good... mikes build is very cool, haven't heard/scene him around here in a while...

I would agree with the other.. get yourself a new welder
 
Thanks for the encouragement guys and I appreciate the compliments. Any skills I have are from not knowing another way so just trying to figure it out. I don't presume to know what I'm doing, never built a car before!
I will pursue a new welder...it is something I've been wanting for awhile now anyways.
When Mike's rod went of for sale last year I have to say I was very tempted. Whoever bought it got a sweet ride. I hope to see it in person someday.
 
Cool build 400....

You are on the right track with the welder.....and the jig set up was a great idea....keep on keepin on.... :D
 
Hey Neighbor,
Most impressed with your start. Very artistic, as well as functional. I'll be watching this build. Hope to see it on the street.
 

Latest posts

Back
Top