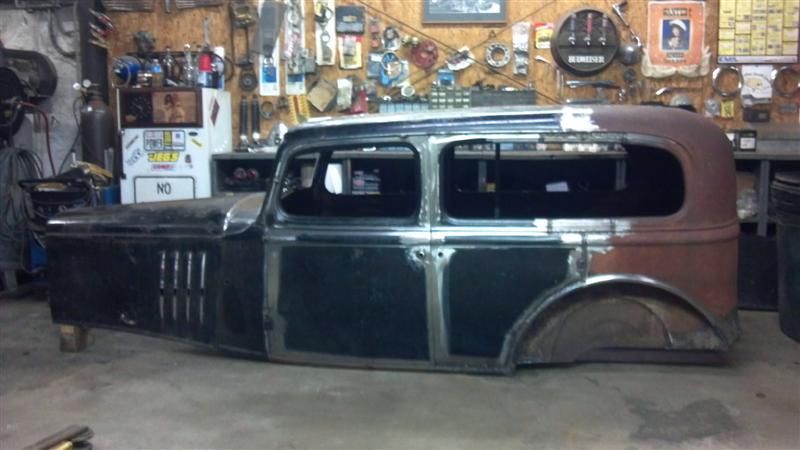
1936 Chevy low cab

Rat Rods Rule

Help Support Rat Rods Rule:

This site may earn a commission from merchant affiliate links, including eBay, Amazon, and others.
You should be able to do all of that in photobucket...

Go to your photobucket account, click on the photo you want to add to your reply (you can also use the tools at the top after clicking on the photo to edit it or rotate it)

then you want to click on the last option shown in the screen shot which copies the link address, paste this into your response to your thread.. BOOM big pictures..


Hope that helps
 
Last edited:
On this one I just right mouse clicked on the pic in Photobucket, clicked on copy image and then right mouse clicked in the post and pasted the pic here.
If you link the pics and for some reason move them in Photobucket to say a different album, won't it break the link and leave a blank spot in all the previous posts where that pic was posted?
55.jpg

I believe you're right! If you move them in photobucket the posts from before will disappear...
It's good to have specific folders for pix of different types in photobucket and place all you post on forums there, then don't change a thing.
 
For my first frame build I have blue prints because I was unsure were to start from scratch. I am not following the blueprints a 100% but It gave me somewhere to start. So its not a frame I thought up but modifying it to fit what I am building. Hopefully after this build I will be more well rounded to come up with my own design.
 
By jove, I do believe you have the pic thing figured out***[cl
Blue prints are just a suggestion as far as it goes with me :D
Good job on the frame [P [P [P
 
Well I scored a ford 9" today for free. well not a 100% free i traded the guy 2 torch gauges and a section of torch rubber for this and a 700r4 tranny with very low millage, just had to help him dig it out of one his barns.
image_56.jpeg
 
Ha Ha will do. I stayed up late last night drawing up a template for the front perch and ended up going in the garage to lay them out and cut them.
image_6.jpeg
 
Alright I am stuck on something. Yesterday my new front spring came in and today I went to put it on and made one side but the other side not close. The old spring was a 31" and the new one is a 31". I know the old doesn't have much of a arch because of weight over the years. Not sure if this makes sense, but I am thinking i need to compress the spring to get the other side on. If anyone has any advice please or tricks please send it my way. I tried using a piece of angle and c clamps to compress it but broke a c clamp.
 
What you're experiencing is the way they are.
When you get it together the shackles will be straight out on each side and when you put a load on the spring they will be around a 45 deg angle.
Mine are batwings and are easier to get the spring on.
Maybe someone else will chime in on how they do theirs.

attachment.php

attachment.php
 

Attachments

  • 77.jpg
    77.jpg
    103.7 KB · Views: 43
  • 84.jpg
    84.jpg
    106 KB · Views: 41
Ok I got you on that. My problem is I got one of the shackles in on one side but the other side is off I can't get the shackle in. Do I need to compress the spring? The one I took off was a 31" eye to eye spring, the one I'm putting on is a 31" spring.
 
I don't know if the others are taking the spring apart hooking the main leaf to the shackle then putting the leafs all back together or what.
A friend uses a bumper style jack on springs with the eyes turned down but you can't do that with the reversed eye springs.
I'm not going to be any help here.
 

Latest posts

Back
Top