36 Ford Bobber Build

Rat Rods Rule

Help Support Rat Rods Rule:

This site may earn a commission from merchant affiliate links, including eBay, Amazon, and others.
You have done a good job with the roof.
The fronts get at least an inch more cut off the A pillars than the rear of the cab does, so it'll have the forward rake.
 
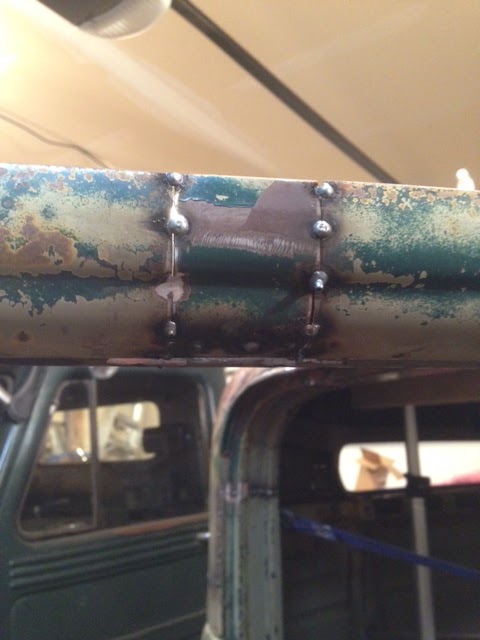
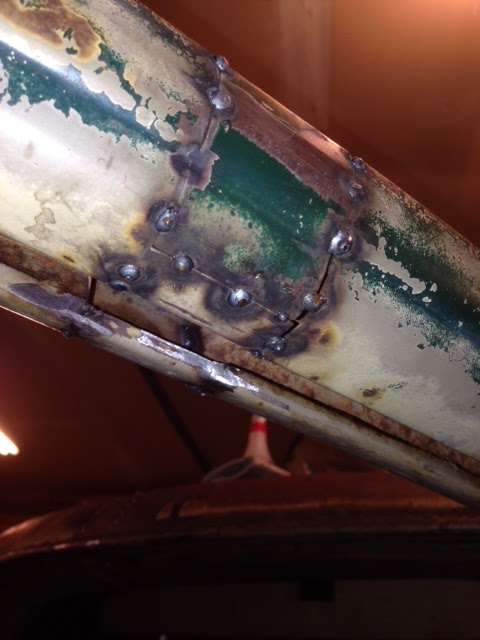
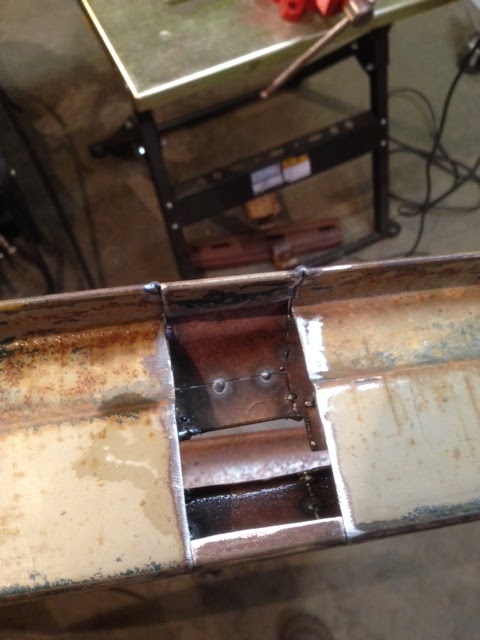
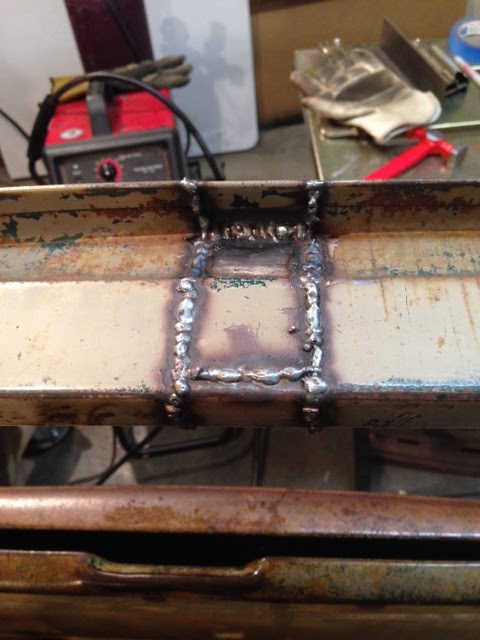
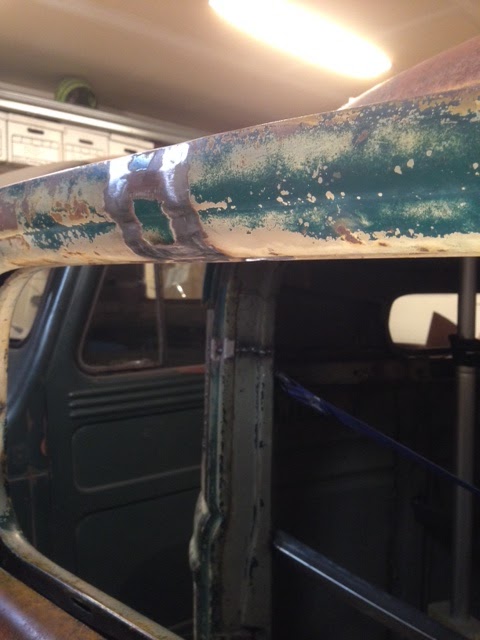
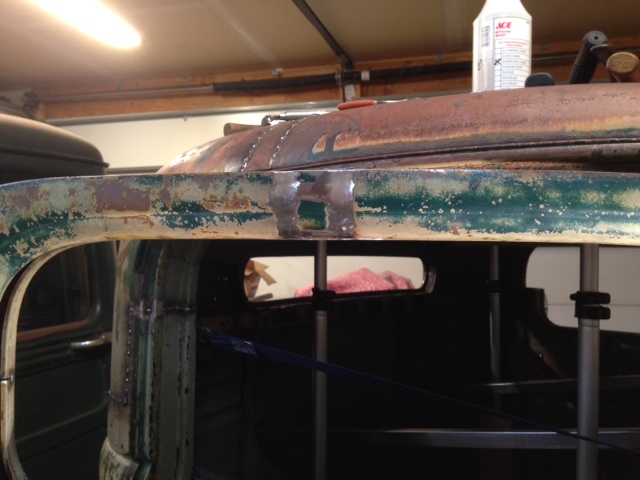
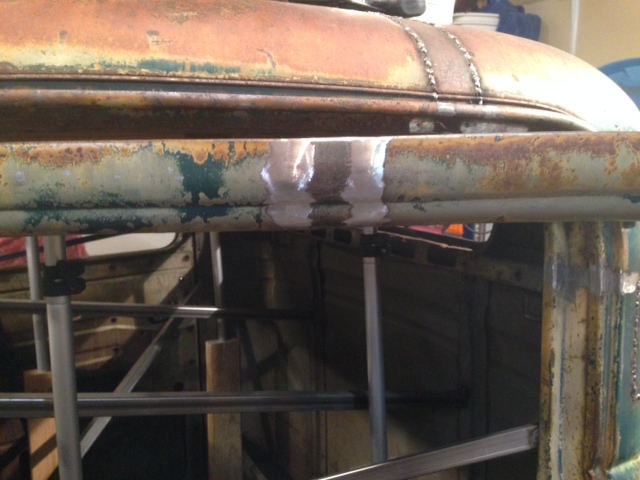
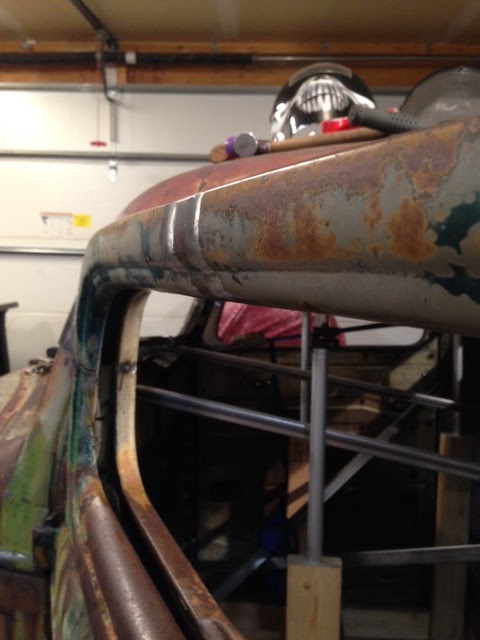
Thanks! Ya, it was a rookie mistake not taking the angle of the pillars into account when I did my layout. I'm pretty sure that I won't forget that next time with the extra work it's going to cause this time LOL.

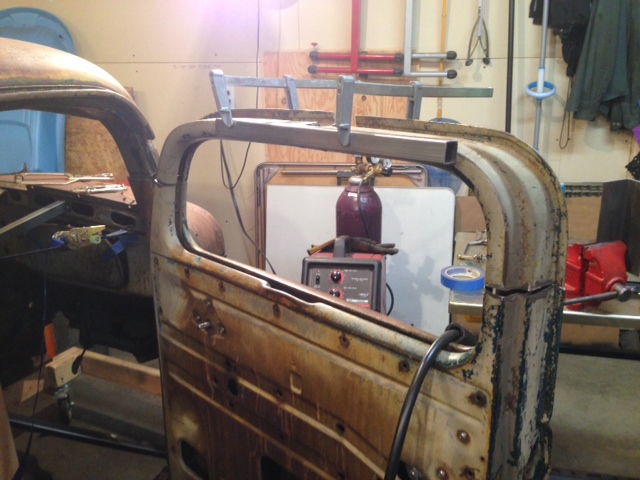
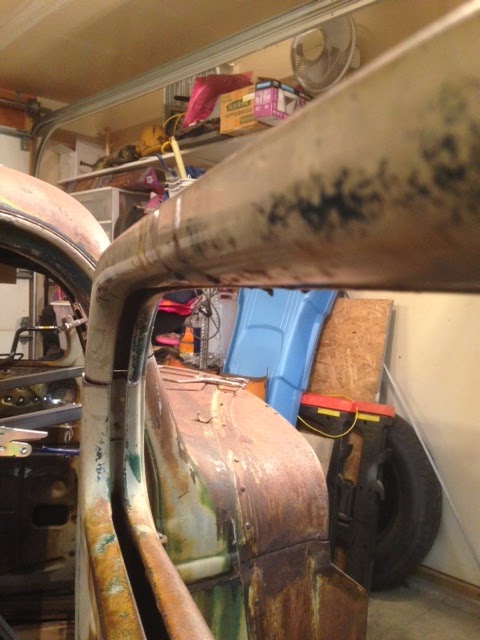
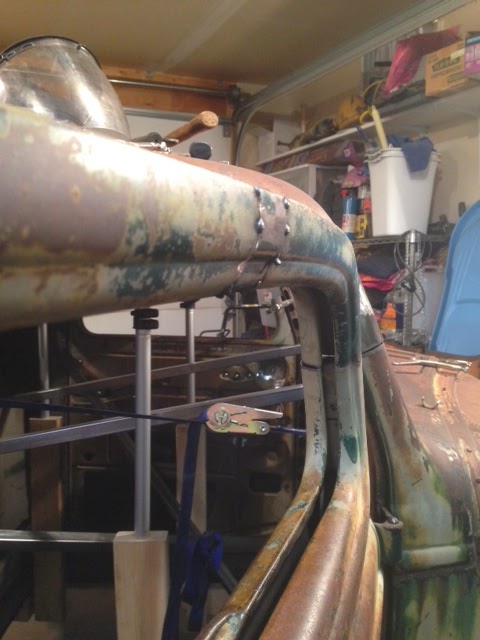
On the advice of my buddy, I'm going to setup my door tops first with minimal tacks, then fit the front of the roof down to them. That way, I will get the window openings looking right from the start since they are what draws the eye the most.

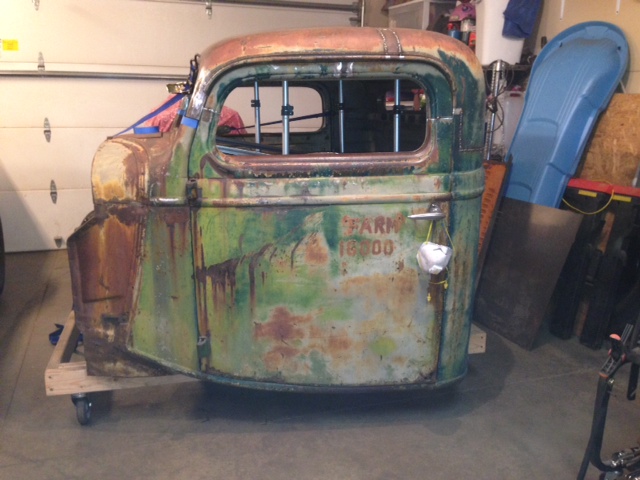
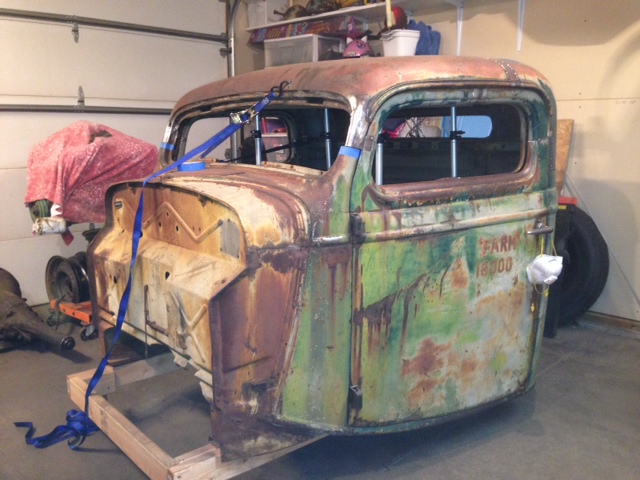
I picked up a louvered hood for it over the weekend. I'm not sure if I want a hood on it or not yet but I'm going to set it up so that I can put it on. That way, the option is there.
 
I started on the doors. I split the passenger side top and clamped and tacked it very loosely to the door (just one tack front and back for now). There will be a lot of work involved in blending those joints so I want it minimally attached for now. I went to do my filler sections with the extra door tops that I got but it turns out that they were both rusted out from the inside. Darn it! Oh well, it is what it is. I checked the sections that I had cut out of the door window frame to see if pieces of them would match up enough that I can piece together a filler section. Turns out that inside profile works from the rear section that I cut out and the outside skin profile lines up with the outside of the front section. The pieces in between will be pretty straight forward to bend up from sheet metal so I think it will work out alright.

chop%2B51.JPG


chop%2B52.JPG


chop%2B54.JPG


chop%2B55.JPG
 
I made some more progress on the filler for the door. There are a few ugly tacks but they'll be ground down anyway;)

chop%2B56.JPG


chop%2B60.JPG


chop%2B58.JPG


chop%2B59.JPG
 
I got the other door top extension done and the door top tacked in place. Now it's on to setting the top down where it should be and finding out if I really have to cut it back apart and redo my filler.

chop%2B68.JPG


chop%2B69.JPG


chop%2B70.JPG


chop%2B71.JPG
 
I cut the A-pillars down last night. There isn't a lot of offset but I think that I will probably cut the roof back apart and redo it just so that it is done right. I think it will bug me if I don't.

chop%2B72.JPG


chop%2B73.JPG
 
I can't see a problem in the pics. But like Ricky Nelson says, "You gotta please yourself". The build is looking first rate, willyD.
 
Thanks for all the kind words! I'm happy with the way the chop is going even if I have to redo a bit. I can't expect to get everything exactly right on my first try!
 
You won't be the first person to cut apart and redo something because you are not happy with it.:)
Looking good and keep hammering at it.
[;) [;) [;) [;) :D [P
Torchie
 
I cut the A-pillars down last night. There isn't a lot of offset but I think that I will probably cut the roof back apart and redo it just so that it is done right. I think it will bug me if I don't.

chop%2B72.JPG


chop%2B73.JPG

If I am reading this right your concern is that your A pillars don't line up?
The big thing to remember when chopping is to make sure that the pinch weld or the area that the windshield fits into stays on the same plain. If the upper portion is at a different angle then the lower portion you will have a PITA getting the glass to seal or if it is a swing out windshield,getting it to fit.
I have seen A pillars that were misaligned like yours fixed with some relief cuts and a little persuasion.
I know that you are not totally happy with what you have done so far but I would take a break. Step back and stare at it for a while before I started to recut.
Just my 2 cents........:)
[P[P[P
Torchie
 
Thanks for the advice. Certainly some sit and stare time is a good thing!

The roof side of the a-pillars is set back by about 3/8" from the cowl part. I can either lean the pillars back on the bottom and forward on the top in order to line them up or re-cut the roof and slide if forward a bit so that it lines up. Either way, I still have relief cuts to make to get the width lined up. I'm leaning towards re-cutting the roof and sliding it forward so that the factory windshield angle is maintained. I think that that is a better way to go in the long run and will help with door alignment and windshield alignment. It is a crank out windshield by the way. I'm not too concerned with the extra time it's going to take as it's all practice and I think that I can improve on what I did the first time anyway. I also have the material on hand so that's not an issue either.
 

Latest posts

Back
Top