My '39 Chevy Pickup Project

Rat Rods Rule

Help Support Rat Rods Rule:

This site may earn a commission from merchant affiliate links, including eBay, Amazon, and others.

cking894

Well-known member
Joined
Jan 22, 2008
Messages
180
Location
Northern California
I have been collecting parts and pieces for about a year now for this build. Last week we mocked up all the parts and we will start the build this week.

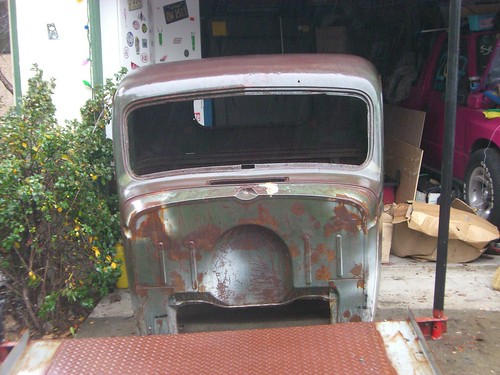
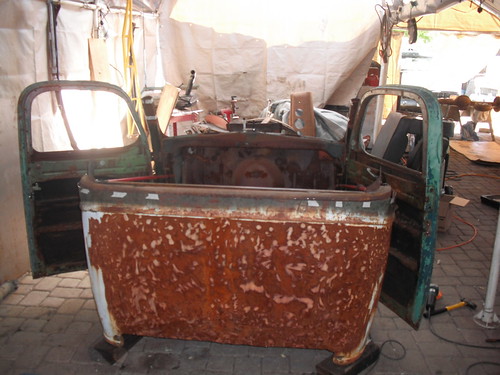
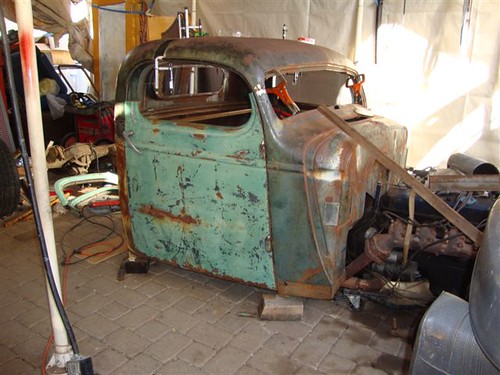
Here is a couple pictures of the cab when I hauled it home.
3174287176_6d32f1786f.jpg


3173458031_0f2f6d08e8.jpg


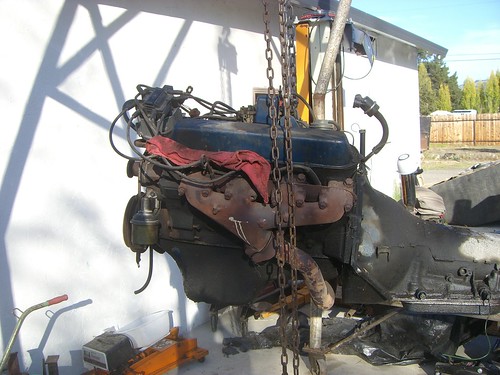
Here is a picture of the Cadillac 500 engine and Turbo 400 transmission I'm using.
3174297710_cb8e5ef6c4.jpg


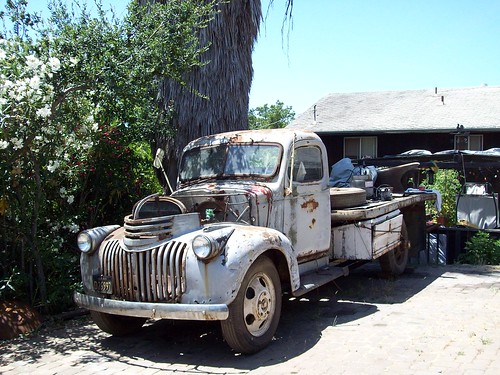
The '41 Chevy that we parted out for all the extra parts I needed.
3923265903_df8d199cc2.jpg


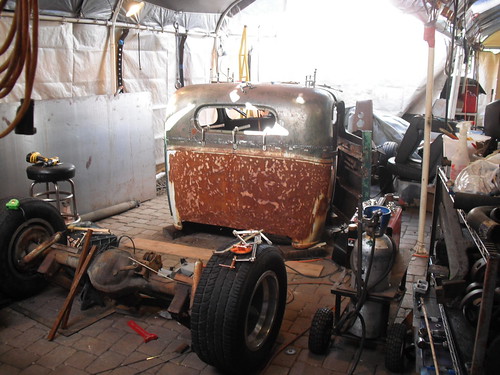
Here it is mocked up with everything in place.

3924062256_b6200120d1.jpg


We are probably going to build the frame tomorrow and start the chop. I've decided on a five inch chop and to take three inches off the bottom of the cab. I will post more pictures as the project comes along.

Keith
 
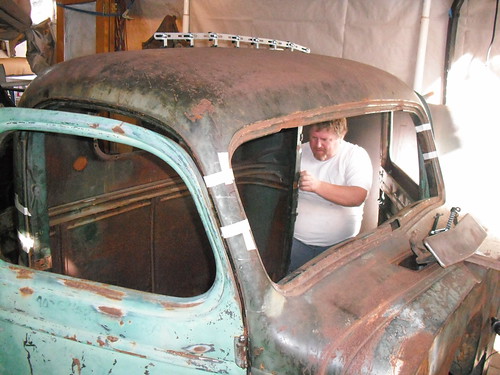
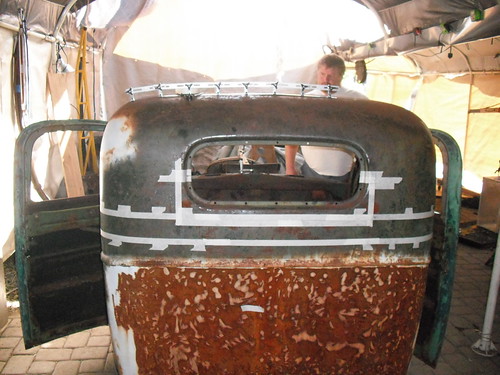
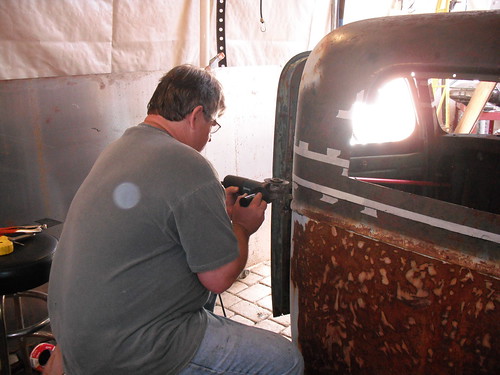
Here are some pictures of our progress today. We ended up chopping the top and got it pretty well figured out. We took five inches off the back and five and a half of the front. We shortened the rear window by two inches.

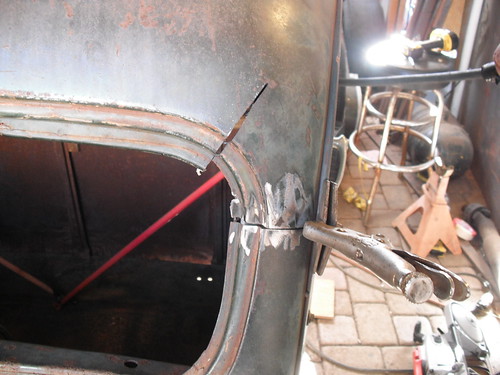
In this first picture the a pillar is marked to cut. We cut to the outside of the two masking tape lines.

3927919454_fd8d697cd8.jpg


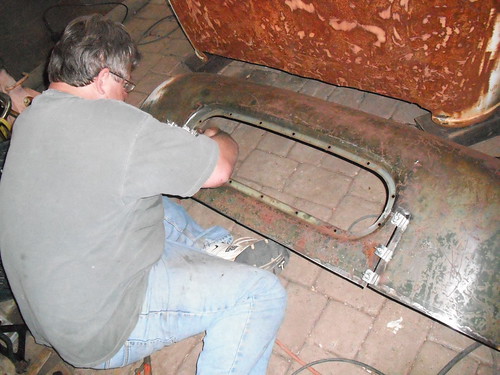
In the second picture we have all the cut lines marked out on the back of the cab.

3927923204_20e439c5f6.jpg


We cut the rear window out first.

3927156033_157457f255.jpg


Here we have the entire top cut off.

3927949500_224db1001f.jpg


Keith
 
We put the back window and the back of the cab together first. You can see in the picture that the window is two inches shorter.

3927182839_c8767f36ed.jpg


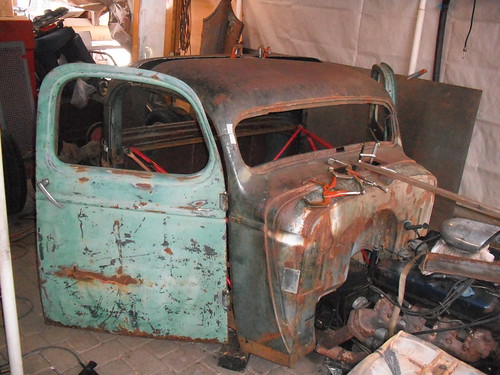
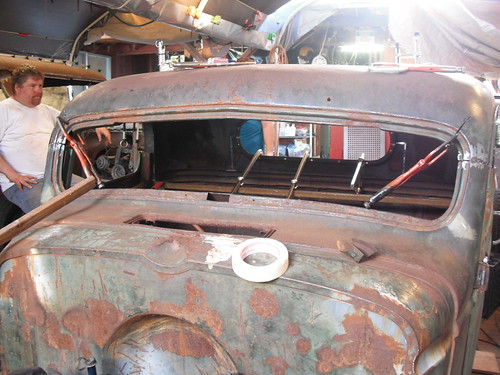
In the next picture you can see how much chop we did with the doors still attached and the tops still on.

3927961706_bd501580e5.jpg


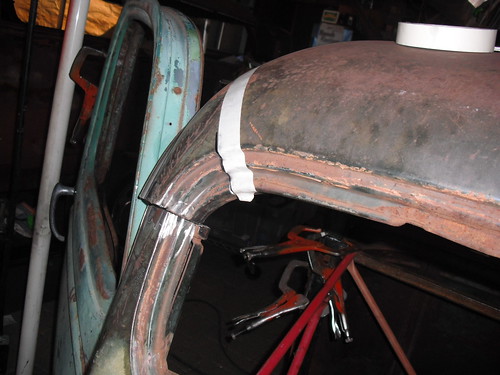
We were able to make one relief cut on the corners just above the windshield to get the top of the cab and a pillars to line up.

3927195007_55b7ca6f7c.jpg


3927985756_b5873a2494.jpg


Keith
 
At the end of the day we had everything chopped and lined up. We will be welding in filler strips across the top of the cab next week and welding up everything else of the cab.

This was what it looked like at the end of the day.

3927209863_d712a78d3f.jpg


3927989636_61f7d09428.jpg


More to come next week.

Keith
 
Folks there you have it the best and easiest way to chop an early chevy. Nice job this post should be saved for those looking to chop an early chevy. Now show us how to do the doors. Ha Ha
 
Nice Job! Gonna be a good looking truck. Keep us posted with the pics, I for one sure appreciate them.:D........CR
 
looks like a solid place to start a project-and i like the tow rig too
sure looked like experts on that chop!:cool:
it makes me want to go out and chop something.......i better just stick to wood for now:rolleyes::D
 
Thanks for the nice comments. We are far from being experts at this. This is only our second chop and the first one really shouldn't count. It was a "32 Ford pickup that we took three inches out of and dropped straight down. There wasn't much thought process involved in it. On this one we spent about five hours measuring and calculating before we even started marking things out. I am super pleased with the results so far. We'll see how it goes next Wednesday.

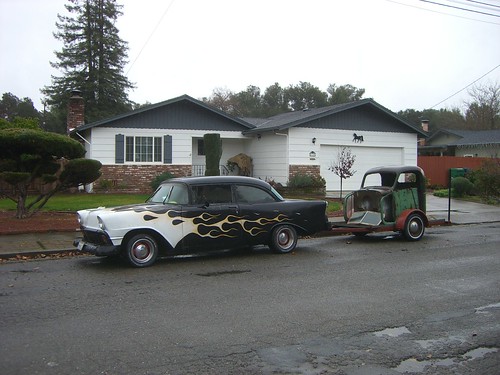
The '56 I have had for twenty-six years. I bought all the paint for it and after we did a campground rattle can flame job on it I couldn't make myself sand them off. That was three and a half years ago. It's a fun driver. I changed out the frame on it when I was young and stupid. I put it on an 1982 Chevy Impala chassis. It handles great and has great brakes.

Keith
 
Here's a picture of the cab from the side. Norman just emailed it to me. I guess I didn't take one from that angle. You get a pretty good idea what the shape is.

3931362312_e34228a270.jpg


Keith
 
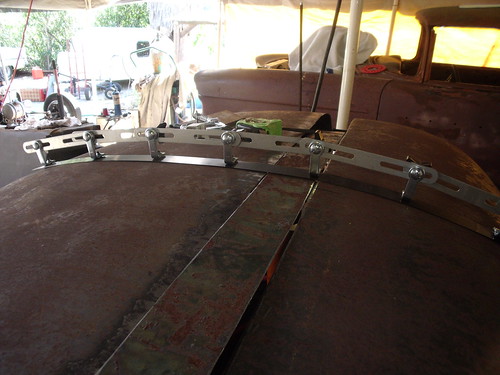
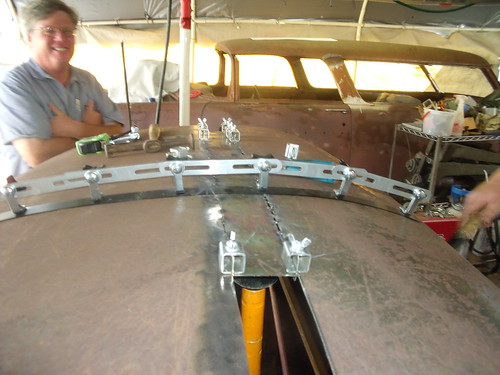
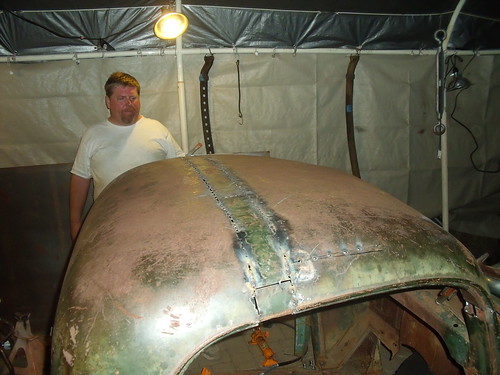
So here is todays progress. We worked on filling the gap in the roof all day. I think we put ten hours in on it. There's a lot more work to it than it looks. We ended up using the metal that we cut out of the back of the cab to fill the roof.

3949789684_44c2e4f5c5.jpg


We used the flexible guide to check the crown at the top of the roof as we went.

3949792176_f347c58c1a.jpg


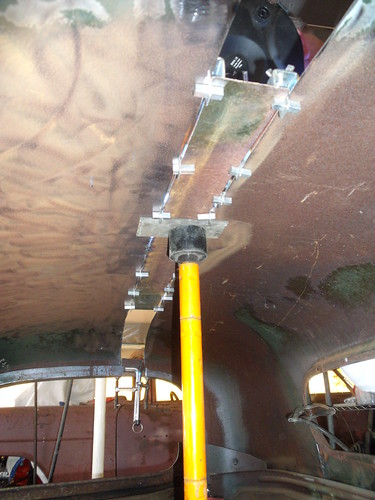
We found that by using the porta power with a small piece of brass on top of it helped us hold the roof in the shape we wanted while we tacked it together. The weld doesn't stick to the brass. We started in the middle and worked our way slowly from side to side until we got to the drip rails.

3949018821_dd1580d377.jpg


3949804658_908fd4cb5e.jpg


This is what it looked like at the end of the day. As you can see in the photo we had to do one relief cut on each side to match up the front of the cab. Now we have a lot of welding to do to finish it up.

3949811850_579dd699a5.jpg


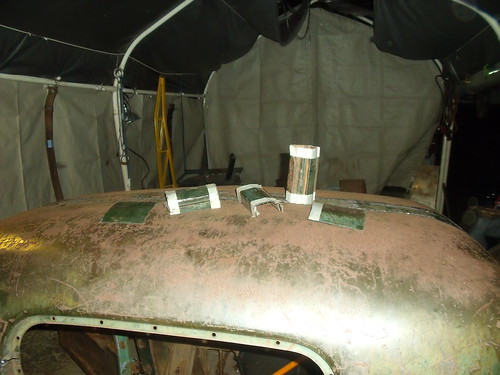
The five piece of metal are all that was left after we finished the chop. We used just about everything.

Keith
 
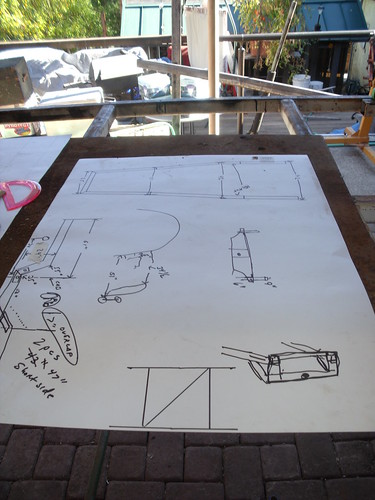
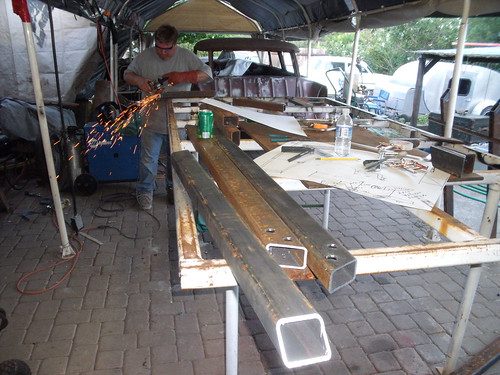
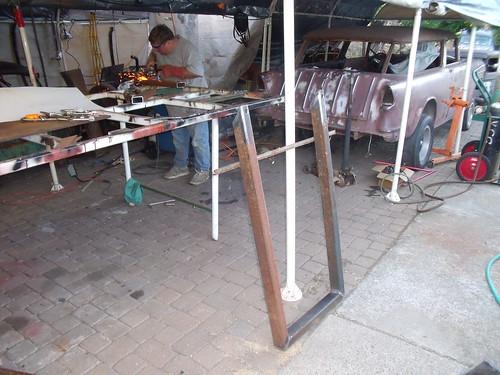
Well we busted our butts today and got the frame cut out and welded up. We started out buy measuring out everything in place and making a drawing of how we wanted the frame to come out. Here is everything in place.

3973342881_8a043cbf77.jpg


3973346075_b93f04ae35.jpg


3973354533_8b7d7a6574.jpg


3974124566_d1fa928bbe.jpg


3974137368_bc764b9e15.jpg


Keith
 

Latest posts

Back
Top