1931 Chevy 4door into pickup.

Rat Rods Rule

Help Support Rat Rods Rule:

This site may earn a commission from merchant affiliate links, including eBay, Amazon, and others.
Got more accomplished this morning, or if you're like me and work the night shift, afternoon. Got my driver's side door jam buttoned up. You can now see what I meant by coming down and going back up to make where my door seal will go. Well, it'll go against it. I'll put the seal on the door itself because I can. I'm almost thinking of doing it like a scraper seal that you'd see on the outside of the windows. Anyhow, here's a couple pictures for you guys to gawk at.


Tomorrow I'll start on the passenger side door, then door jamb, and eventually the windshield. Because Chevys had roll up windshields I'm going to just build a solid frame to go around it and glue in a windshield. It should work out.
 
So I've taken the last few days off from building cause I needed a small break and because it's just been too hot for me. So today I got up early to go out to the shop to start on the passenger side door jamb and low and behold my hood won't darken. So I changed out the lenses thinking there might be too much pitting for it to make any changes and still nothing. Either it's the non replaceable battery or something inside the cartridge broke. So it looks like I'm buying a new hood sooner than anticipated. Now the dilemma for me; do I buy another "el cheapo" hood so I can get back to work or do I save up and finally get the nice miller hood I've been wanting? Decisions, decisions...
 
I only use 3 or 4 spools of wire a year. The cheap Hobart hood is good enough for the amount of welding I do.

Are you going to sheet the entire inside of your car? Tough job but it looks great.
 
I do a lot of welding Bob and that's why I'm tempted to buy a better hood. Decided to get a cheap one until I can buy a good one. Then I'll take the cheap one to work so I don't have to use the shop's hoods. Plan is to sheet most of the inside. I'm going to make the center section removable and it'll double as my switch panel.
 
Looking great endicott.[cl
I used to use the cheap hoods but got tired of replacing them so I went with an upgrade. Been using it for over 3 years with out an issue. I keep the old cheap one around for when I am grinding.
I worked nights for almost 30 years. Always interesting when you are opposite the rest of the people.
[;) [;) [;)
Torchie
 
It is a hard decision on a hood! The really good ones are pretty darn spendy! I hadn't been doing enough welding to get a higher end hood so I ended up getting a SavePhace one. It's sort of a lower mid range price but, overall, I've been pretty happy with it. It's already last way longer than the cheep one I started with which only last about a year and it was only used a couple of times! It'll be a great back up if I ever get a better one.
 
I used to use a Harbor freight $50 hood and that one lasted me 3 years. I decided on my last ratrod to upgrade to a "better" hood and took the harbor freight one to work but dropped it and the thing shattered. The "better" hood took a dive today. Guess ill keep it around for grinding. So today I splurged and got the "professional" metal man hood with a replaceable battery. We'll see how long it lasts. Hopefully longer than a year or two. Ran out of wire and it's starting to get too hot to weld so I'm packing it in for the day and going to veg out inside where it's cooler.
 
Looking great endicott.[cl
I used to use the cheap hoods but got tired of replacing them so I went with an upgrade. Been using it for over 3 years with out an issue. I keep the old cheap one around for when I am grinding.
I worked nights for almost 30 years. Always interesting when you are opposite the rest of the people.
[;) [;) [;)
Torchie

Thanks torchie. Yeah, it is different working opposite schedules. Even more different when your weekends are not Saturday and Sunday. I've been working the graveyard for 2 years now and it's starting to get old but if it weren't for the guys I work with and the pay I would have packed up a long time ago.
 
Looks great to me....

Yeah...Welding and hot weather don't mix well in a confined area....but does look good man....[cl
 
I just went through the welding helmet thing myself a few months back. My expensive helmet decided to die and I was on the fence between a high end helmet or a more economical one. I did some research and read reviews and one of the economical helmets that you can find on eBay and Amazon ranked very high in all the tests and was often above helmets that were 4 times or more expensive (it also has replaceable batteries) this is what I opted for and I have been very impressed with it this far. The viewing area is also far larger than my old $250 dollar helmet.

Let me dig up the info on it...

Antra AH6-260 or it might be the 660. Viewing size is the difference ...

I will throw in that I have used the harbor freight helmet in the past at work and I never liked that helmet. This helmets sensitivity is great and it goes to a #13 ... My only complaint is I can't seem to get the helmet adjusted to that nice point where it will stay up until I want it to come down...

The other comment is it is a Chinese made helmet, but from my research most even the popular name brand ones the lenses are manufactured overseas

Just my opinion/recent experience ... Good luck
 
Last edited:
New hood, check. New spool of wire, check. Gas in the tank, check. Plenty of 18 ga, check. Looks like I'm back in business.
Today I got started on the passenger side door and door jamb. I can't really say I got a lot accomplished but I got stuff done. Top portion of the door jamb is almost done. After measuring I did my cuts and it fit well but for whatever reason, it was a bit tight so I ground off a bit of the front top portion and now the top piece is a little short so looks like I'm gonna have to make a filler piece. No big deal, it's only metal and I can weld. Here's a couple of pictures.

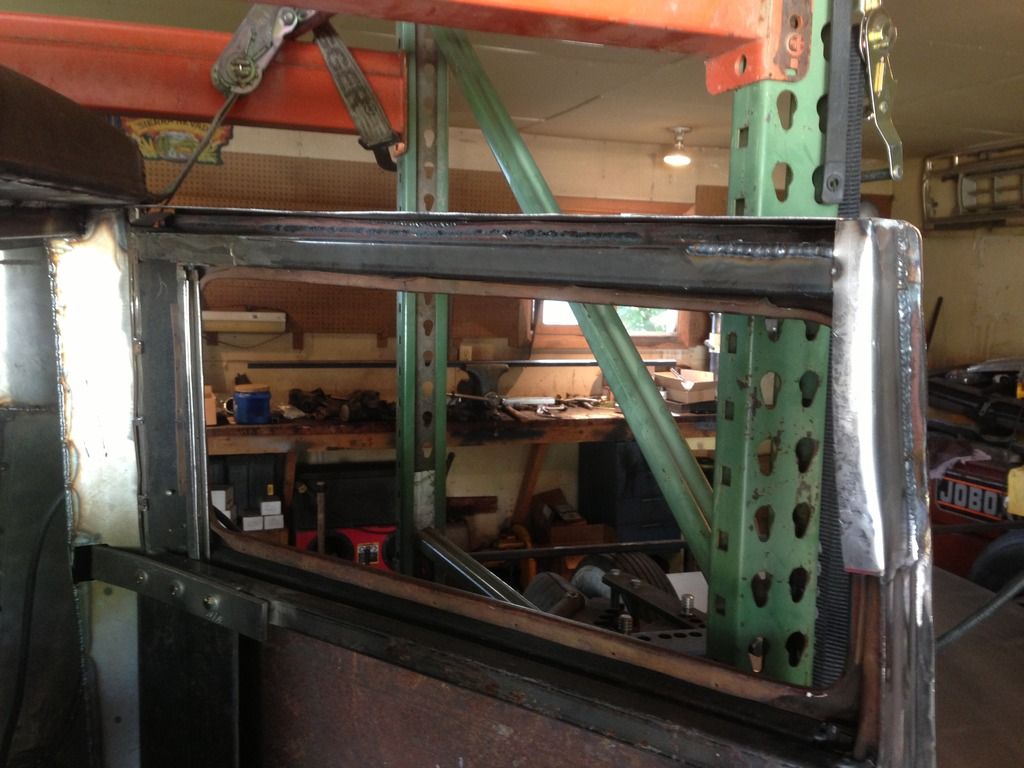
Door fitment. Center section needs to come up a bit so I'll try beating it up after I get the rest of it done. Probably going to need a slide hammer.


Inside of the door jamb on the door.


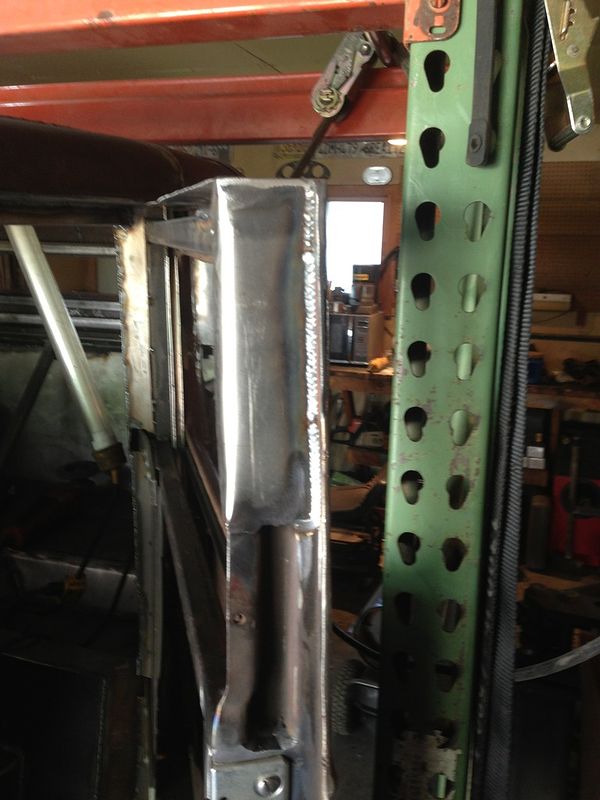
The folded over bit needs to be cut off but it gave me a rough idea of what it should look like.


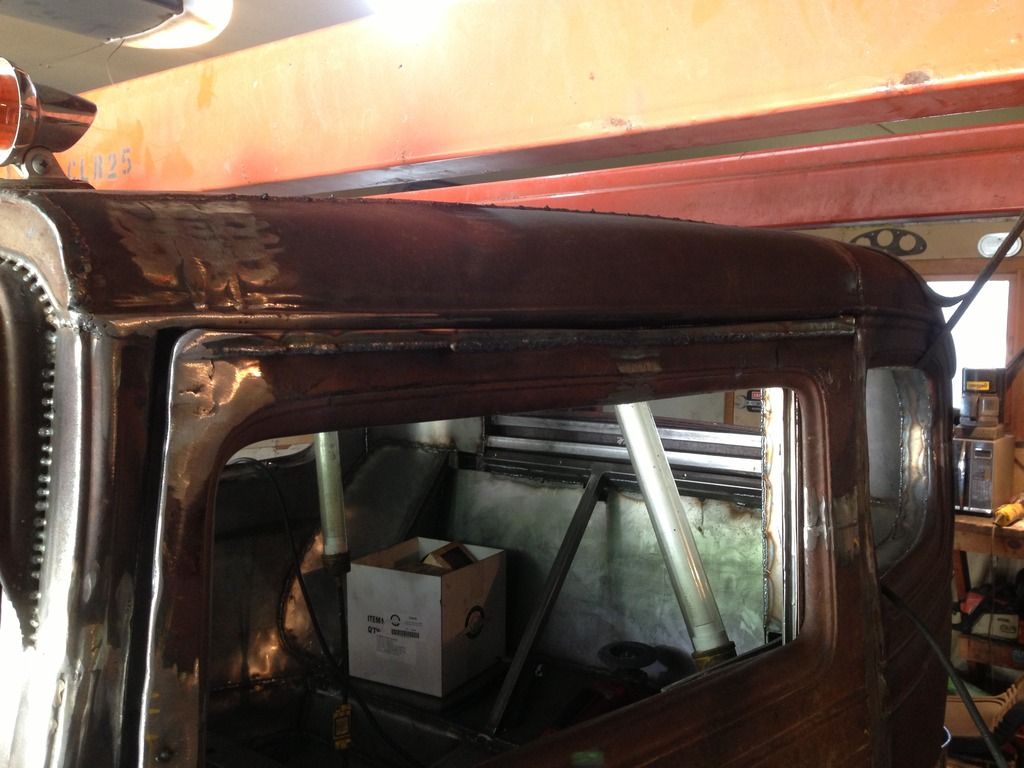
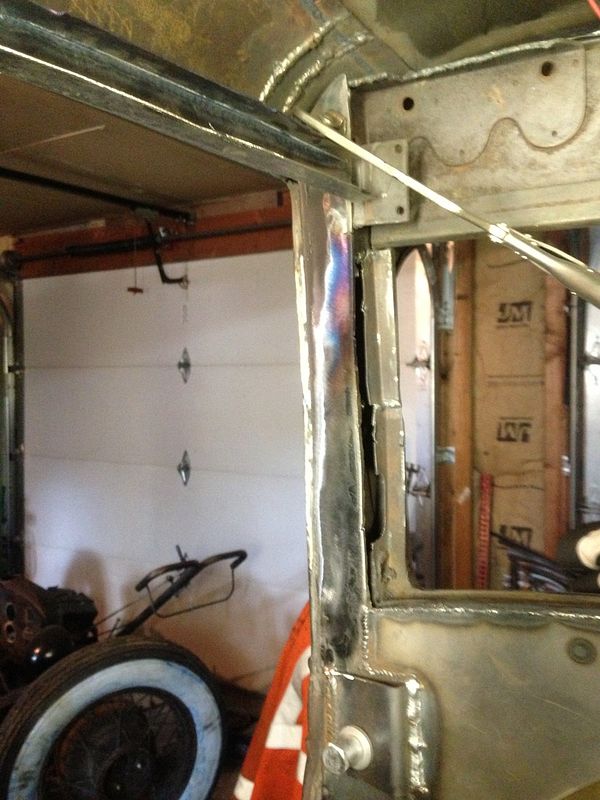
Top of the jamb where the door butts up to the roof.


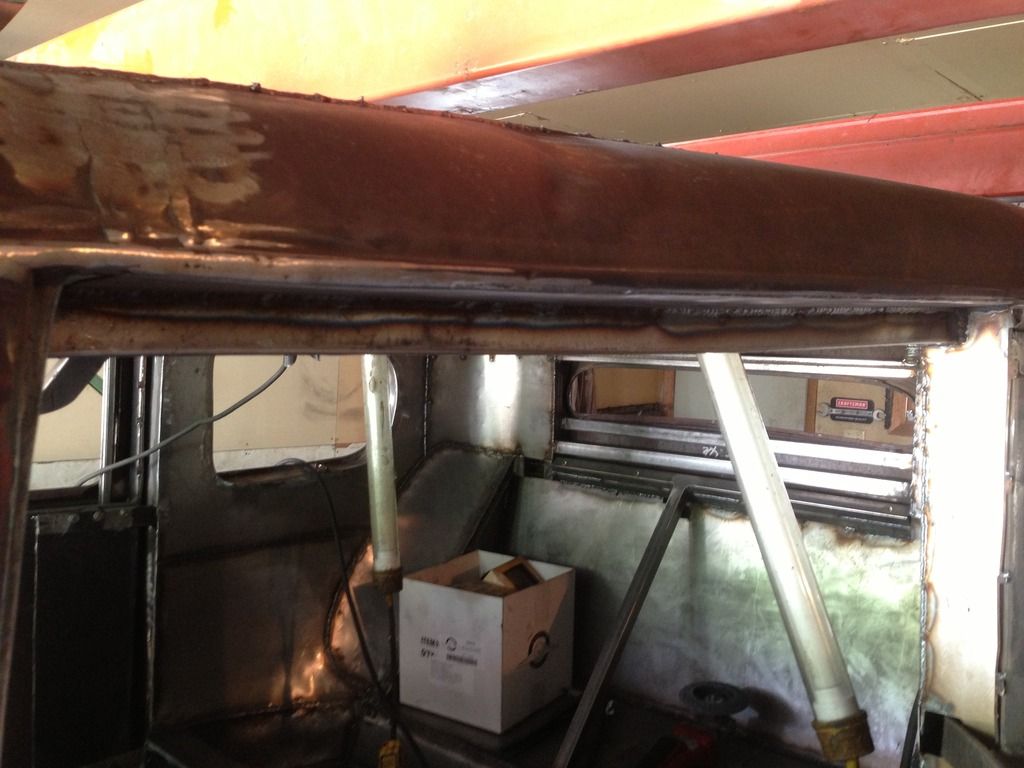
And where I had to grind down the existing jamb and reweld it.


Getting a bit warm out and only gonna get hotter today. May take the 33 out for a spin haven't gotten to since the last show and because there's another one, local thank god, I wanna make sure everything is in order still.
 
Wow, I let myself get quite a few pages back. Anyhow, got back from a car show out in Missoula, it was nice to meet you Marty, talked to a guy about his 31 Chevy and how he installed a pop out windshield so thought what the hell, I'll try it. So today I finished up the passenger side door jamb and started on the windshield opening. Took a lot longer than I anticipated but it's looking good. All I have to do now is make a few patch panels to fit in where the roof meets the front and grind down all the welds. Then I can start either making the Model A frame I have fit or make my own. Haven't decided which will be the best way to go about it. Might have to make a small lip on the bottom of the opening to allow the frame to seal up also but we'll see when I get to that point. Anyhow, here are some pictures.


I'm thinking that when I get to making a frame, if I decide to go that route, I'll make it in 16 or 14 ga. 18 ga just seams like it would be too flimsy unless I were to double it up and then the frame might be too big to see out of.
 
Okay, so today I finished up the windshield area. Made it to where if I want, I can go either glue in windshield or pop out. I'll have to see how the frame, when I build it sits and if it blocks out too much visibility. After I got done with that, I started sheeting the back of the cab again. Sometimes I really wish I had an English wheel, planishing hammer, or even a metal roller. Either way, she's in and welded. Next up are the sides and corners. I know for sure the corners are going to be a b!+<h. But once that's all done, the body will be done aside from the bolt in panel where I'm going to be mounting most of my switches.


Until tomorrow...
 
So, I tried hand forming some sheet metal for the back corners by using some pieces of a propane tank and a dead blow hammer to no avail so it looks like I'm finally going to break down and buy an English wheel. I know it's gonna be one of those tools that I only use on occasion but if I keep building these types of cars, I know I'll be glad I have it. The issue is, I can't decide if I want to order that and then after order a tubing flare to do my brake and fuel lines or gets the wheel and be done with the interior. Decisions, decisions.
 
So, more time than money these days so I decided that since I already had the back piece of a model t, a, who knows what, I'd use the top corners of it to make my corner pieces. Only finished one side so far but it's turning out pretty nice.

Here's the rear piece of who knows what.


And drivers side finished up.


Tomorrow I'll do the passengers side and if I have time I'll work on the rear window opening. I really like how it's all coming together.
 
Got the passenger side all welded up today. Turned out better than the drivers side but that's how it seams to go with my builds. As much as I try to make both sides match, one always turns out a little different. All that's left now is to fill in the rear window opening and build my switch panel in the roof. That will be bolt in as I want install to be somewhat easy.


I dunno if anyone is following along anymore but I'm slowly making progress. Got most of the interior sheeted and only a little bit left to go. Little things like grind down the welds around the windows and to build the switch panel on the roof. I'm thinking about making it big enough to put in a radio in the future if I ever decide to. So tomorrow I'll grind down the welds. Today though, I'm beat and it's getting a little warm. So until then, later y'all.


We're still following along and you're doing good. Sometimes I hold off till the latest project part gets done and comment on the finished part. You got your ideas of what to do and I enjoy watching. Sorry for not commenting more...
 

Latest posts

Back
Top