rockb1
Built For Speed!
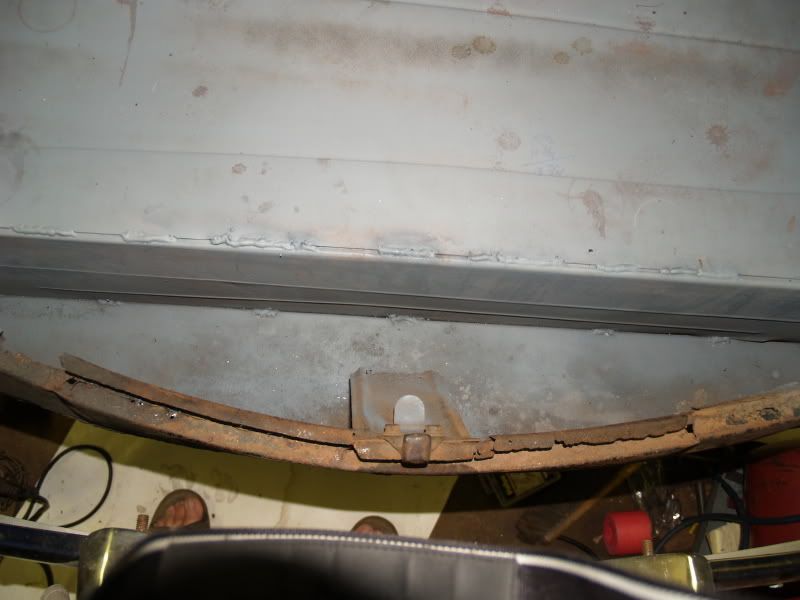
Now thats a great way to make some lights! You just gave me an idea.


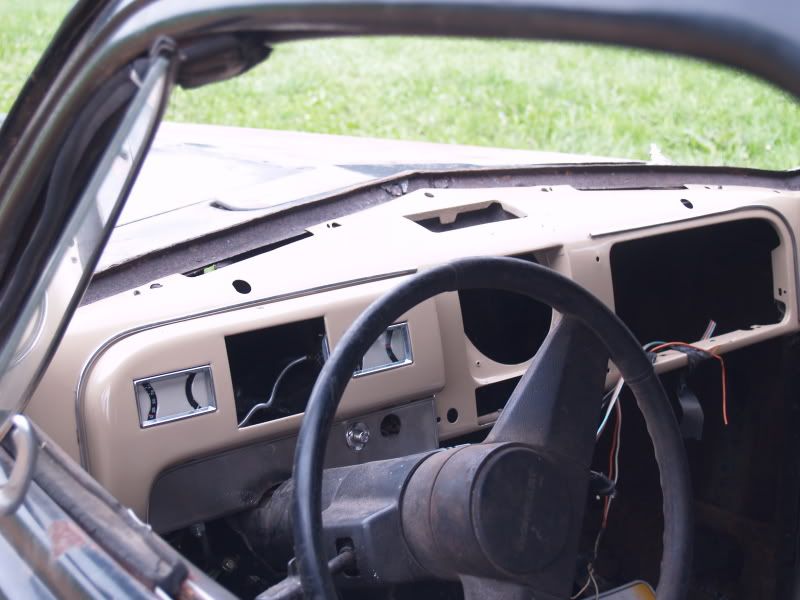 Perley
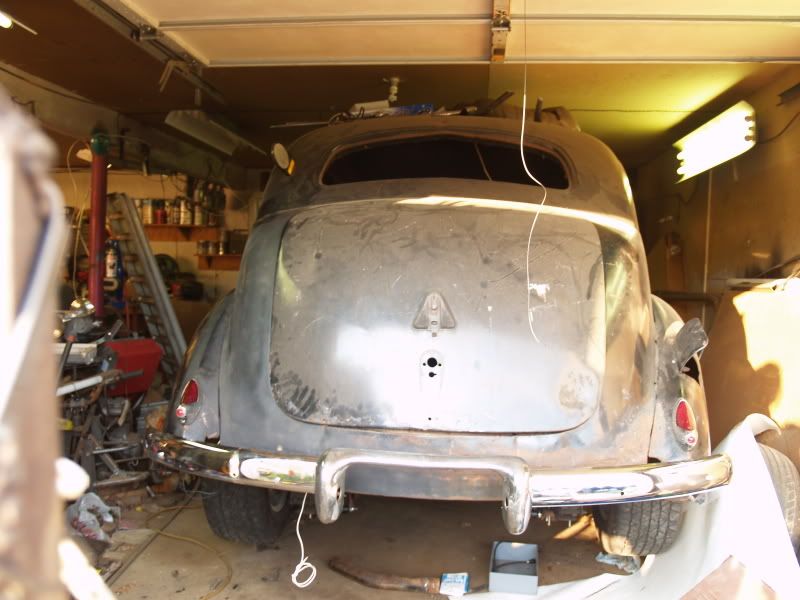
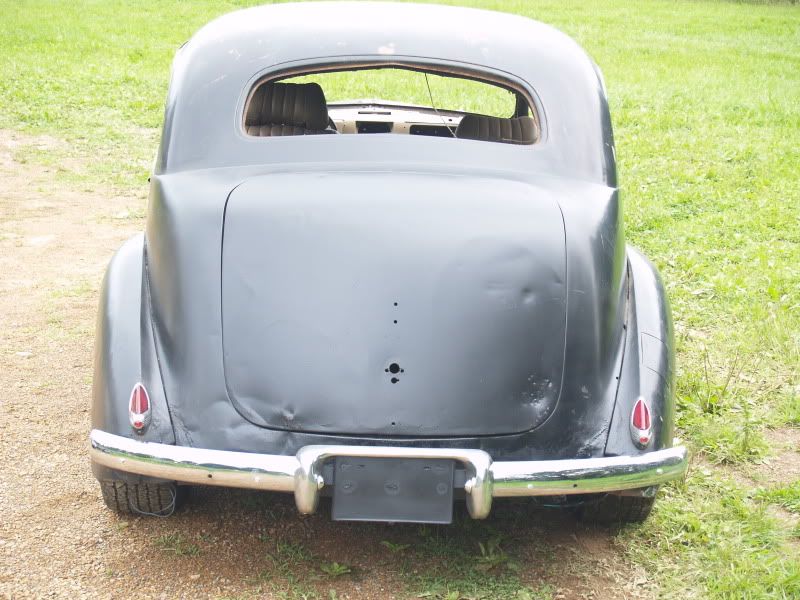
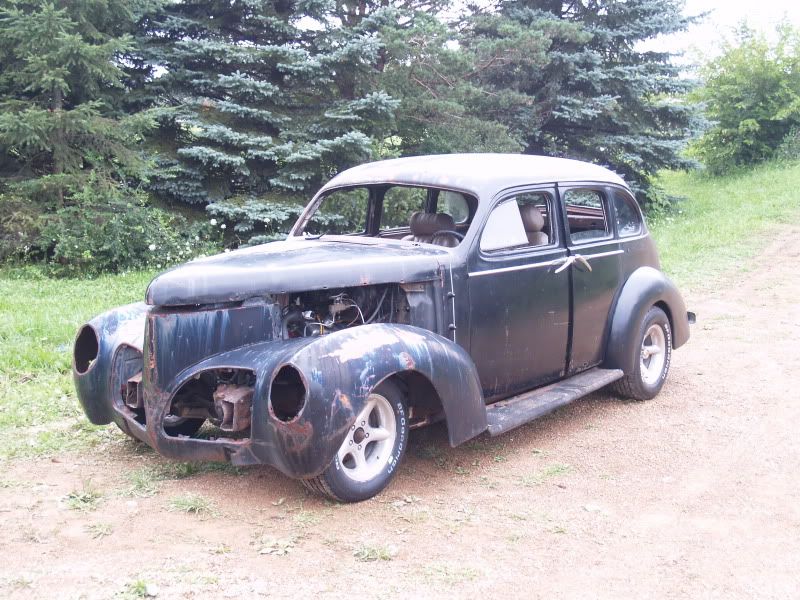
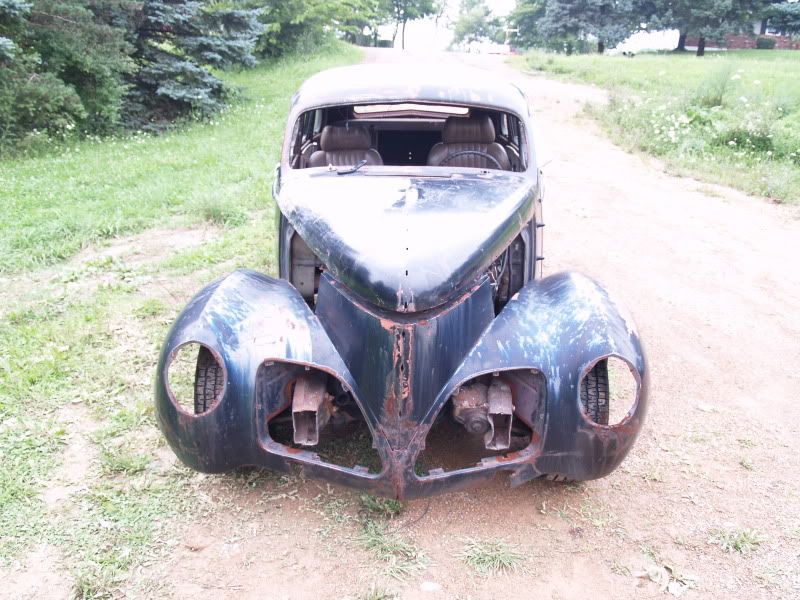
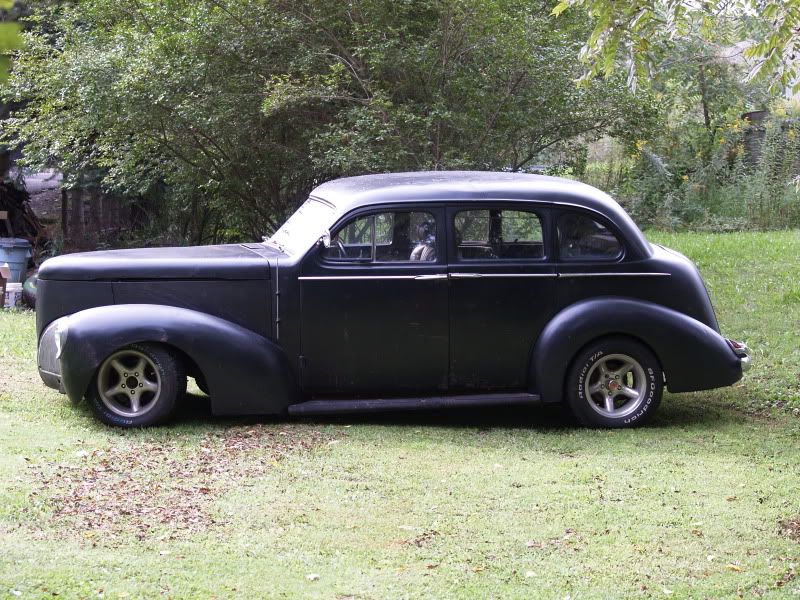
Geez, those front wheels are hiding a bit deep in there, looks alright though. I was going to do a similar thing to the taillights of my 69 Chrysler Valiant, but i got sick of the car and sold it.
Keep progressing man, it will be totally worth it in the end!

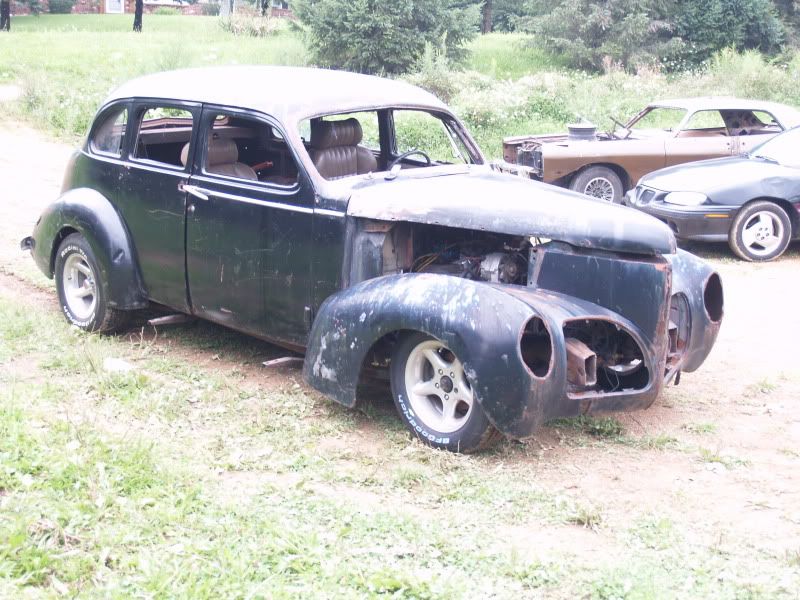
I just got some 1 1/2" billet spacers for the rear of mine from this place, worked out great....
http://www.ezaccessory.com/Wheel_Adapters_s/25.htm?gclid=CIalioummZwCFQ_xDAod10c_dQ
$70, showed up right away, good quality.
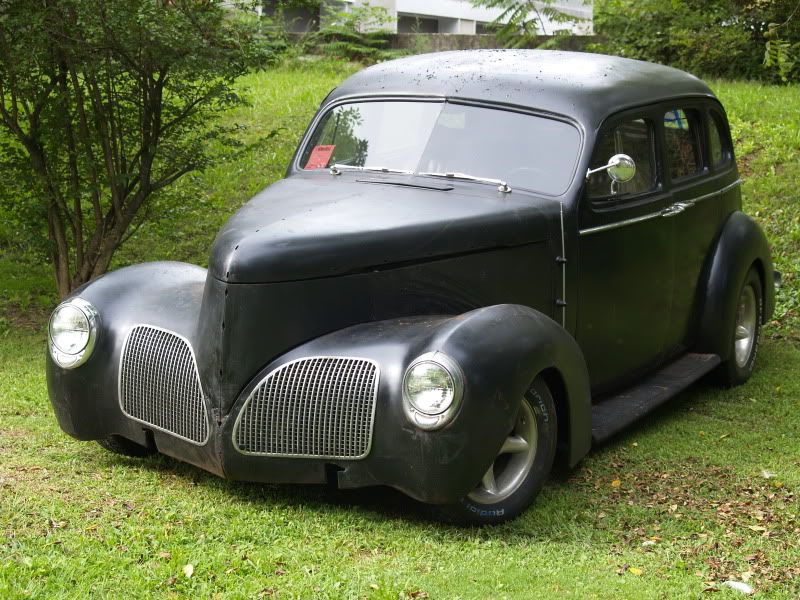
Looks good...you made the right choice with the s10, camaro prolly been too wide and you'd have to trim the fenders to keep the tires from rubbin.
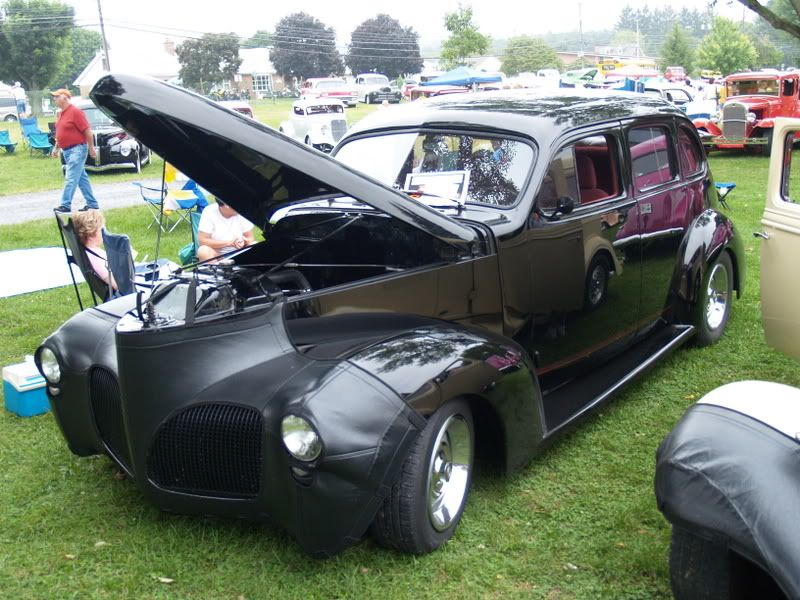

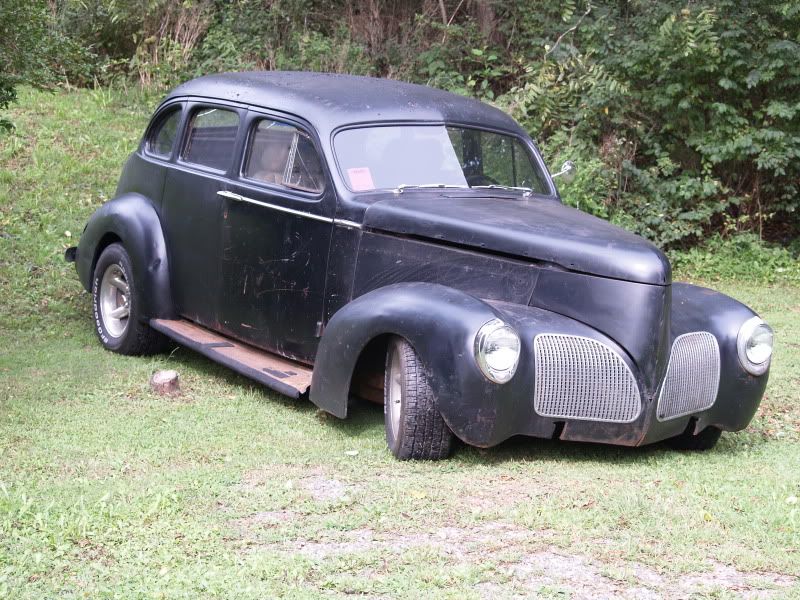
It's nice to see it out and about at the end of a project thread. Congrats.
Enter your email address to join: