51 Merc Monarch Build

Rat Rods Rule

Help Support Rat Rods Rule:

This site may earn a commission from merchant affiliate links, including eBay, Amazon, and others.

hoitink

Well-known member
Joined
Jan 28, 2008
Messages
204
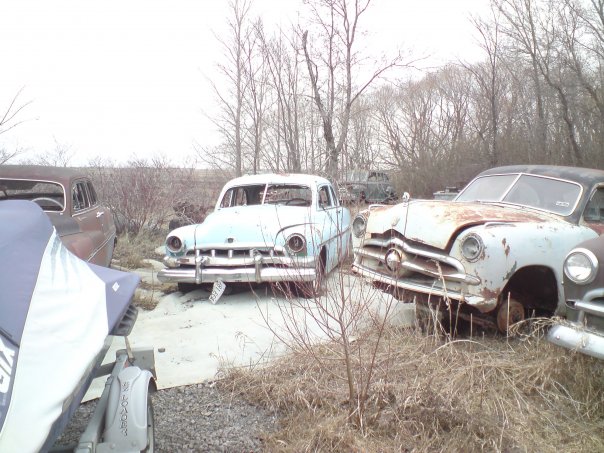
We guys time for another build been a few months. This time it's for my better half. I did some work for a friend and got a 51 Merc in trade, and she claimed it her's. So it's been on the back burner for to long.
The plan is to make a nice reliable driver for her to cruise in so a chassis swap was in order and a 86 Parisienne was used as a donor.

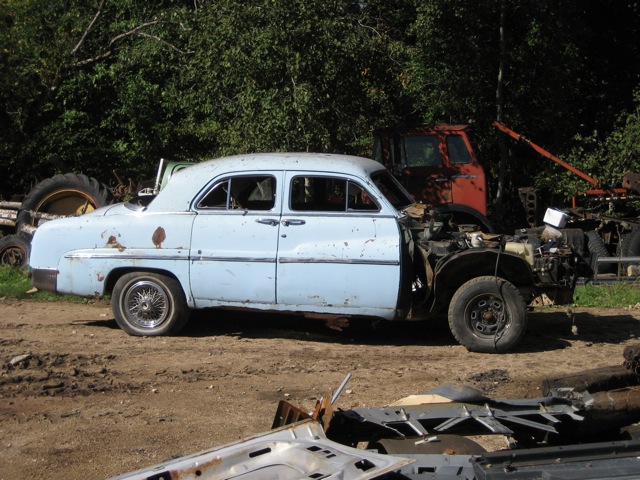
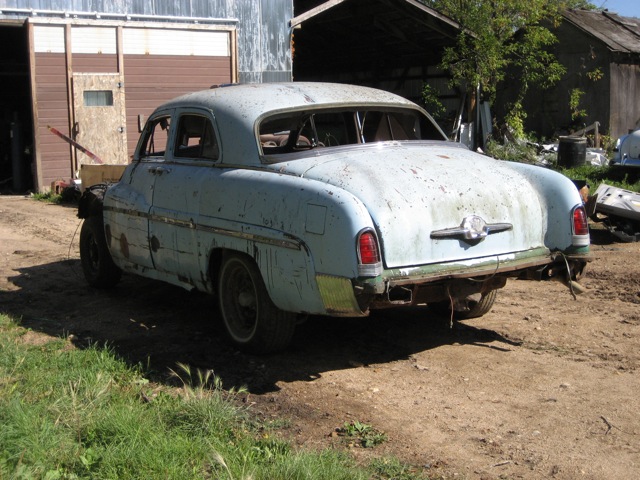
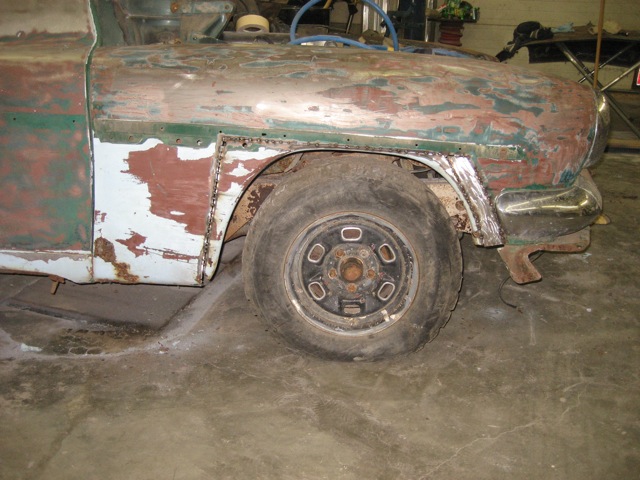
The day we picked it up.
merc.jpg


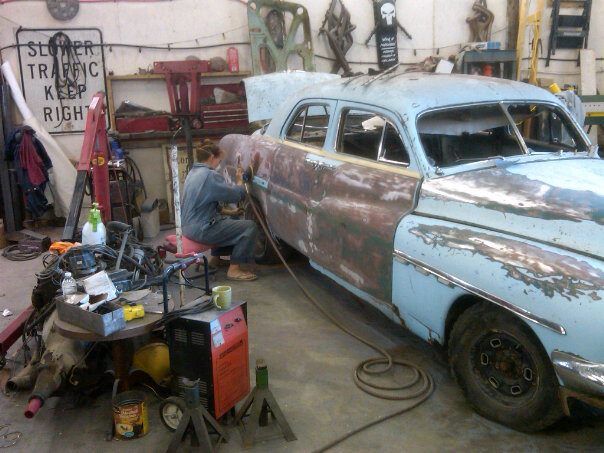
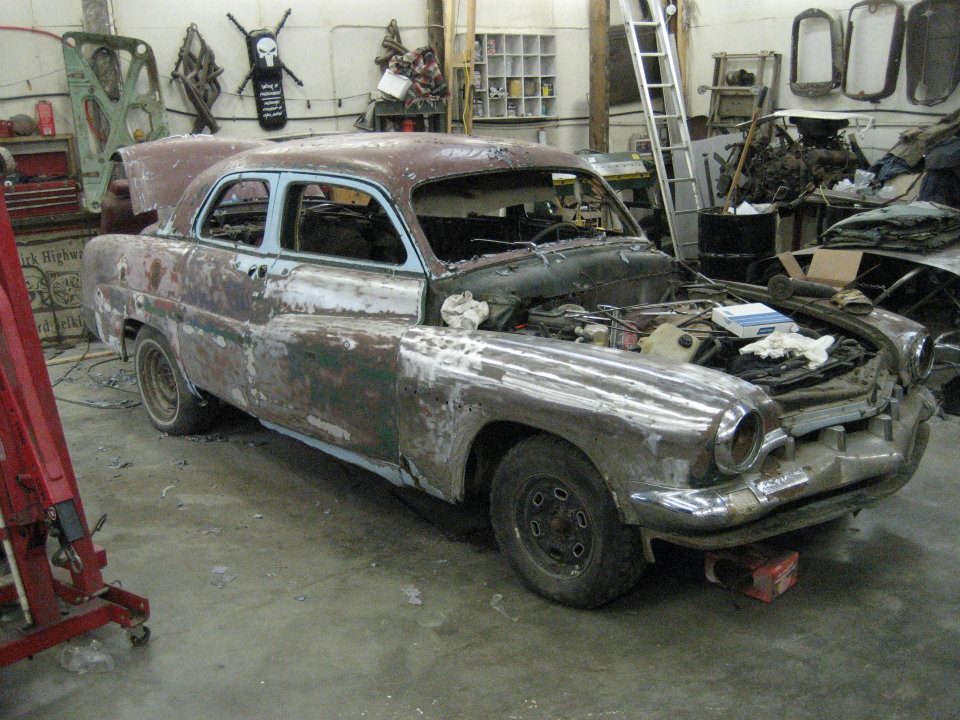
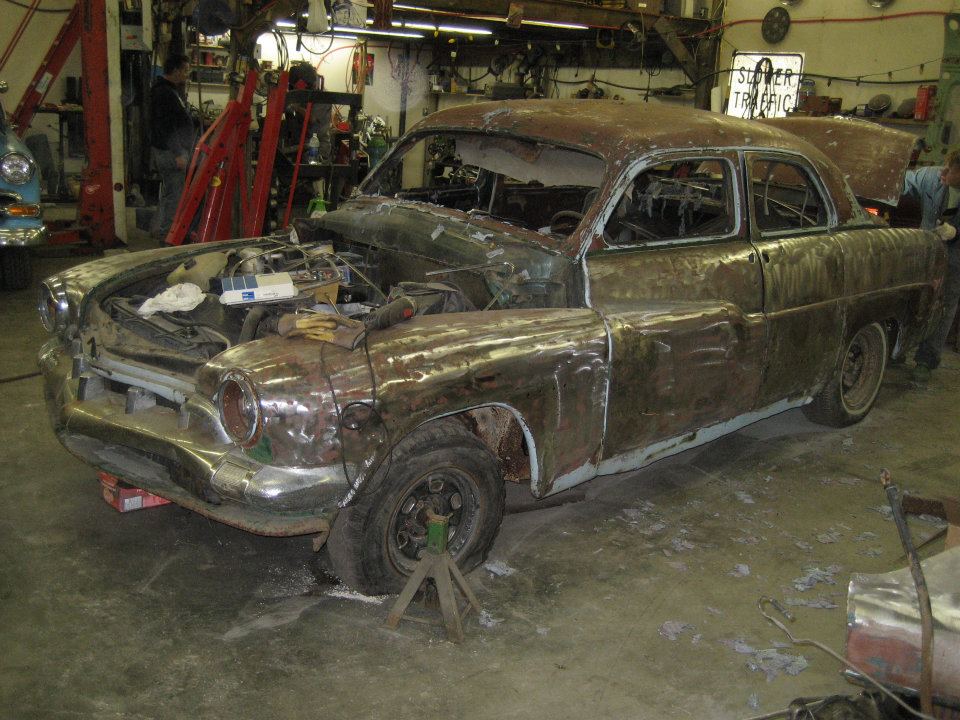
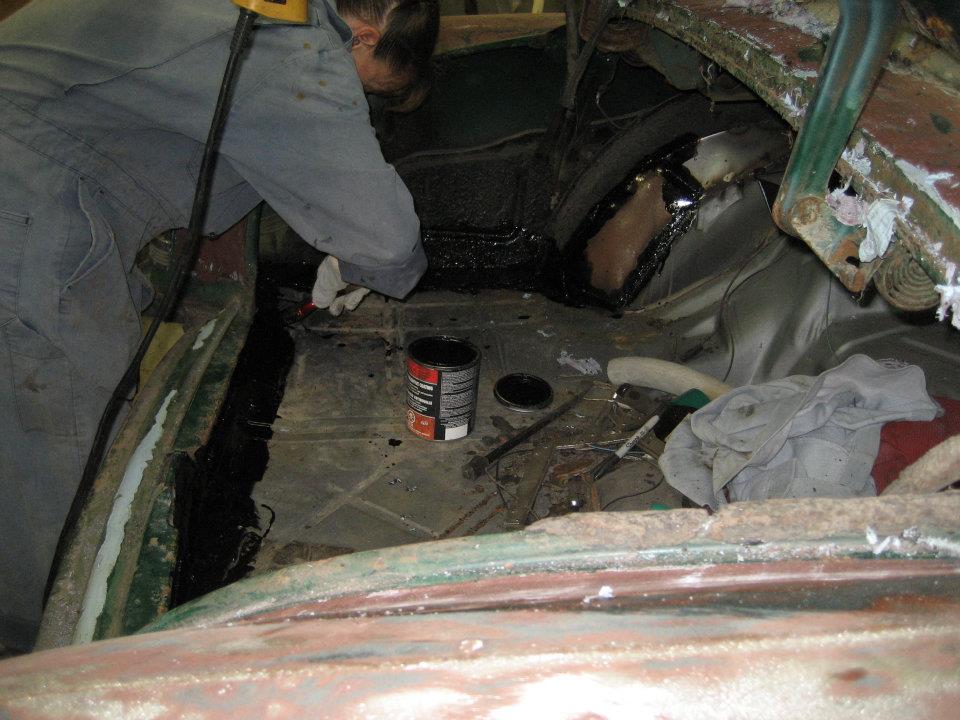
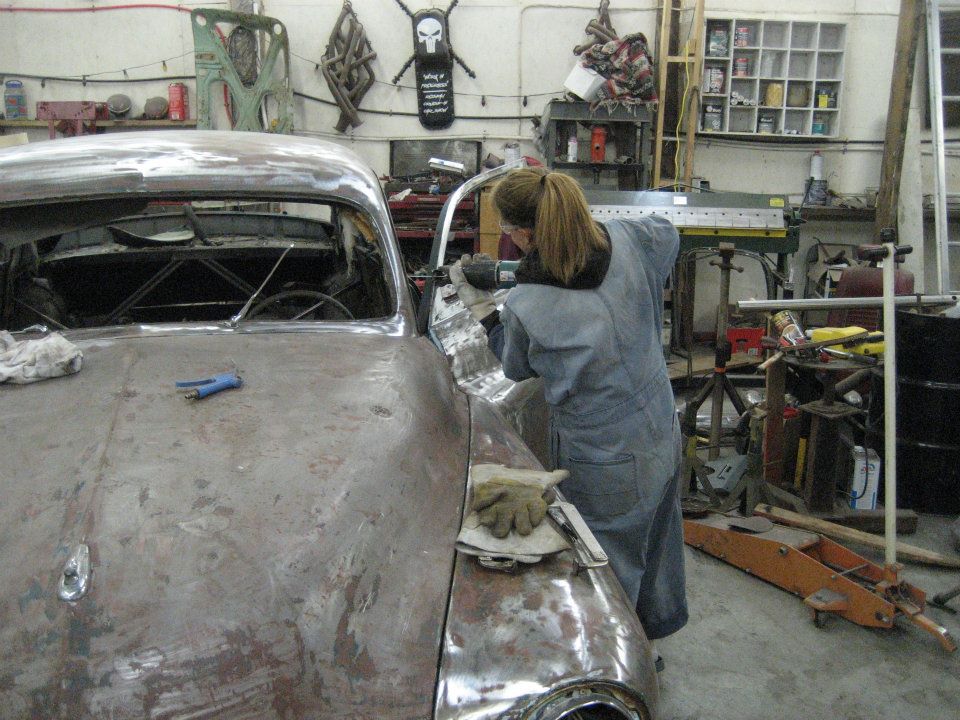
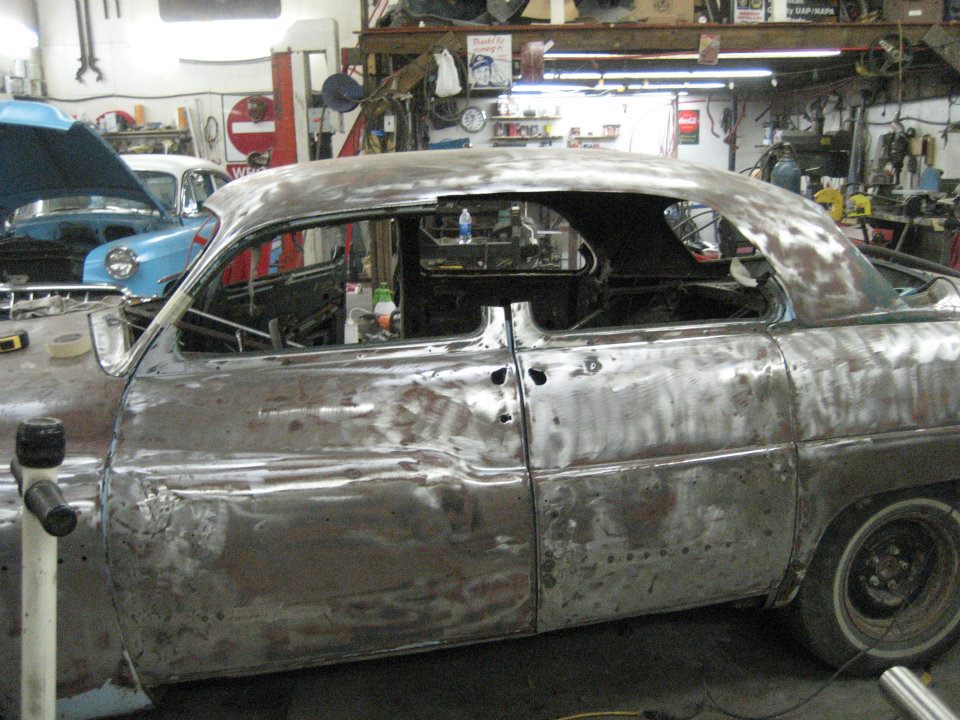
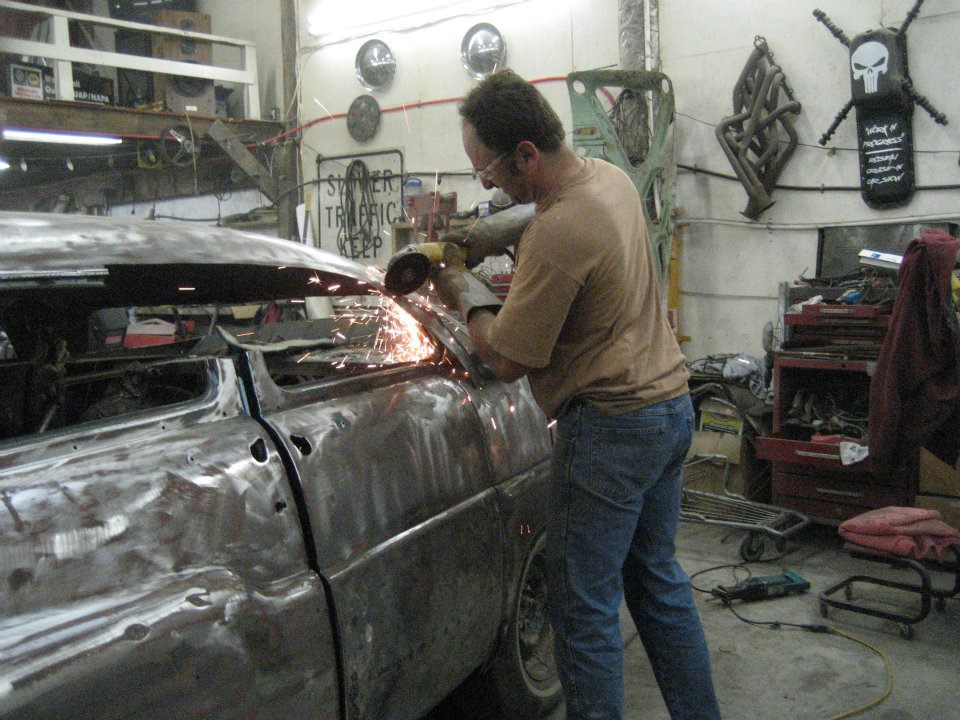
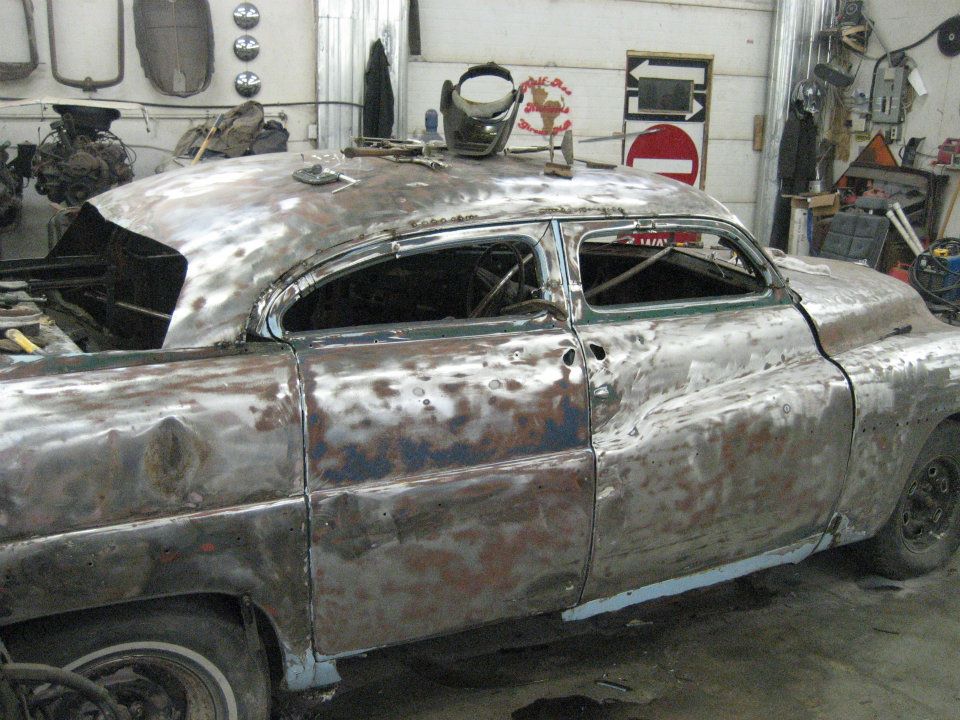
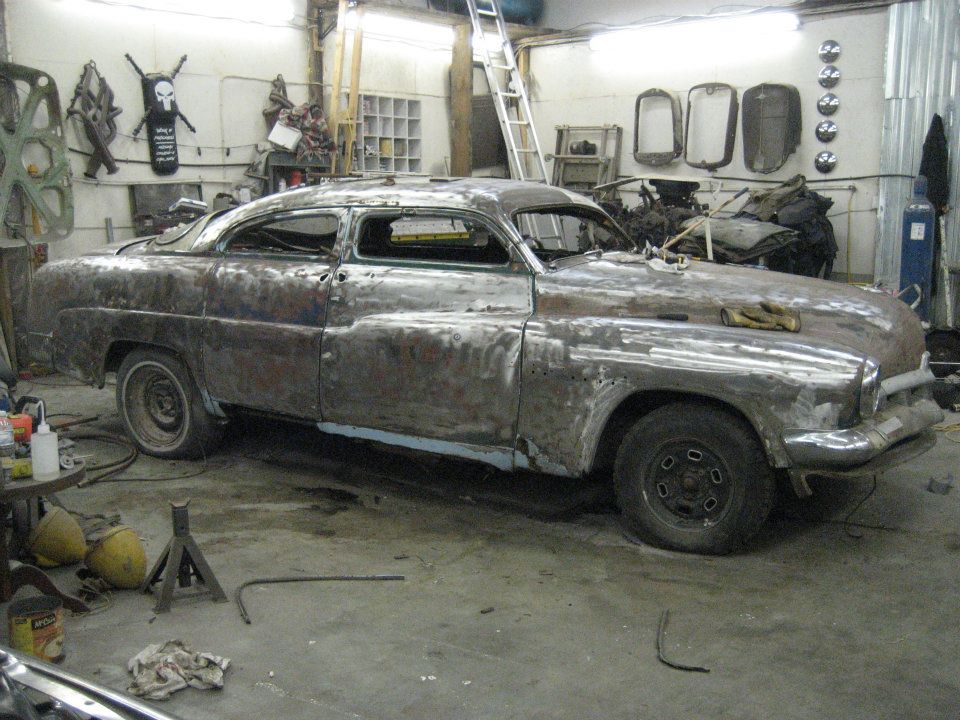
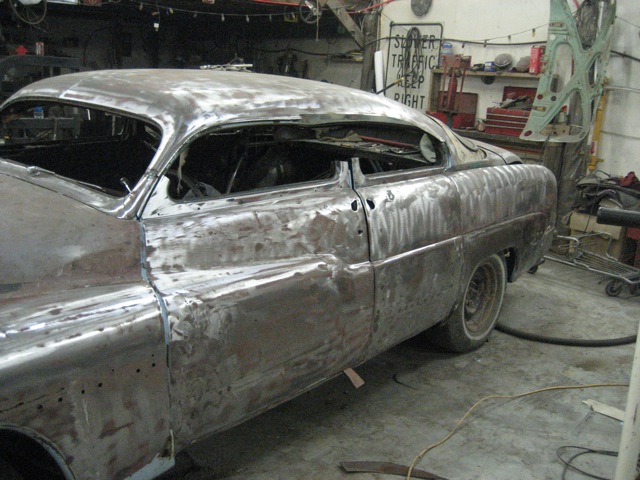
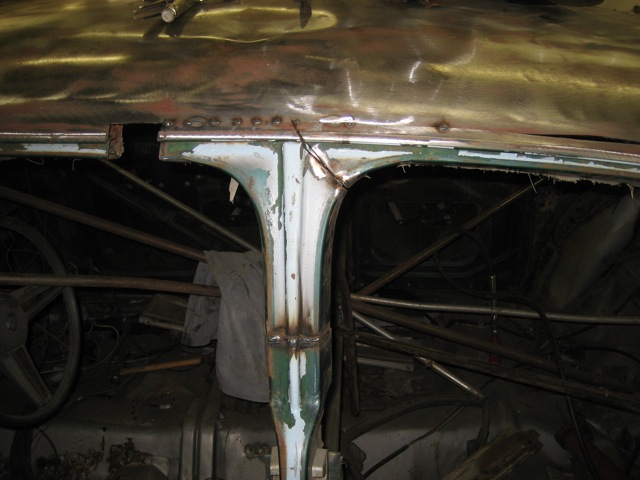
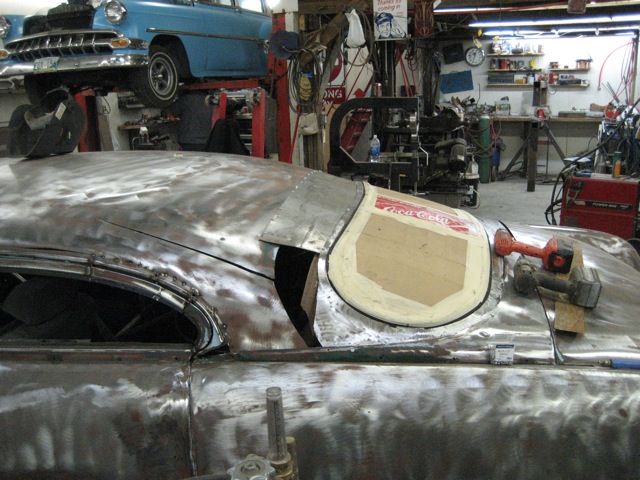
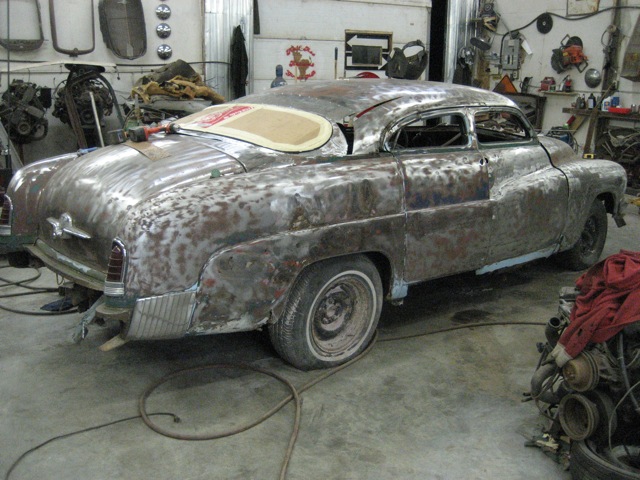
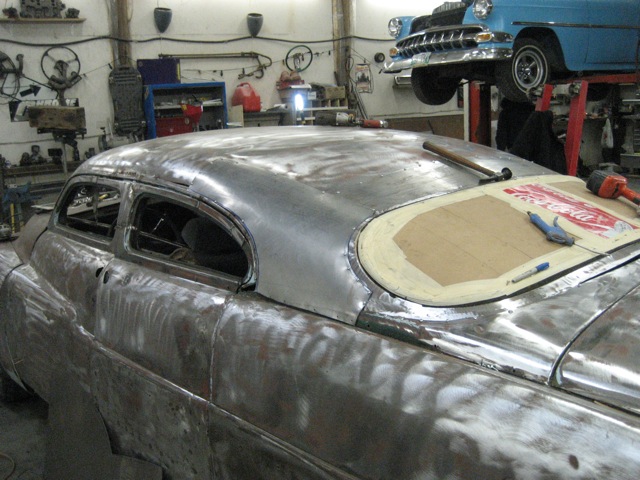
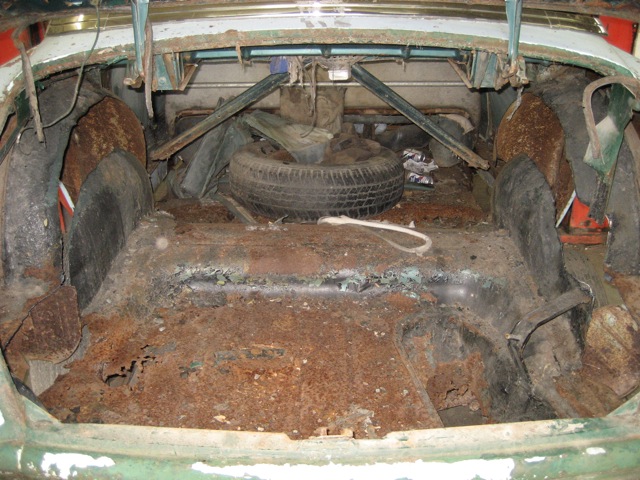
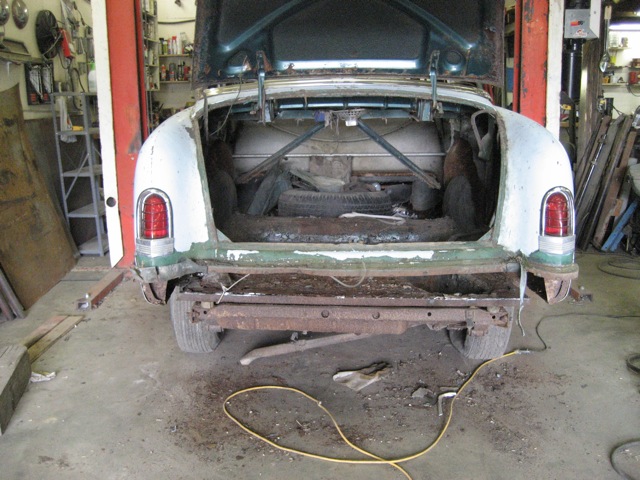
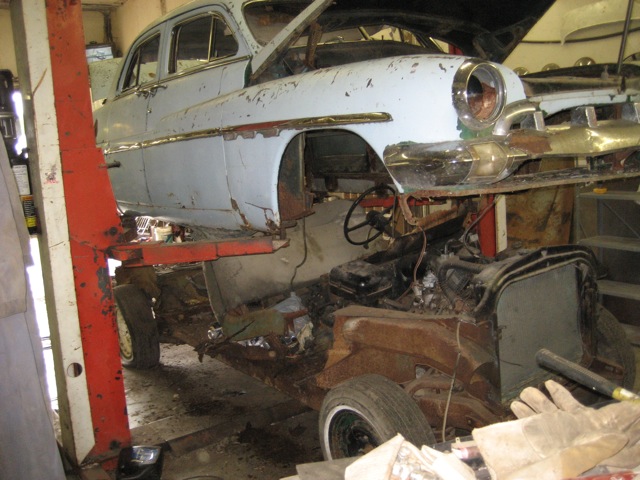
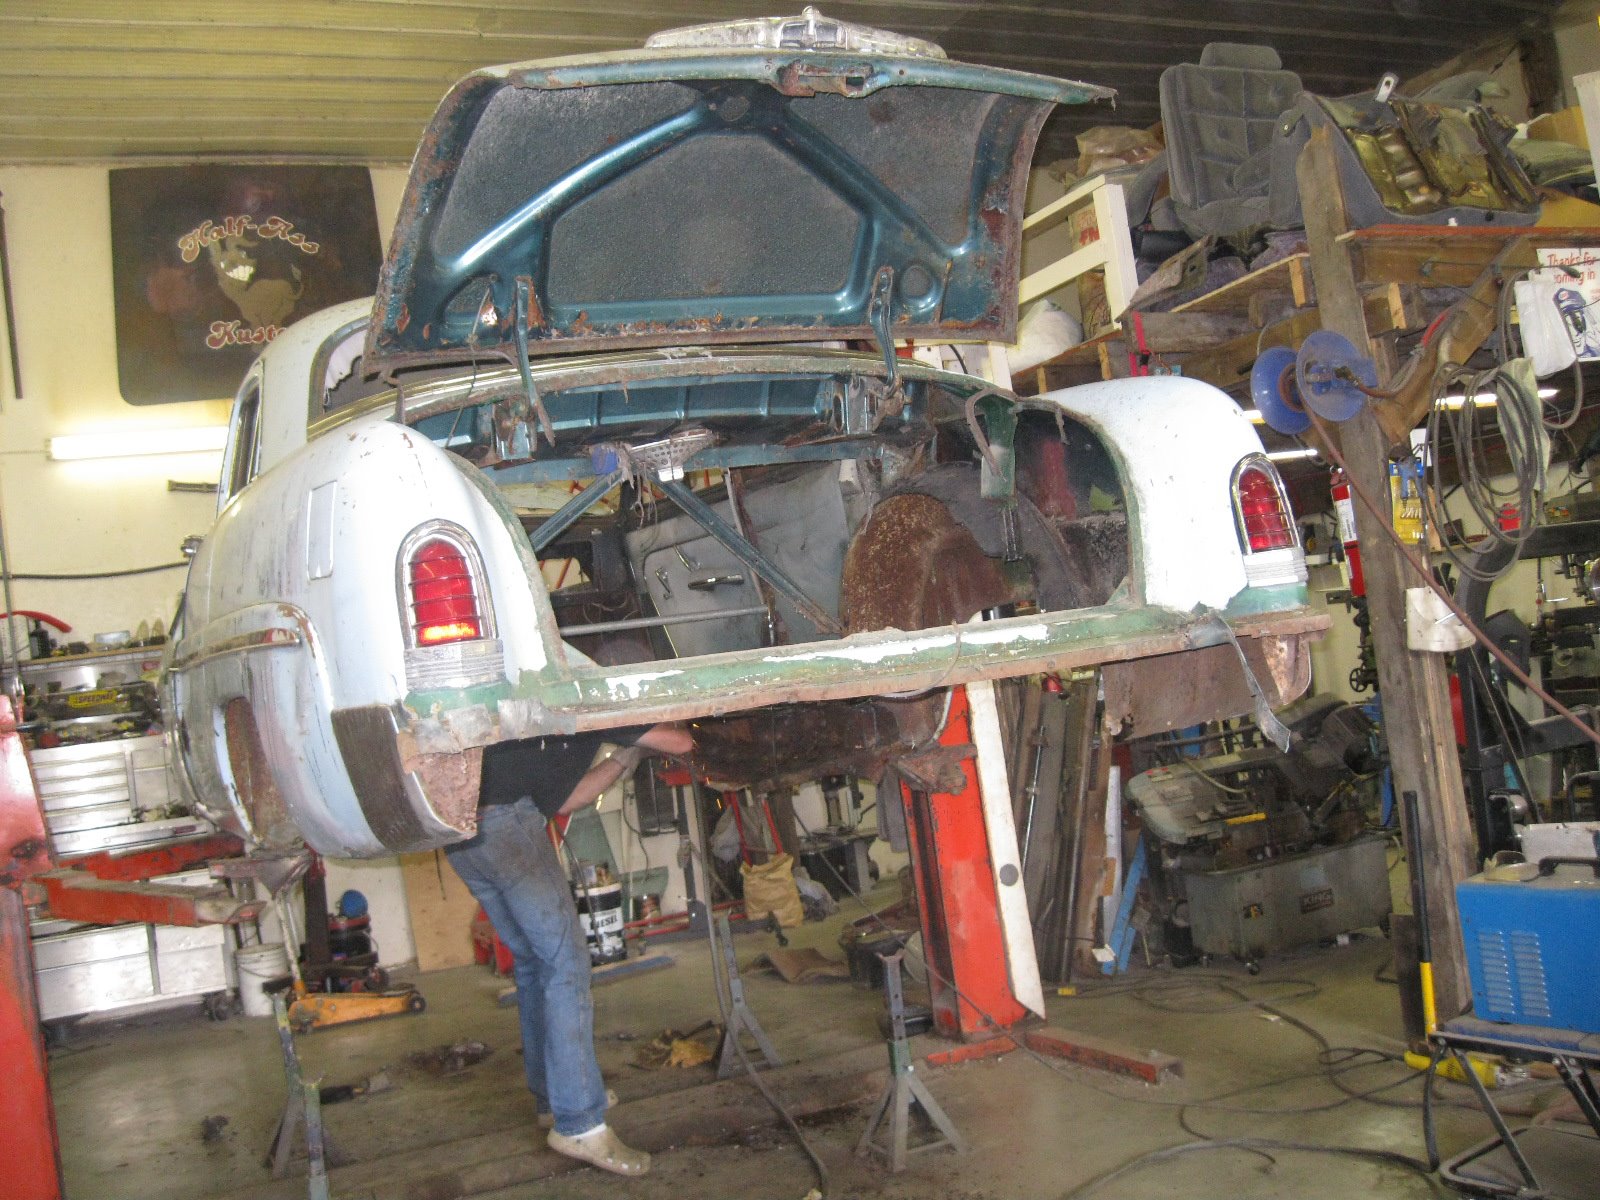
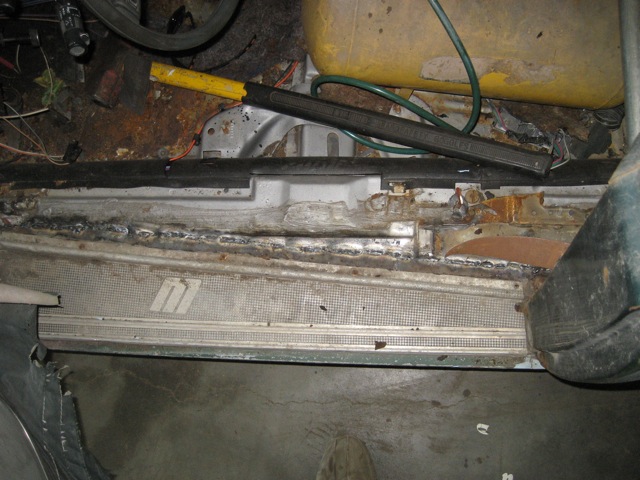
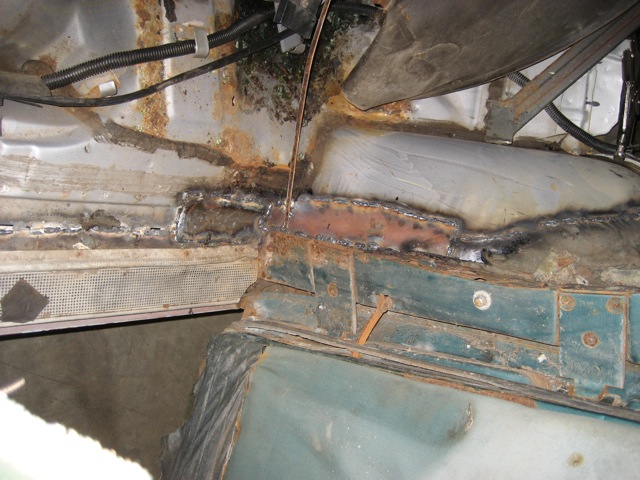
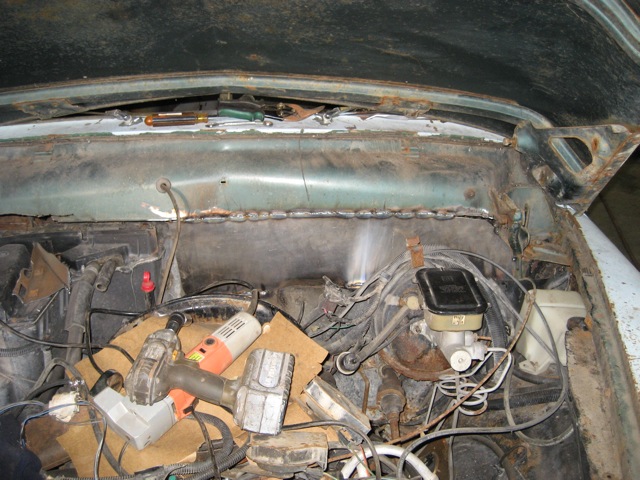
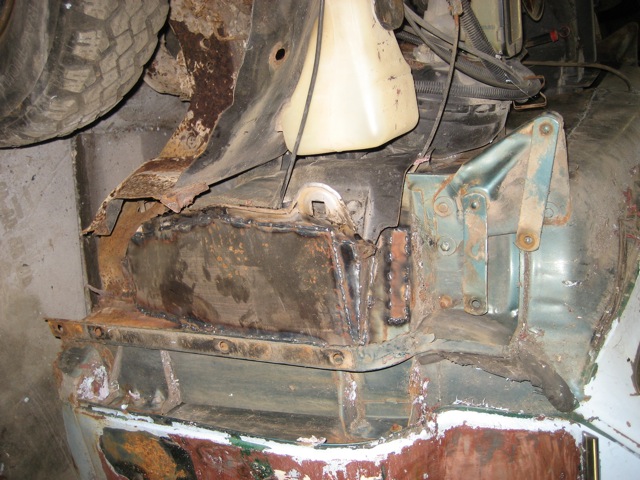
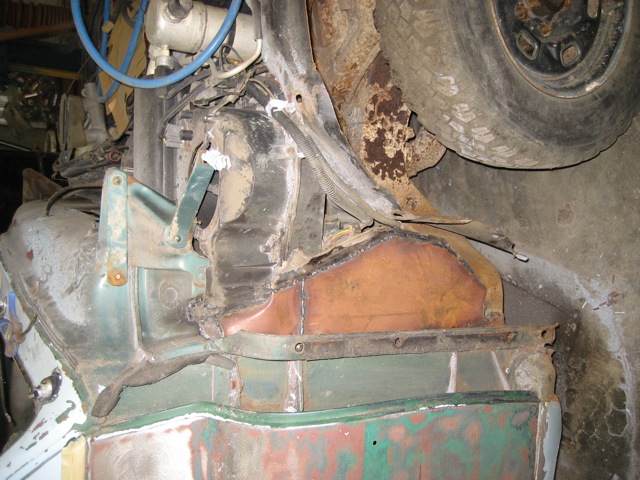
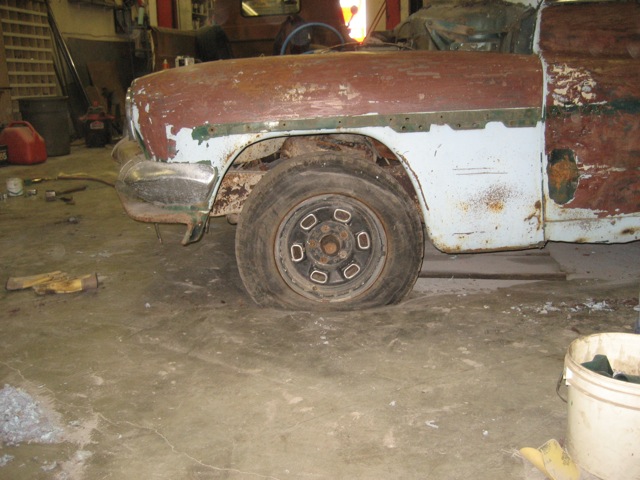
Fast forward a few years and I finally have it in the shop and am cutting the body from the chassis.
2.jpg

1.jpg

3.jpg

4.jpg


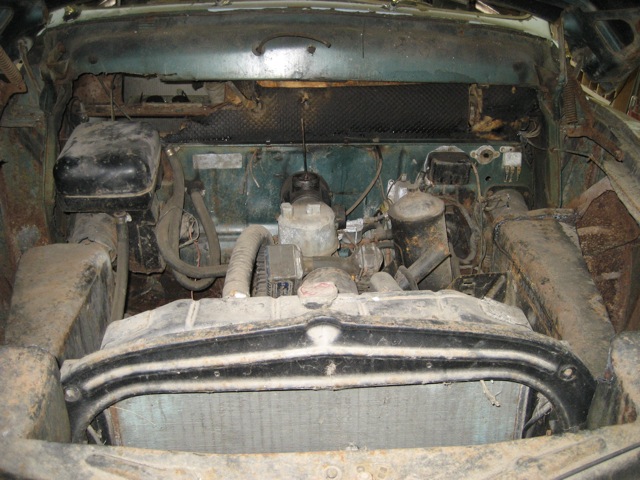
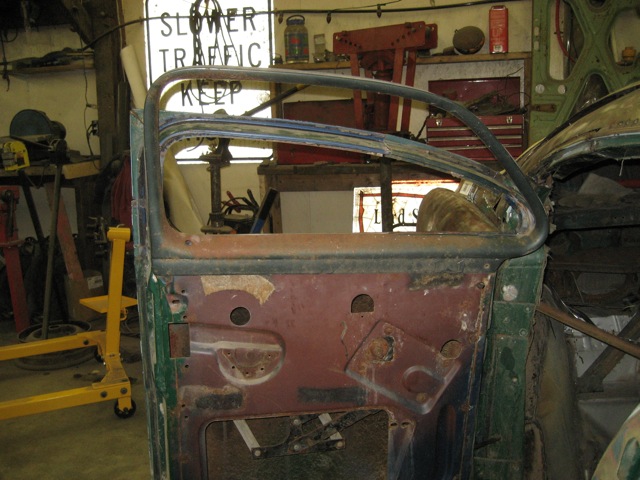
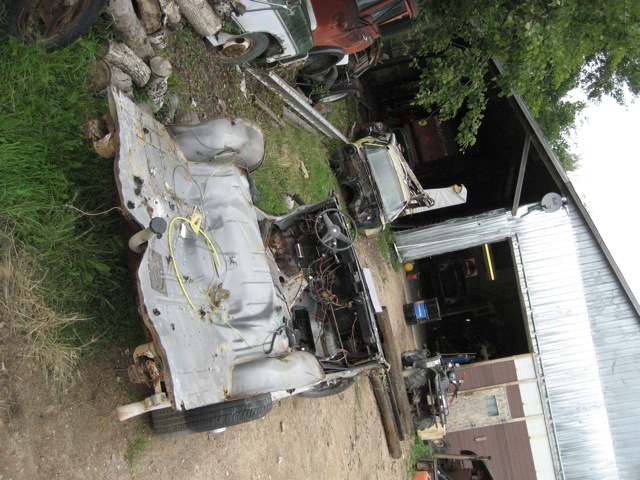
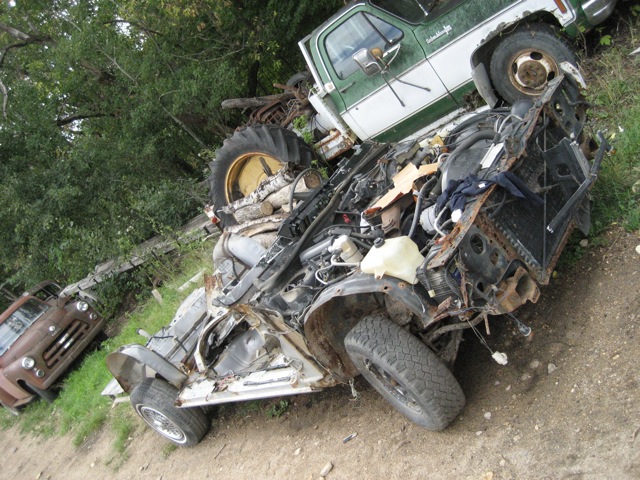
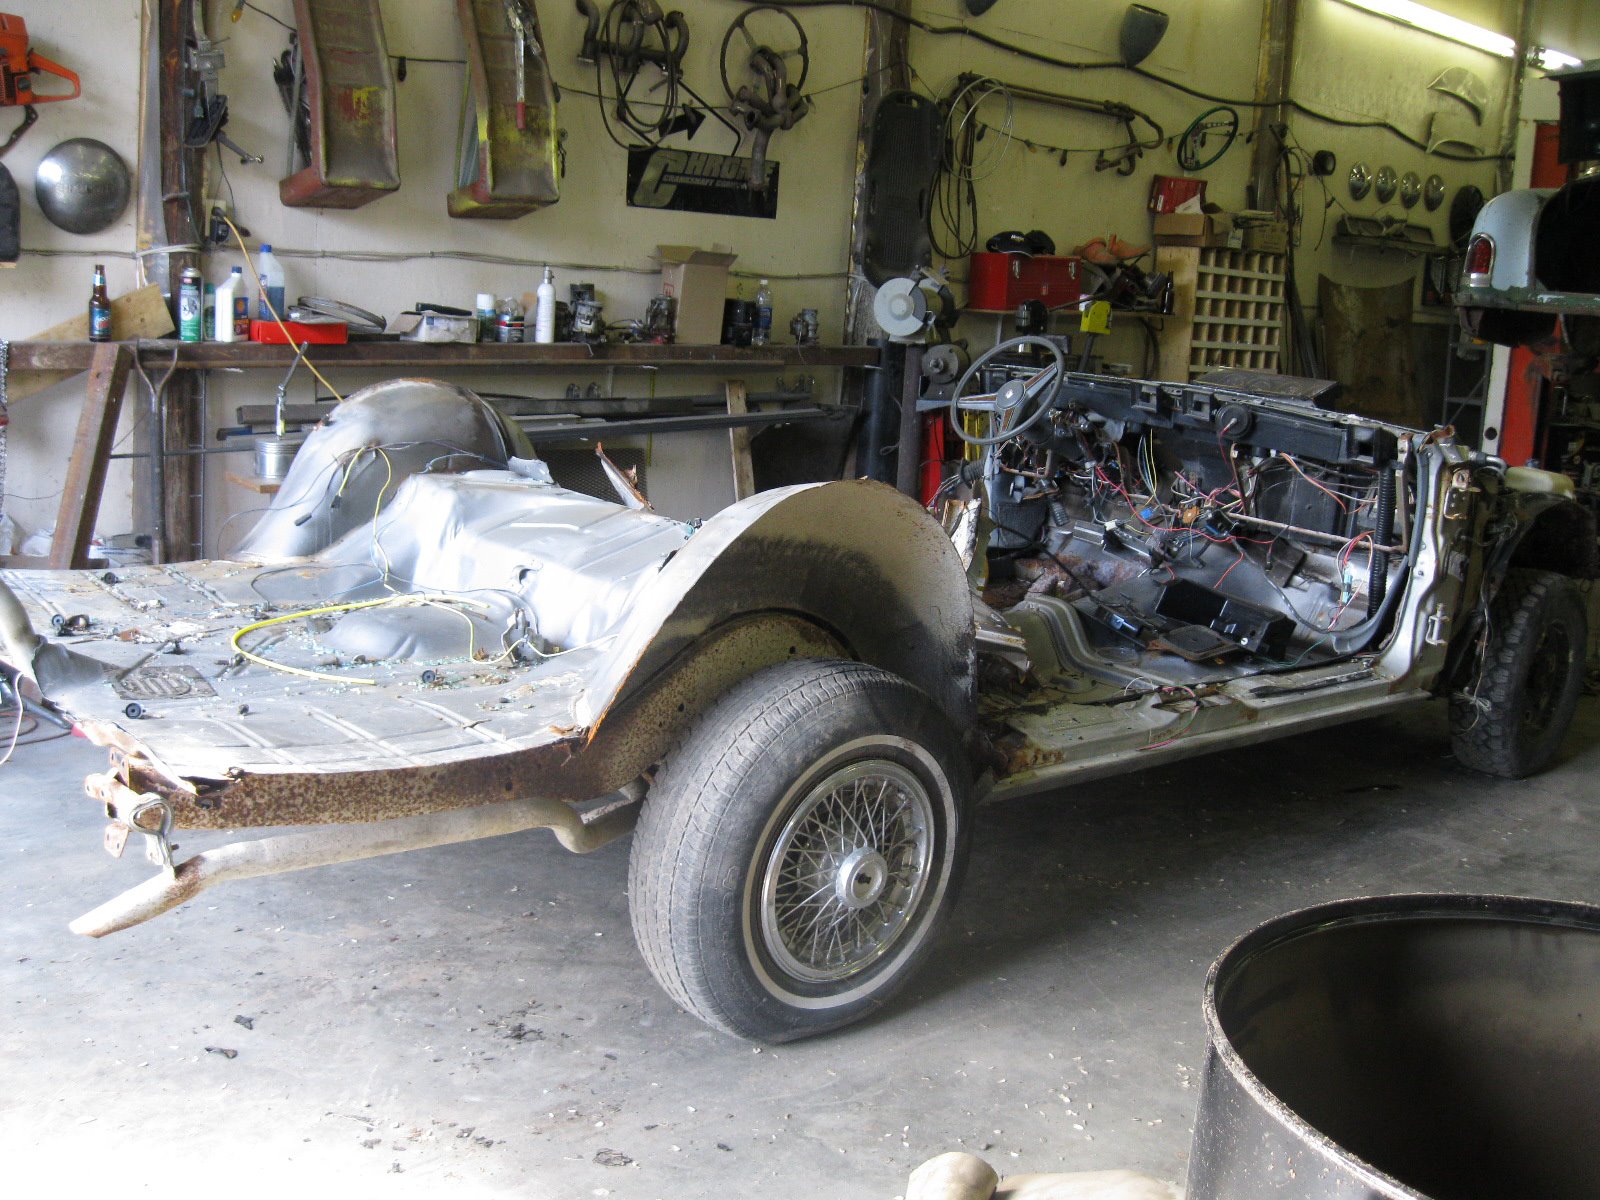
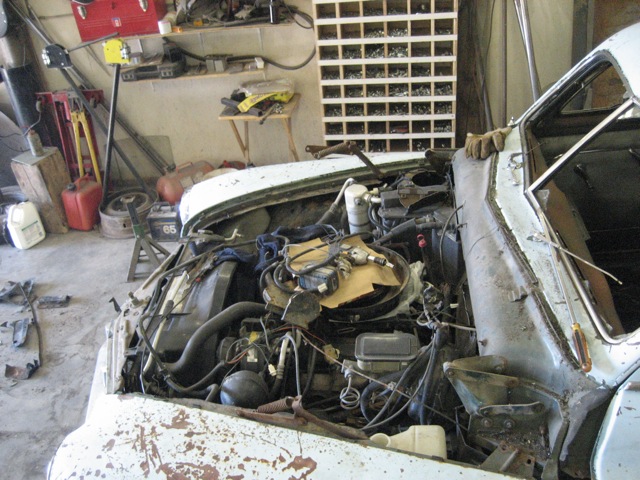
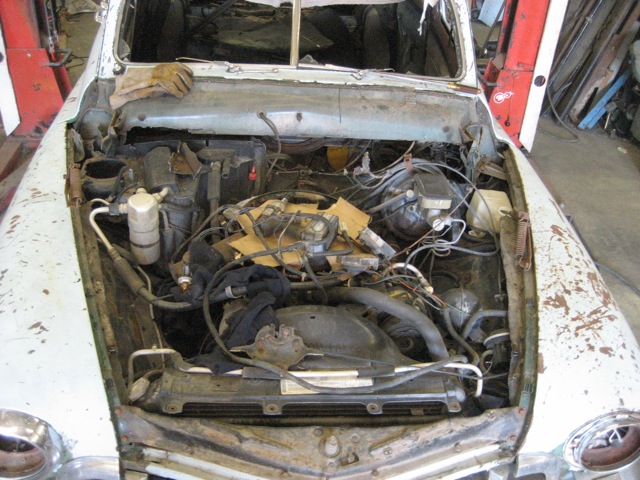
Now onto the donor car I'll spare you the tearing it apart portion.
6.jpg

7.jpg


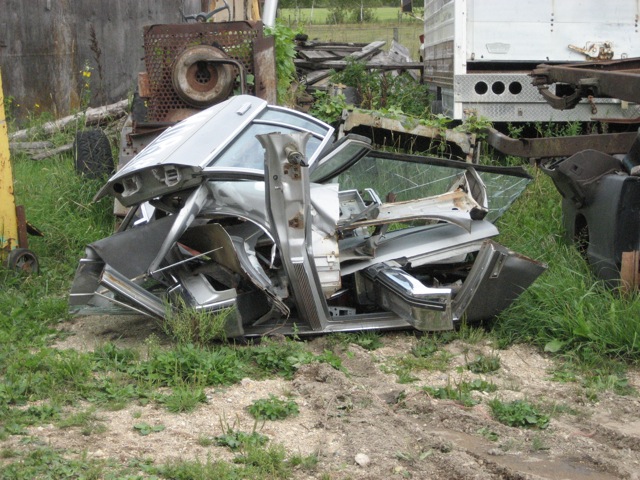
Some of the leftover parts
8.jpg


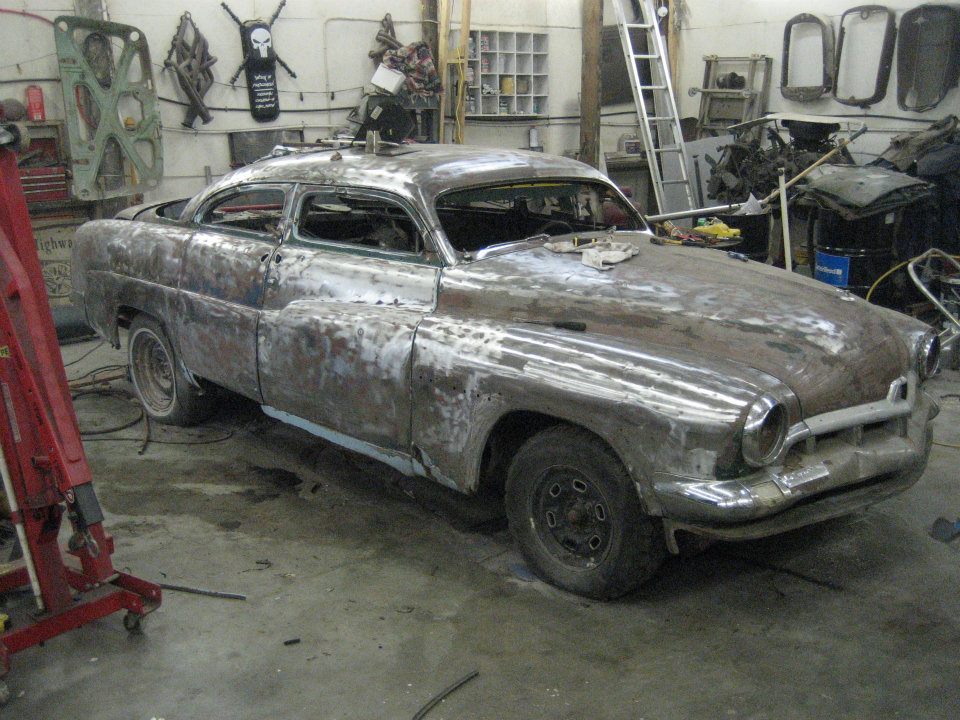
Getting ready to roll it under the chassis
intheair.jpg

chassis.jpg
 
Sitting on the chassis after tons of cutting
10.jpg

9.jpg

11.jpg

12.jpg

13.jpg

14.jpg


If you tilt your head to the right it'll make sense that it's the rear wheel tub haha
15.jpg


The firewall mess this will take a little work to pretty up.
16.jpg


What I had done was cut the whole post out of the donor and then slid the merc over using the stock inner rockers of the donor car.
17.jpg

18.jpg
 
Here is the problem that I knew I was going to run into was the wheel base wasn't quite the same. So to make it fit I had to move the fender back a little.
19.jpg

20.jpg


Almost there just have rust repair to take care of yet.
21.jpg


And parting shot of the happy owner, and shop partner doing her part seeing as it is her car :)
sanding.jpg
 
Wow that is cool! I have never seen anyone do a chassis swap like that. Most people unbolt the whole body then try to fit it to the new frame. I guess this saves you from having to build a floorpan and firewall from scratch?
 
Very nice, lucky women....[cl
Now, what about the rest of the old tin in that 1st shot of when you picked it up? Alot of nice stuff there[dr
 
Few updates
almoststripped.jpg

stripped.jpg


Sealing up the trunk
sealing.jpg


Now on to the chop. First cut!
firstcut.jpg


Many cuts later
part1.jpg

part2.jpg


Piecing it all back together.
side1.jpg

profile2.jpg

profile3.jpg
 
So little update last nights challenge was getting the drivers side tacked up and start on the rear window section.
So this is how we left off on this side
23.jpg


sticking in the mid section
26.jpg


Now on to the rear
24.jpg

25.jpg

27.jpg

28.jpg


on to the rear
29.jpg

30.jpg


making the filler panel
31.jpg


Little bit shorter than she was before.
32.jpg
 
Wow, you guys have been busy! Love that your are leaving all four doors......that's a lot of work around those rear window corners but will be awesome when finished!

Carry on [cl[P[P[P
 
awesome job.. thats a big chop to tackle and it is turning out very nice!
 
You two really went at it! Looking really good. Kinda looks like you've done this before. I think I better keep watching this one. [P

What kind of safety shoes do you two wear? :p
 
Plans are pretty simple really not to many body mods prob just shave handles molded side pipes and lower it for this year.

Anyways time to get back on track as I got side tracked on my roadster and for some reason decided to built another pickup truck about 2weeks ago haha.

So last night I started on the filler panels for the merc.

First we need to get our patch panel
33.jpg


Little test fit.
34.jpg


Tweek it a little.
35.jpg


Now to rid of the excess metal
36.jpg

37.jpg


all tacked in and a shot of the drivers side.
38.jpg

39.jpg
 
Well been a little bit but finally got some updates
Esthers been hard at work welding as have I
40.jpg

41.jpg


I got started on the wing windows
The arsenal.
43.jpg

44.jpg
 

Latest posts

Back
Top