complicated 29

Rat Rods Rule

Help Support Rat Rods Rule:

This site may earn a commission from merchant affiliate links, including eBay, Amazon, and others.
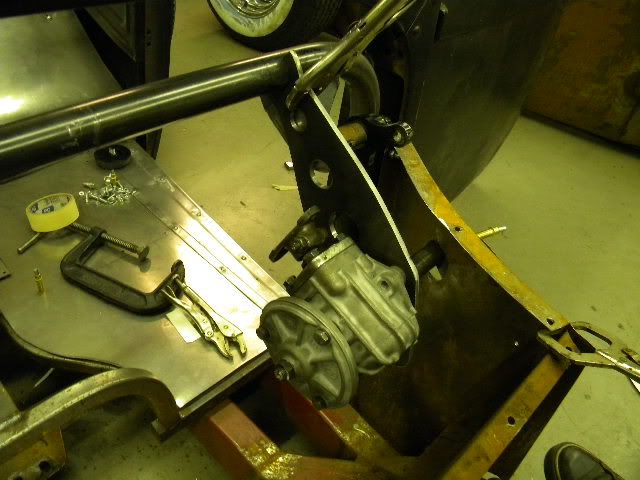
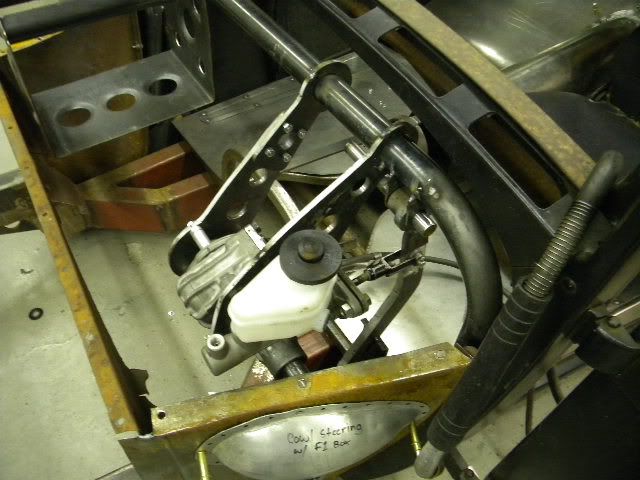
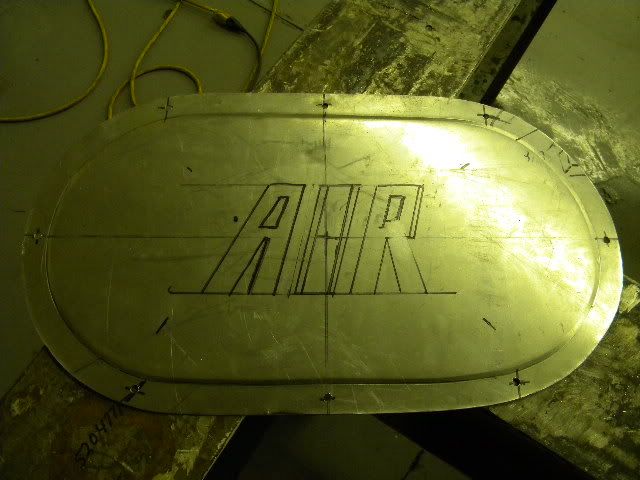
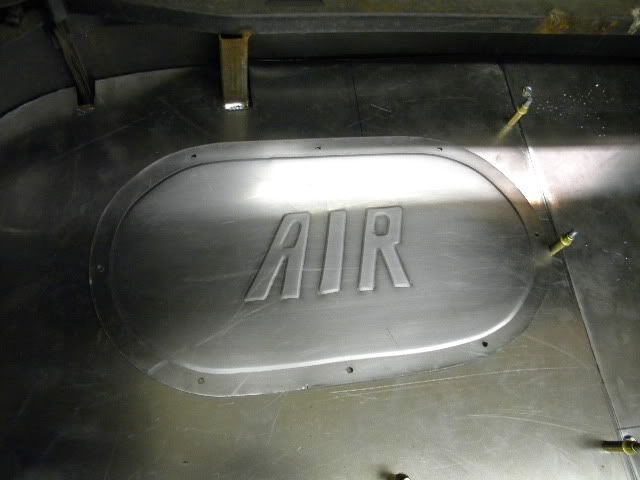
today i worked on the floor some more. first i made a cover plate to cover the access hole used to get to the air management system from inside the car if ever need to.

DSCN5007.jpg

DSCN5008.jpg

DSCN5009.jpg


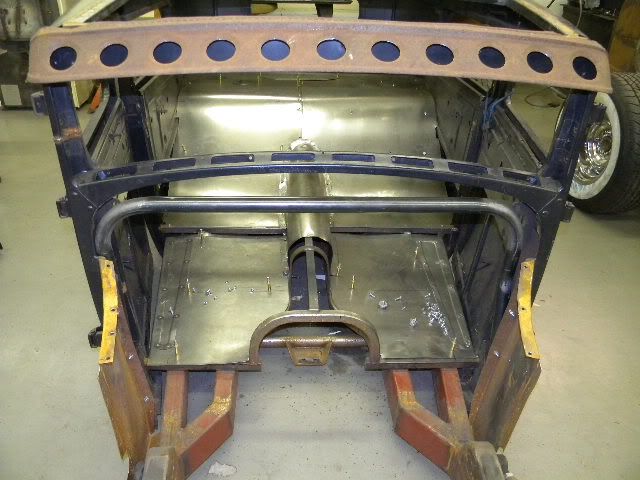
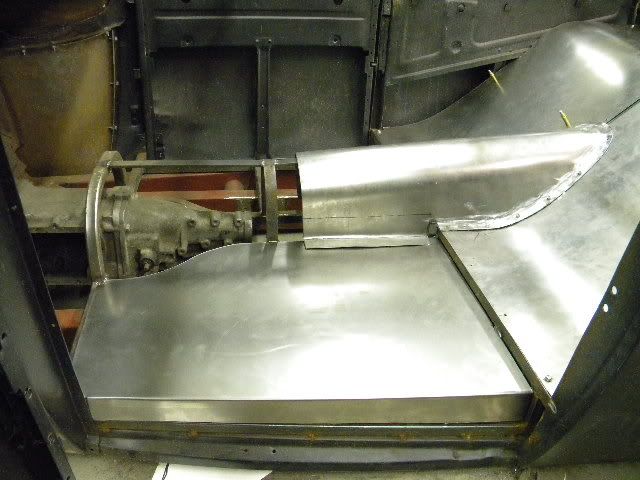
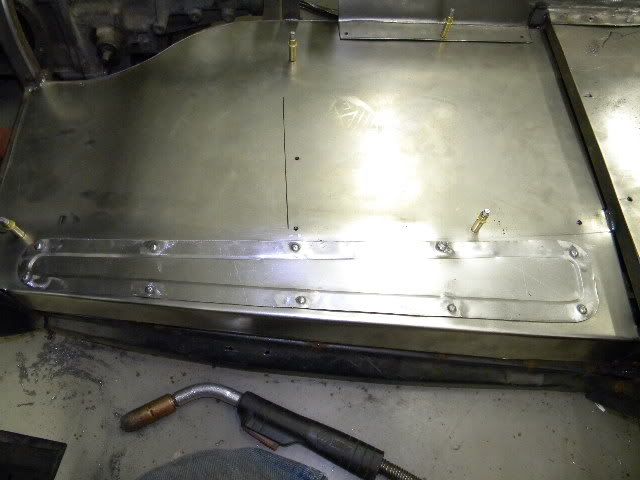
started on the center sections of the floor, and made a nice little sill plate area to dress it up a bit

DSCN5012.jpg

DSCN5015.jpg

DSCN5017.jpg
 
Nice work. At first I thought this was going in the other A you are building. Took me a minute to realize this thread was back up. [P
 
worked on the steering a bit on this car, started with a volkswagon bus steering box. the sector shaft was about 3 inches to short for cowl steering. so i took the sector shaft out of an f1 box, which is the same OD as the volks shaft. machined the f1 shaft down to get the correct length when added to the volks shaft, with a shank to be pressed into the hole i bored into the volks shaft to keep everything aligned. machined the volks shaft down and bored the hole, pressed the two shafts together, tig welded it up, and machined it smooth. and viola you have a nice cool looking box that will work perfectly for cowl steering. and it takes an f1 pitman arm which is longer than the volks

didnt take a before pic, but here is one of the style box form the web
2392145.jpg


volks shaft
DSCN5028.jpg


volks shaft, with the machined f1 shaft
DSCN5029.jpg

DSCN5030.jpg


got carried away and didnt get any pics of the shaft during pressing, welding, re machining, and pre assembly

box done
DSCN5037.jpg
 
bent up a tube to mount the steering, brake pedal assy., battery box, ect. to and started setting up the steering with the modified volks wagon box.

the tube bent up
DSCN5053.jpg

DSCN5054.jpg

DSCN5055.jpg


setting up the steering and brake pedal assy.
DSCN5058.jpg

DSCN5060.jpg

DSCN5062.jpg


start of a new brake pedal
DSCN5059.jpg


fabbed up the battery box
DSCN5061.jpg
 
worked some more on mounting the steering. made another bracket to to help support the box, it has some 1.5 inch spacers to allow room for box clearance, and bolts at the top to allow for easy removal

bolted up to the box for the first visual
DSCN5063.jpg


all the holes drilled and bolted together, there is an access hole to get to the steering box adjustment screw
DSCN5065.jpg

DSCN5066.jpg

DSCN5064.jpg
 
very nice install, Sometimes I wish I would have put mine under the dash.. would have made the floor easier, but I would have had to fab a 90 degree set up...

as always great work
 
Hey Cornfield

I cant wait to see how your feet actually fit under the dash and work the pedals too...I have been fighting a loosing battle since summertime with my floorboard and the whole pedal placement thing and I have one of those big fatty 48-54 Chevy cabs. I bet you have half the space under the cowl as me...It'll be neat to see how you fit all that stuff in there. How did I use to hear it said..."puttin 10 pounds of stuff in a 5 pound bag..."
Thanks for sharing....you have an amazing talent at such a young age...

MikeC
 
thanks guy,

mike, it is a tight fit but i fit alright, i am mainly worried about the customer i am building it for he is a lot taller than i am. he did stop by today and he fit but it was tight, he said he would find a way to drive it lol

corpo. i thought about making a 90* system in it but i could not find a good way to mount it all around the steering.
 
Your shop rate must be pretty reasonable. I can tell you put a lot of thought and time designing and building all your brackets and mounts. And it looks like you are building hot rods for regular guys, not real wealthy folks.
It is so nice to see that your customers get so much quality for the money.
 

Latest posts

Back
Top