HD Aermacchi Sprint SS 350 Cafe Racer

Rat Rods Rule

Help Support Rat Rods Rule:

This site may earn a commission from merchant affiliate links, including eBay, Amazon, and others.

dmw56

Busted and Rusted on Route 66
Joined
Dec 21, 2007
Messages
6,487
Location
Edgewood, New Mexico off Route 66
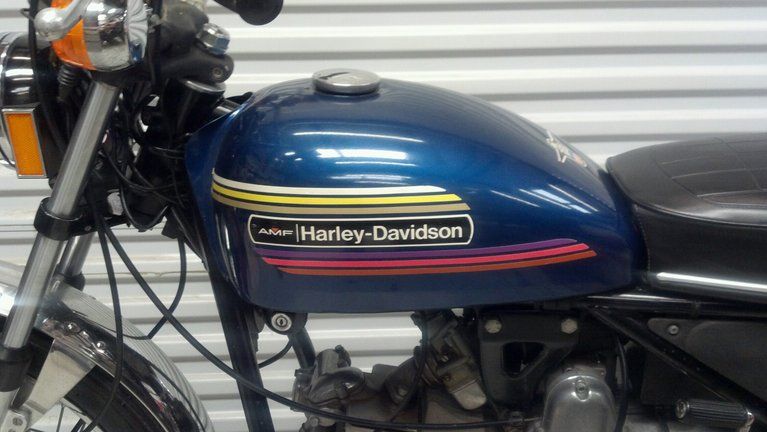
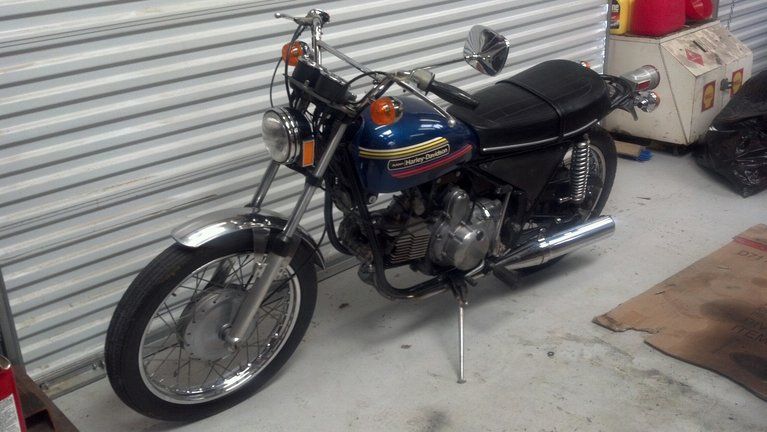
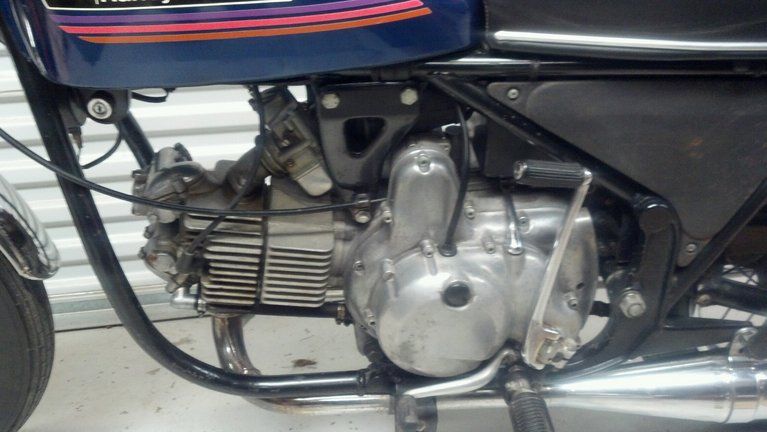
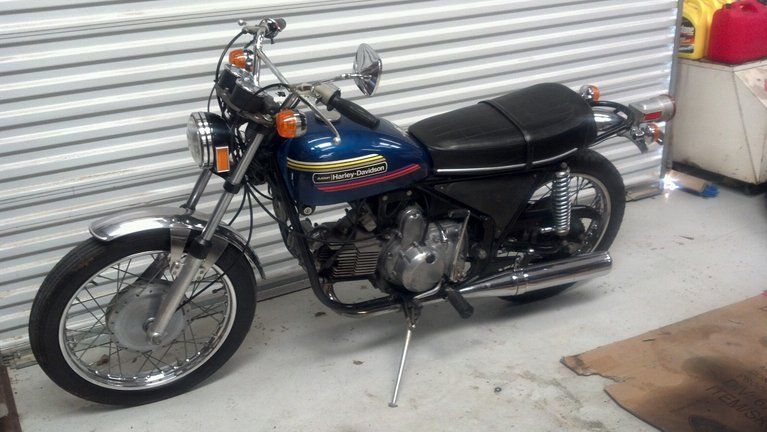
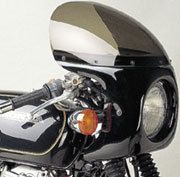
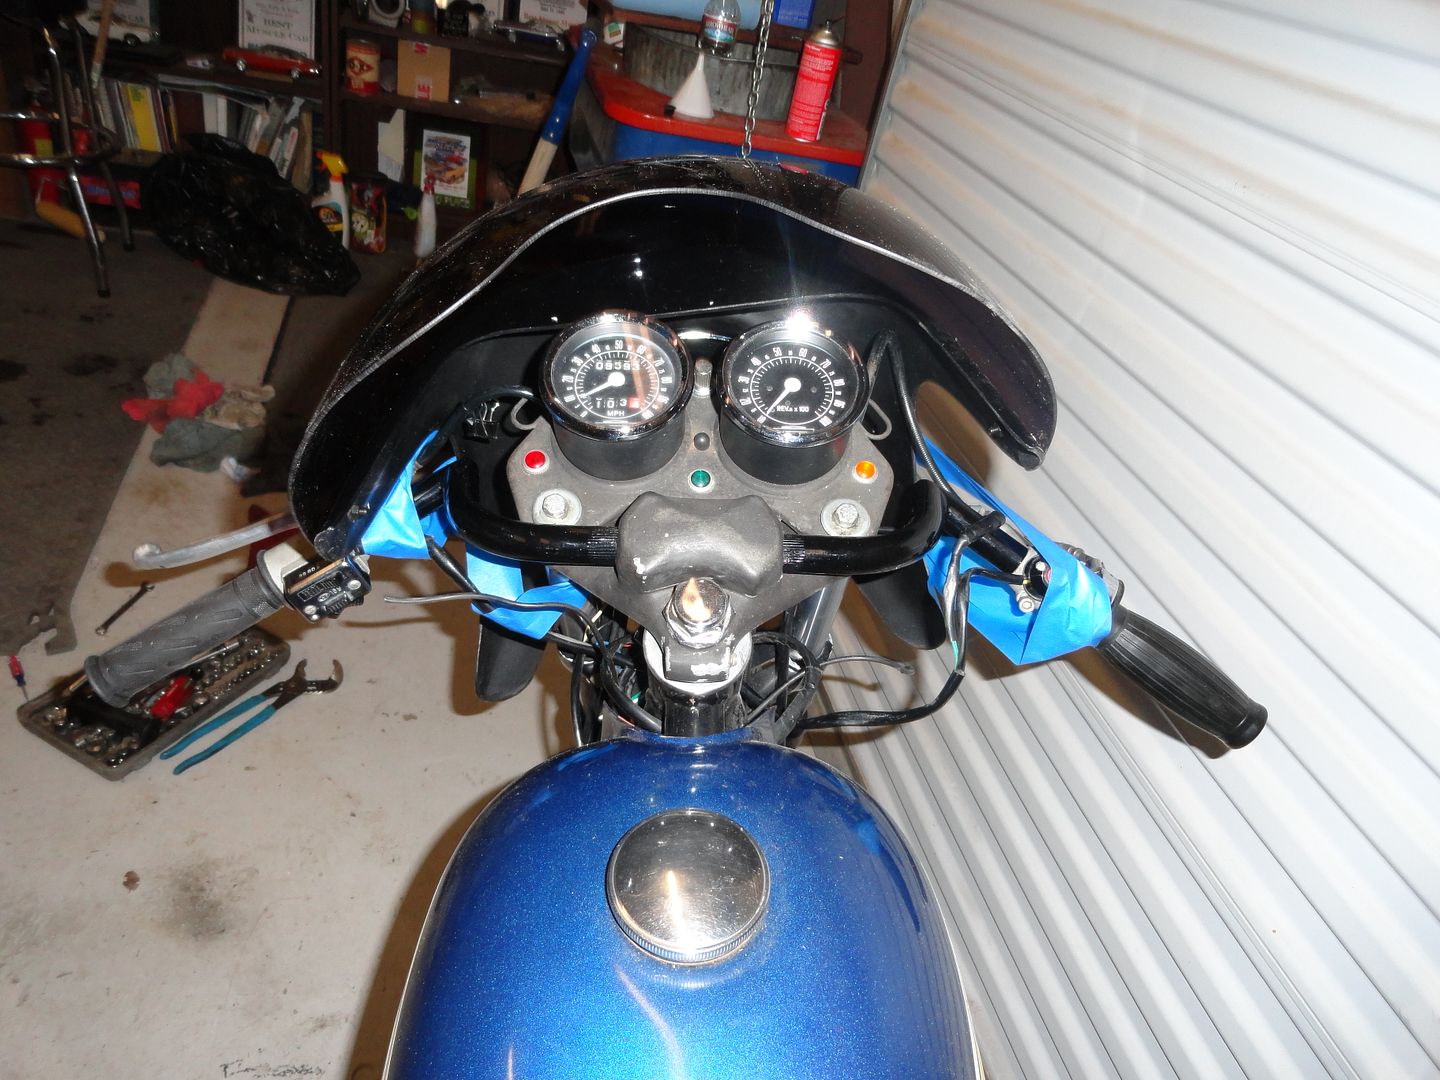
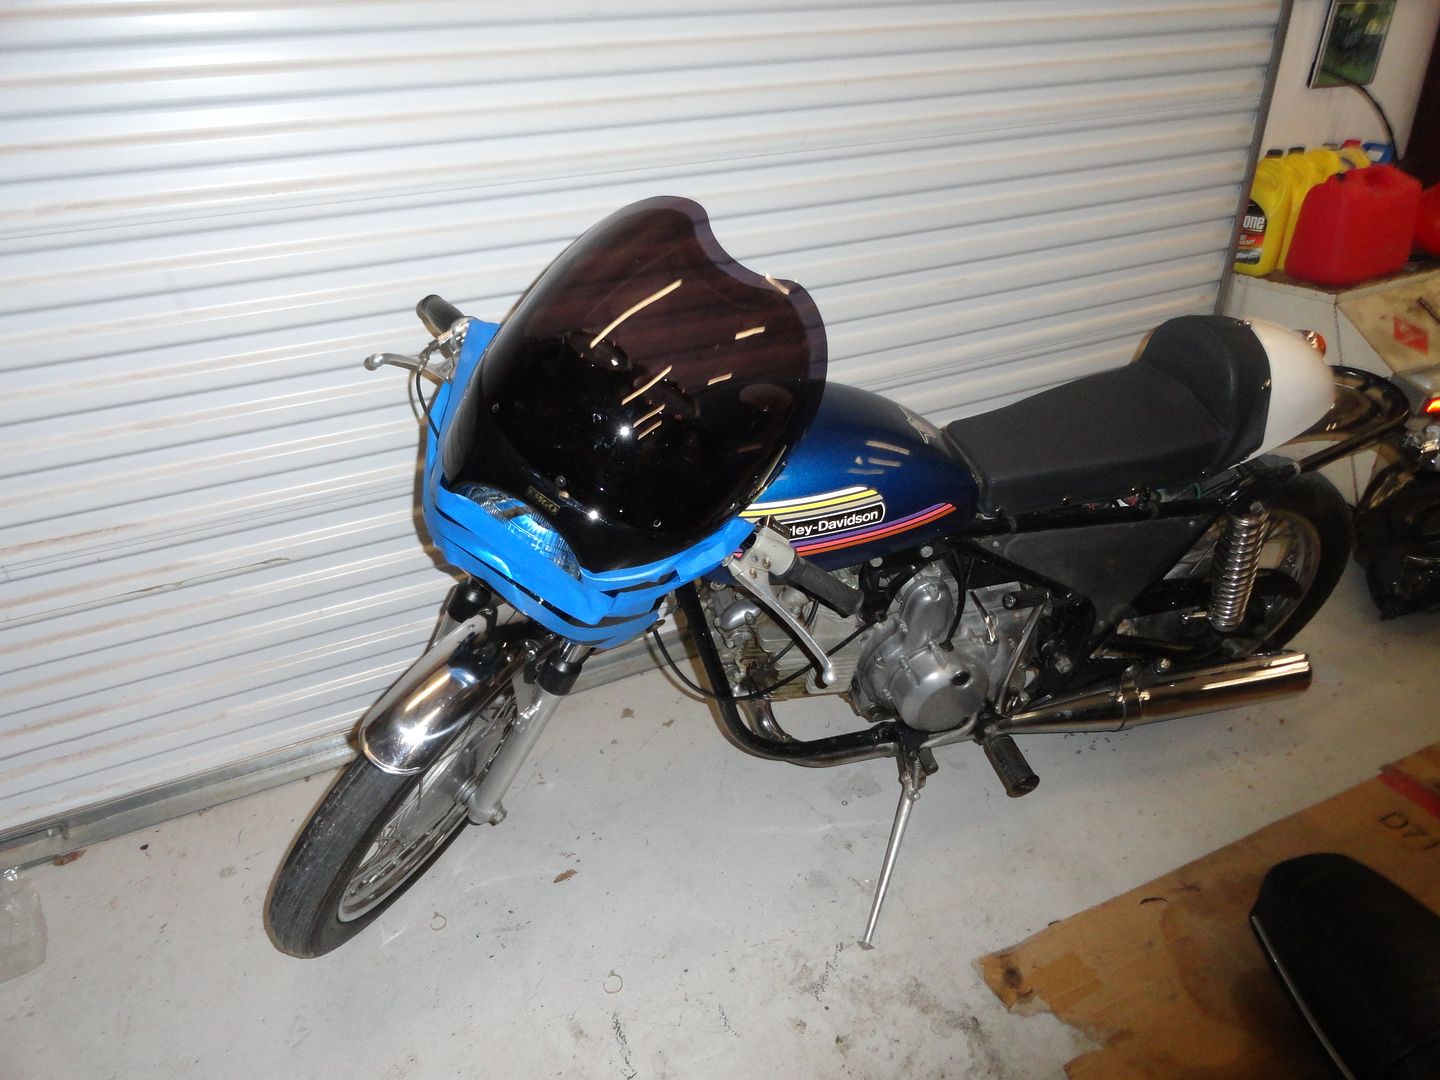
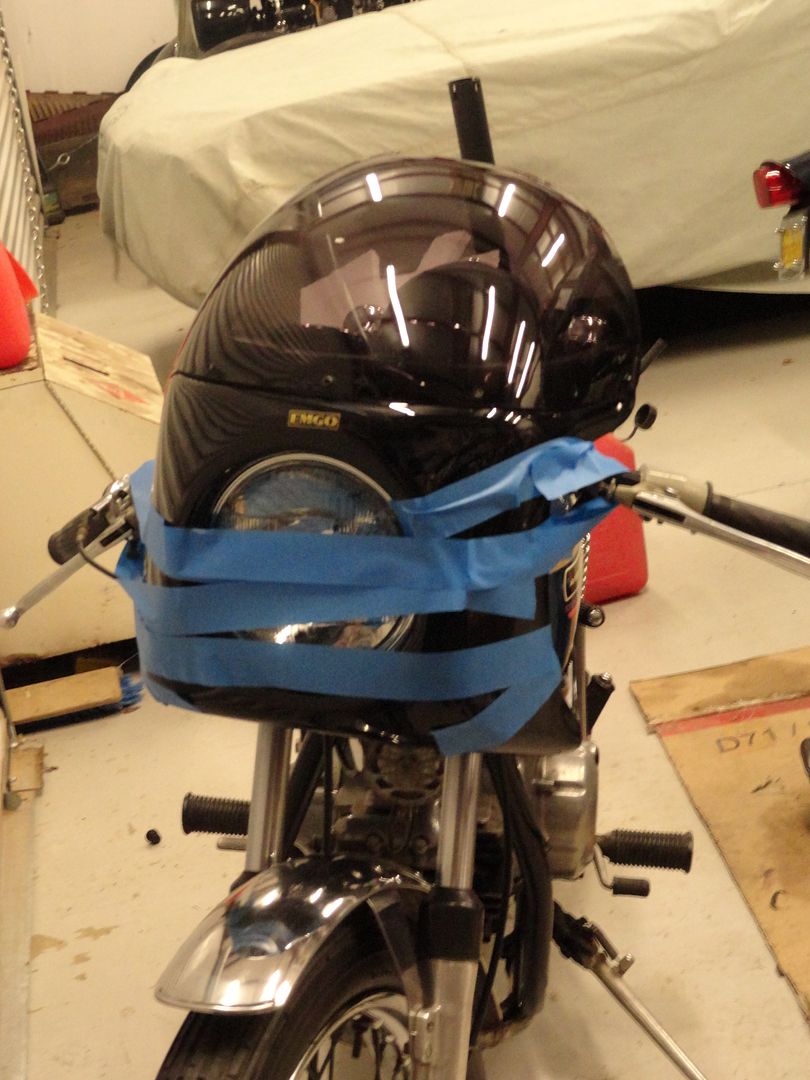
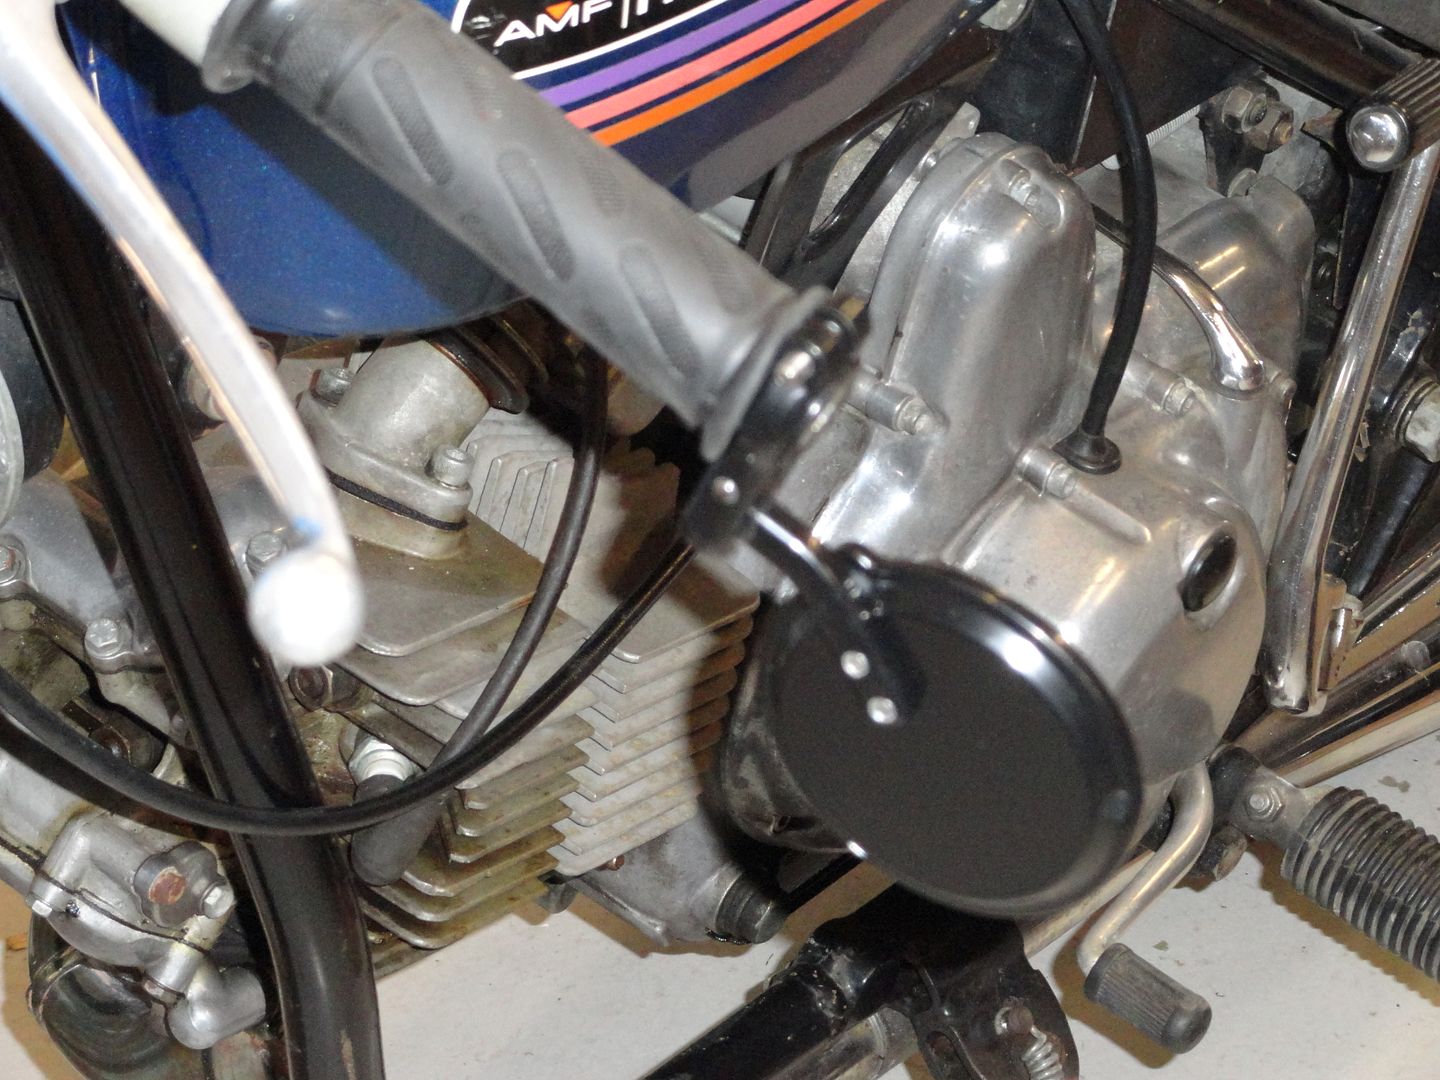
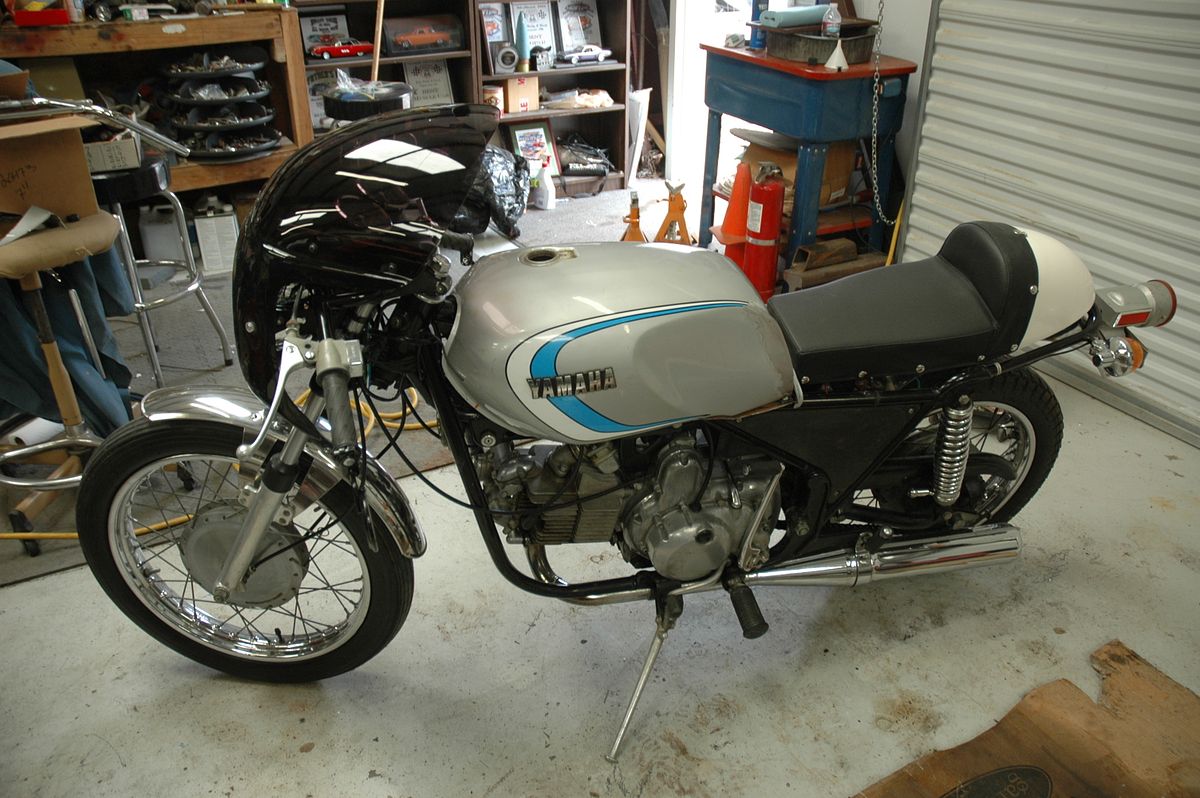
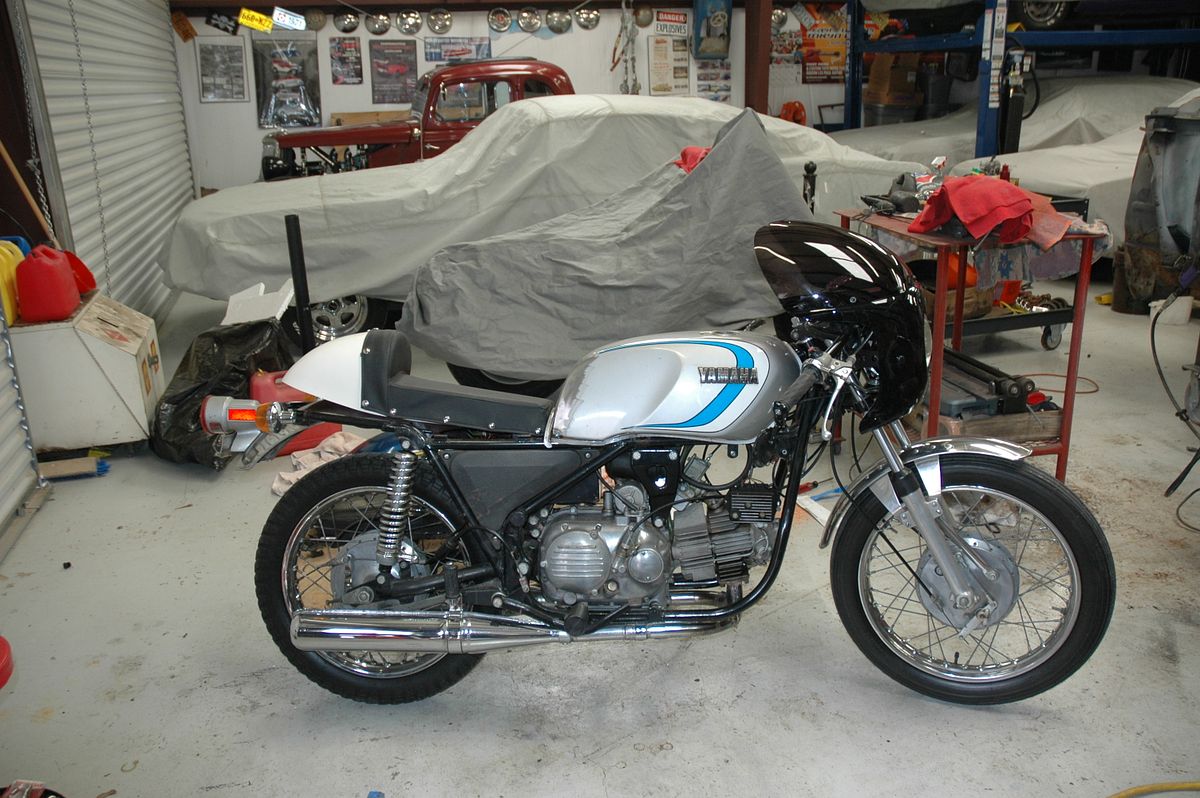
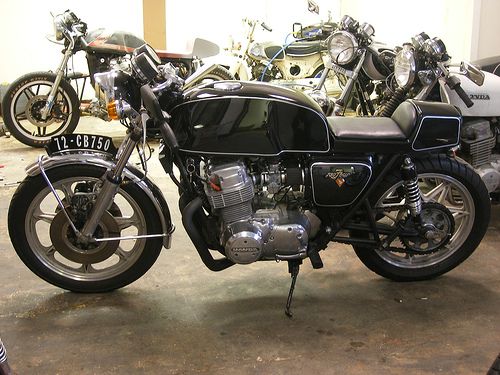
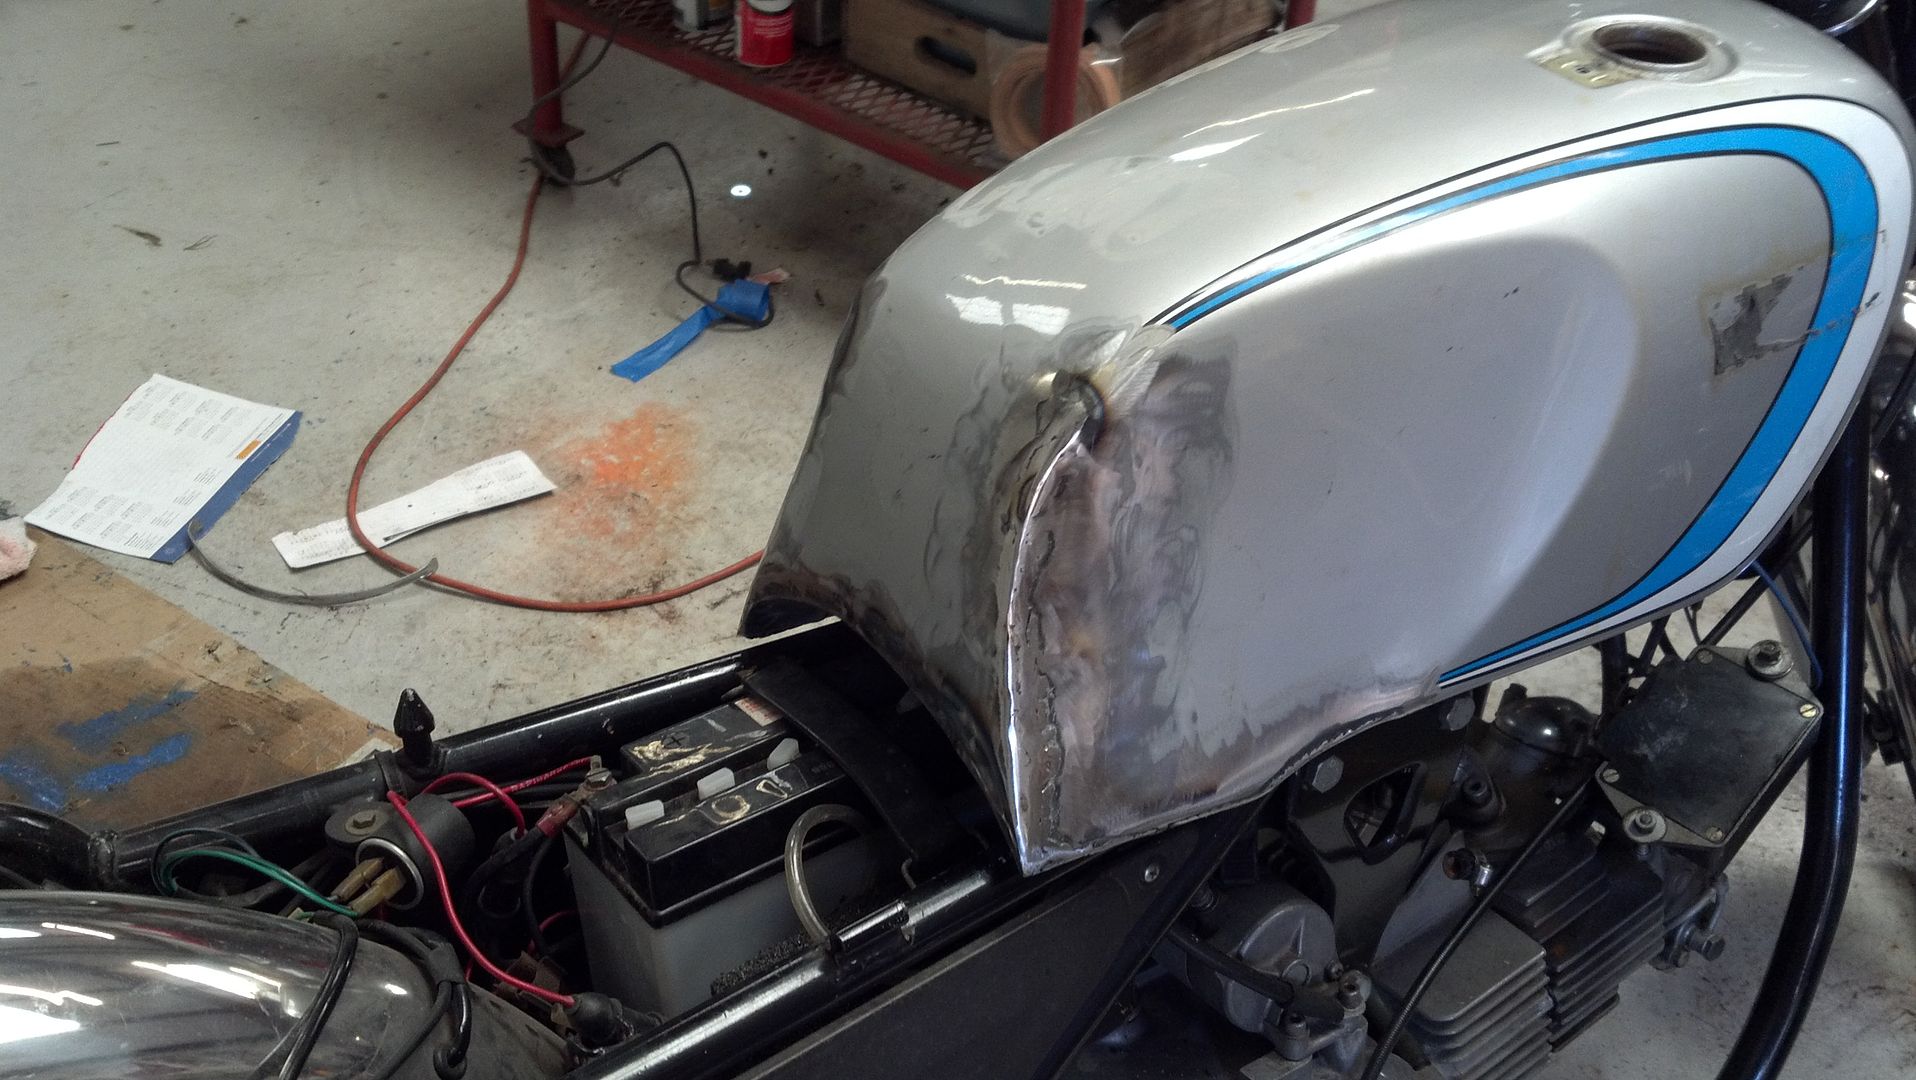
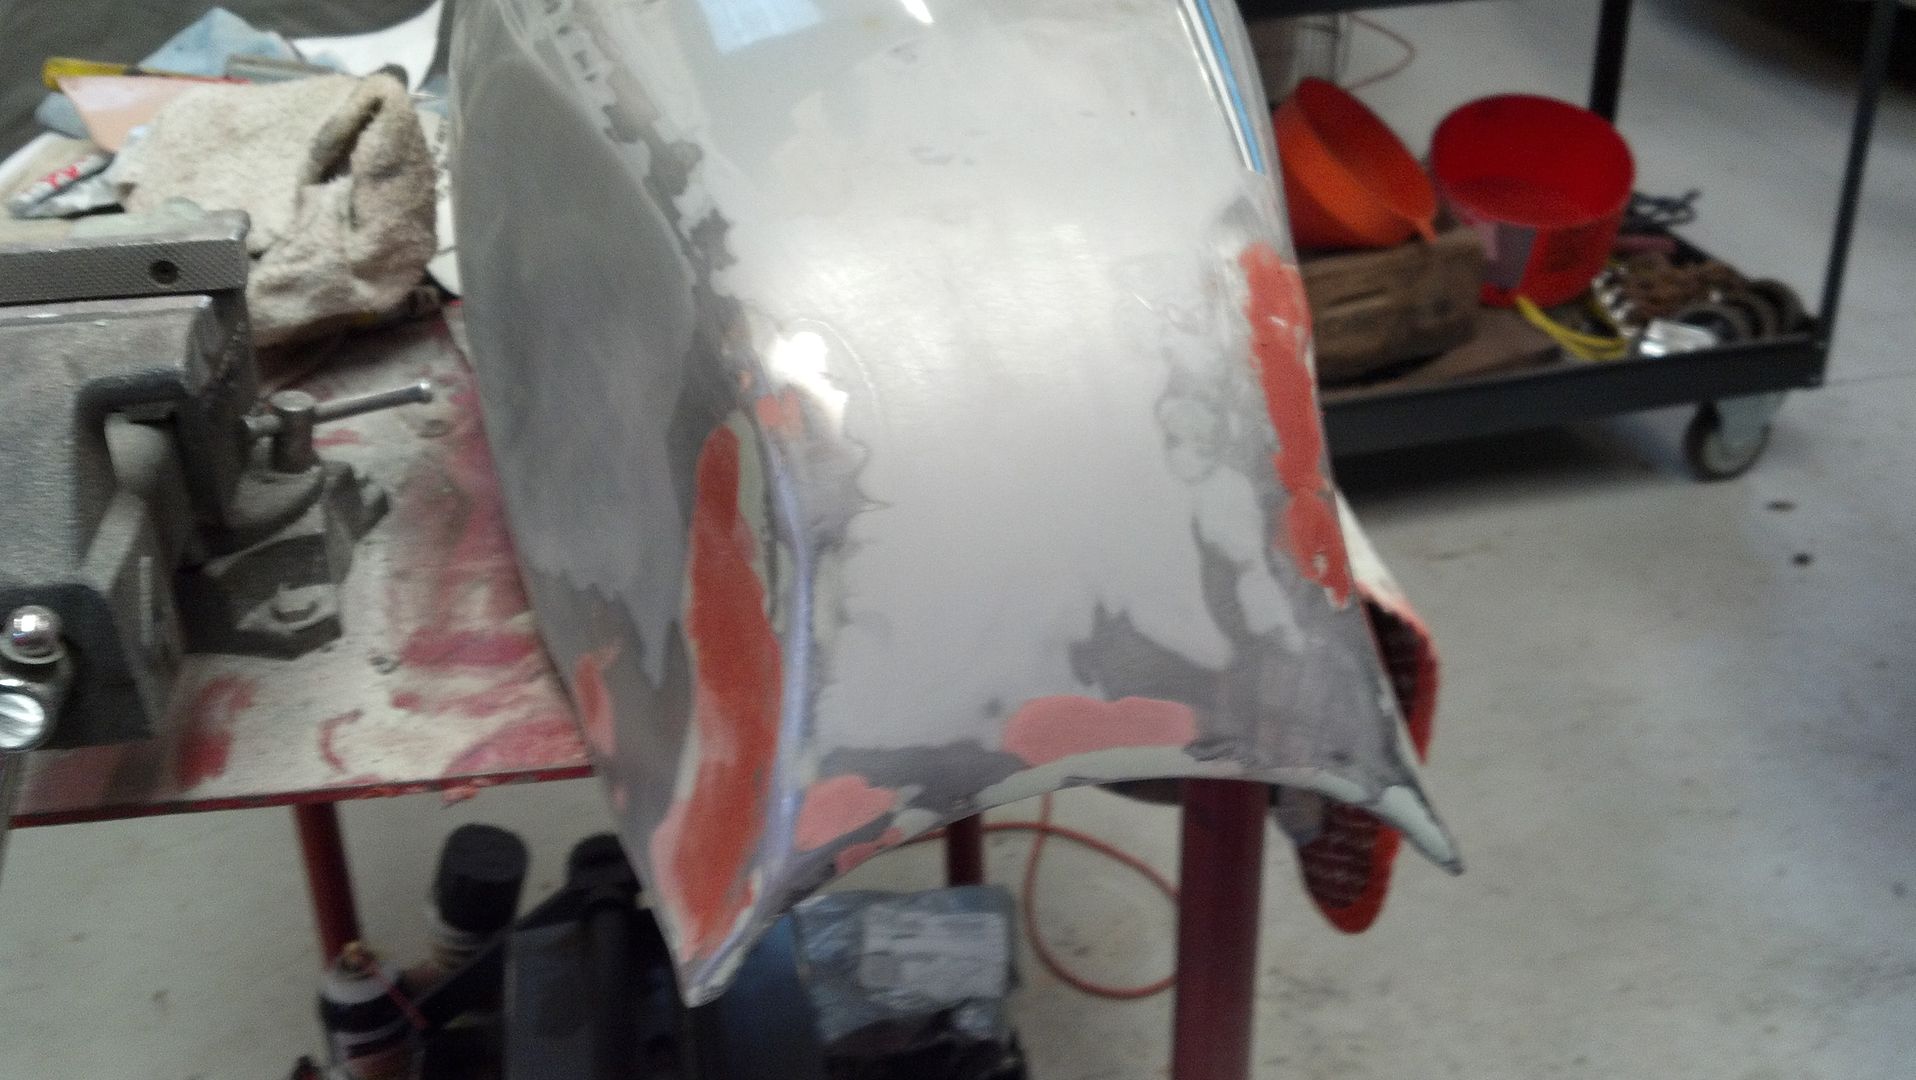
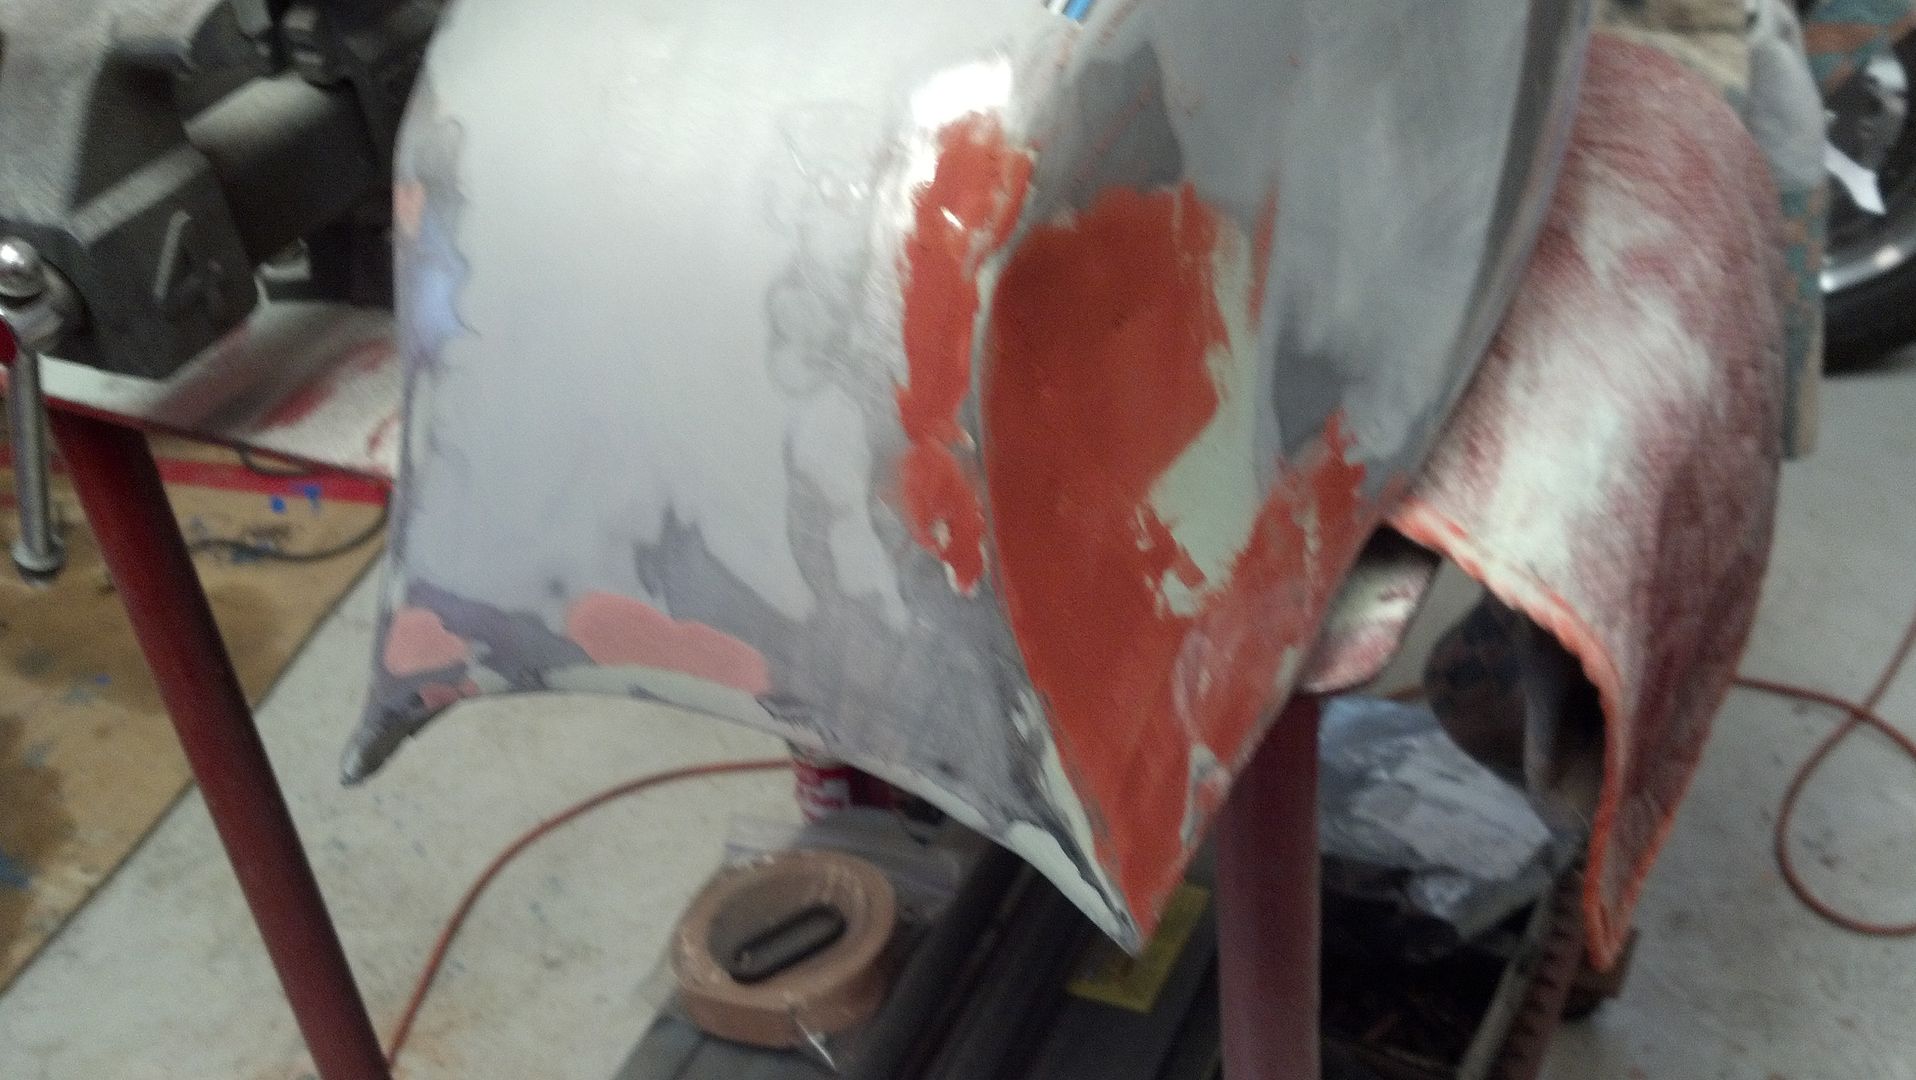
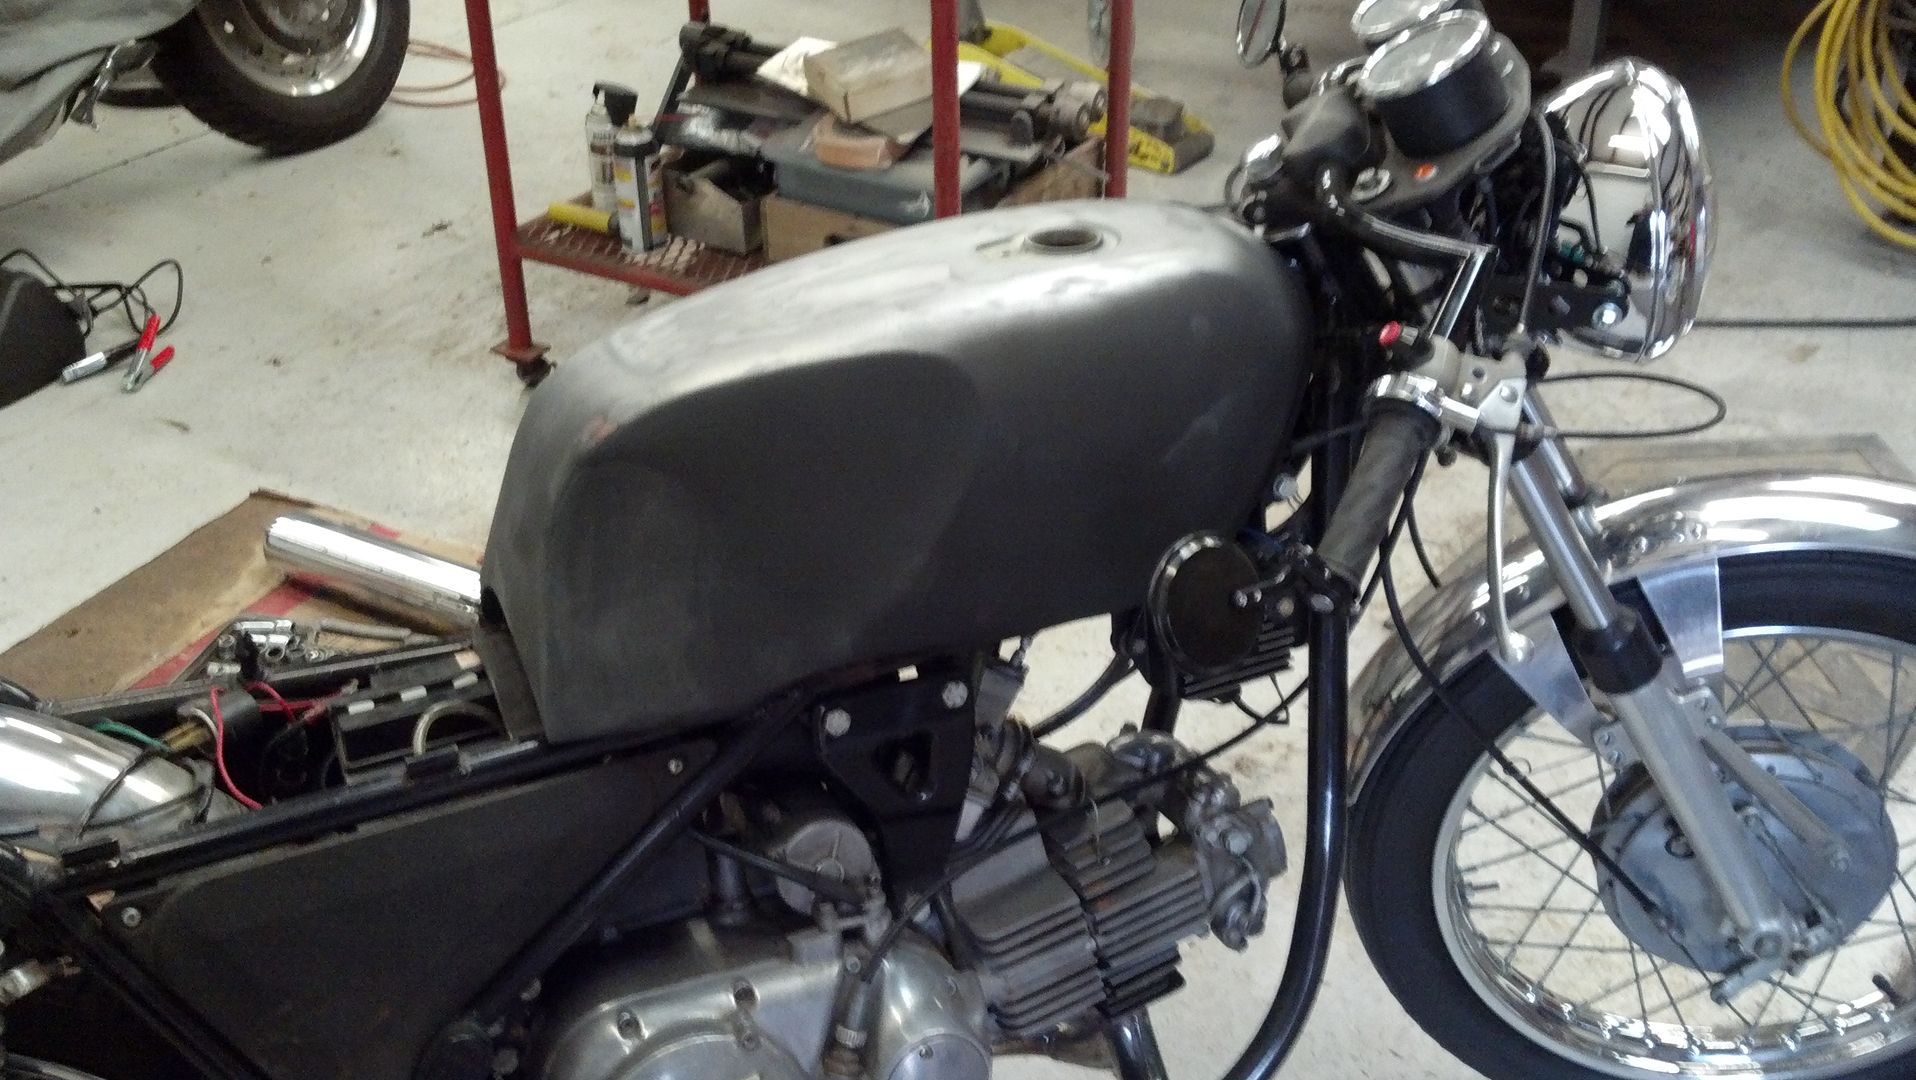
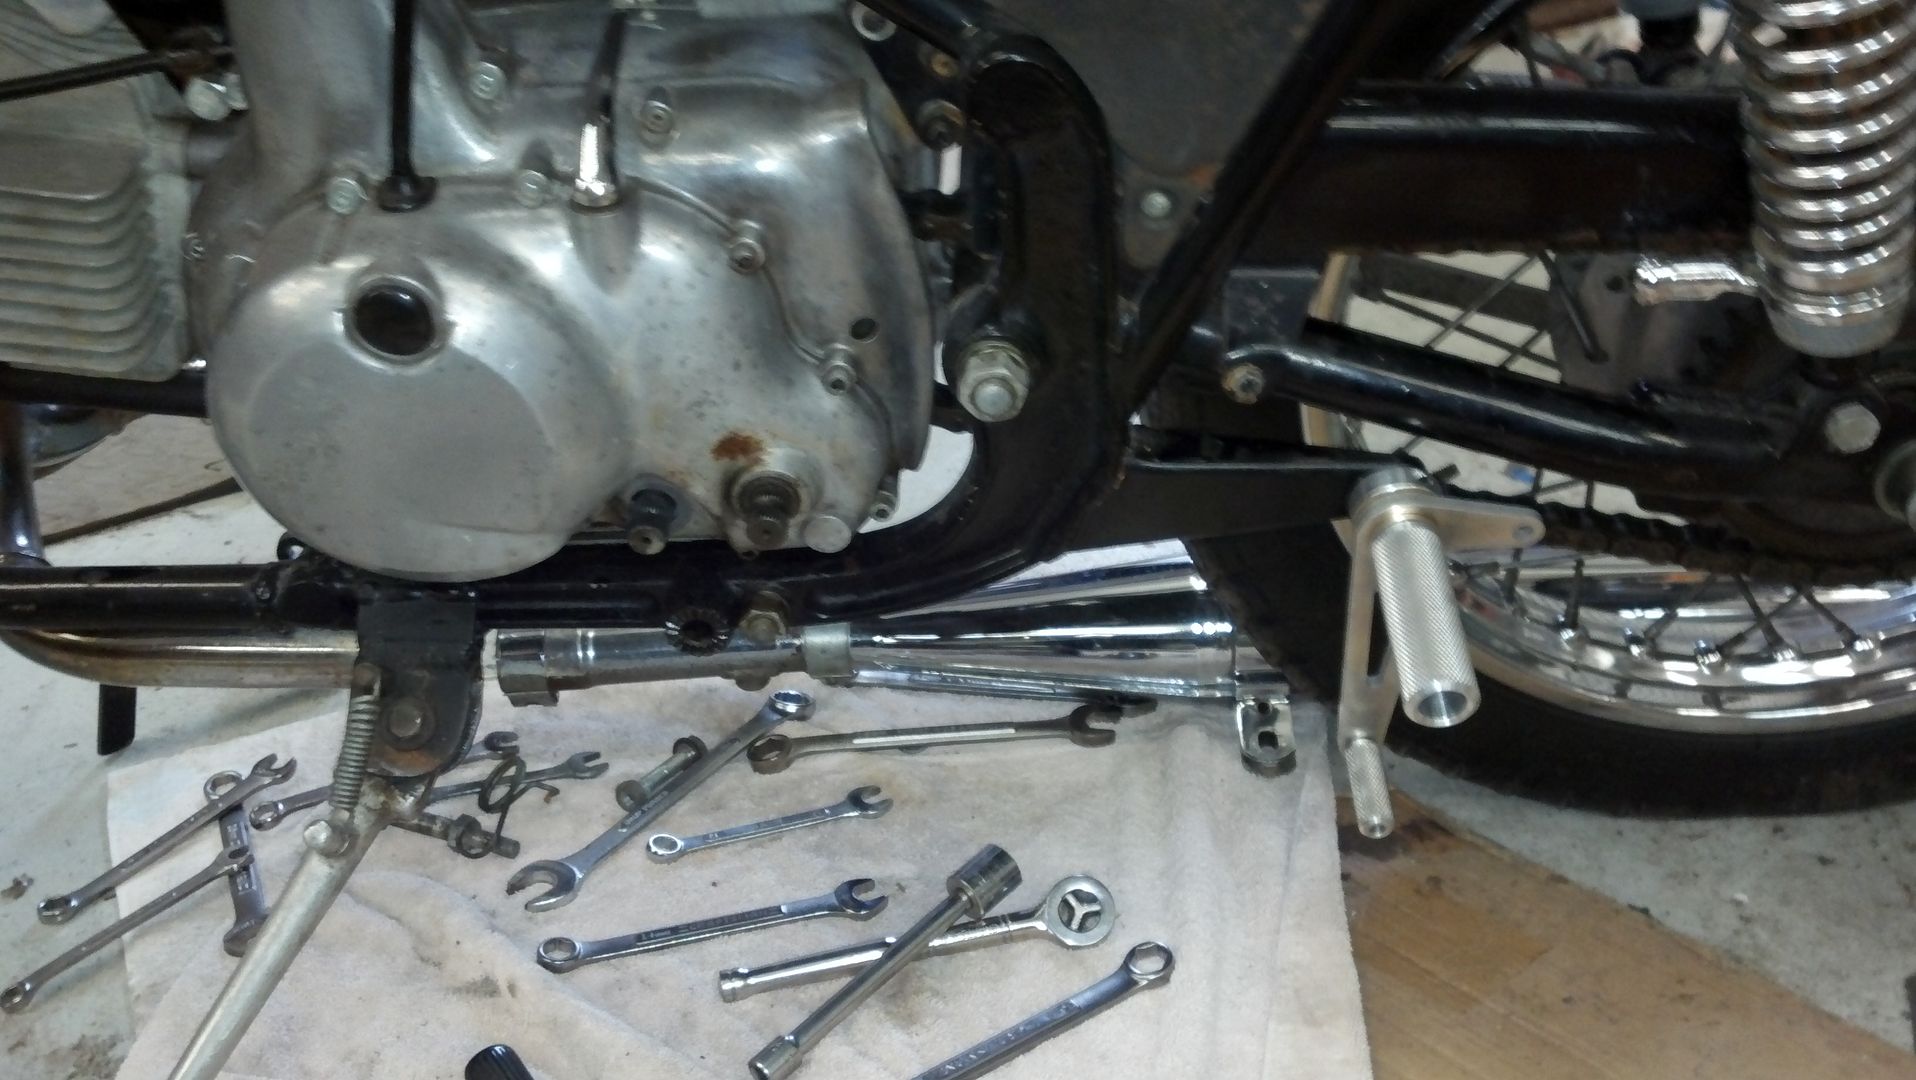
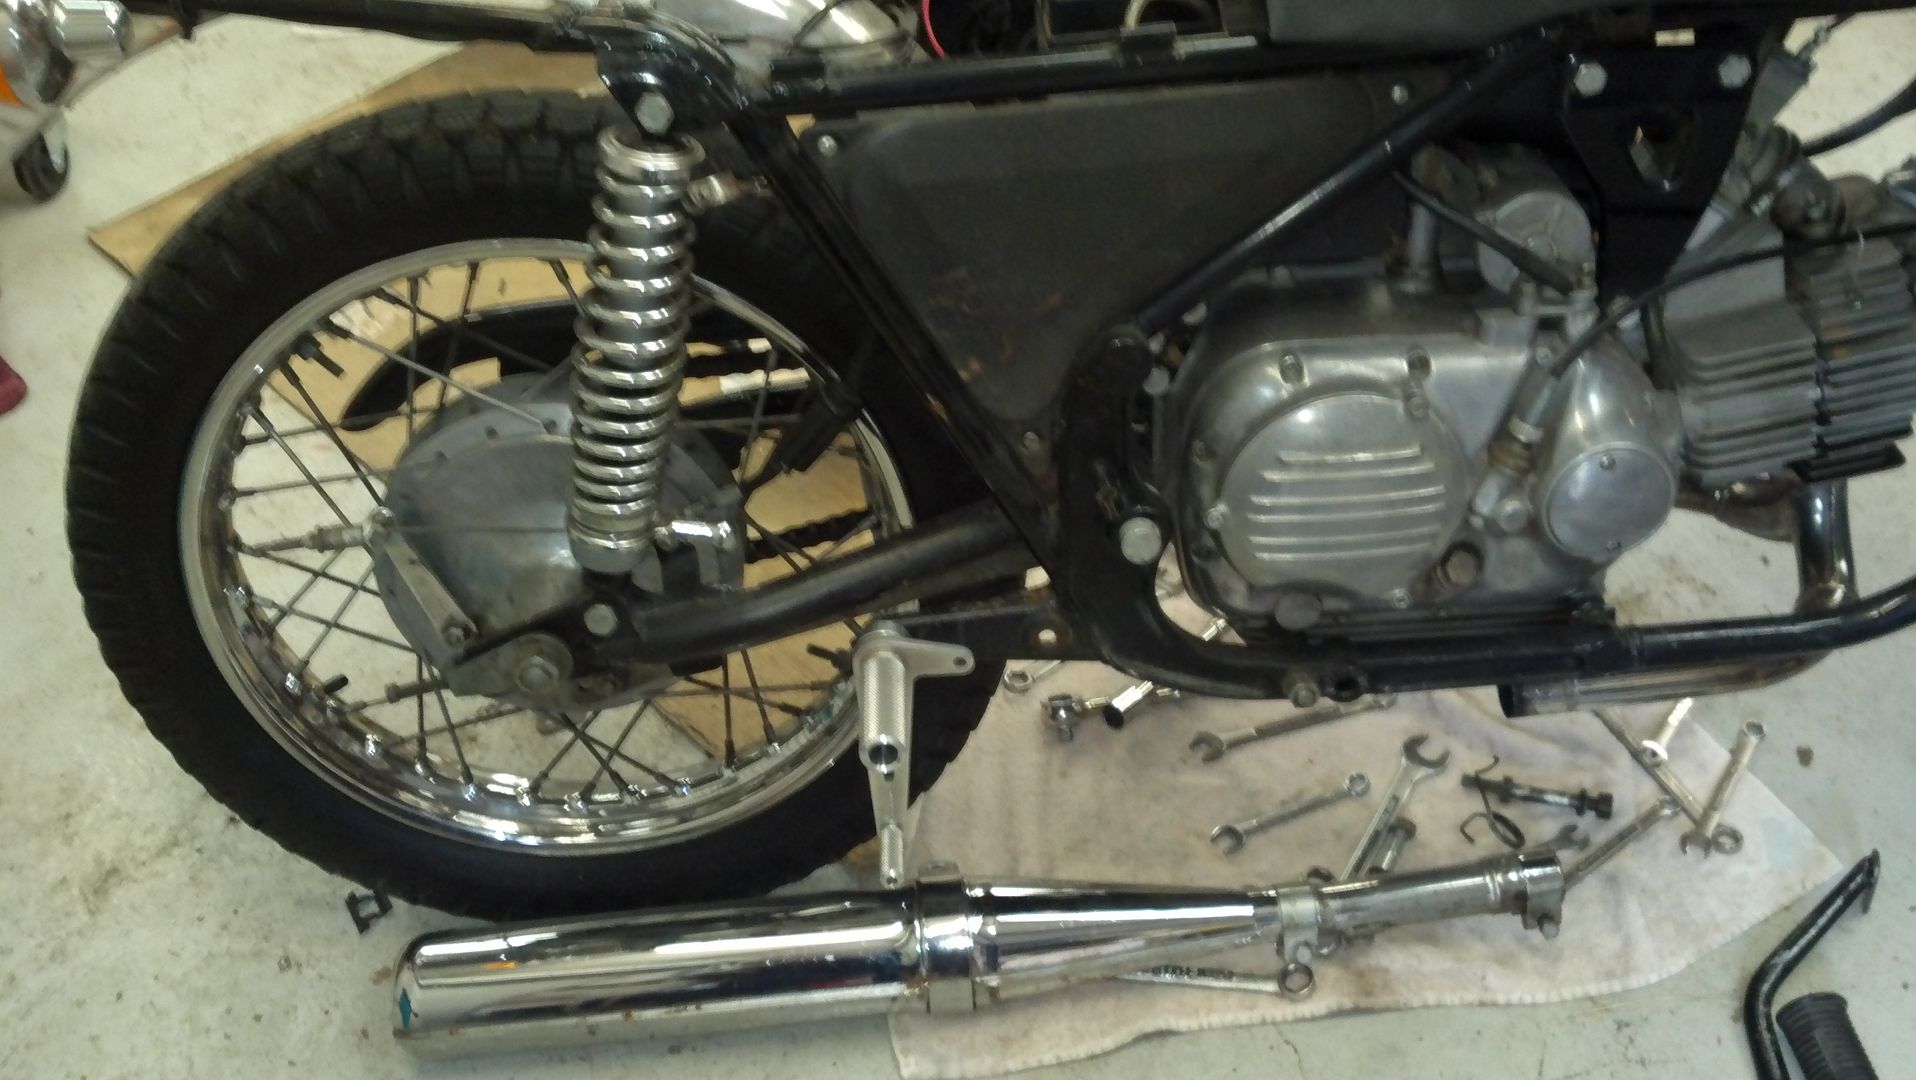
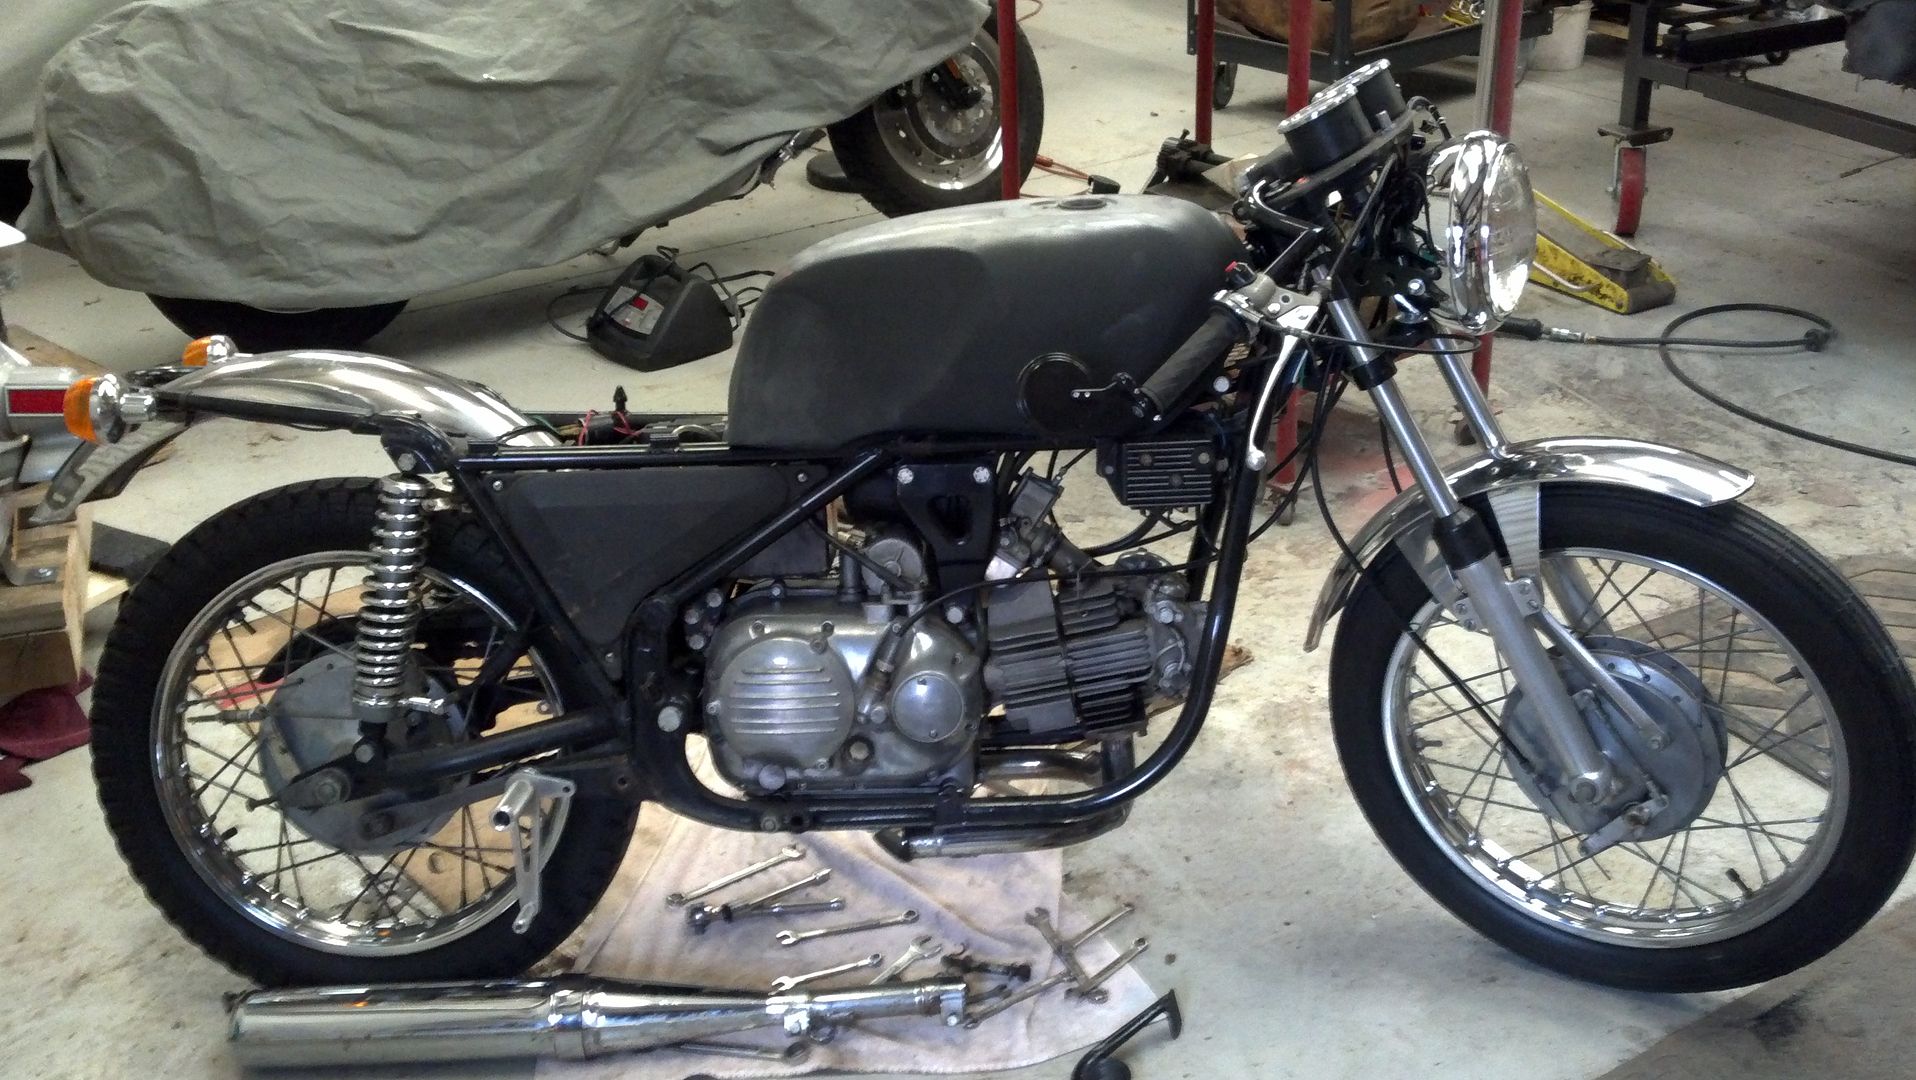
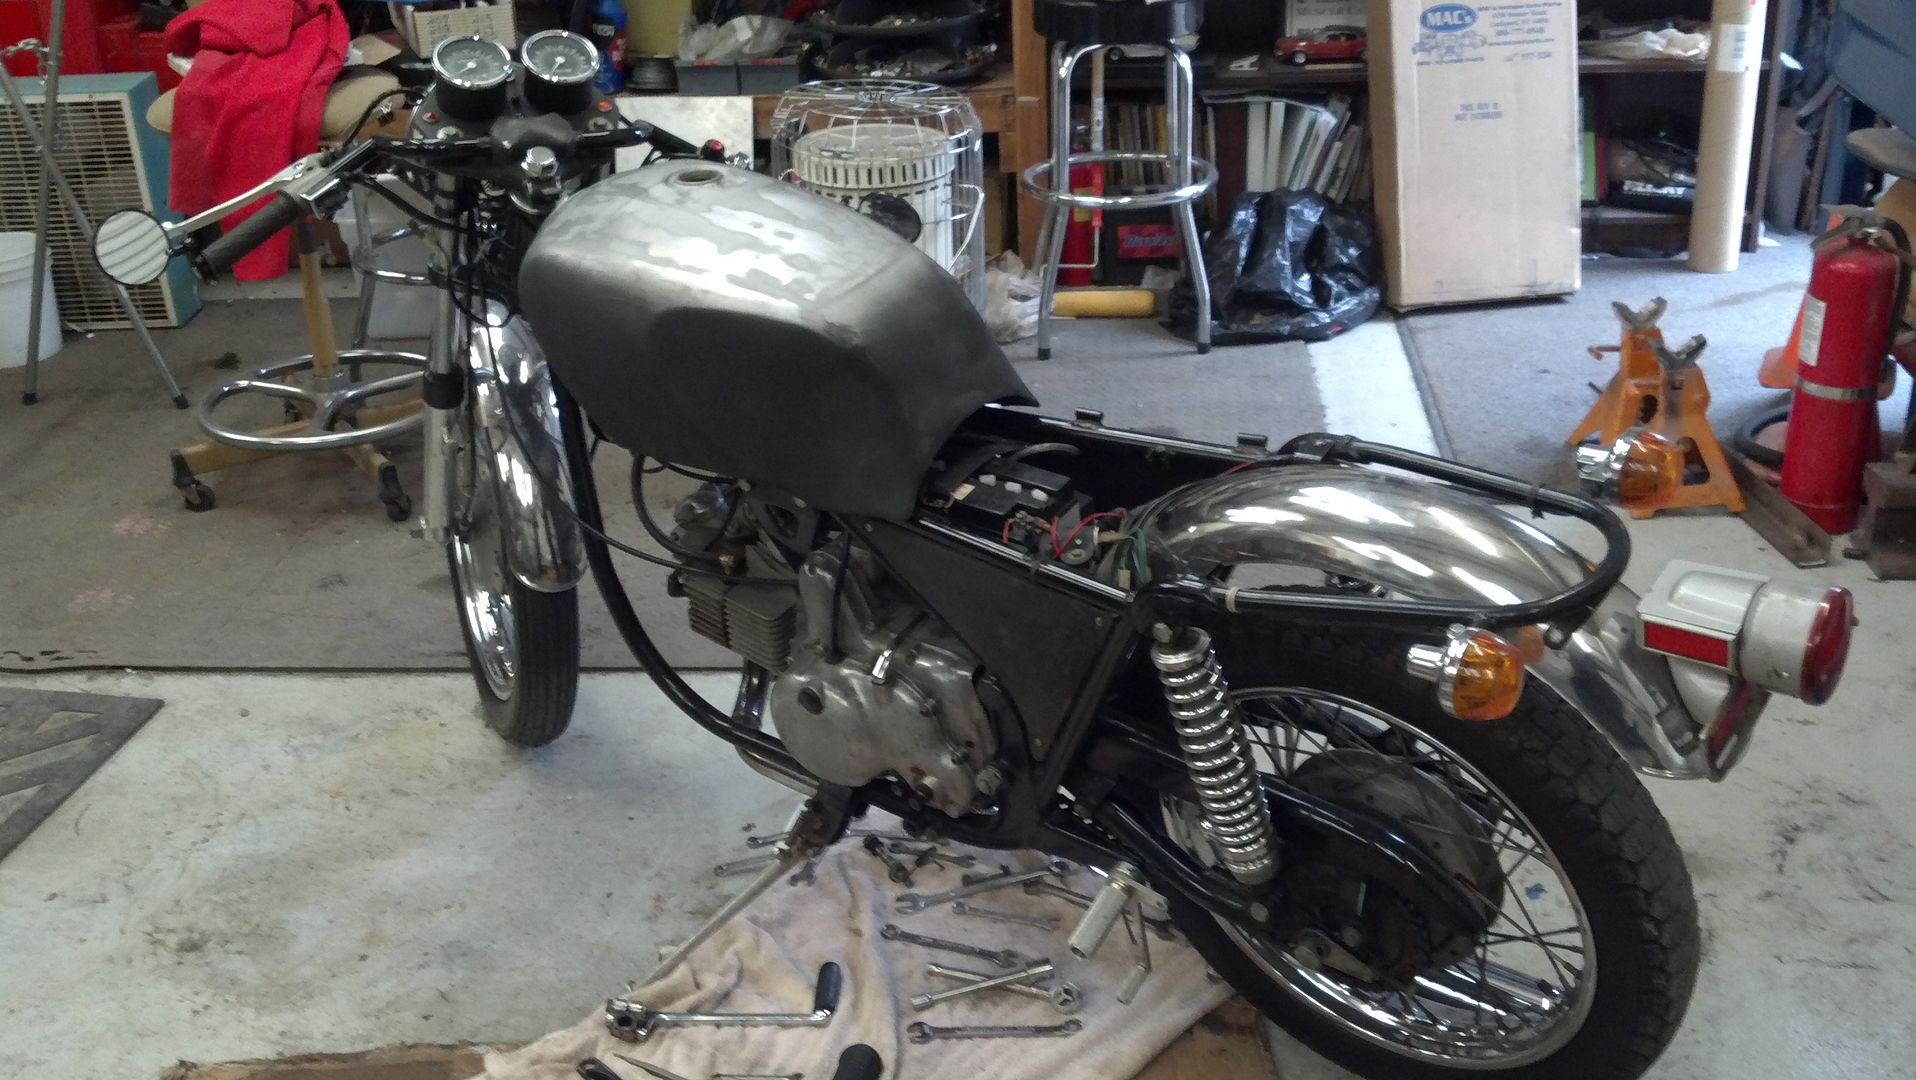
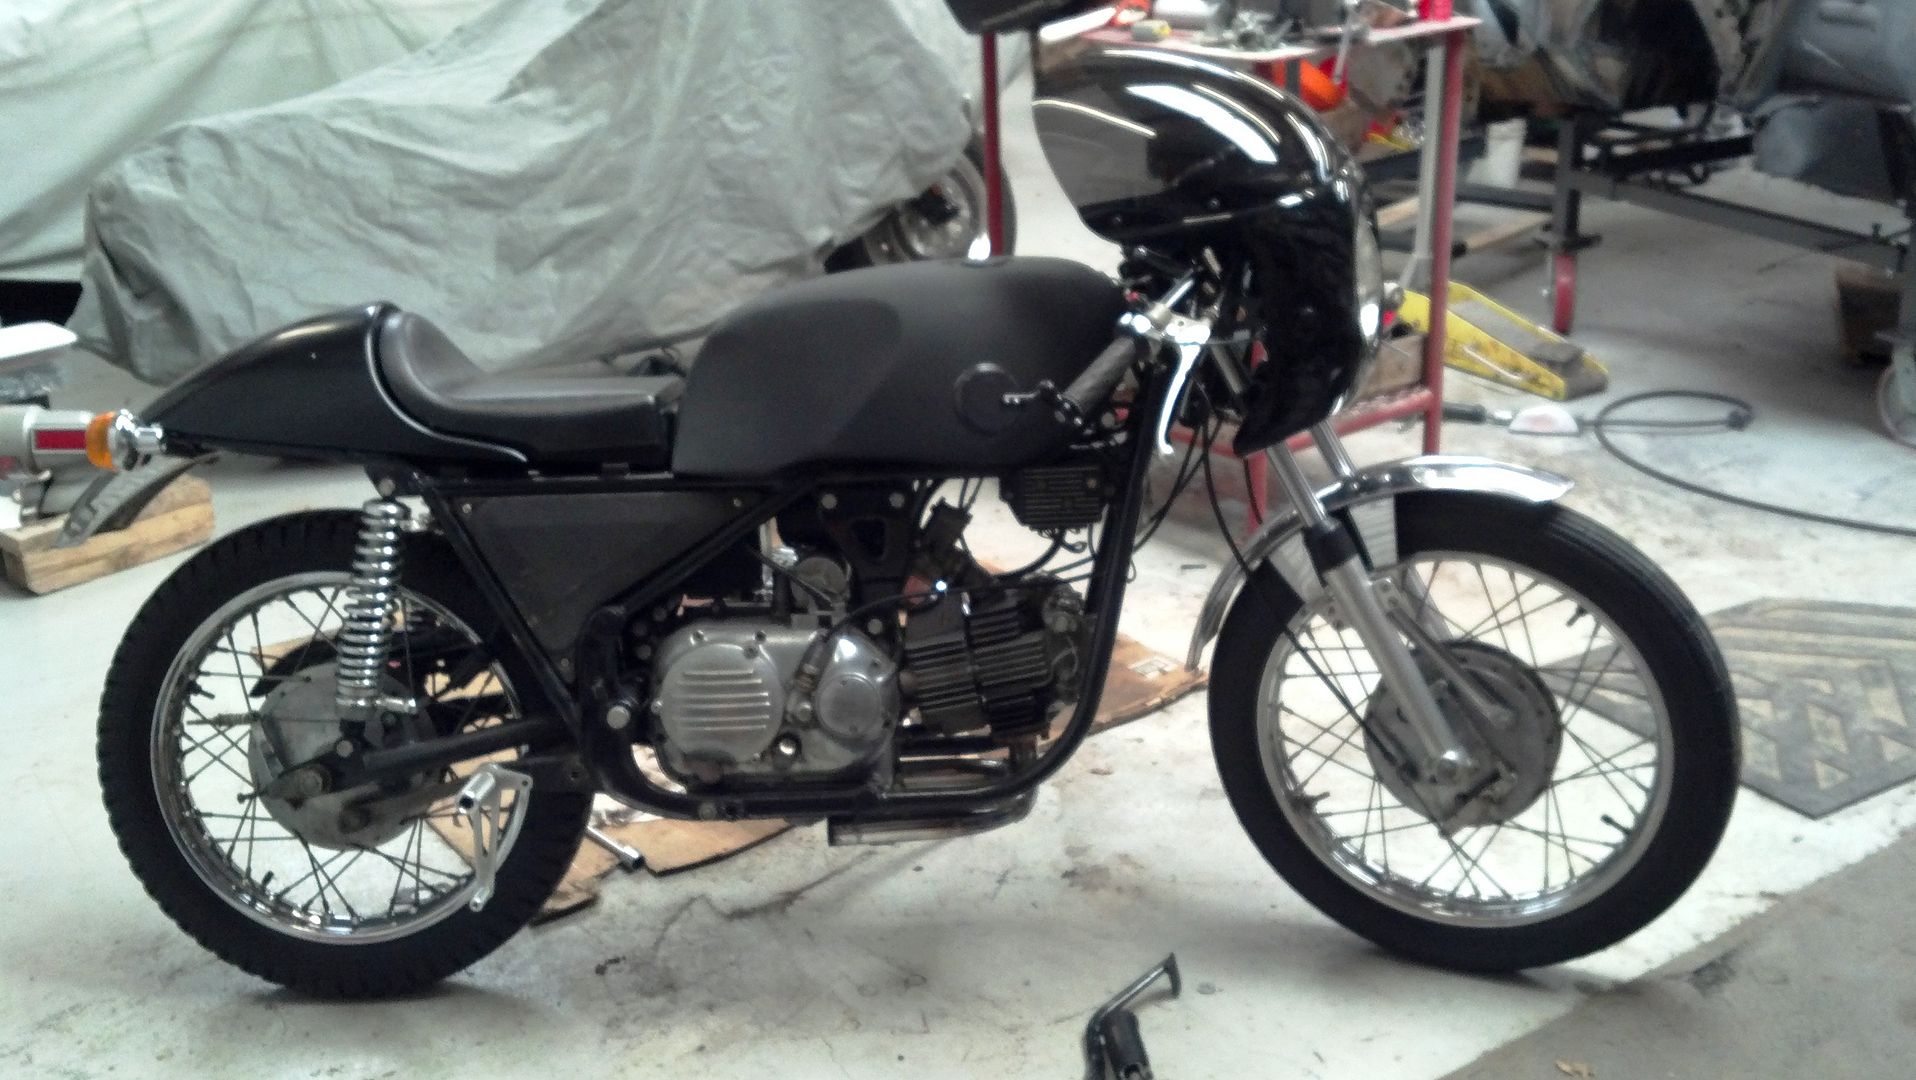
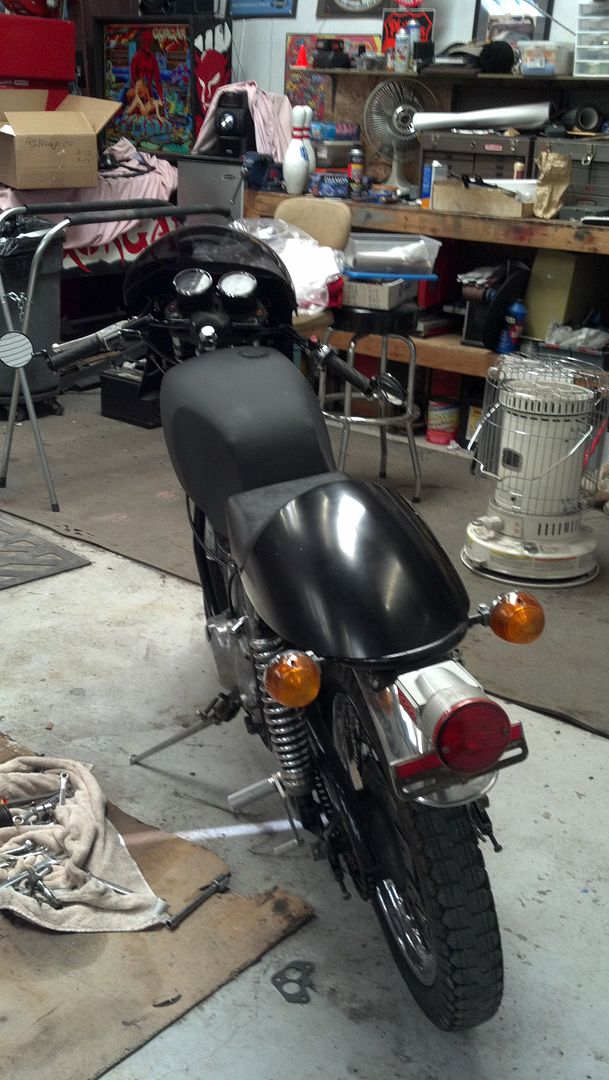
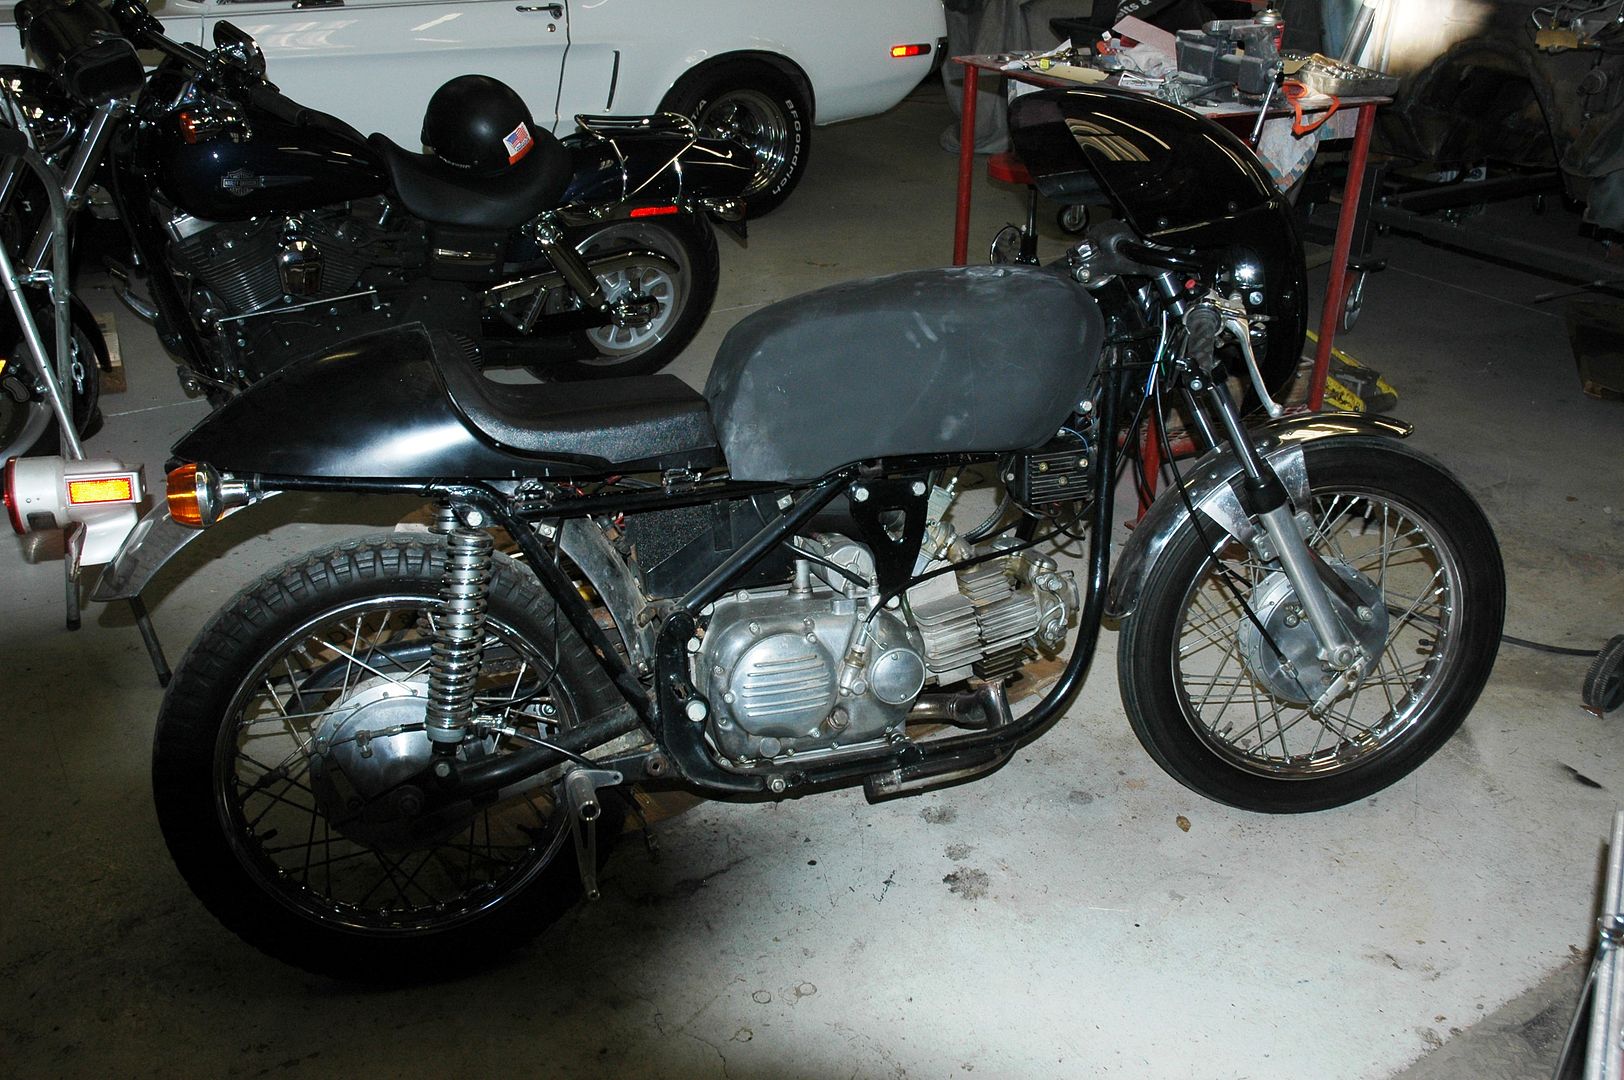
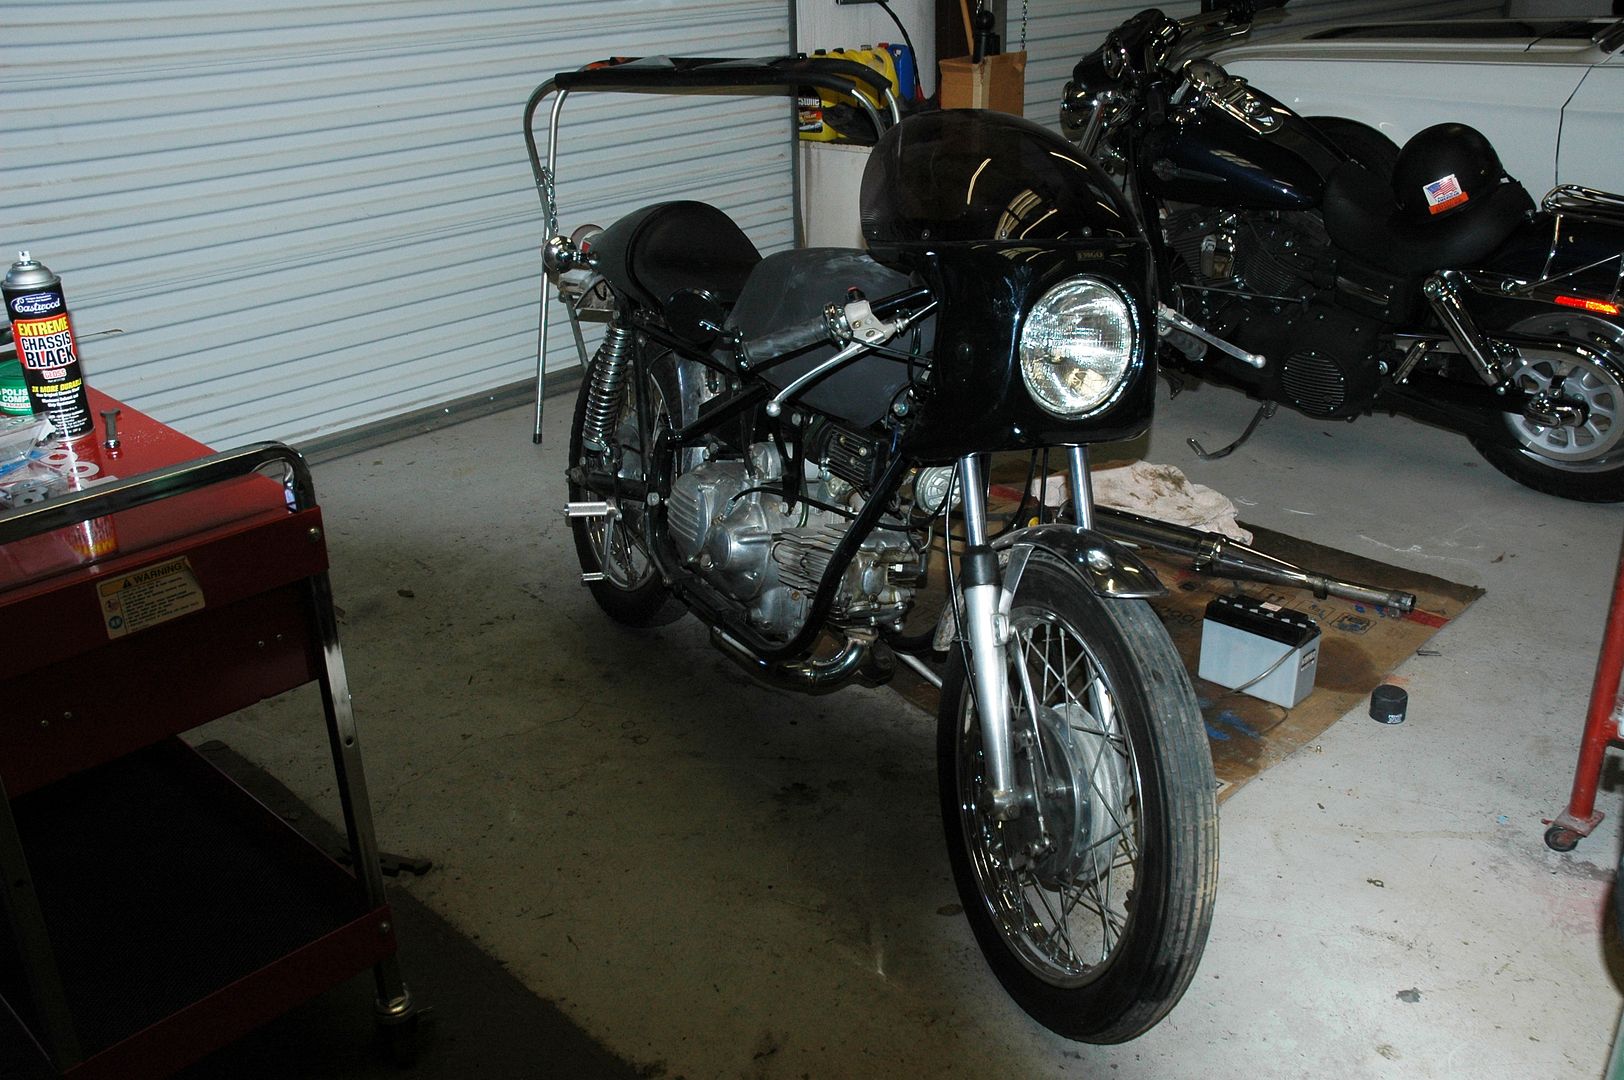
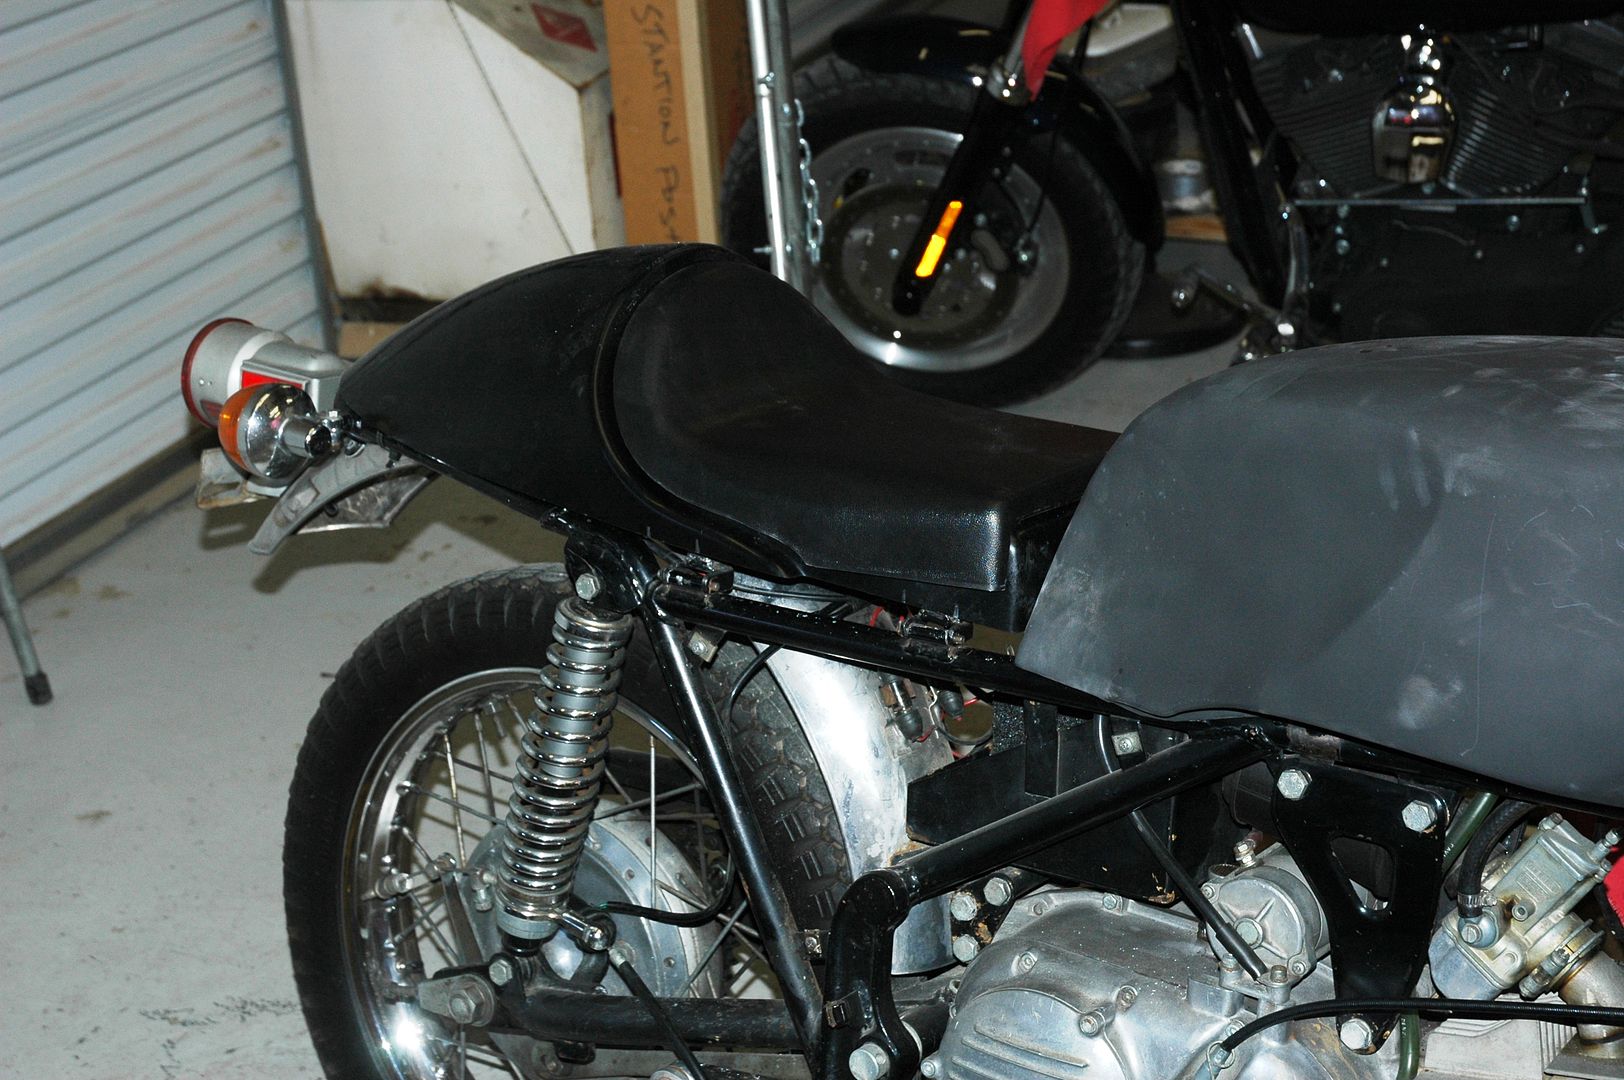
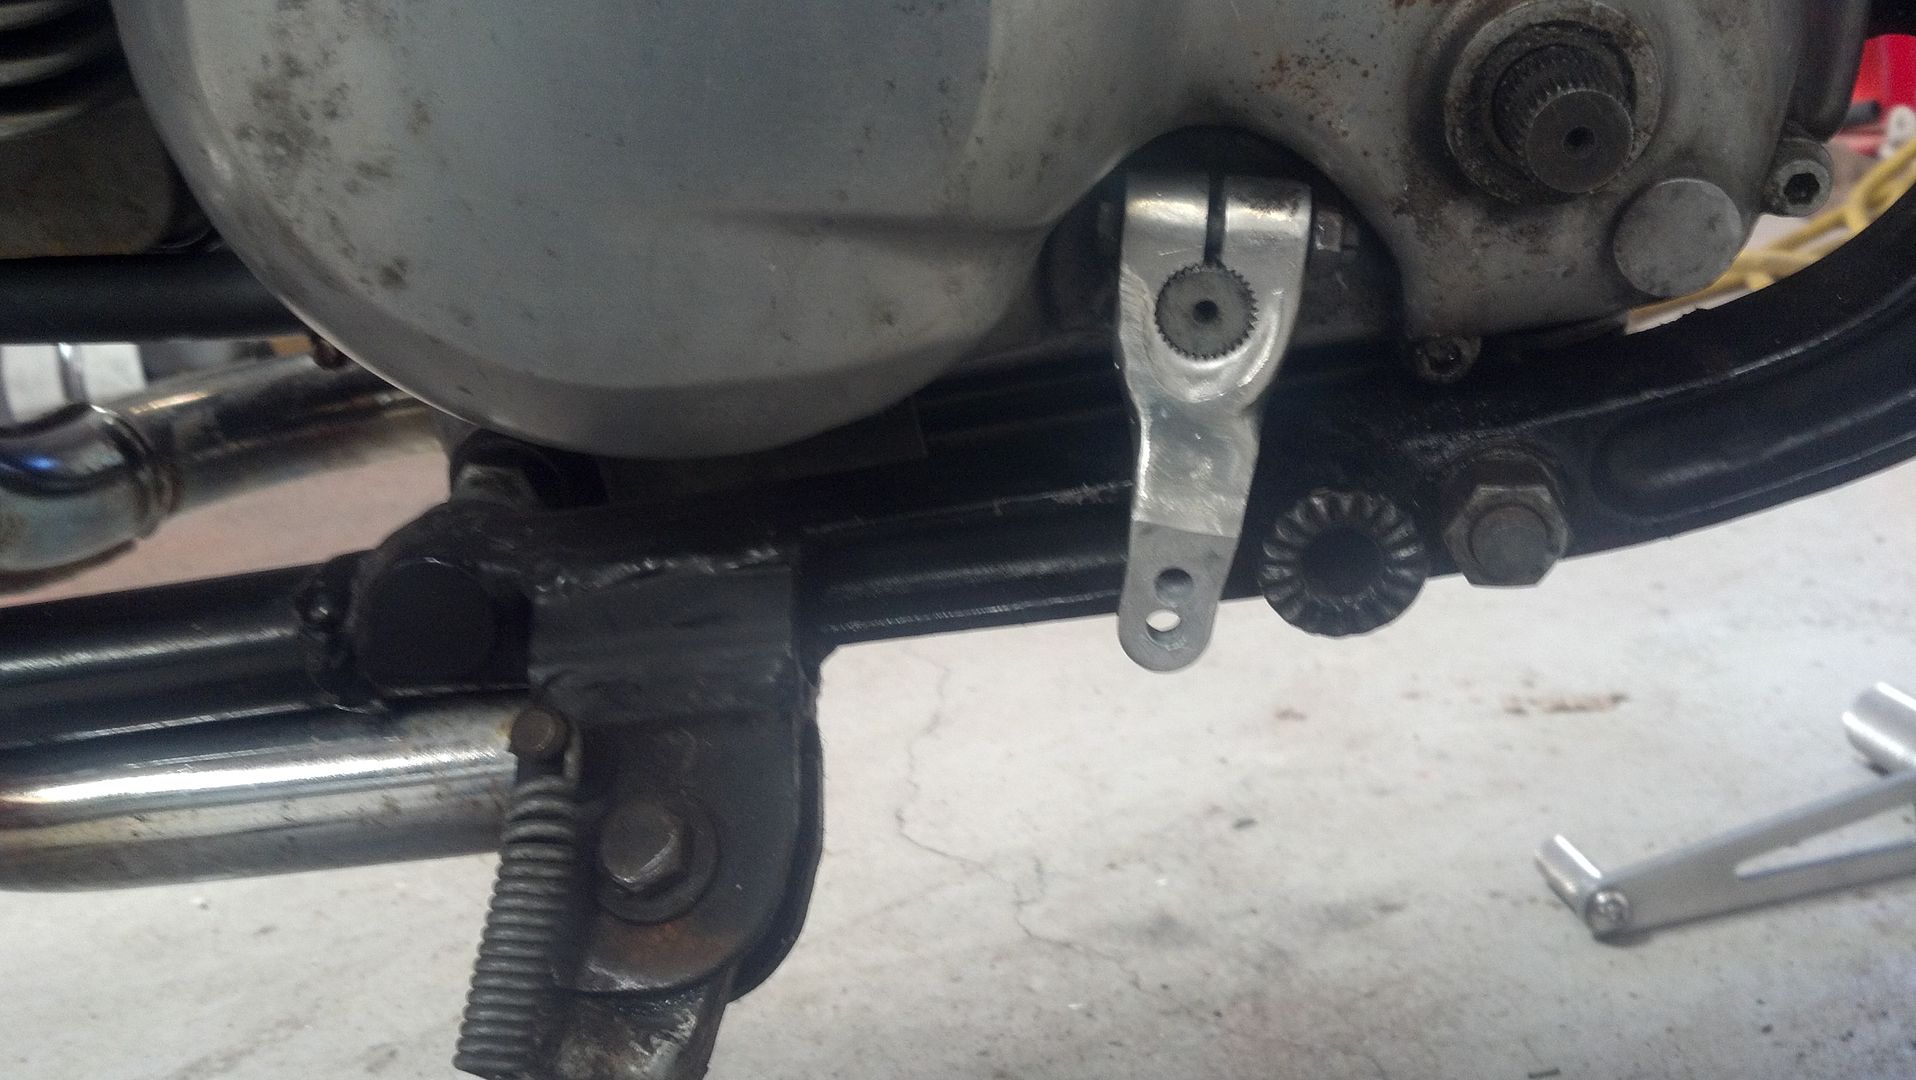
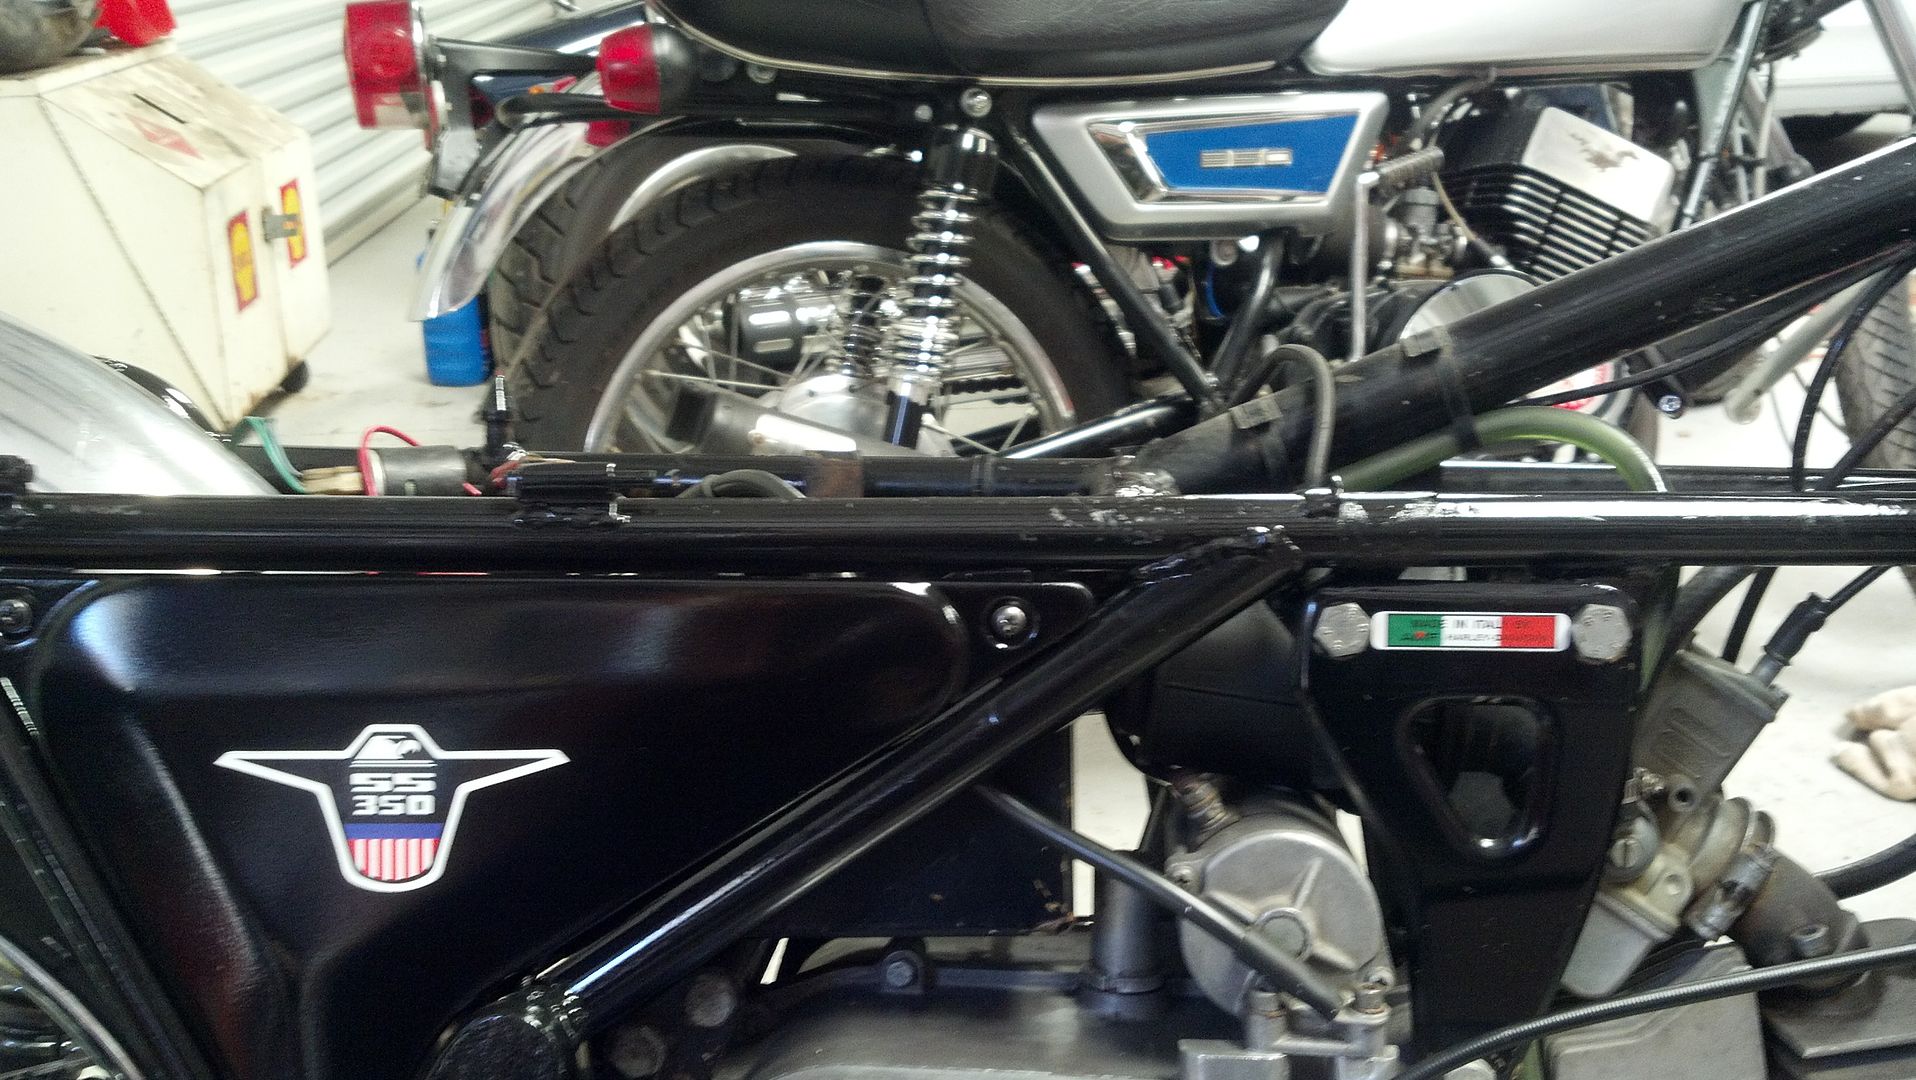
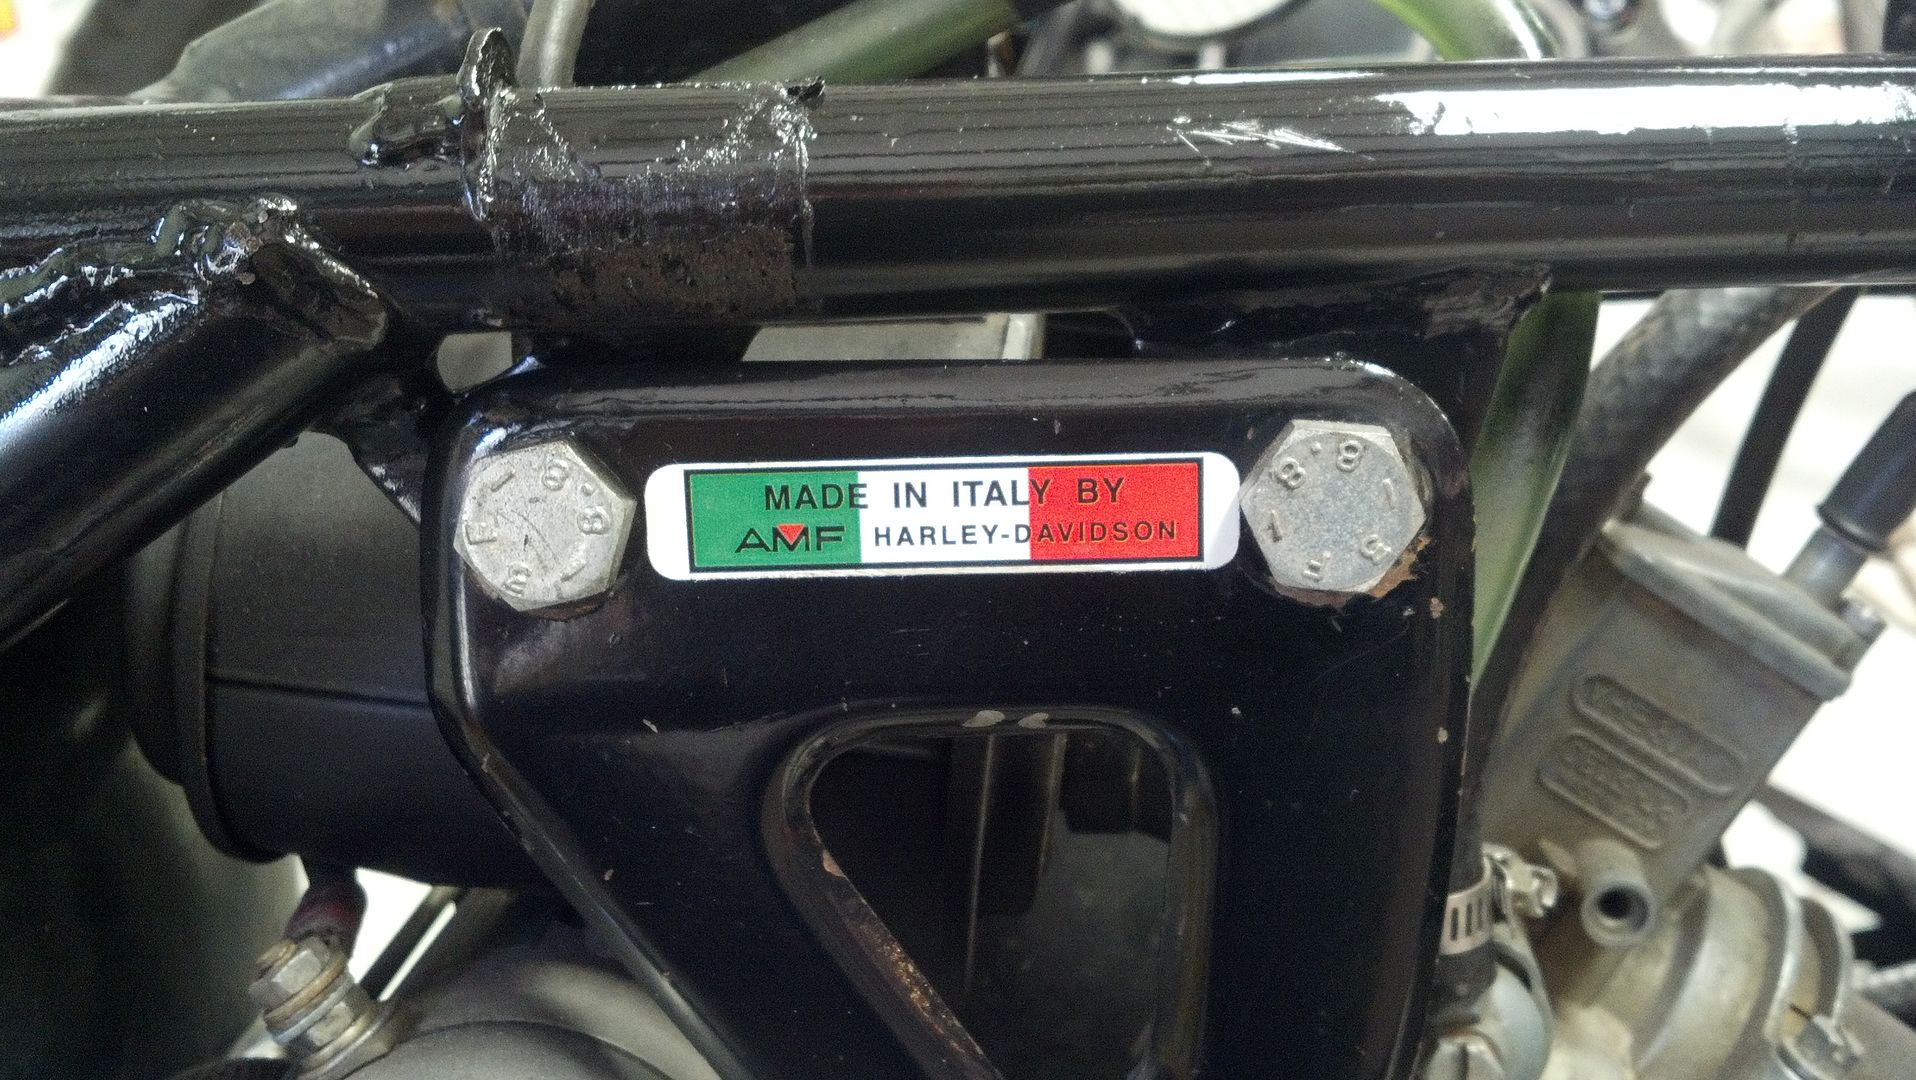
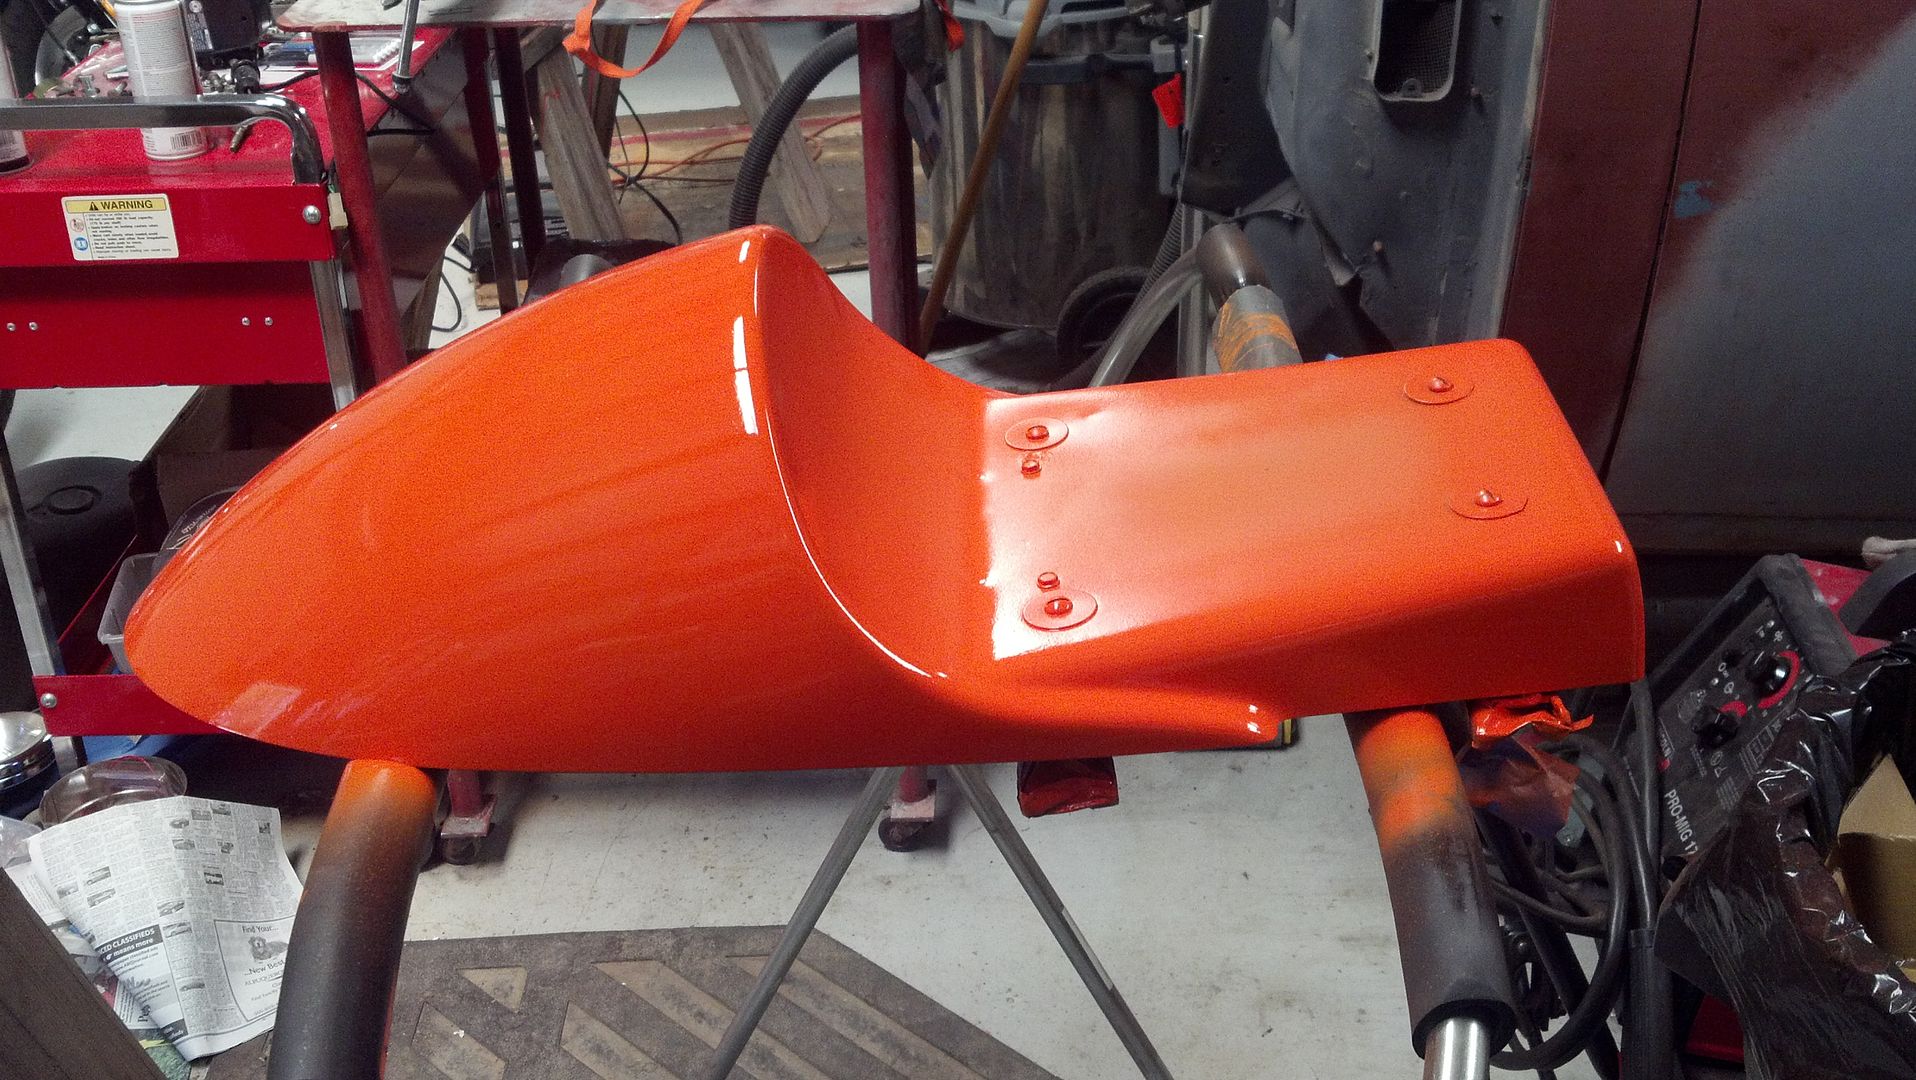
My 1974 AMF Harley Davidson Aermacchi SS350 I bought at the 2012 Mid America Vintage Motorcycle Auction in January. All original runs great. Almost a shame to turn it into a cafe racer. All the work will be bolt on so it can be turned back to stock.

photobucket-6774-1328396606412.jpg


photobucket-9172-1328396558734.jpg


photobucket-2390-1328396538092.jpg


photobucket-7554-1328396518808.jpg
 
The main objective of a Cafe Racer is to strip off all unnecessary items to lighten the bike and improve performance and handling. I'm going to leave the engine ans suspension stock and mostly focus on bolt on appearance items for the Cafe Racer looks.

Parts for Cafe Racer are easily found on many internet sites and ebay. If your lucky you might have a motorcycle salvage yard in your area to get parts and don't forget motorcycle dealers.

The first things I bought were Clubman handle bars with mirros and grips. The next was a Cafe fairing with windscreen. This was for a 7" headlight so I had to get one of those because the Aemacchi's was a small 5.5".

a6e1_12.jpg


The headlight came from a local motorcycle shop. The salvage yard didn't have and bottom stud mount headlights available. This one is from Custom Chrome.
26_477_outline7rce.jpg
 
Once I installed the Clubman bars and 7" headlight I mocked up the fairing to see how it fit and what I would need to mount it.
005.jpg


006.jpg


003.jpg


End mount mirrors for the bars.
010.jpg


I found some mounts that clamp to the forks and bent up some tabs the go from the fairing to the mounts
070.jpg


I used some plastic covers for license plate frames to cover the screws on the fairing
072.jpg


073.jpg
 
I found a tank at the salvage yard that was similar to Rickman, Dunstahl or Norton Manx tank but didn't cost $400. I will need to shorten it 2.5" and narrow the rear ro fit the race seat better. This is from a mid 80's Yamaha Seca.
KGrHqRiQE7DUNlNEwBPkVi5H5g60_12-1.jpg


KGrHqNpkE7BcvhJhBPkVHo60_12-1.jpg


Here's the seat I got for it.
CFltegBGkKGrHqEOKjcE0rl-roBNVpdCuuZg_12.jpg
 
I cut about 2.5" out the tank and just bent the flap down to make a flatter end on the tank. I also cut slits on the bottom ao I can push the side in and make it narrower.

064.jpg


068.jpg


The tank is just sitting on the frame right now so I can see what else I need to cut out and then I need to make front and rear mounting tabs on the tank. I need to move the sides in about 2" on each side remove the curve at the back

069.jpg


067.jpg


065.jpg


075.jpg
 
they made them in 250 and 350, a old buddy had i of each back in the 70's always thought they where cool. didn't they use one in a james bond movie? aren't they italian?
 
Welded on some mounting tabs to the tank. Tapped the tube that weld the original tank on so I can bolt the tank on.
tanktab.jpg


Finished welding up the tank and ground the welds down.
2012-02-26_15-06-53_814.jpg


Slapped on some filler and body putty. Ready to finish sanding and spray.
2012-02-26_17-02-11_722.jpg


tank.jpg
 
Finished the tank and started to prime it last week. Too cold this weekend to finish it. No it's not going to be flat black. Gloss Black and Orange.

Macchi1.jpg


Removed the front and rear foot pegs, shifter, starter and brake. I will install rear sets for the shifter and rear brake. Mocked up the rear pegs. They will need to go back a few more inches.
Macchi3.jpg


Macchi2.jpg


Macchi5.jpg


Macchi4.jpg
 
Started on mounting the seat. I wanted to make it open and latch using the factory mounting hinges and latch.

Made some hinges.
002-1.jpg


001-1.jpg


Made the front cross brace for the seat. I still meed to attach it.
003-1.jpg


004-1.jpg


005-1.jpg
 
Finished up the seat frame and latch and got it mounted to the seat pan.
0032.jpg


0022.jpg


0042.jpg


I'm going to mount the rear set where the rear foot pegs were. They seem to be OK in that position. I still need to get a brake cable made for the rear or flip the crank on the drum and run a rod.
I also need to modify the shifter into a crank and flip it upside down and make a rod for that.

What else, wire up the headlights, front turn signals, remove the rear fender and new tail light.

0112.jpg


0102.jpg


0062.jpg
 
i gotta extra 250 sprint motor ,should you decide ya need another one

No, but thanks for the offer.

Got the shifter hooked up. I had to make a shift arm for it out of another shift lever and shift arm. I just cut the splined mounting piece of the lever and the arm off the shift arm and welded them together.

2012-04-06_10-45-06_349.jpg


2012-04-06_11-21-35_63.jpg
 
Last edited:
Did a quicky paint job on the frame and added some stickers.
2012-04-13_14-17-09_504.jpg


2012-04-13_14-17-20_462.jpg


2012-04-13_14-17-15_767.jpg


Got a couple of coats of orange on the seat pan. I'll wet sand this and add one more coat before I paint a black stripe down the center. Tank will match this.

2012-04-13_14-17-37_949.jpg
 

Latest posts

Back
Top