
Gastrick
One of the Dirty Dozen!
NOTE: I started this little project before I learned my son was ill. I planned to complete the console before posting but have to decided to go ahead and start the thread and post updates as time allows. So be patient and check for updates. The finished piece should be pretty cool.
There may be 50 better, or more efficient ways of doing this, but this is how I get it done when I need a shape that is too complex to form from wood. Unlike our own Bonehead and a few others, I'm not skilled enough to hand form these items in metal. I've also used this same method for making fiberglass scoops and other miscellanous covers and items.
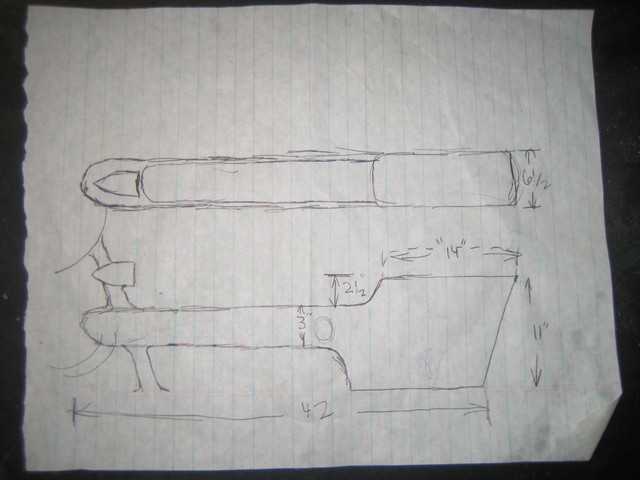
I decided to build my dad a console for his 1951 Mercury as part of the interior makeover. I doodled a crude rough sketch on paper for his approval. He gave me the "go ahead".
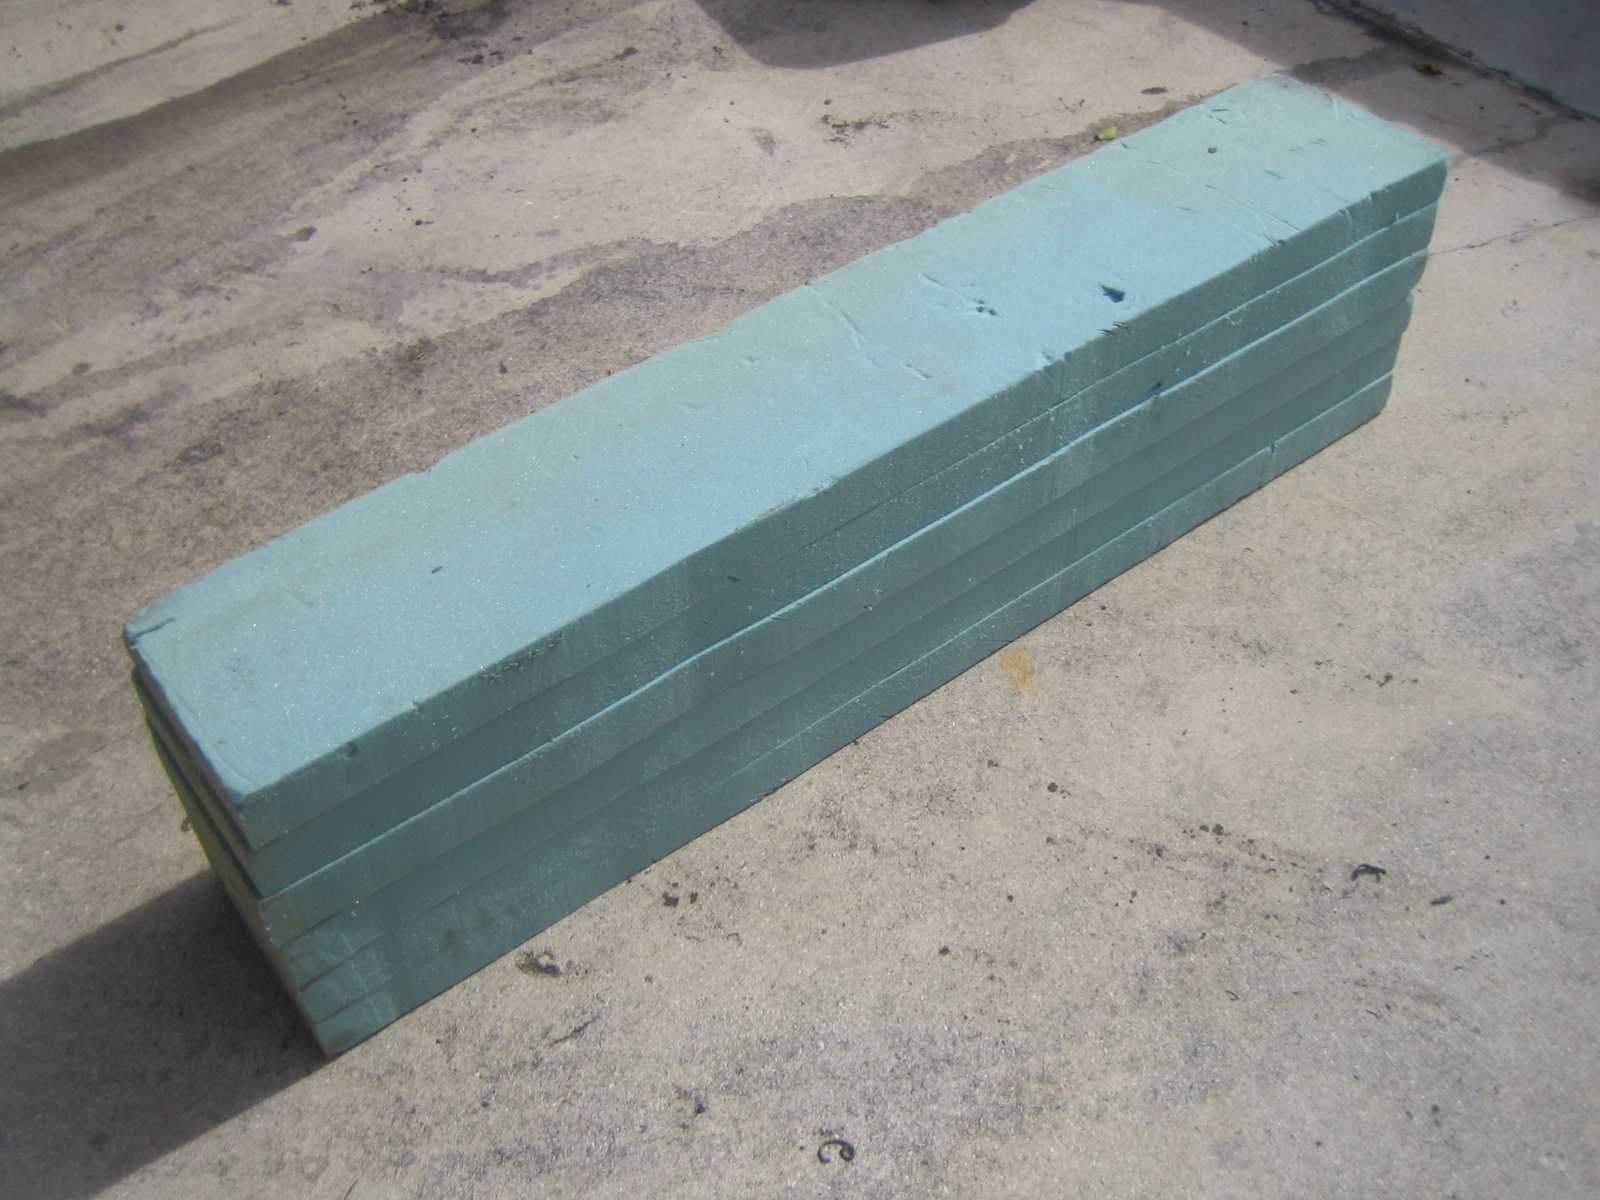
I started by gluing some foam together that was slightly larger than the overall planned dimensions.
I used an electric meat carving knife to form the basic shape. The electric knife makes for quick work here. Important safety tip - Sneak the knife out of the kitchen in order to avoid the wrath of the the female grouchasaurus.

There may be 50 better, or more efficient ways of doing this, but this is how I get it done when I need a shape that is too complex to form from wood. Unlike our own Bonehead and a few others, I'm not skilled enough to hand form these items in metal. I've also used this same method for making fiberglass scoops and other miscellanous covers and items.
I decided to build my dad a console for his 1951 Mercury as part of the interior makeover. I doodled a crude rough sketch on paper for his approval. He gave me the "go ahead".

I started by gluing some foam together that was slightly larger than the overall planned dimensions.

I used an electric meat carving knife to form the basic shape. The electric knife makes for quick work here. Important safety tip - Sneak the knife out of the kitchen in order to avoid the wrath of the the female grouchasaurus.


 )
)


