Batwood
Active member
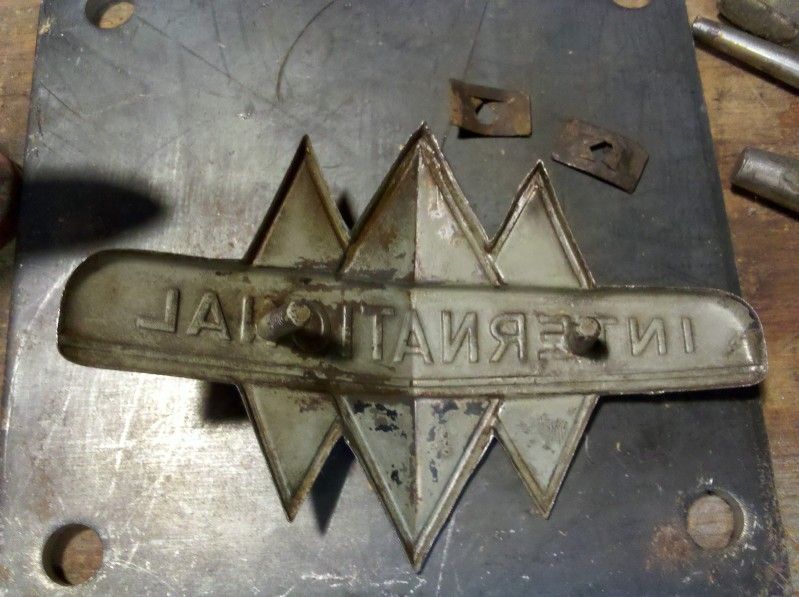
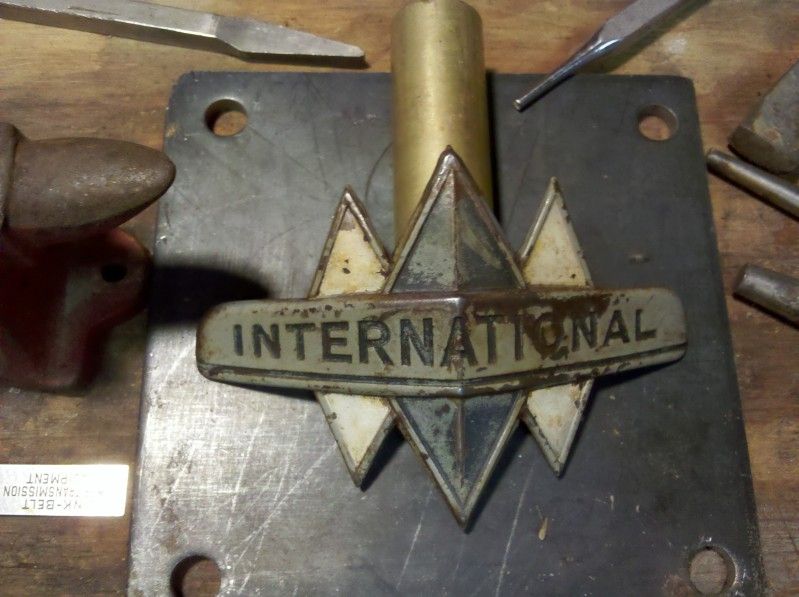
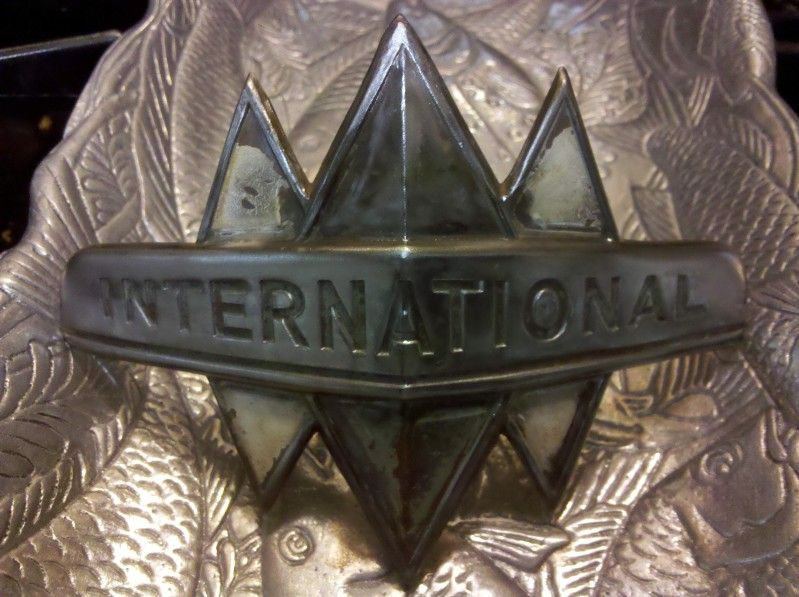
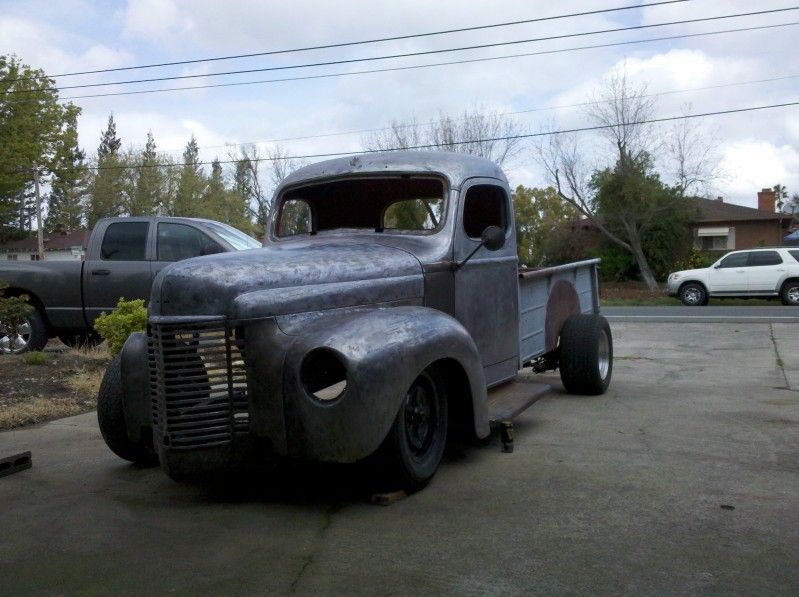
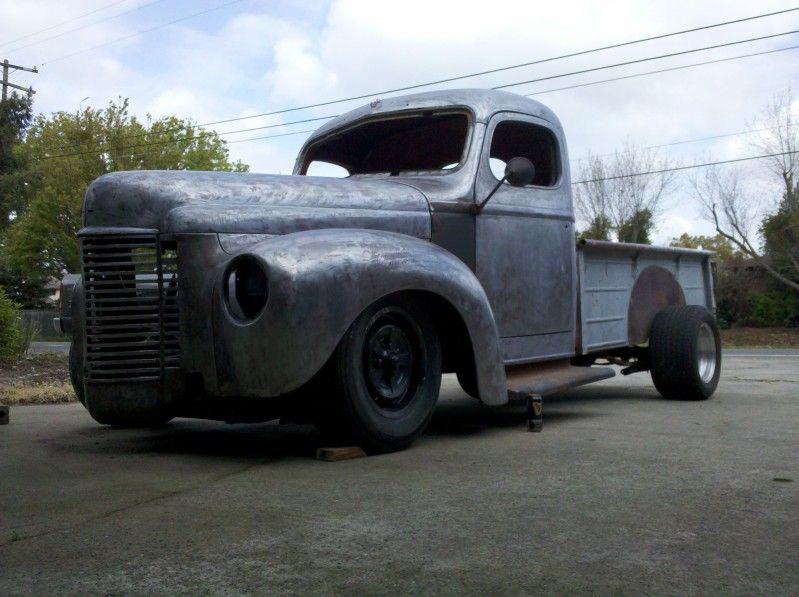
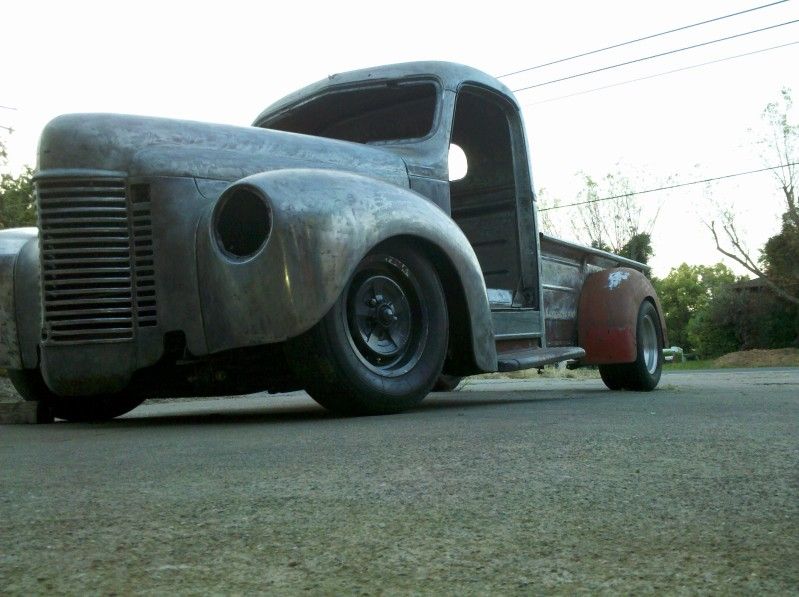
This is inspiration
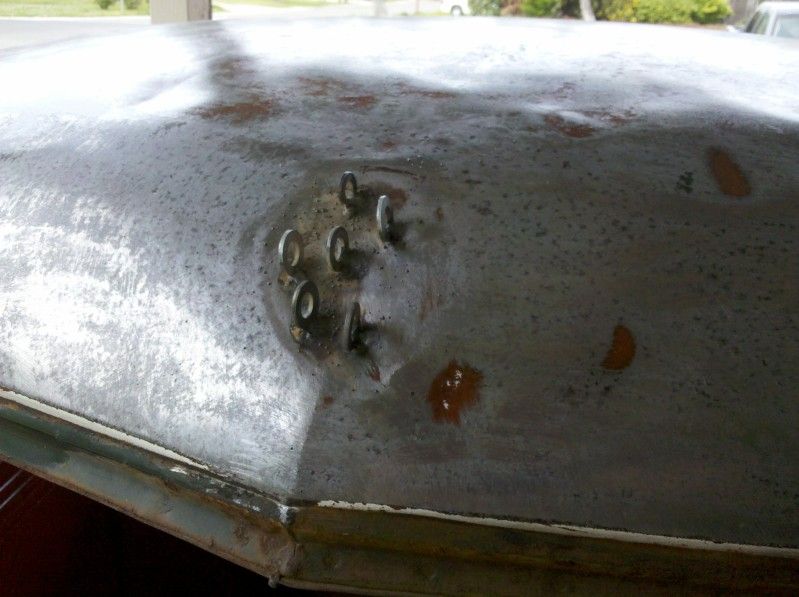
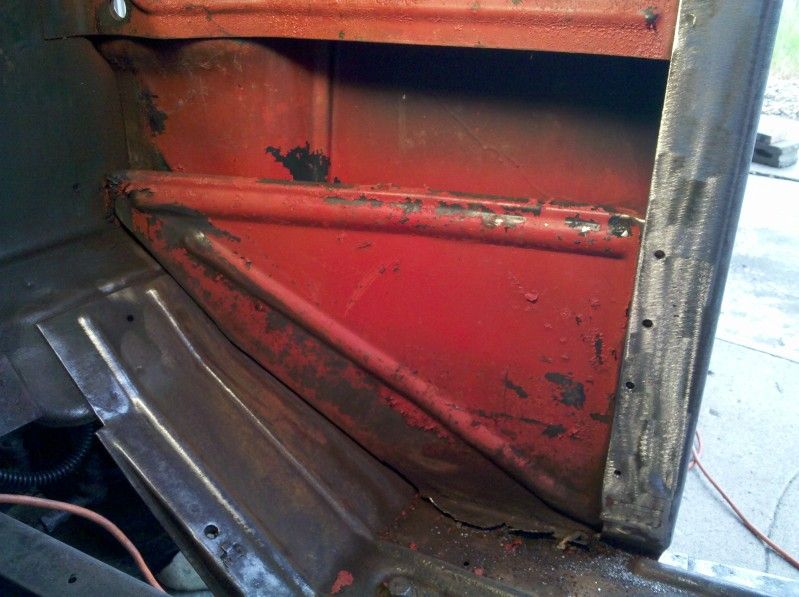
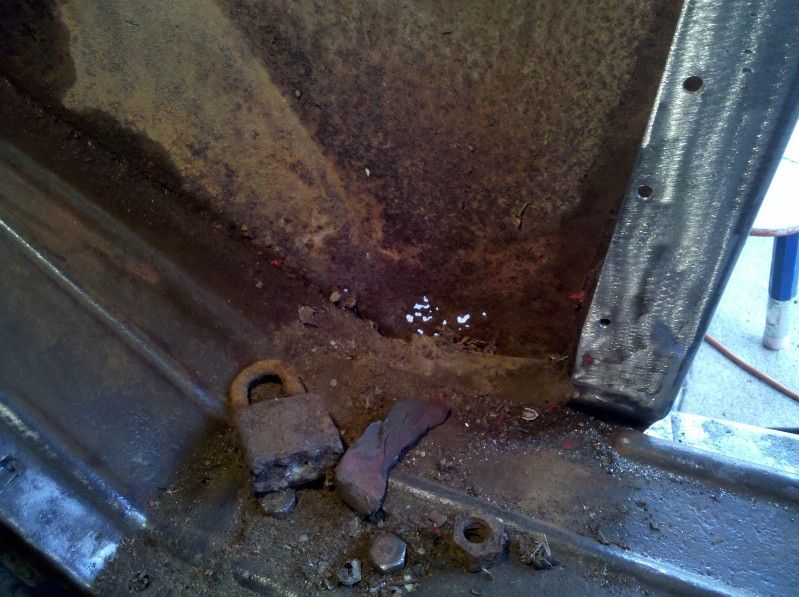
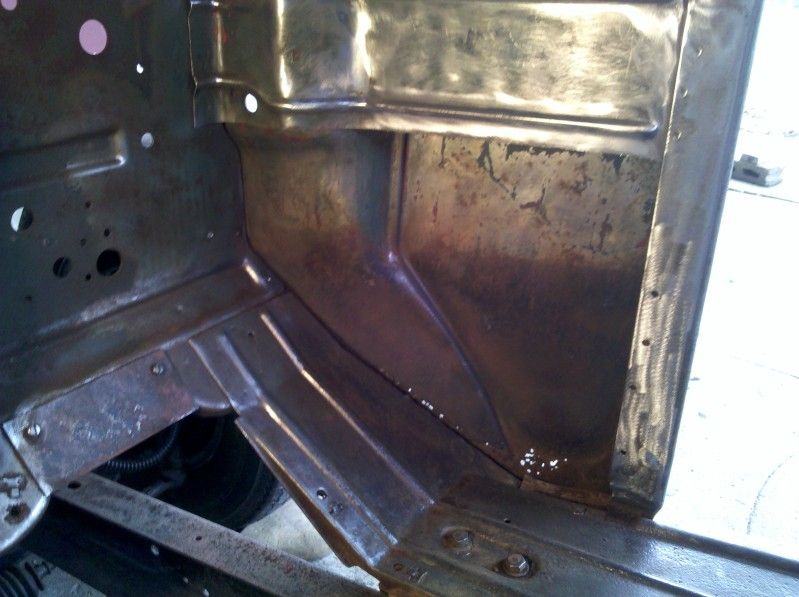
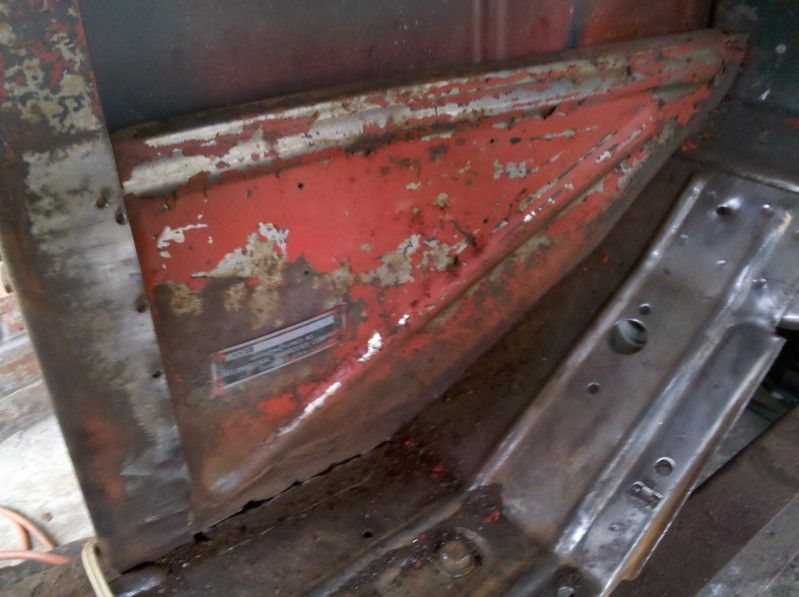
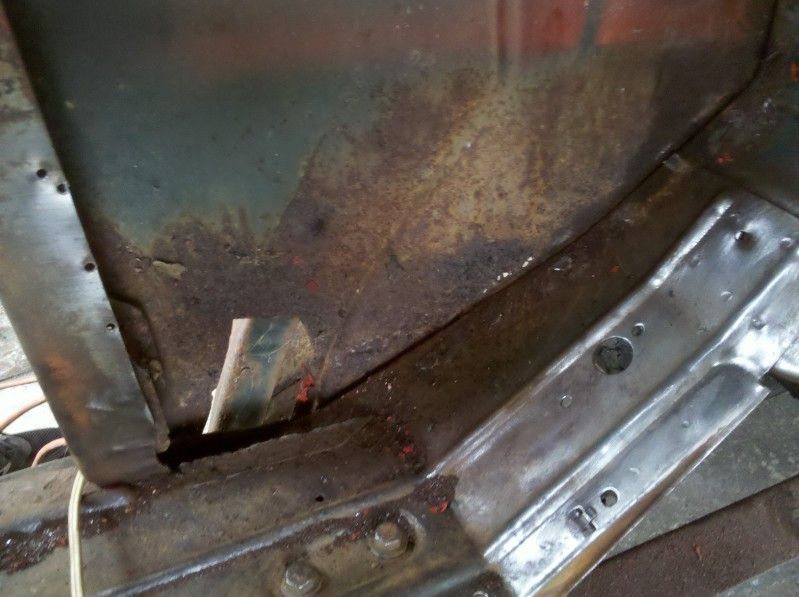
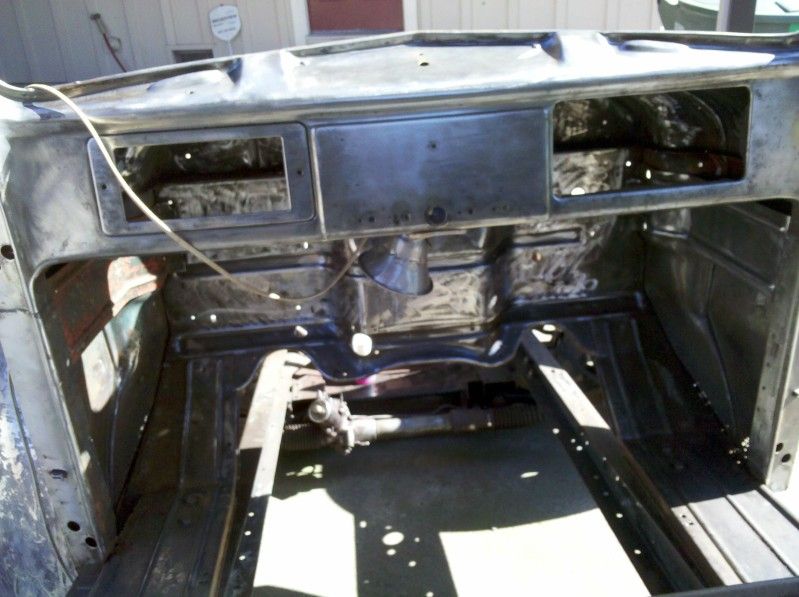
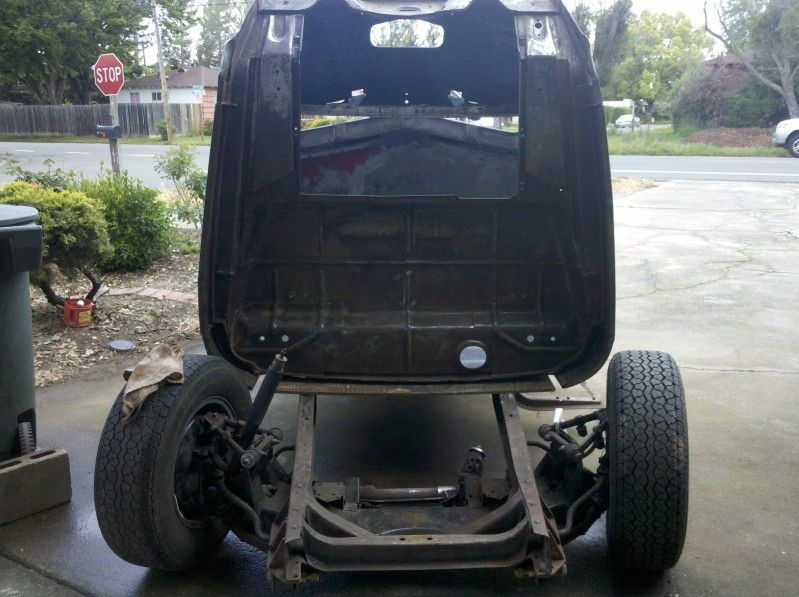
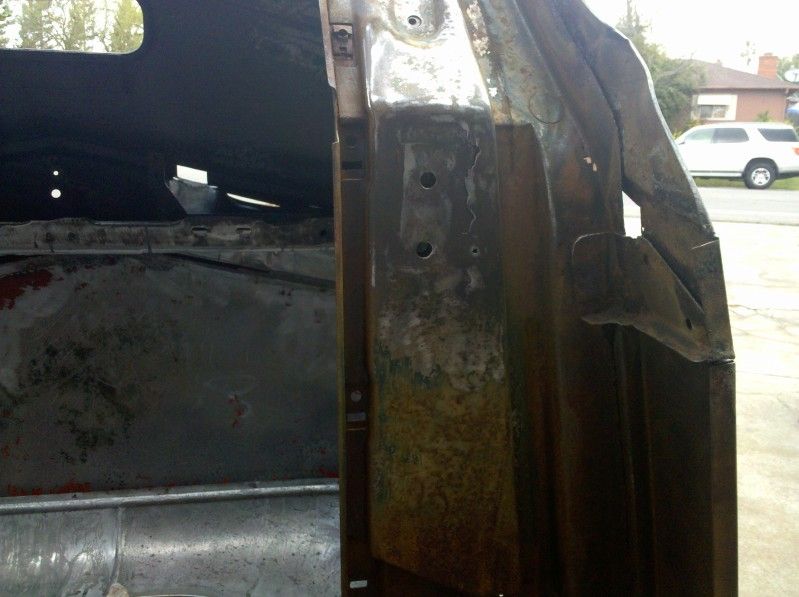
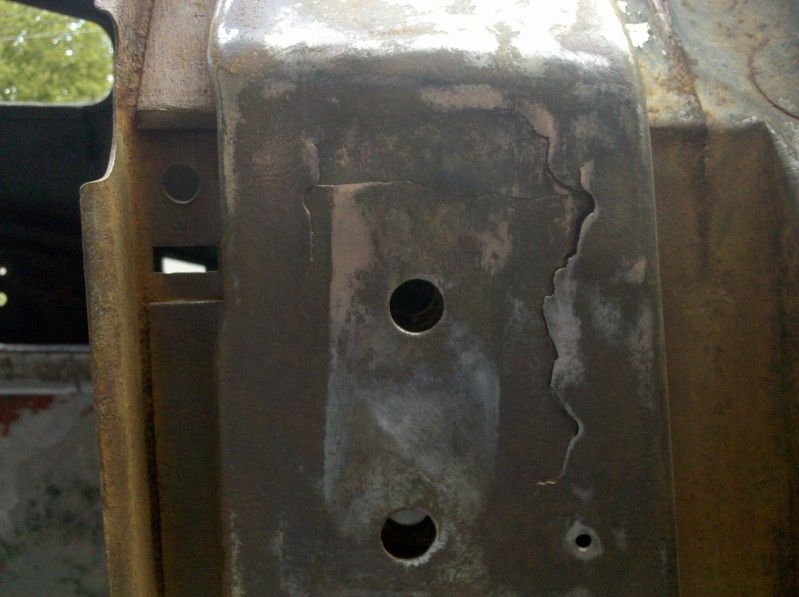
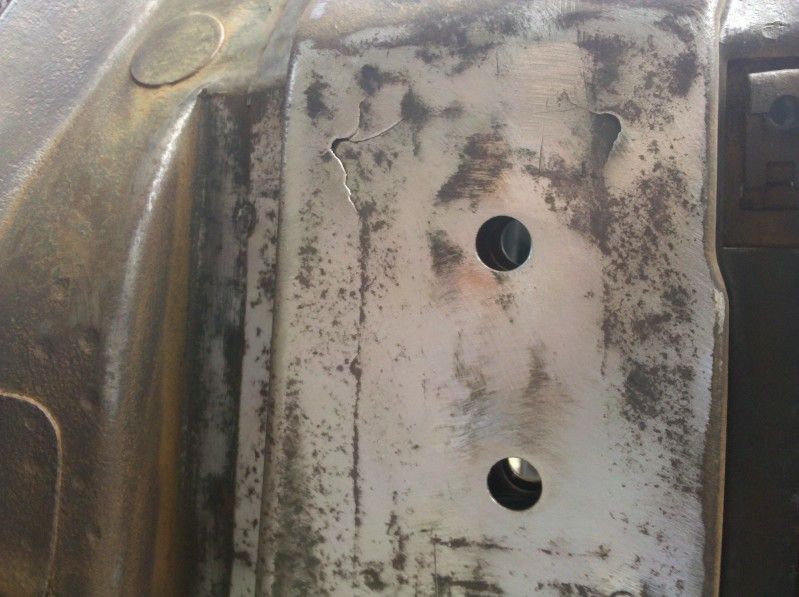
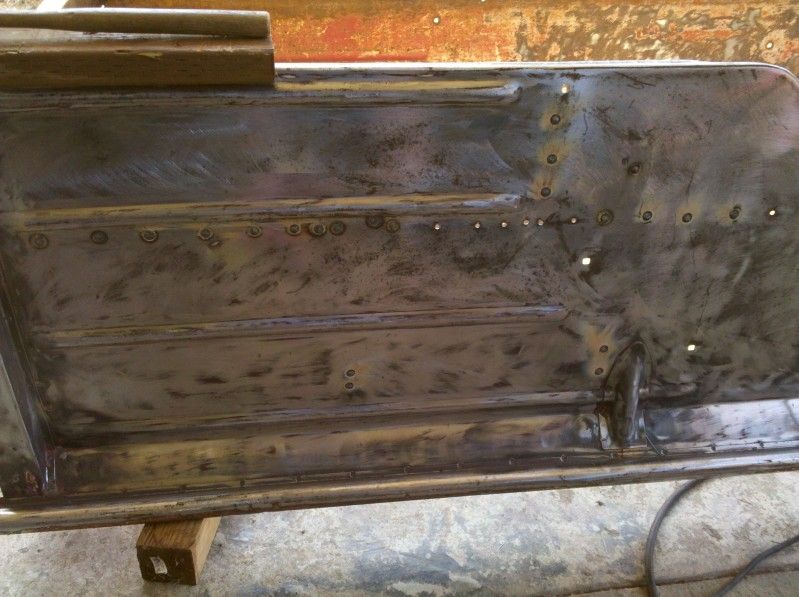
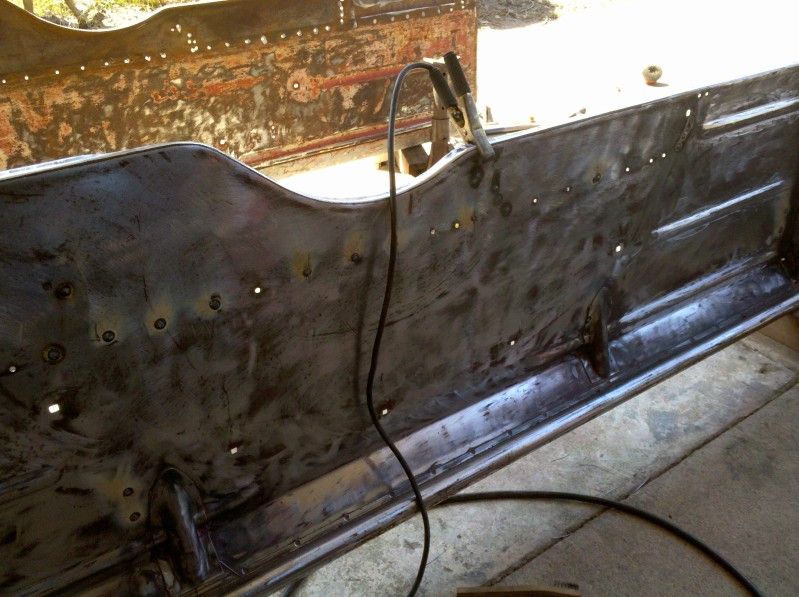
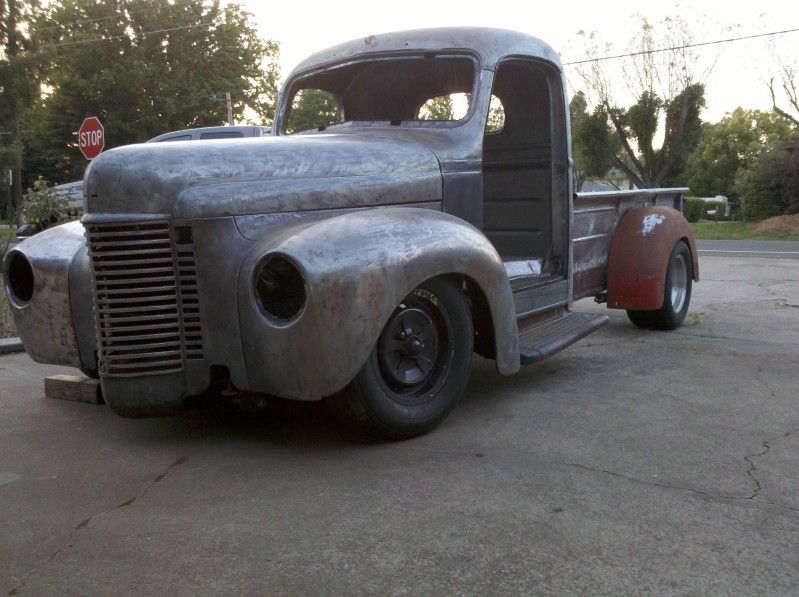
I only had time to check out the first and last page of your build so far. Looks just my truck the condition it was when you found it, even though mine was in a barn there were holes in the roof of the barn, water dripped over many years and rotted part of the cowl, part of the hood and fenders. Cab corners and lower front fenders need attention too. '58 and '59 front sheet metal is harder to find at least the hood. I am on a low budget. I like the seat you got at the part pull lot. We have one here too so I should be able to get a nice seat too. Good luck finishing, (never finished). Brian
I only had time to check out the first and last page of your build so far. Looks just my truck the condition it was when you found it, even though mine was in a barn there were holes in the roof of the barn, water dripped over many years and rotted part of the cowl, part of the hood and fenders. Cab corners and lower front fenders need attention too. '58 and '59 front sheet metal is harder to find at least the hood. I am on a low budget. I like the seat you got at the part pull lot. We have one here too so I should be able to get a nice seat too. Good luck finishing, (never finished). Brian
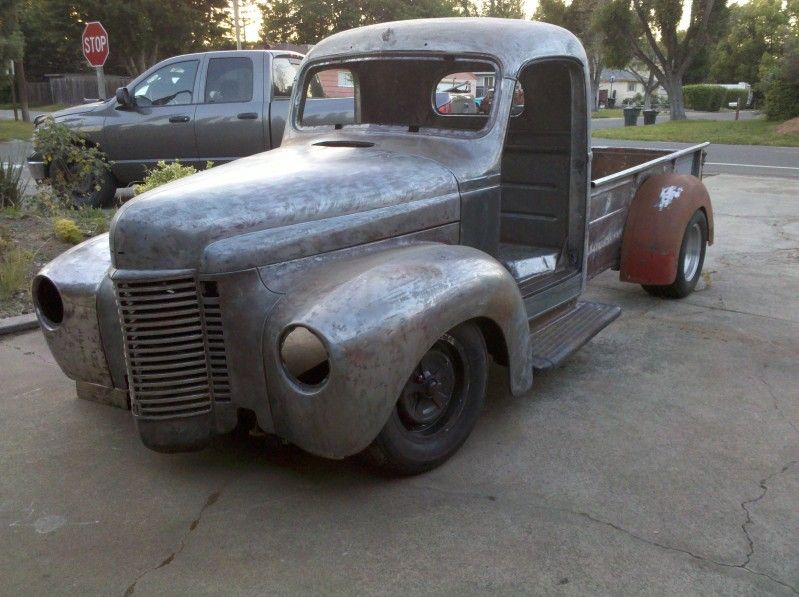
 I did the exact same thing when I got my seats. Looks really good...nice score! Foot and leg room is going to be an issue with mine as well. Just plan to but lots of padding around where my legs will rest. I also need to adjust my steering column to give me more "belly" room