Roadster pickup from leftovers.

Rat Rods Rule

Help Support Rat Rods Rule:

This site may earn a commission from merchant affiliate links, including eBay, Amazon, and others.
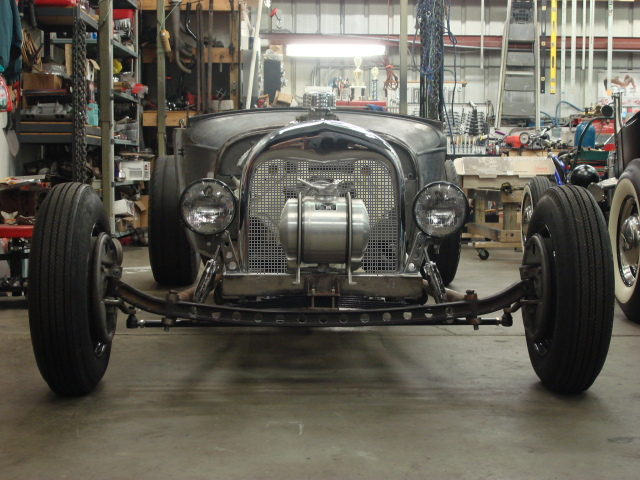
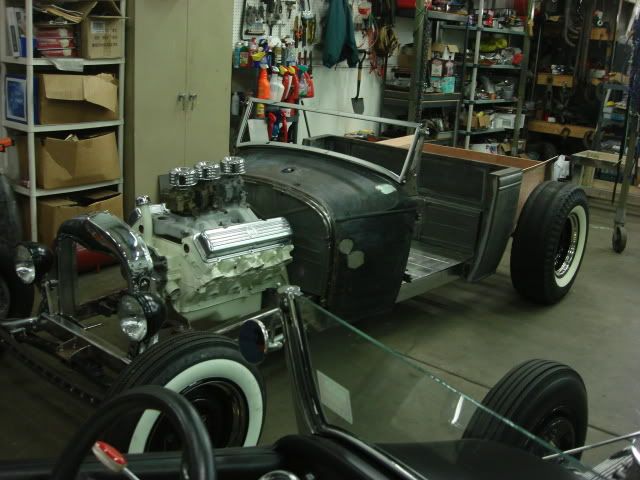
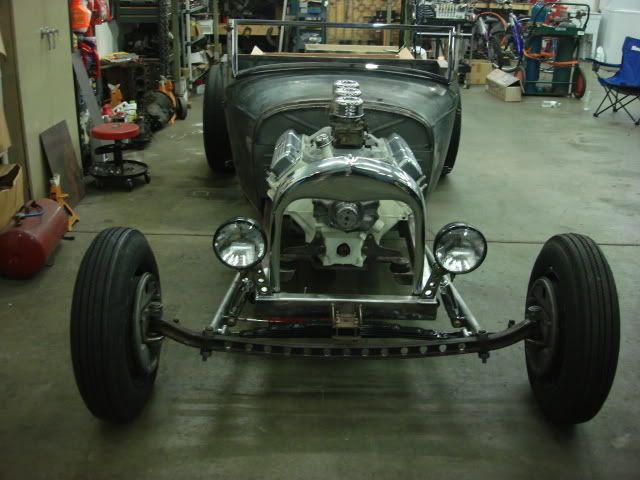
Thanks for the opinions, I appreciate them. I think it would be fun to engineer the rear radiator setup, bending up tubing and stuff like that. It would also probably keep the Olds cool because I can put a much bigger radiator in the back than in the Model A shell.

I am going to have to give it some more thought, but I am leaning that way.
Don
 
I like it, but I'm having trouble with the empty shell. I wonder how it would look with a piece of mesh to fill the void? Crimped wire, maybe?

stainless_steel_crimped_wire_mesh-3.jpg


donsradshell.png
 
What I am trying to duplicate is that a lot of drag cars ran just an empty shell with the Moon tank stuck underneath. Years ago I owed an Austin Bantam B/Altered that had an empty model T shell in front.

Don
 
What I am trying to duplicate is that a lot of drag cars ran just an empty shell with the Moon tank stuck underneath. Years ago I owed an Austin Bantam B/Altered that had an empty model T shell in front.

Don

Sorry, I missed that. :eek:

I'll shut up and pay attention now. :D
 
Sorry, I missed that. :eek:

I'll shut up and pay attention now. :D


No, I really appreciate the opinions, they will help me decide. One minute I like it the next I don't. There are a lot of other things I have to do yet, like make a bed and bodywork, so I have some time to decide.

Thanks again for all the feedback. :)

Don
 
I'm down to the short strokes on the suspension for the car. The only things left to do is to make a mount for the bottom end of both shocks and one more mount for the SoCal steering stabilizer. The shocks and the stablizer are going to mount to the wishbones.

Tonight I made up two U shaped mounts out of 1.5 x 1/4 thick steel for the shock mounts, and one 1 inch x 1/4 inch thick steel mount for the stabilizer. I removed the wishbones and cleaned all the surface rust off so they will be clean for welding, and tomorrow night Dan is going to get that done for me.

I needed a way to hold the two shock mounts in the correct position on hte wishbone so we can tack them on and then remove the wishbones and finish welding them up on the bench. To do that I cut two pieces of steel about 11 inches long and drilled two 1/2 inch holes 9 and 1/4 inches apart. I bolted those on in place of the shocks and they will hold the lower mounts firmly in place and in the right location and angle for tacking.

The cool thing is, when these are welded on I am essentially done with all the suspension stuff, both front and rear. I can't believe I am finally to that point. Here are some pictures of where I left off tonight.

Don

myrpulowershockmounts001.jpg


myrpulowershockmounts003.jpg


myrpulowershockmounts004.jpg
 
Thanks, Youngrat. :)

Tonight we got the final pieces welded onto the wishbones so I could finally mount the shocks and the steering stabilizer. That is pretty much the end of the chassis fabrication, now I can start on the bodywork (which I hate and which I suck at :eek:) But since I can't afford to pay someone to do it I will have to just roll up my sleeves and get started.

Here are some pictures from tonight, with the shocks finally mounted as well as the steering stabilizer.

Don

my%20rpu%20lower%20shock%20mounts%20done%20005_zps9621f9cf.jpg
 
This weekend I bought some thin plywood and decided to make a mock up bed to see how I like the proportions. I was going to make it shorter but decided to go 5 inches longer, which puts as much bed behind the rear tire as in front of it. Looks more balanced that way, I think, than what I was planning originally.

Here are some pictures from tonight.

Don

myrpu2ndbedmockup016.jpg


myrpu2ndbedmockup009.jpg


myrpu2ndbedmockup019.jpg


I also put the windshield on, I have never seen it on the car.

myrpu2ndbedmockup014.jpg


myrpu2ndbedmockup015.jpg
 
Thanks guys. All I have left to do before I make it in sheet metal is to push it outside into the daylight so I can stand way back from different angles and decide if it looks right out there. Sometimes things look great in the garage but when you get them outside you find they aren't as good as you thought. :)

Don
 
I think the bed looks good for where you have the rear axle placed. It might look better over all with a slightly longer bed but then you would have to move the axle back. Windshield is spot on as well. [P
 
I kinda had the same thoughts about maybe I should have moved the axle back some when I built the frame. A couple of inches would have been ok, but I was going after a drag car/ bobber look which is why I did it there. It is too late now, but I think when it is all done and the real bed installed it will come together.

I am glad Dan went to all the work of adapting a roadster windshield to this sedan body. I have had the windshield frame for about 5 years, wrapped in blue tape to protect it, and had never seen it on the body. I may eliminate the top chrome bar and just run it like my 27, but not sure how strong this frame is without that bar on top.

Don
 
Thanks, DR. I went over tonight , sat in my pondering chair and stared at it . I think it is going to work. I am kicking around building a single hoop rollbar with two supports coming rearward into the back of the bed floor. I think it would add a little flavor to it, and if I can afford to have it chromed that would be cool........or maybe just build it out of stainless tubing and polish it.

I also think I may put the louvered panel in as a floor with a Speedway round aluminum tank up near the front of the bed. It wouild also duct some trapped air out of the body when I make those 300 mph runs at Bonneville. :D

Don
 
I did want to ask a couple questions on the back face of the "cab" area are you planning anything there? I really like the body line on the side at the top of the "cab" is there a plan to continue that around back?

And what are you planning for the tailgate?
Suspense is killing me =)

I love this build!
 

Latest posts

Back
Top