Smallfoot's AA

Rat Rods Rule

Help Support Rat Rods Rule:

This site may earn a commission from merchant affiliate links, including eBay, Amazon, and others.
Framed up a little tailgate. Repurposed a set of Chevy tailgate chains from my old 72. Put some wood in this thing and set it on in a day or so.
My ready rust job is taking a while. Hard to control it when it keeps on raining on it. :rolleyes:
 
Thanks Country Misfit! It's turning out pretty good. The nightmare is coming up. Gotta tend to alot of rot on the cab. I'll have it off and starting the patches next. I think it will be standing on its cowl for a while. Been taking measurements and marking things while the cab is on frame. Have some framing to do up under the cowl...well, a whole ressurection under there...Ha!
 
Thanks guys! Torchie, I can't wait to get at it myself. Trying to figure a gameplan in my head as to how best attack it. Most people would jack it up high enough to drive a better truck under it...;)
Chris, I used a Woodward Fab manual roller on the panels. If I knew what I was doing it might have turned out better but I think it fits the rest of the truck. I set the box back on the frame to check it out. Any opinions about stance as you can see it now? I know I have to make a minor adjustment in rear hairpin mount. They look close but are not level when checking. The rust color is not close enough yet either. Before I hit it with the ospho, it needs to be closer.
 
The different might be "new" vs "Old" rust. I've noticed the same type of effect in some areas on my truck. I wonder if there's a way to speed up the "dulling" of the orange iron oxide color.

The stance looks alright. It's kind of hard to tell since a good part of the bottom of your truck is missing though :p. It might be easier to tell the stance once/if you repair the bottom of the cab/doors.
 
Yeah, it's kinda hard to make visual out of rot lines...heheh! I've been working with idea of keeping the body lines level with the bed rails. That's the only constant visual I have right now.
I haven't done this much body work on one before. I have the idea of starting at the bottom with patches, taking care of that first. I'm still playing with the bead roller making passes at making the curved body lines at the corners of the cab. If I can carry that off, most of the corners will be replaced. Some of it tho will be tried to replace the little holes here and there with the wire feed. I gotta know...
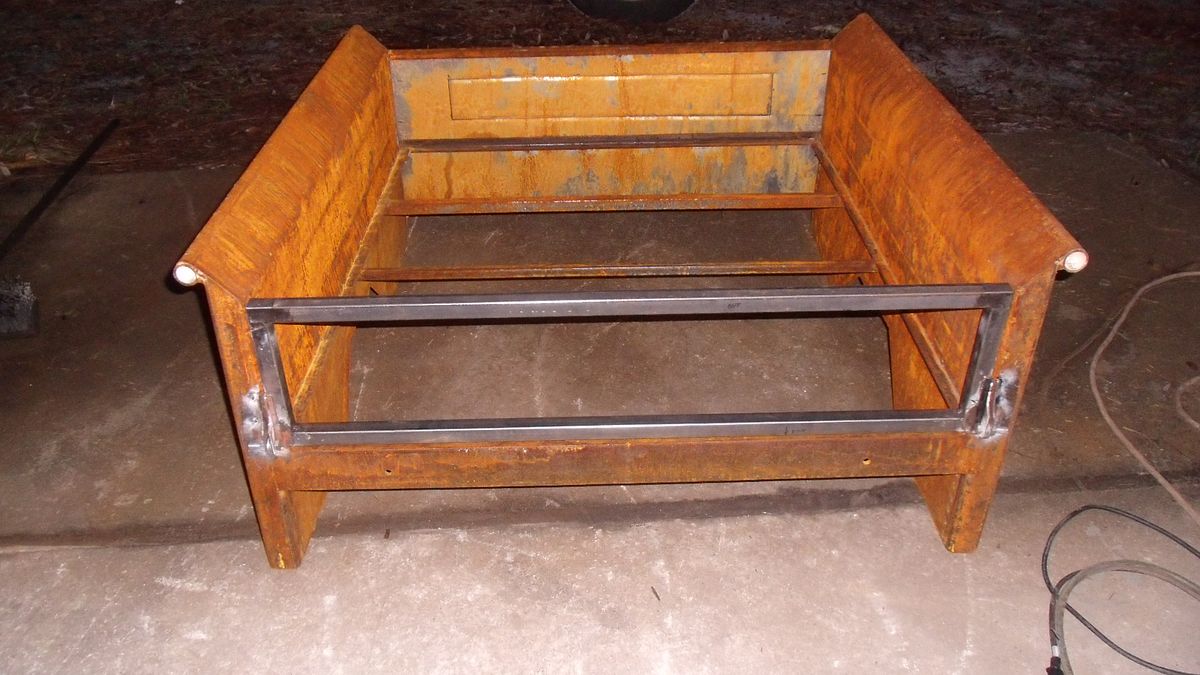
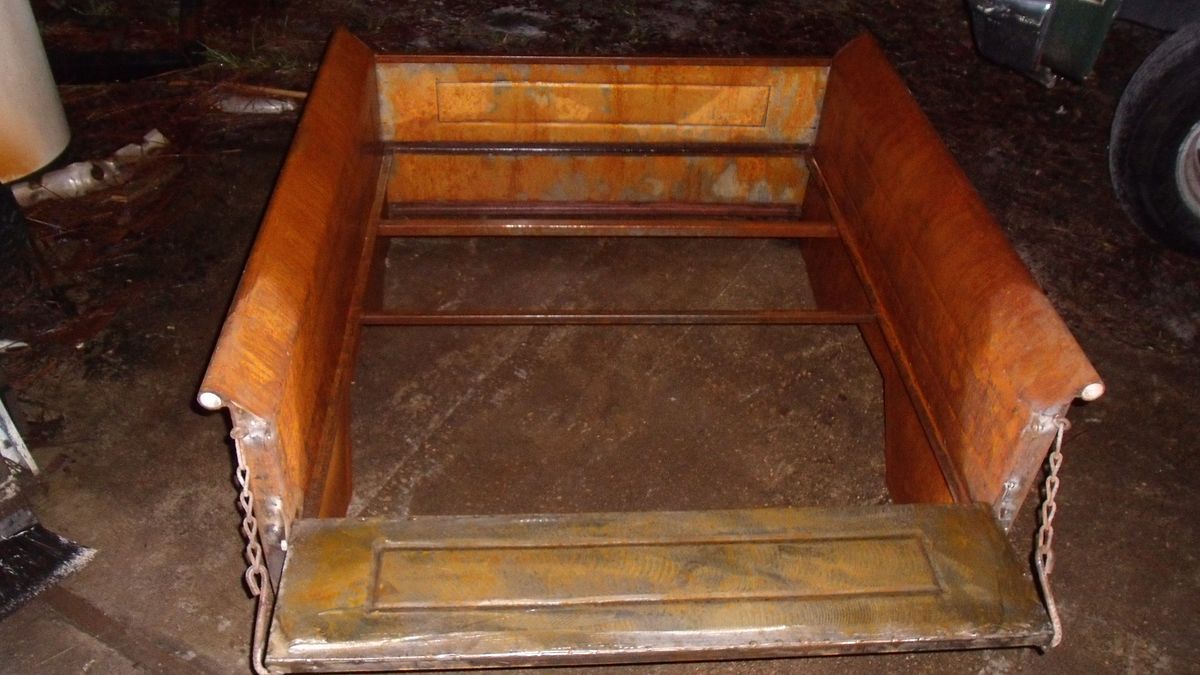
It's mostly rusted out everywhere and I need my head examined, but I hope it'll look good to me how ever it turns out. Besides all the rust patches, I still have to make the entire top of the windshield area, windshield frame, and tops of the doors were cut at the sills. Jeez, when I start listing it out, fabbing a complete new cab sounds faster...heheh, no!
 
On the rust...yes the difference is new and old. The difference being that the older rust is also very pitted. On any pattern like engraving or scrimshaw, deeper tool marks appear as darker decoration. I'll let it go for a while on it's own. It won't catch up pit-wise with the old cab but when the ospho hits it, all that orange will be black. I'm hoping they will look closer matched when that happens but we'll see.
 
Thanks Sunny! Those tools would really come in handy! I'll figure something out on hand. I have successfully rolled the curved corner bottom belt on scraps. Now I'm playing with making the wider beltline. I'll practice until I can make the corners look ok for me. I only have to make inches, not miles. I do envy these large shops with all the tools!
 
Got some treated plywood for the bed and will place some strips and add some color later. Also set the propane tank I'll re-purpose for ideas on mounting.

Also checked out the fit of this give-me seat out of an unknown van or suv. Looks like it will do just fine with the limited space in the cab.
 
Cab and bed are off again and I've been doing the twist and shout with the cab. Cut the gas tank out of the cowl along with the fuel lines, fuel cock and separator. Got a pretty good sized rats nest out of the tank. Some of the rags in there look 80 years old...heheh!
Started in playing with sheet metal too. Directly I burnt up my old trusty Roto-zip. Just don't realize how used to a tool you get for doing certain tasks, but losing this one stopped me in my tracks until I went to get another. Don't know if any of you use them but they are my preferred tool for cutting anything steel within it's limits. I've got air saws, grinders, die grinders, sawsall, and few other tools for cutting but I grab this one most often. The one I had has been working it's butt off for about 10 years now so I've got my use out of it.
Here's some pix.
 
Its nice to see a builder "not afraid to tackle a very rusted body and end up with a cool hot rod" [cl
When I was building my rat rod a lot of people saw how rusty the cab was and said it was beyond fixing.
if you could go back in time you would see guys working on beat up wrecks with limited tools... that is the heart and soul of hot rodding.

cool project good luck have fun.
 
Thanks ya'll! When this pile of rusted metal showed up and I was referring to it as a truck, most of my friends got that far away look and a tilt of their heads...All I could see was a neat looking truck with lots of issues. Slowly but surely, I'll bang it together. I try to look things over pretty good so that the finished product resembles my mind picture. I'm lucky to say that the do-overs have been slim so far. I'm hoping I can keep that up. There's enough back and forth movement of parts and pieces during mock up stages and I hate to do-over an unnecessary...
 
Made a bracket for headlight and shock combination today out of 1/4 wall 2X4 tube. Did a little blacksmithing too.

Gonna have to eyeball these for a day or two. Might do some small changes on headlight placement and height, but I'll study it for a while. I know I need to straighten up the tabs where the lights are mounted and do some cleaning up and final welding if i decide to carry on with these.
 

Latest posts

Back
Top