'65 Rover Half Cab

Rat Rods Rule

Help Support Rat Rods Rule:

This site may earn a commission from merchant affiliate links, including eBay, Amazon, and others.

A close up to show how uncomplicated it is.

Sunnybeach, we're supposed to see extreme cold tomorrow so I should get a full day in the garage without interruptions.
Paint??? School's out on this subject. Looks like it is brush painted with house paint now. I don't know if I can smooth the aluminum body enough for a shiny finish. Current thinking is to let it look "well used".
 

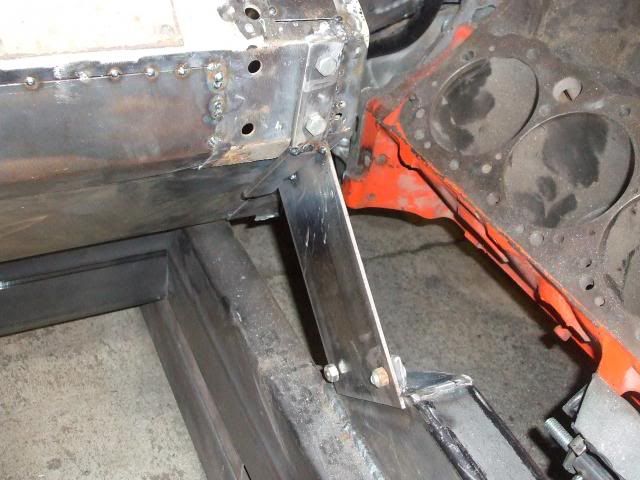
Welded up the braces I made yesterday. And added some lateral stiffeners to them too. Hung the driver's door and got the bed squared up. Welded mounting tabs to bolt the box to the frame.
Now refitting the seat riser. It acts as the floor in that area. Will probably make some "bins" under the riser to provide storage space.

Yes Flipper, in high school (1957) my friend's dad brush painted my friend's 1950 Chevy. It looked really good.
Pops, it will probably look a lot like it was when I bought it. Shabby chic.:D
 
Bob if you were to brush paint 2 different colors over the white then do a quick DA over the whole thing you could flat clear it for some patina that would hold up to wear and tear. Not a lot of body work associated with it either. Those seat bins look like a great place for a battery and a beer cooler. [P
 

Made a simple radiator core/shell mount. A flat piece of 3/16" by 2 1/2" with 1/2" by 1/2" angle iron welded around the bottom. Needed to raise it around 3/4" above the frame rails. Slotted the mounting holes in case it is needed for front sheet metal alignment.
 

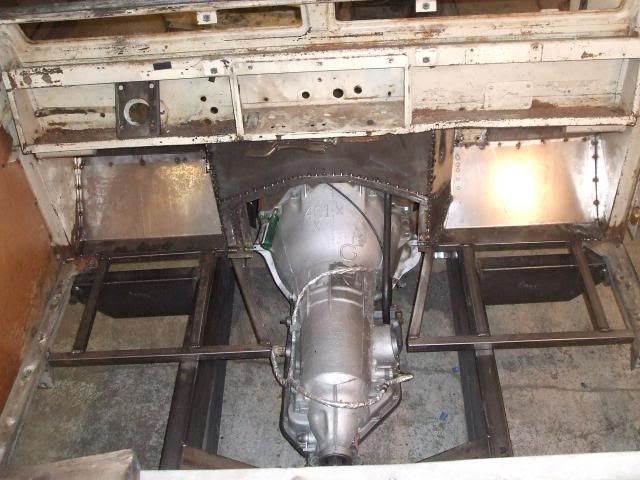
Made the floor bracing using 1" by 1" square tubing. The original floor sat an inch above the frame so this work out well.
Gotta make a trip to the sheet metal store tomorrow so I can make the floor and transmission hump.

Good idea on the paint jfg455. No beer cooler though. Been about 37 years since I had a cool one.
 
Last edited:
progress

good progress.

are you gonna cap the frame ends[S

good choice on the tubing for the floor[;)

l used the same stuff in the 30something and it worked great. l am very happy with it.

we use the square tubing on a lot of stuff around here, l get mine from the local boat dealership's for free, several of the companies that ship jet ski's use's varies size square tubing to build the transport cages and the boat shops just toss it out, so every now and then l stop by and restock my supply if they have any in the scrap pile out back.

likin' the build alot.....

Later :cool:
 

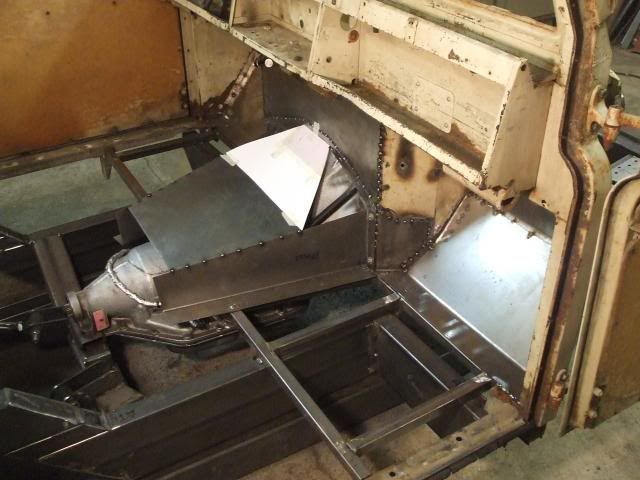
Workin' on the transmission hump.

Skull, it will probably have bumpers so I'll leave the frame ends open til I figure out how they'll be mounted. BTW, haven't seen much building out your way lately. (hint hint)

Thanks Mav. Normally I'm a bit faster. Must be old age creeping up on me.
 

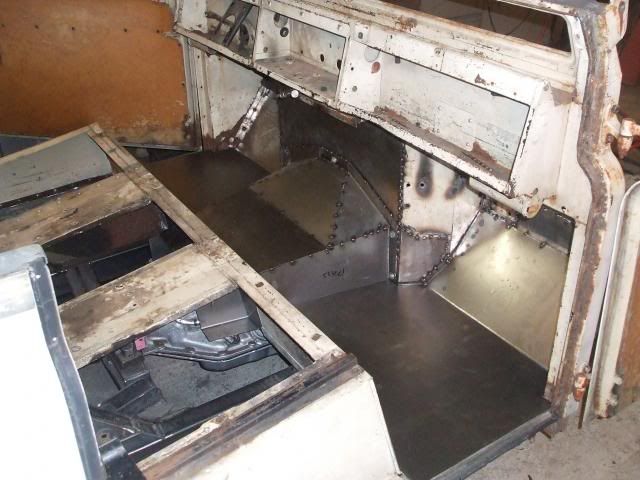
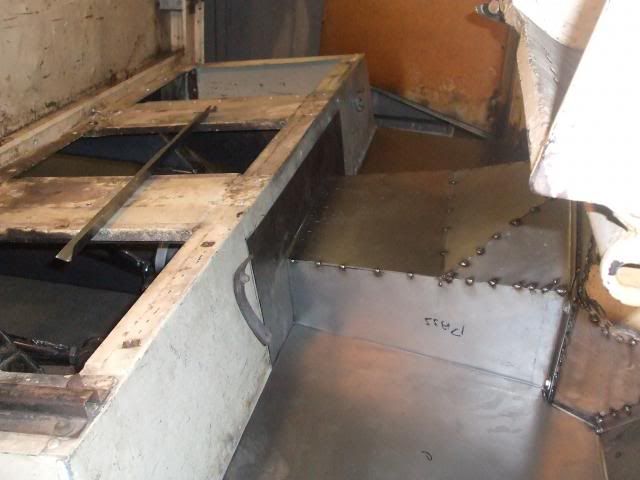
All the floor sheet metal is cut and fitted. The transmission hump is tack welded. I'll do as much finish welding on the hump with it in place as I can so it doesn't change shape.
 
Last edited:

Here's how it fits up to the seat riser. I had to cut a pretty big chunk out of the riser to eliminate slots and holes and make it fit around the hump. There will be a sheet metal angle weather seal around the joint.

Next task, rear wheel tubs. It's not getting huge tires but with the chassis and body lowered 11" from stock there no room at all.
 
The floor's looking good Bob. Keep up the good work.
The thing I like about this build is the fact that I don't have any idea
what it's going to look like upon completion.
 

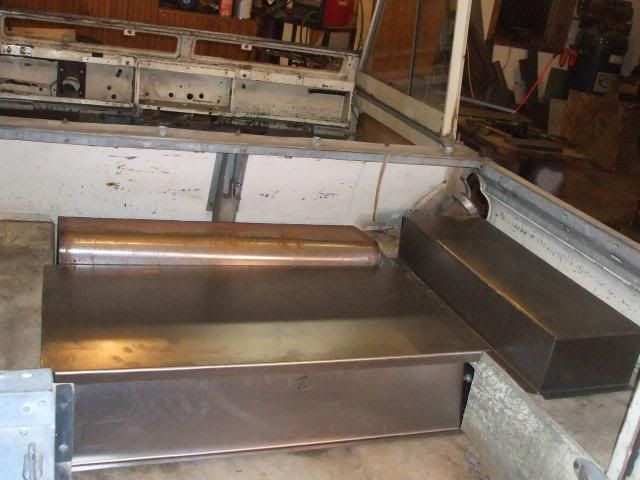
I've used almost two full sheets of sheet metal so far. Made the cover for the hole where the frame kick up is and made some rectangular mini tubs for the wheel wells. None of it is bolted down yet.
The gas tank is up front. It was donated by Terry & Lee (Tator on RRR). I spent the afternoon bending all the pieces you see at their home shop. Thanks for the use of your finger brake, T & L. And the help fixing my goof up.

All the cutting of this 18 gauge steel was done with a cheap electric shear. The kind that removes a 1/4" wide strip.
 

I'm still diddling around with the new sheet metal in the box. Put some mounting tabs on the gas tank, welded up the tire tubs, and so on.
Everything is flat and square so not too hard to do a decent job.
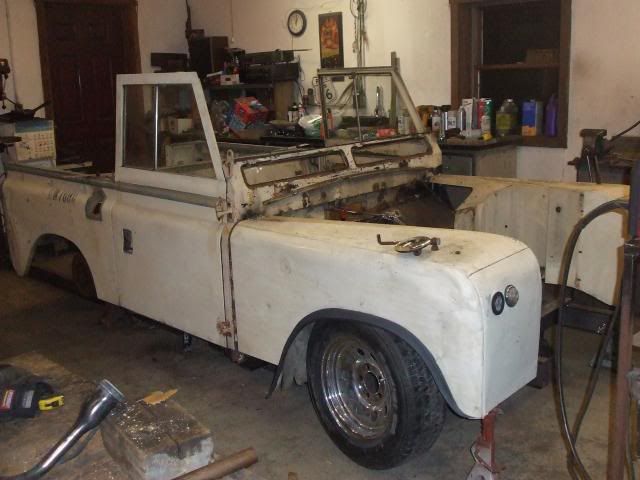
I set the front fenders on and placed a wheel in the front wheel well just to see how it looks. There's a 4 1/2" tall rocker panel that bolts along the bottom of the body so it will look a lot lower with that on. The door glass sure looks tall. Chop chop???
 
It is coming together quickly! It is interesting that the body from the factory has so many curves but the window frames are so angular! Definitely looks like a hair cut is in order!
 

Latest posts

Back
Top