
You are using an out of date browser. It may not display this or other websites correctly.
You should upgrade or use an alternative browser.
You should upgrade or use an alternative browser.
around the shop
- Thread starter cornfield customs
- Start date
Help Support Rat Rods Rule:
This site may earn a commission from merchant affiliate
links, including eBay, Amazon, and others.
cornfield customs
Well-known member
Being busy is good.. We're all happy your shop is doing well!
I still have that magazine on my desk at work if you want/need a copy let me know
thanks man i got a copy and one of those companies that frame mag articals sent me one to hang in the office
cornfield customs
Well-known member
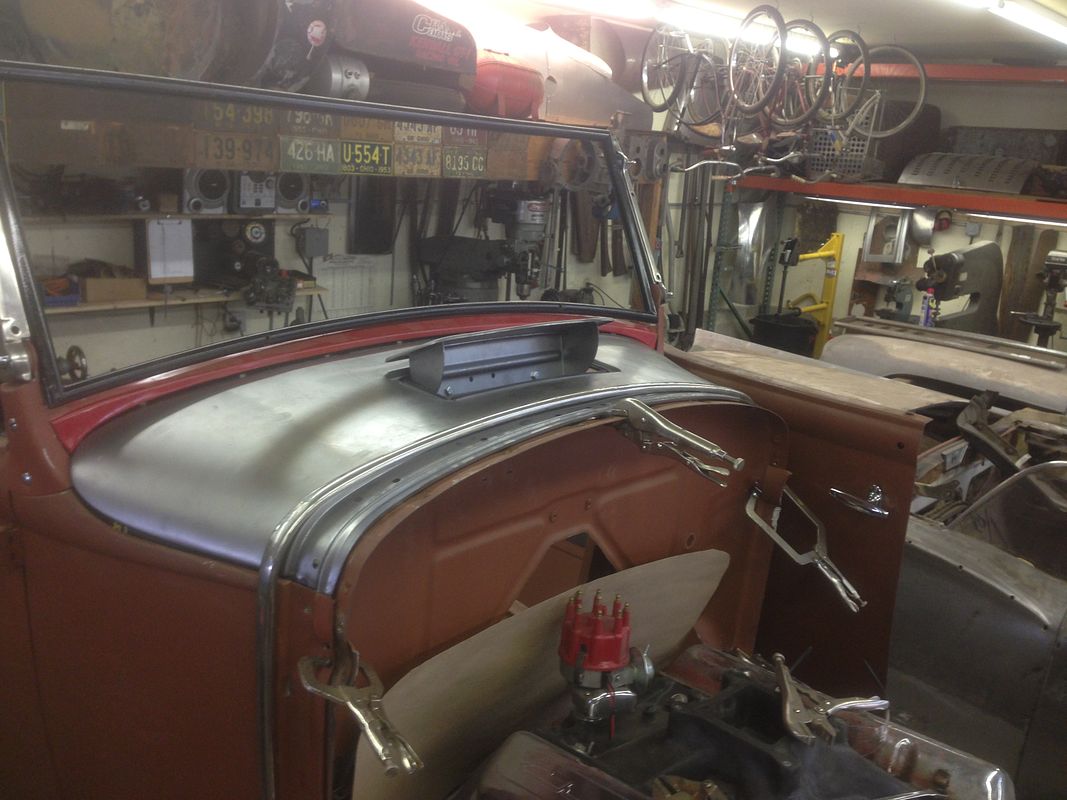
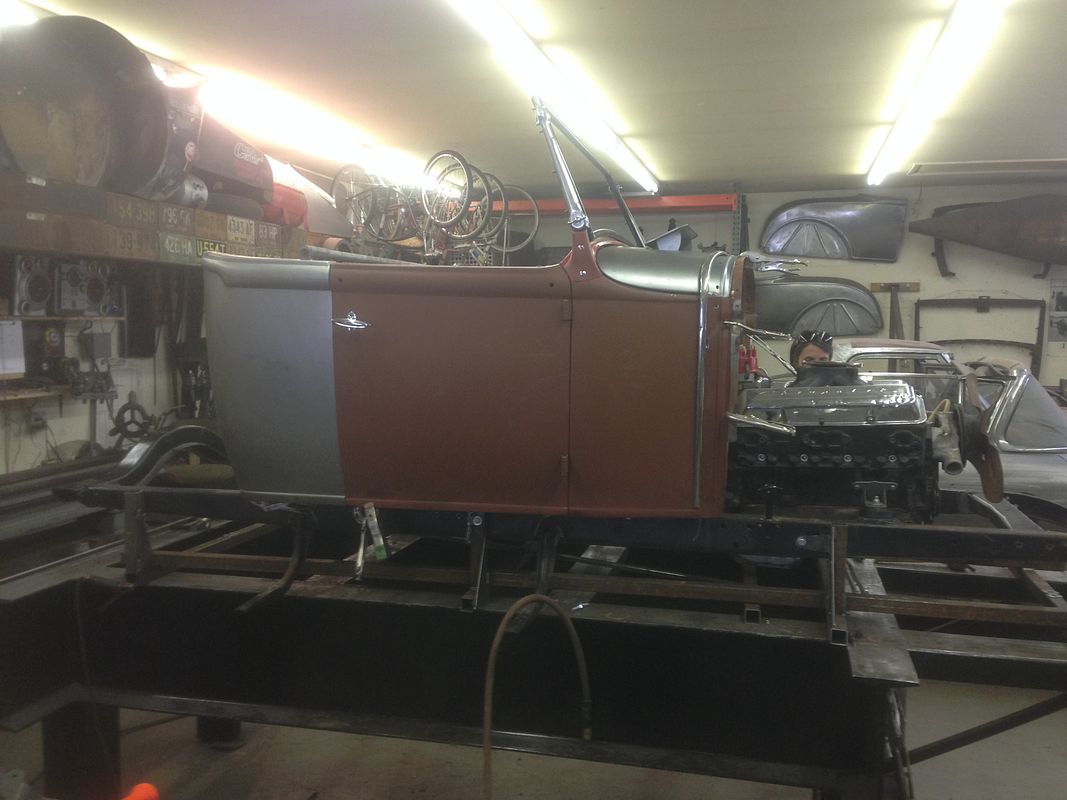
so today i worked on my buddies RPU some. he wanted to add a 32 cowl vent to his cowl top. so i went to work on it
trimmed out the vent from brookeville


made a card board pattern of the shape of the panel, and a negative cut out of the vent to make sure i get it where i want it

scribed the cut line

all tig welded up

after some filing, hammering and dollying. and a trip through the planisher it is getting pretty close

and installed on the car
then moved on to putting on extended cab corners
stock corners

stockers removed
old rear pan taken out and extended rear pan installed
trimmed out the vent from brookeville


made a card board pattern of the shape of the panel, and a negative cut out of the vent to make sure i get it where i want it

scribed the cut line

all tig welded up

after some filing, hammering and dollying. and a trip through the planisher it is getting pretty close

and installed on the car

then moved on to putting on extended cab corners
stock corners

stockers removed

old rear pan taken out and extended rear pan installed

cornfield customs
Well-known member
new sides clamped on
cut the old rear panel off from the sides, going to but weld them back on instead of flanged so they can be metal finished after welding
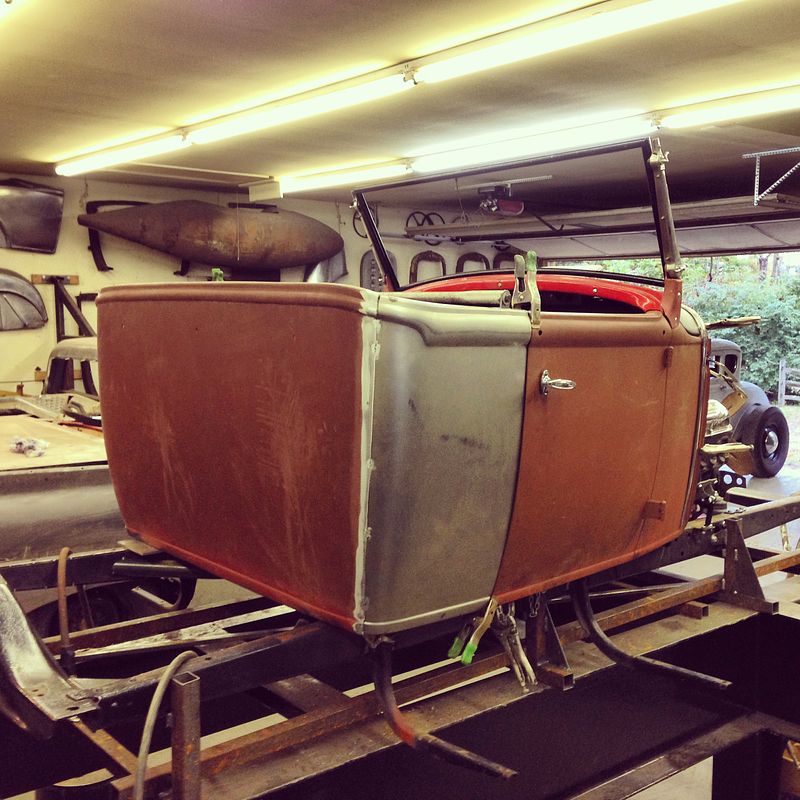


cut the old rear panel off from the sides, going to but weld them back on instead of flanged so they can be metal finished after welding

Todd
He's just one of them Rusty-Chainers!
Beautiful work. Is there room in your neighborhood? 
cornfield customs
Well-known member
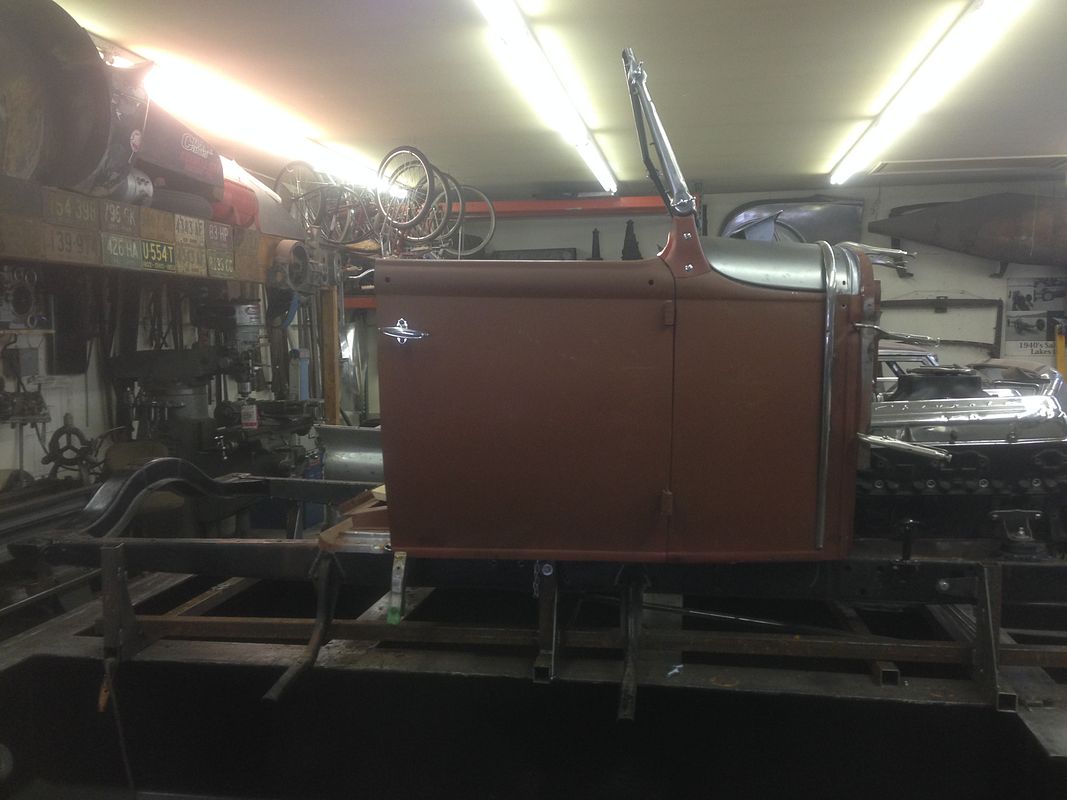
a little more progress on the RPU. reversed the fire wall and re shaped the bottom of it. wanted to make it look like it was made this way. not perfect but turned out pretty good
here is where i flipped the fire wall, making patches and patterns to smooth out the bottom of it

all patched and smoothed out

here is the back side with a new flange to make mounting the floor easier and a more factory look

and clamped in the car. just need to spot weld to the sides, weld along the bottom, and drill holes for mounting screws at the top


$26.99
Ekouaer Women's Skorts Tight Biker Short Stretchy Breathable Sports Cute Skirts ArmyGreen
Ekouaer loungewear


$205.19
$239.99
Solary Magnetic Induction Heater Tool - 1000W 110V Handheld Rusty Bolt Removal Tool with 8 Coils
solary


$24.99
1976 Hot Wheels 31' Doozie Convertible Orange Brown Vintage Toy Car Hong Kong
Hockey Card World Inc.

$11.75
Cable Car Turntable Powell & Mason -San Francisco California - Vintage Linen Postcard
grinvideoproductions


$44.99
Bobby Unser (Indy Car), "Autographed" (JSA) Business Card (Scarce /Vintage) - Autographed NASCAR Cards
Sports Memorabilia


$159.99
$179.99
Solary Magnetic Induction Heater Kit - 1000W 110V Induction Heat Bolt Removal Tool
solary


$34.99
1980's The Sunshine Van Bedford CF Red Summer Vintage Toy Car Hong Kong
Hockey Card World Inc.

$64.99
A.J. FOYT HAND SIGNED VINTAGE 5x7 COLOR PHOTO+COA LEGENDARY RACE CAR DRIVER - Autographed NASCAR Photos
Sports Memorabilia


$29.99
1979 Matchbox Superfast Yellow Citroen CX Vintage Toy Car Made in England
Hockey Card World Inc.


$229.99
$259.99
Solary Magnetic Induction Heater - 1000W 110V Handheld Bolt Removal Tool with 12 Coils
solary


cornfield customs
Well-known member
only got to spend a couple hours on cool hot rod stuff today
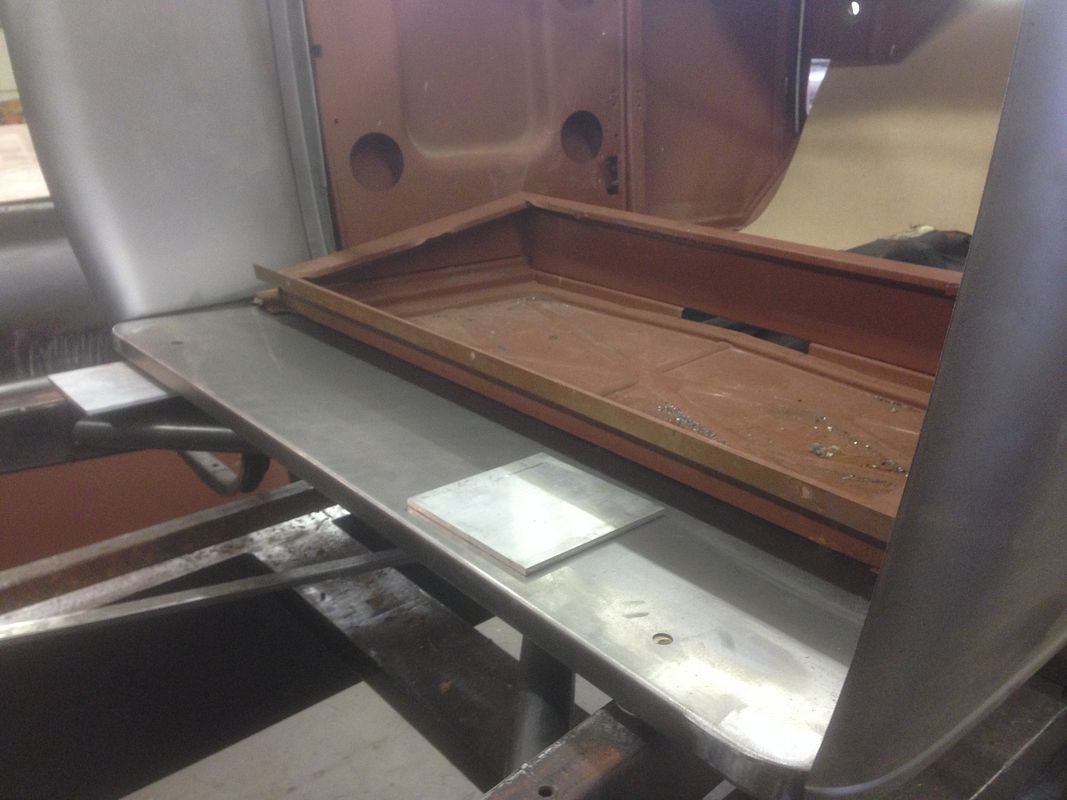
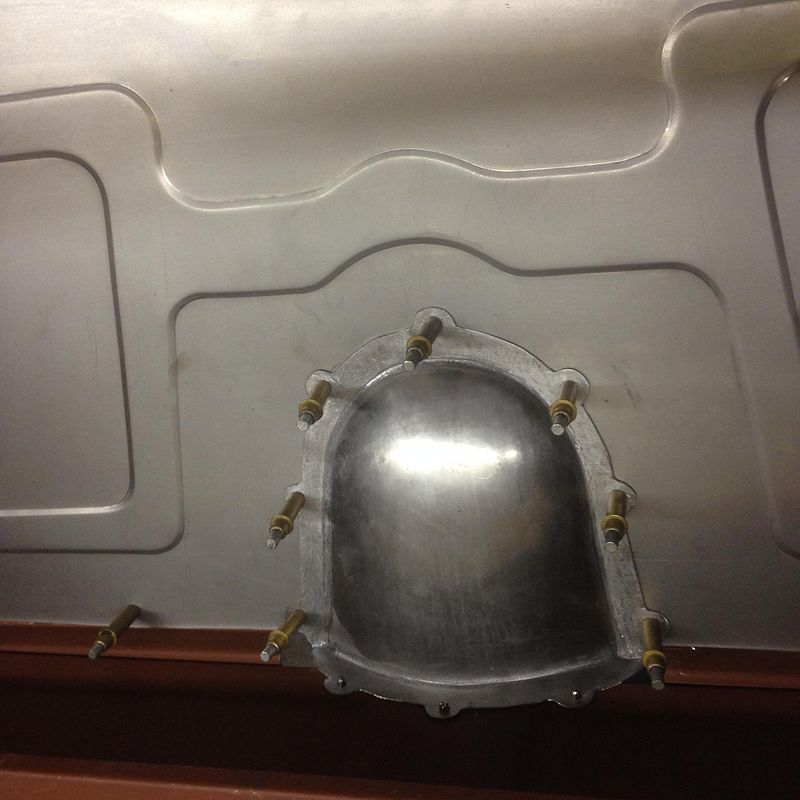
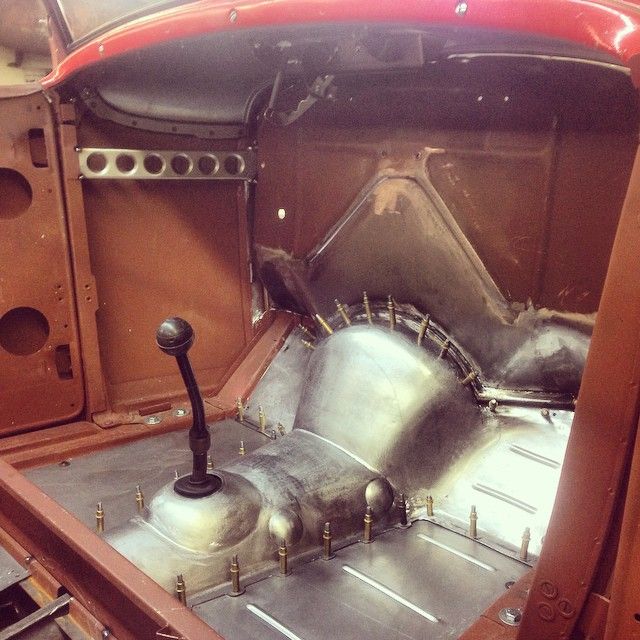
started off by making a new floor pan for under the seat bottom. 18 gauge steel, pre stretched the areas the bead rolling would be done to keep it flat.
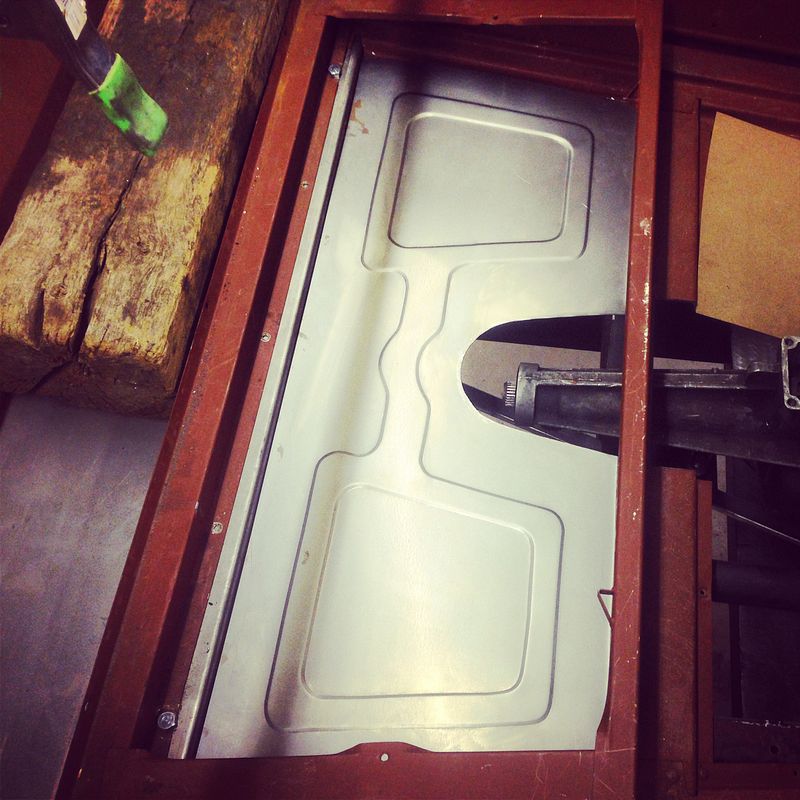
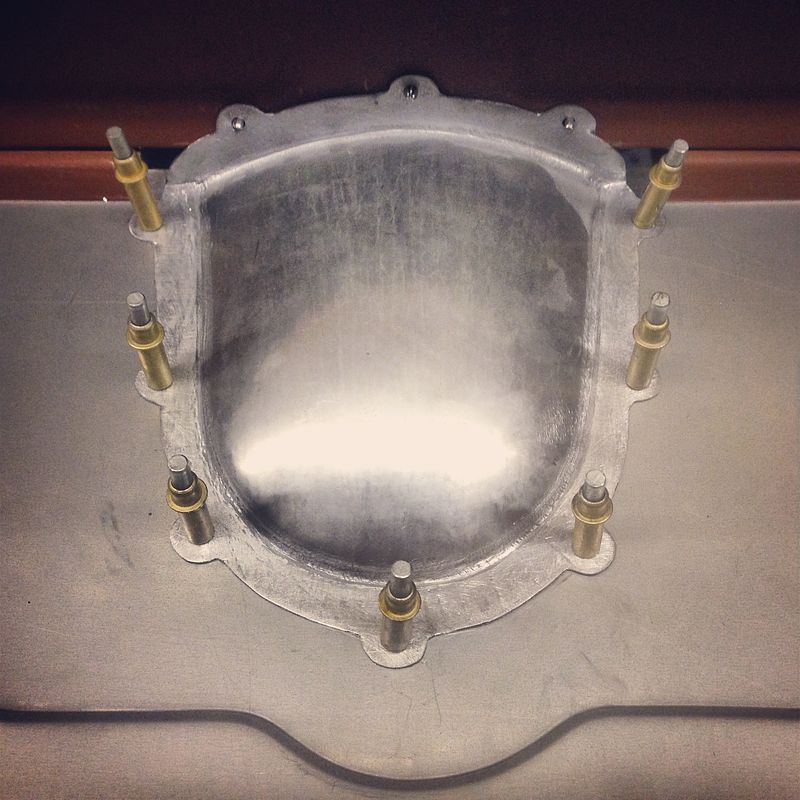
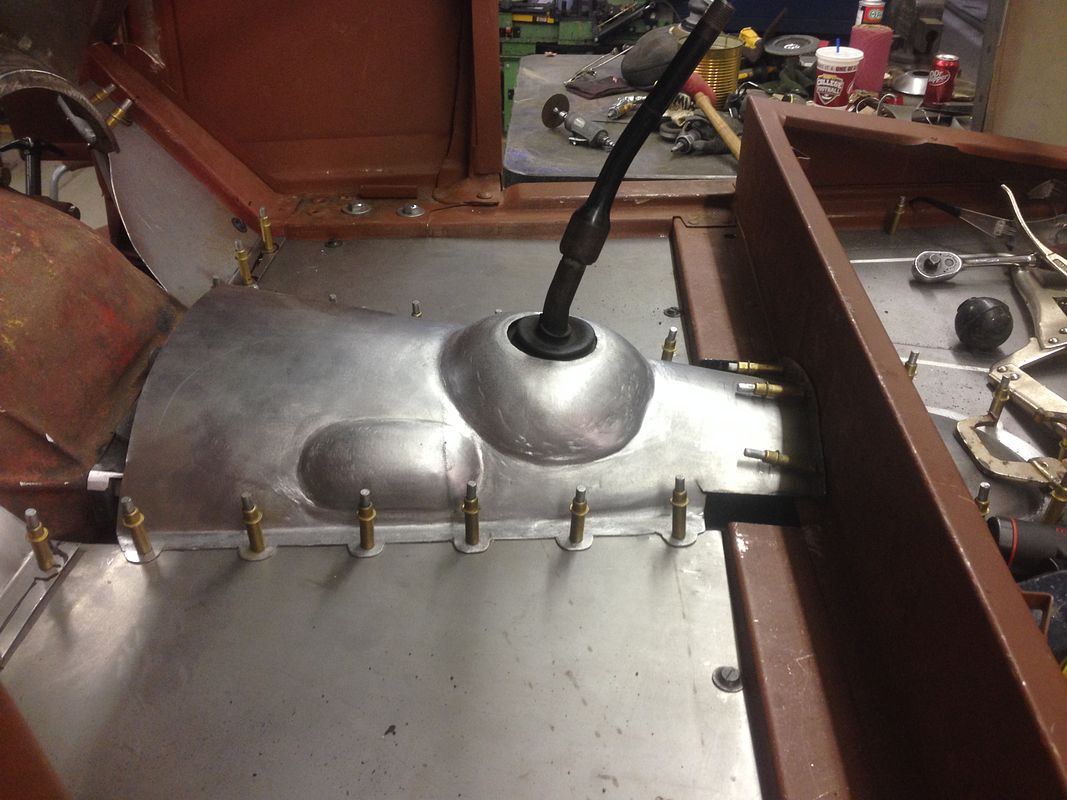
then made a cover panel for over the tail shaft of the trans. made from on piece ,no welding was done. still pretty rough, needs a lot of finish work but ran out of time for the day on this one
started off by making a new floor pan for under the seat bottom. 18 gauge steel, pre stretched the areas the bead rolling would be done to keep it flat.

then made a cover panel for over the tail shaft of the trans. made from on piece ,no welding was done. still pretty rough, needs a lot of finish work but ran out of time for the day on this one


cornfield customs
Well-known member
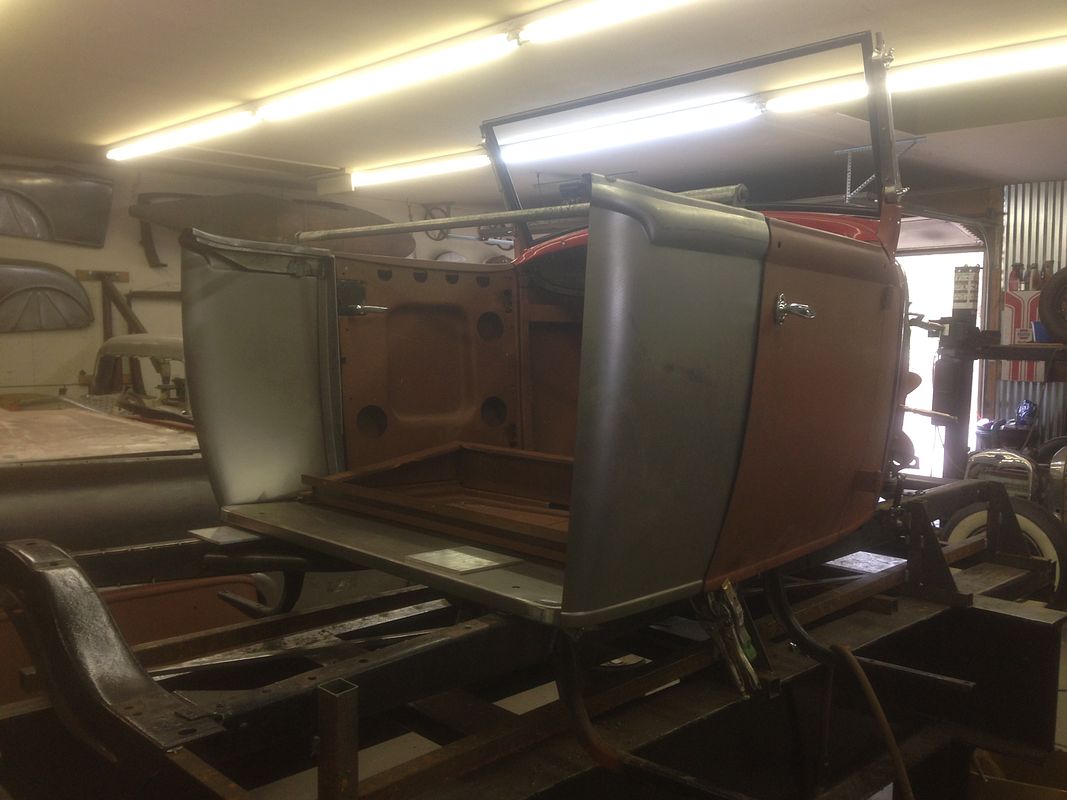
a little progress on the RPU tonight. started making the floor pans and trans tunnel
floor pans cleco'ed in place
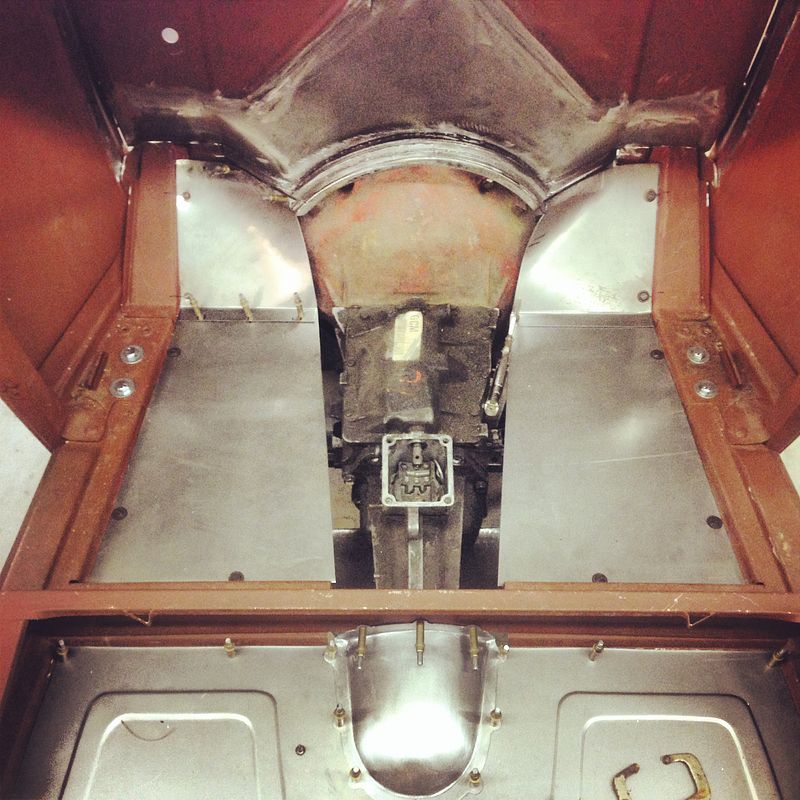
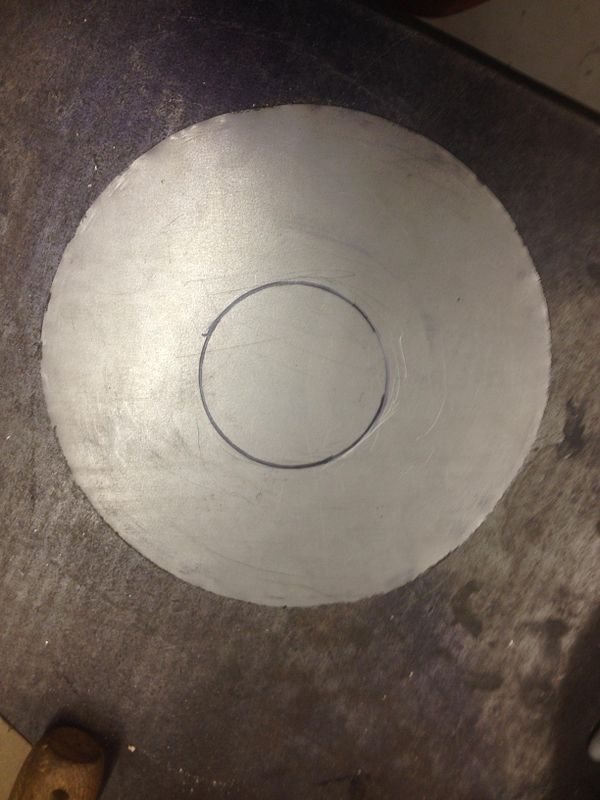
want to make the trans tunnel as small as possible since room is tight in this one. so i made some blisters in the tunnel for clearance. also had to make a blister to fit around where shifter comes out. so here are the basic steps i took to make the big weld on blister
blister laid out, the black line is the hightlight or edge line of the blister
using thumb nail shrinking dies in the recip. hammer. i shrink up to the black line
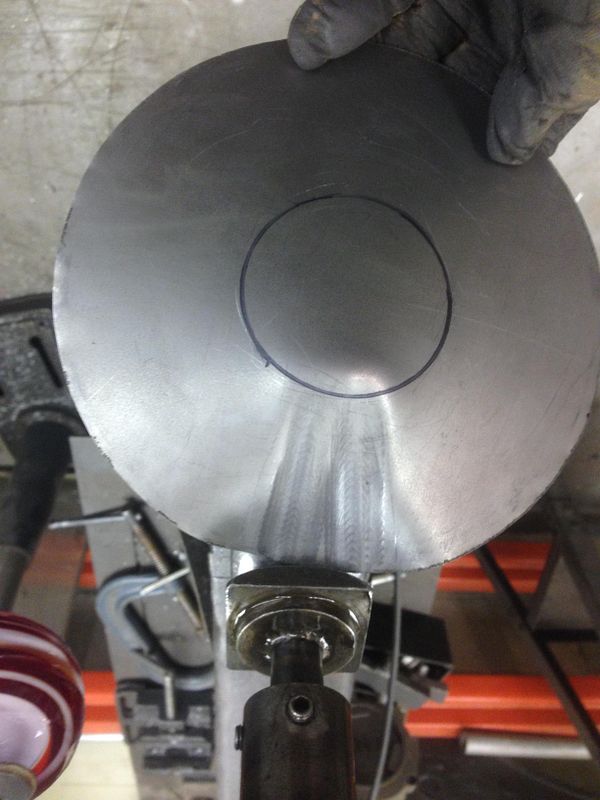
all the shrinking done
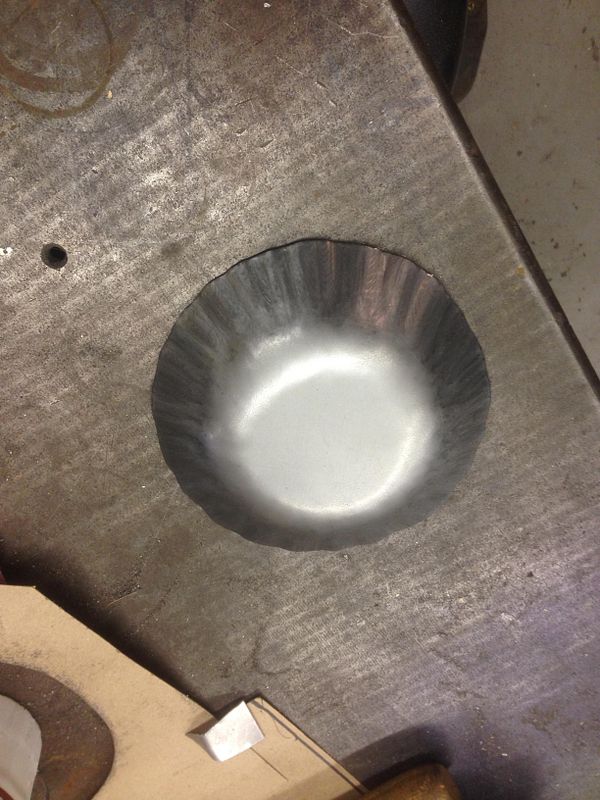
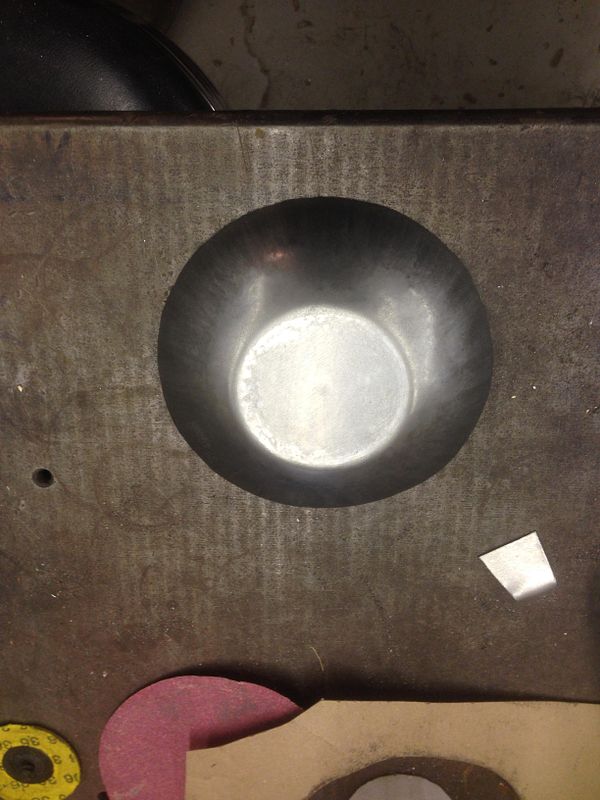
after a trip through the planisher
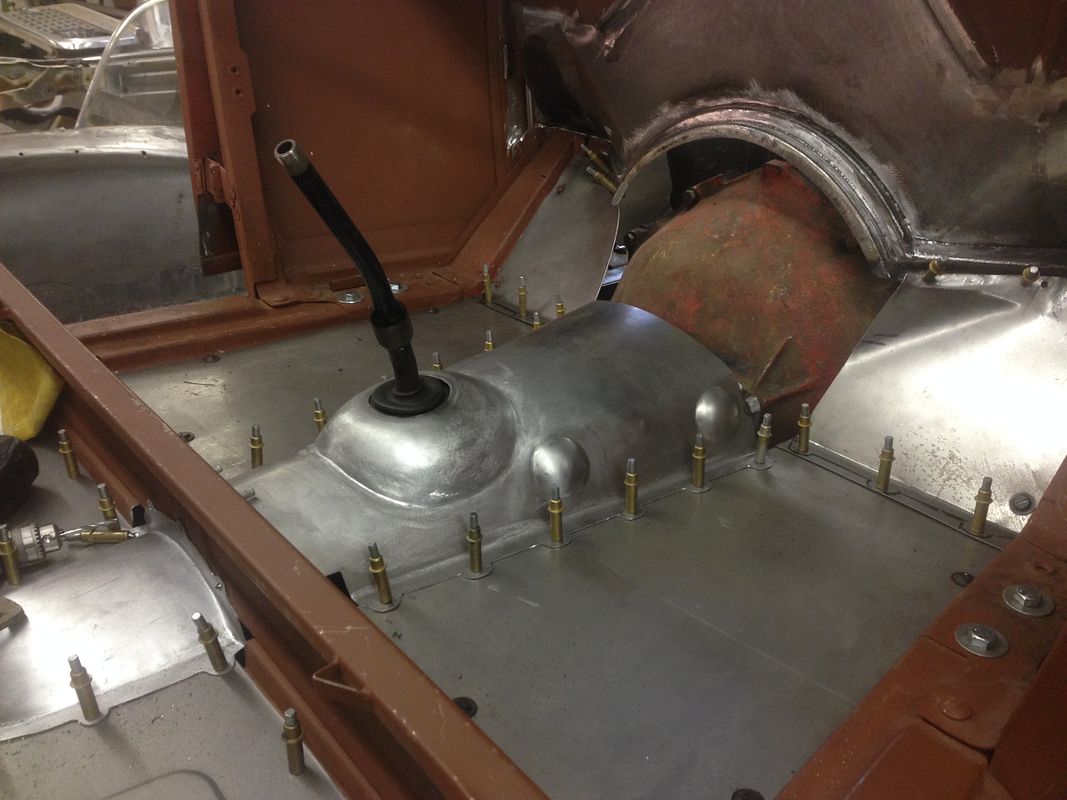
and all welded on. you can see all the other blisters formed in the tunnel, stills needs to be hammered and dollied and metal finished out, but that will wait until i get all the other panels made and fit up
floor pans cleco'ed in place

want to make the trans tunnel as small as possible since room is tight in this one. so i made some blisters in the tunnel for clearance. also had to make a blister to fit around where shifter comes out. so here are the basic steps i took to make the big weld on blister
blister laid out, the black line is the hightlight or edge line of the blister

using thumb nail shrinking dies in the recip. hammer. i shrink up to the black line

all the shrinking done

after a trip through the planisher

and all welded on. you can see all the other blisters formed in the tunnel, stills needs to be hammered and dollied and metal finished out, but that will wait until i get all the other panels made and fit up


Dirtyrat
Got Fins?
Those look really cool, you did a great job on that tunnel for sure!
DJ3100
Well-known member
Beautiful work. Your "pretty rough" would be my "delighted".
Todd
He's just one of them Rusty-Chainers!
Love the detail around the flange of the pieces [dr[cl So much nicer than a straight edge.
So much nicer than a straight edge.I-R-POPS
''Rusty Mopar Slacker''
Beautiful work. Your "pretty rough" would be my "delighted".
AMEN BROTHER! Me too.
Flipper_1938
He recycles the right way
Pretty darn impressive!
cornfield customs
Well-known member
thanks for the kind words, i will keep the progress coming
starting forming the front part of the trans tunnel
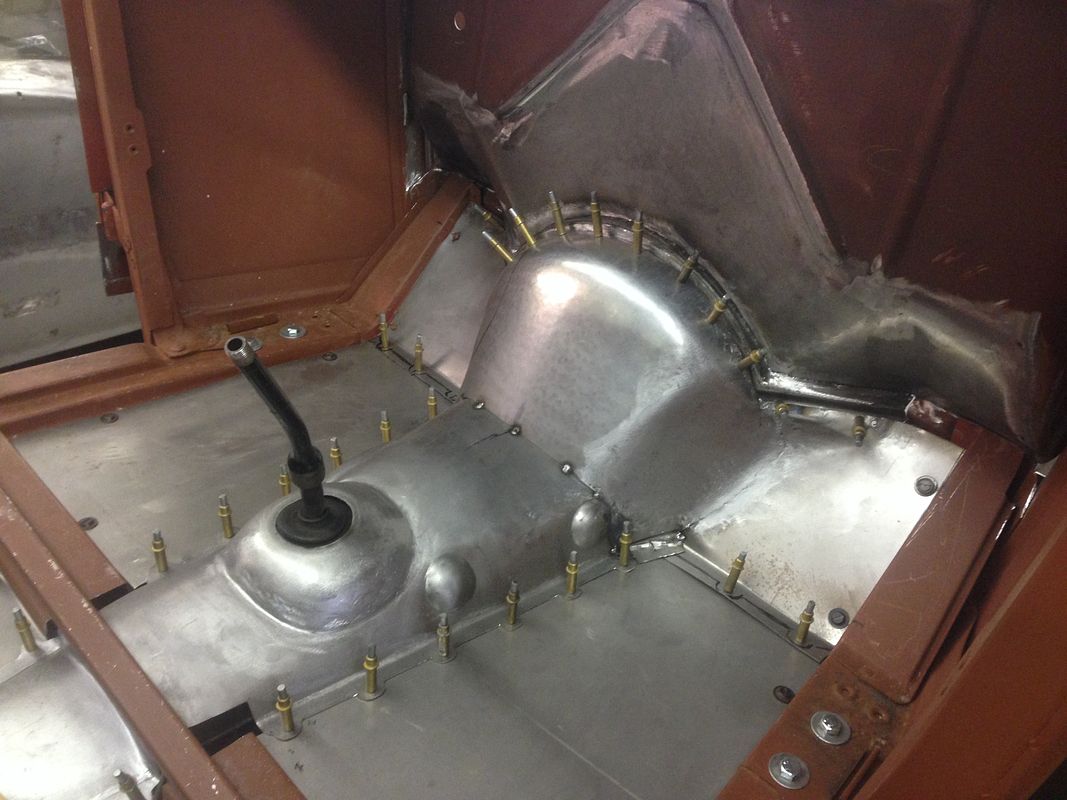
starting forming the front part of the trans tunnel

cornfield customs
Well-known member
a little more progress on the floor and tunnel
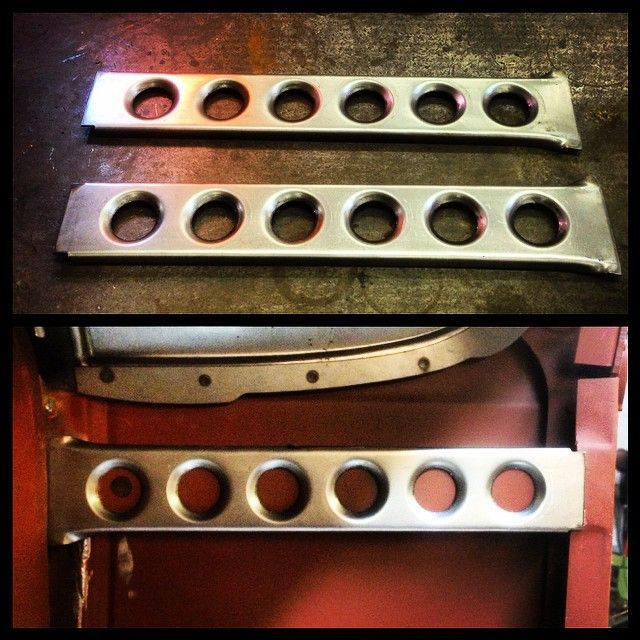
and made some new upper cowl braces. looks much better
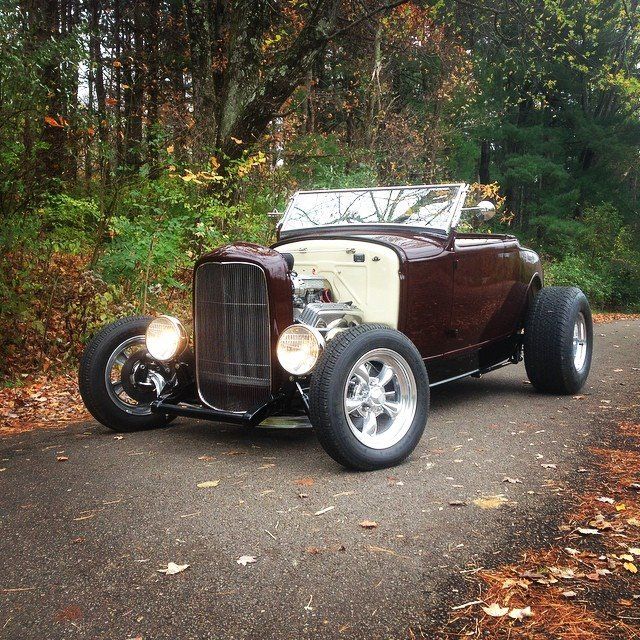
and had a photo shoot with the Riley roadster i built last year for my new website i having done
and made some new upper cowl braces. looks much better


and had a photo shoot with the Riley roadster i built last year for my new website i having done

Flipper_1938
He recycles the right way
[cl[cl[cl[dr[cl[cl[cl
GJunktionMike
Something's wrong with that boy!
All I can say is WOW!!!!
bob w
Still crazy after all these years!
You couldn't do all tha beautiful work if you weren't so talented.[cl
cornfield customs
Well-known member
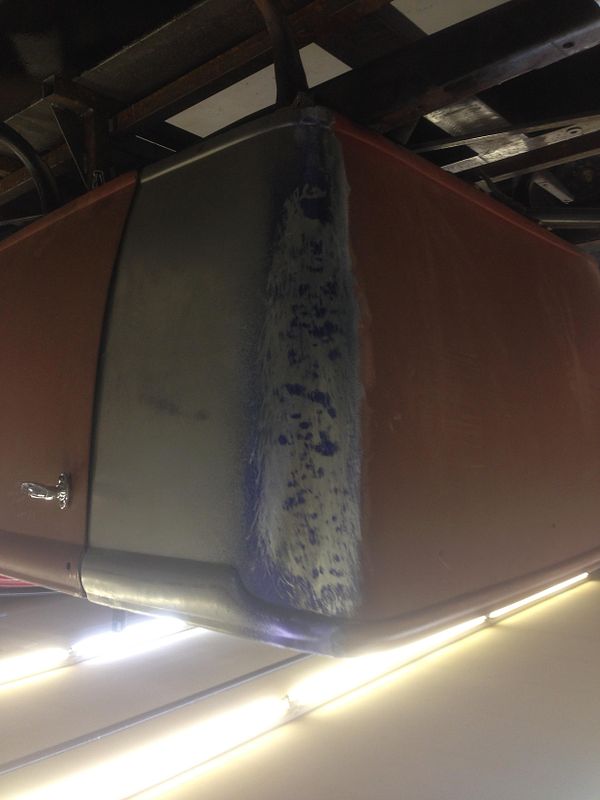
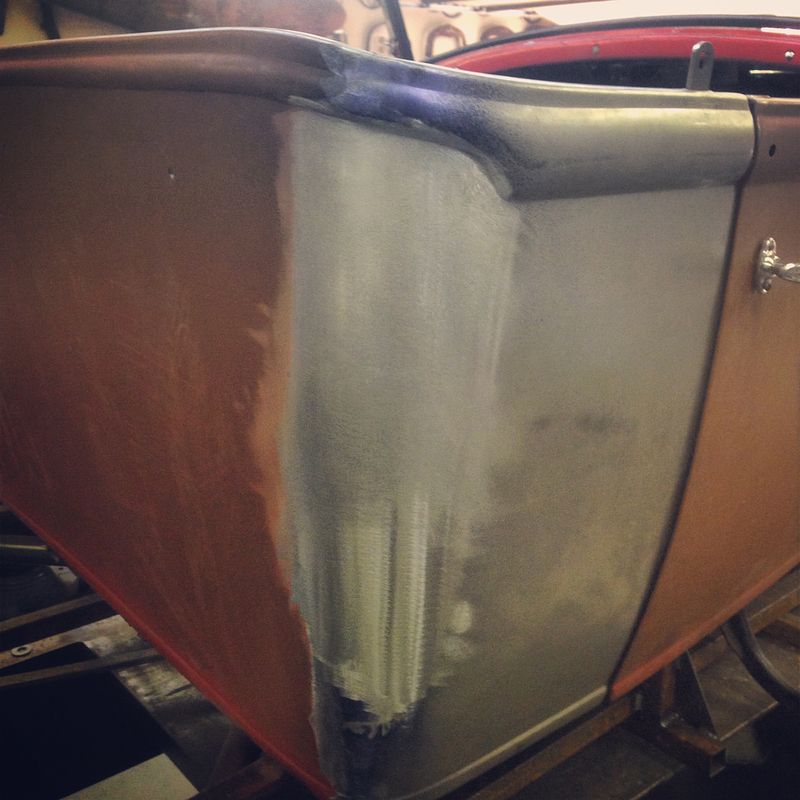
started tig welding up the sides of the body

after a little grinding and some dykem for guide, and a pass with the file
hammered and dollied for a while. then hit it with the high speed sander with 80 grit
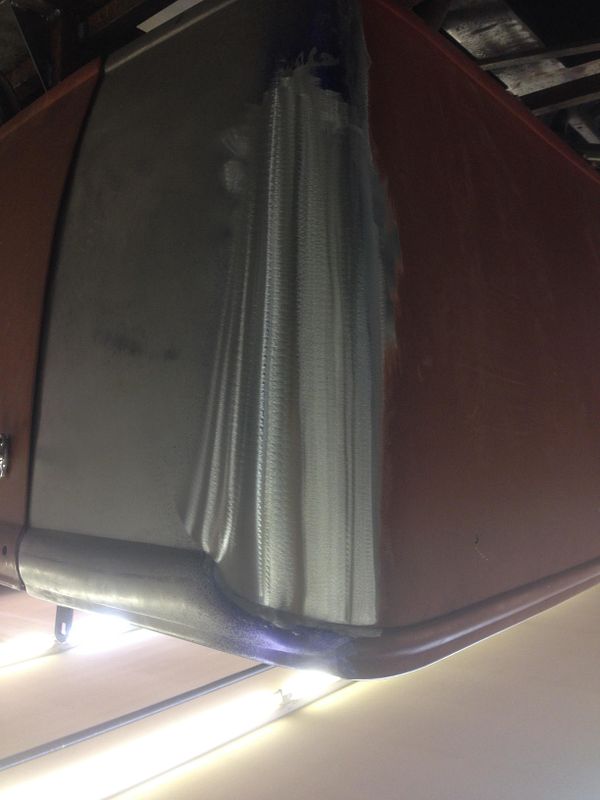
started with the DA on the top half, still need to work on the bottom some more. it is a tough spot to get to since i have to hammer left handed
after a little grinding and some dykem for guide, and a pass with the file

hammered and dollied for a while. then hit it with the high speed sander with 80 grit

started with the DA on the top half, still need to work on the bottom some more. it is a tough spot to get to since i have to hammer left handed

DJ3100
Well-known member
Very impressive work.
Similar threads
- Replies
- 15
- Views
- 1K