Hercules

Rat Rods Rule

Help Support Rat Rods Rule:

This site may earn a commission from merchant affiliate links, including eBay, Amazon, and others.
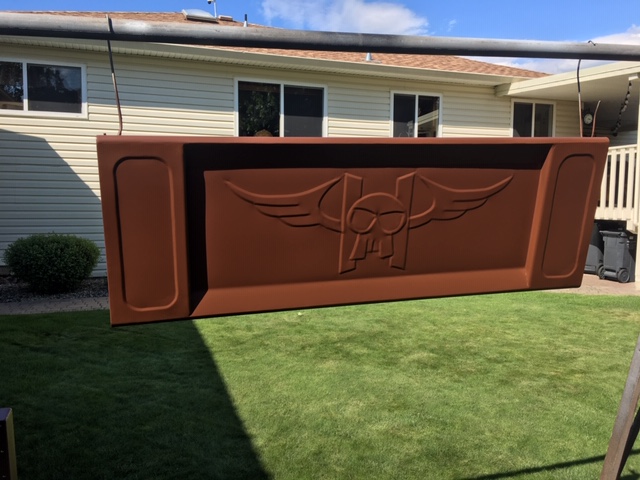
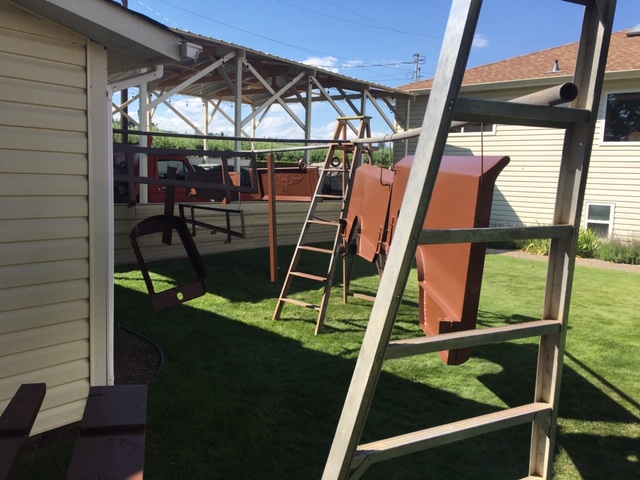
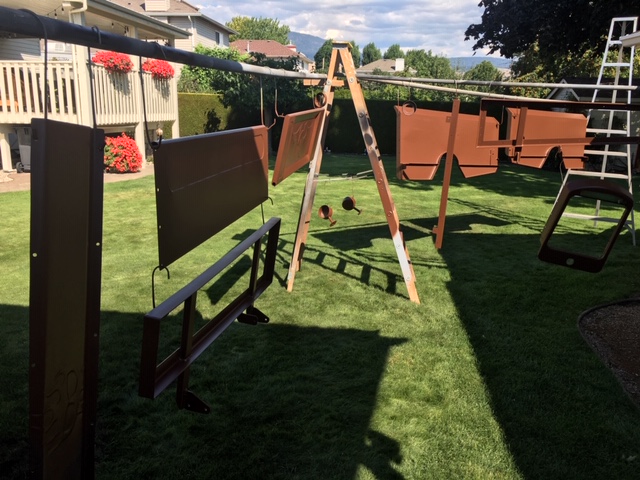
Laying down some brown in the great outdoors :D
Got these first body parts done and stashed in my shed, possible thunderstorm tonight....
This Tremclad color - Leather Brown flat also comes in rattle cans so touch ups are a breeze..
attachment.php
attachment.php
attachment.php
 

Attachments

  • IMG_4128.JPG
    IMG_4128.JPG
    144.9 KB
  • IMG_4130.JPG
    IMG_4130.JPG
    113.7 KB
  • IMG_4131.JPG
    IMG_4131.JPG
    128.5 KB
I'm keeping your mix formula in mind for the future. The parts look good just hanging there. Especially the tail gate.
 
Last edited:
Fenders and some other small parts went under the gun today, only the cab and doors left to clean up & shoot color on - HOOray!!
Running out of space in my shed to stash all the parts :eek:

attachment.php
attachment.php
 

Attachments

  • IMG_4141.JPG
    IMG_4141.JPG
    113.2 KB
  • IMG_4140.JPG
    IMG_4140.JPG
    114 KB
I'm really diggin' the color too...[cl[cl[cl

I have a question ZZ, you said you prepped to paint...did you use a sealer or some sort of primer prior to paint or just the paint? Inquiring minds want
to know ;);)
 
I'm really diggin' the color too...[cl[cl[cl

I have a question ZZ, you said you prepped to paint...did you use a sealer or some sort of primer prior to paint or just the paint? Inquiring minds want
to know ;);)

I just meant cleanup - grinding rough welds, sanding rough edges and all surfaces, general wipe down with wax and grease remover. No primer, keeping it simple. I have to confess to breaking my own rule and using a tiny bit of bondo to fill the gaps between the stitch welds in the door frames and to blend the brass trim to the sheet metal. :eek:
That seals the trim to the body skin so water won't get behind and bleed rust down the body sides. Got that done today so final painting tomorrow!!
 
All painted, along with the floor, now a nice brown, hides the dirt....:rolleyes:
Started with the cab on its side to spray the underside, then tipped it upright.
As an afterthought, I shot some black semi-gloss between the brass trim to break up all the browness. Inspiration hit me then and I masked off the Flying H and shot it with a Rustoleum gold metallic spray bomb, a fairly good match to the brass trim I figure...

attachment.php
attachment.php
attachment.php
attachment.php
 

Attachments

  • IMG_4149.JPG
    IMG_4149.JPG
    101.3 KB
  • IMG_4145.JPG
    IMG_4145.JPG
    101.9 KB
  • IMG_4151.JPG
    IMG_4151.JPG
    107.5 KB
  • IMG_4144.JPG
    IMG_4144.JPG
    119.9 KB
Thanks guys, its really exciting to get it to this stage with the major fab behind me. Now its time to give some love to the dirty old 360 and 4spd. New clutch, etc. for it, then open up the engine for new gaskets, oil pump and general cleanup. Comp Cams keep pushing the ship date farther away for the cam & kit and Edelbrock is dragging their heels on the intake too so I'm just going to put a 4bbl adaptor on to run the 650 carb I have to get it going and work the bugs out, swap the goodies in later - I wanna cruise it!!
 
After scraping, scrubbing and washing of 49 yrs of crud off of the 360, I gave it some paint and bolted on some new parts. Looking much less turd like now.:D
Putting on shiny engine parts always improves my mood...:):cool:
Using a GM HEI gets rid of the separate coil and gives a better zap than the old points distributor but having a hard time getting it to engage the hex drive to the oil pump - had the same problem with the HEI on the 302 in the 37 Packard - the oil pump shaft won't stay centered in the hole as you drop the distributor in...[S:confused:

attachment.php
attachment.php
 

Attachments

  • IMG_4159.JPG
    IMG_4159.JPG
    150.8 KB
  • IMG_4158.JPG
    IMG_4158.JPG
    144.5 KB

Latest posts

Back
Top