Smallfoot's AA

Rat Rods Rule

Help Support Rat Rods Rule:

This site may earn a commission from merchant affiliate links, including eBay, Amazon, and others.
Choppinczeck this is part of the invoice with the part #s


Line Product Ordered Shipped Balance Price Total
1 1146A1 Polyurethane Foam Flange Mount Seal, 3/8" Bulb Diameter, 3/4" Overall Width 50
Feet 50 0 1.31
Per Foot 65.50
2 3275T22 Glass Locking Edge Grip Seal, 3/32"-9/64" Edge Thickness, 57/64" Overall Height 25
Feet 25 0 1.52
Per Foot 38.00
3 9273K59 General Purpose Nylon Hook and Loop, 2" Width X 10' Length, Plain Back, Black, Lengths of 10 1
Length

It looks like some kind of reinforced polyurethane covering. Looks pretty tough. They said you can glue it, screw it or staple it on.
 
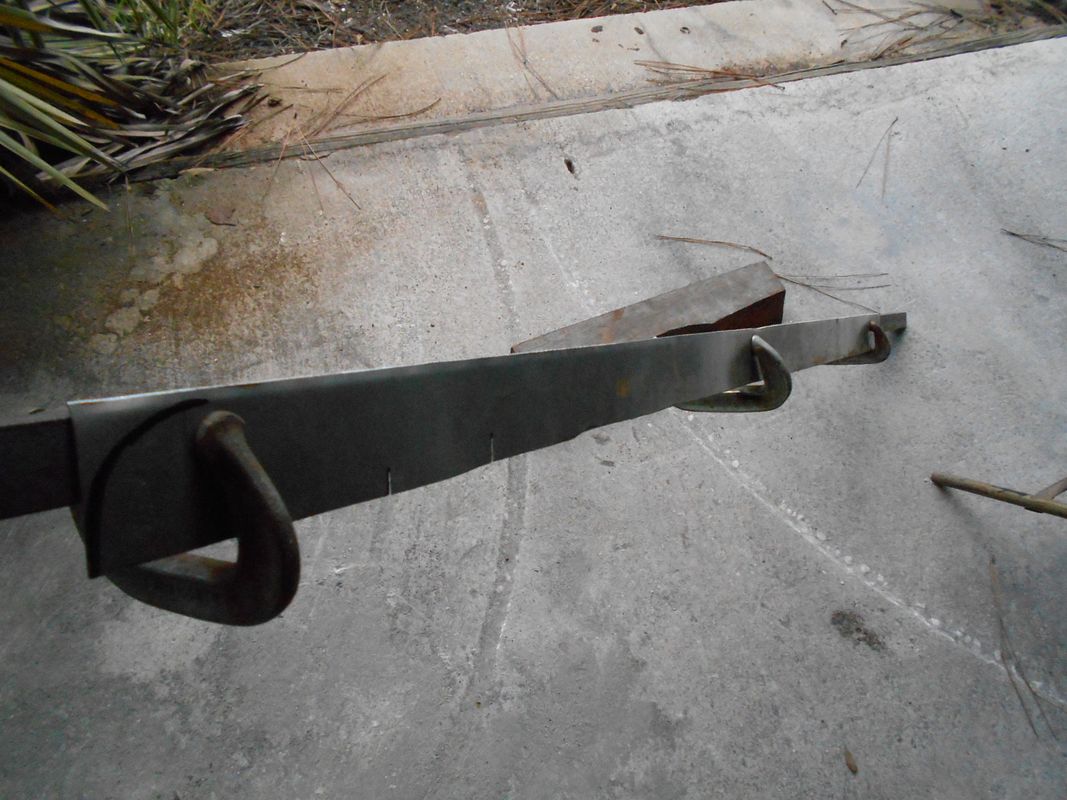
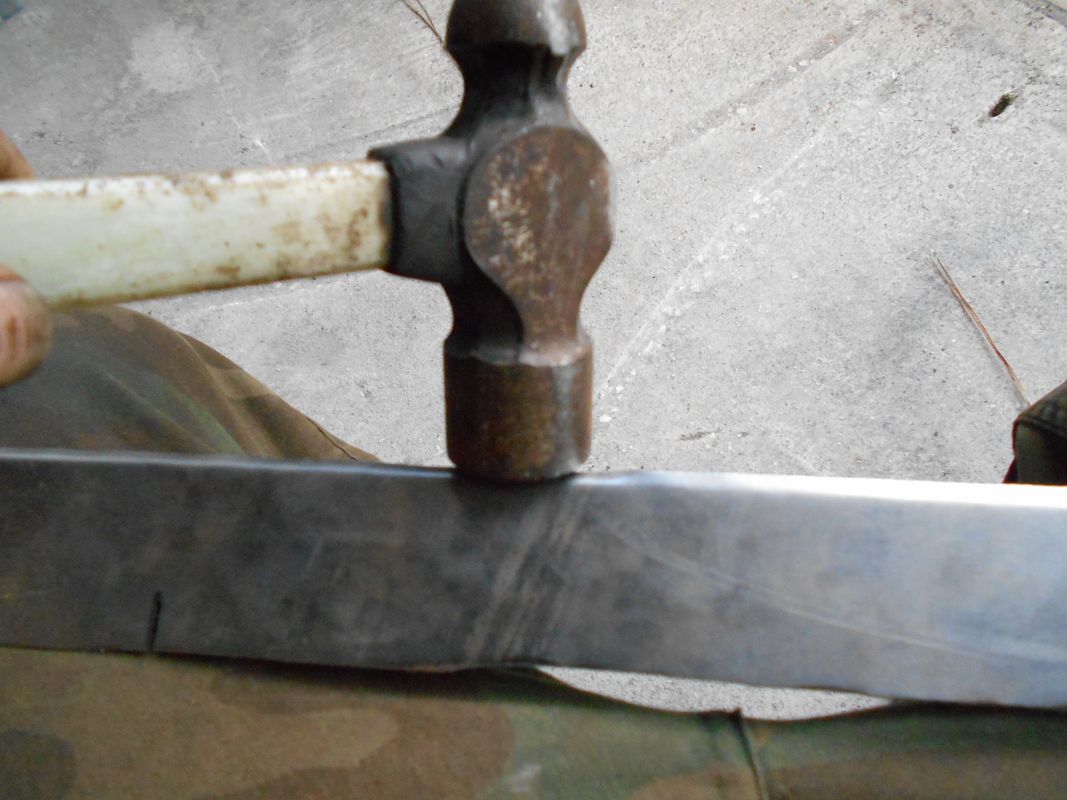
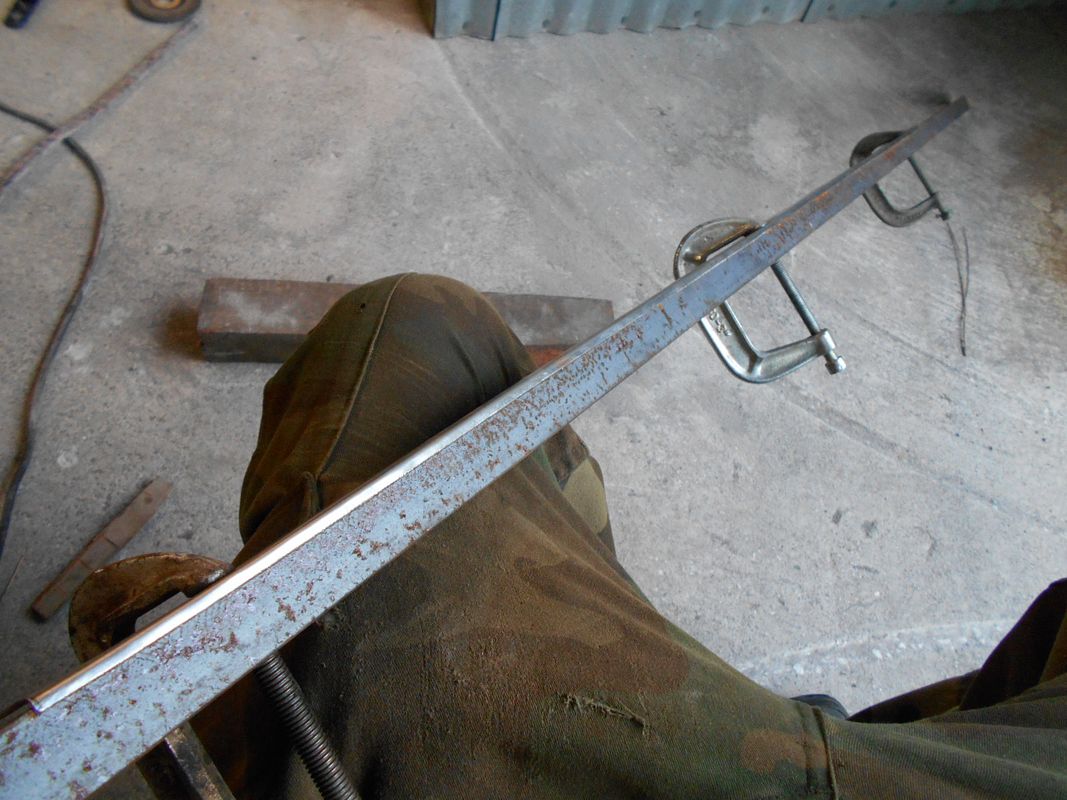
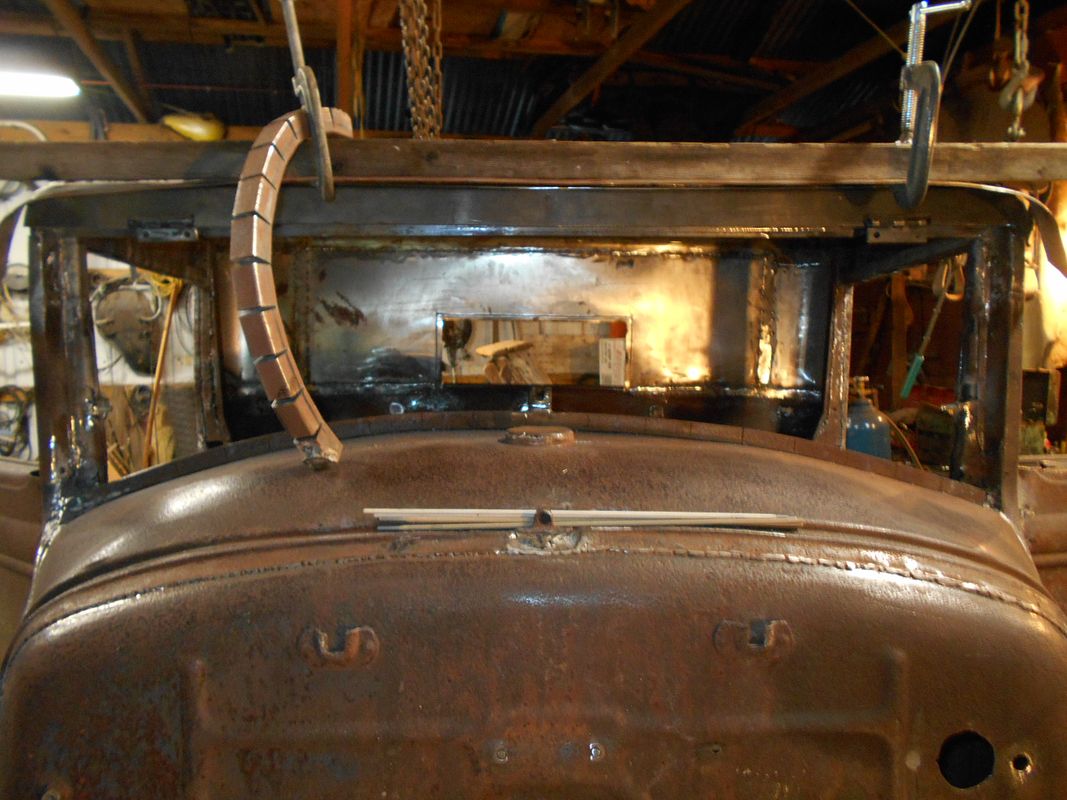
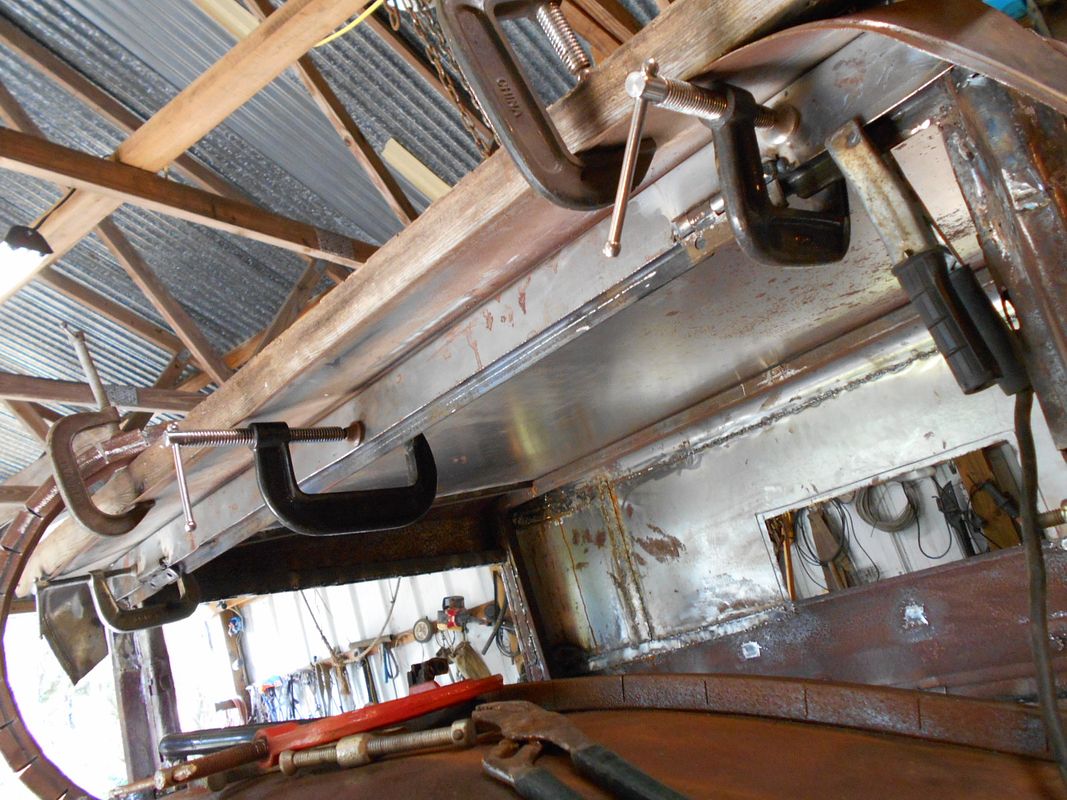
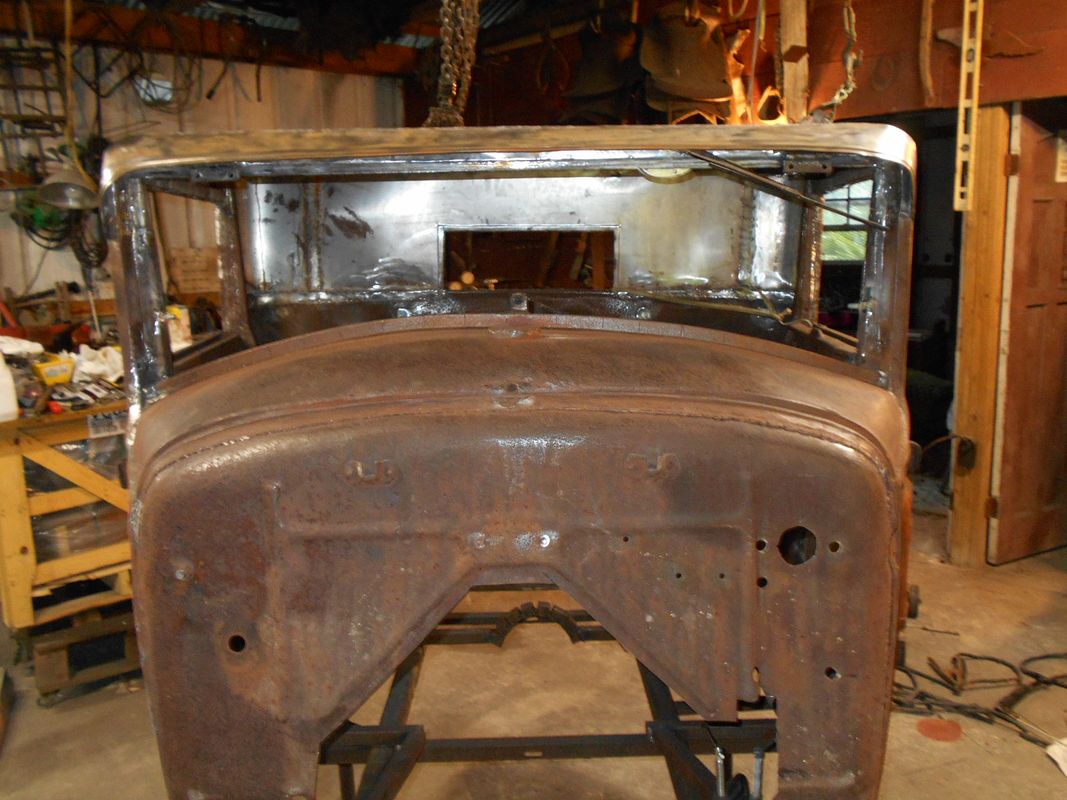
Not much to post about. Lots of welding holes closed and grinding. Been forever on the windshield area but i want everything to work right. Here I'm breaking a narrow piece of sheet to make a valance across the header area. Using a piece of 1" angle to break on. My attempt will be to slide this lip into an area I have left open between the top sheet metal and the header for the windshield. It'll also dress up the whole front edge when I weld in in. I've got the cuts made to get by my hinges and it'll need some work to fit it better tomorrow when there is more natural light. The older I get the worse it is to try to see things right at sundown. Break time till tomorrow. I lso mocked up the wiper motor but didn't take pix. Later...

This last shot has a piece of my tunnel frame being improvised as a prop for the minute...:D
 
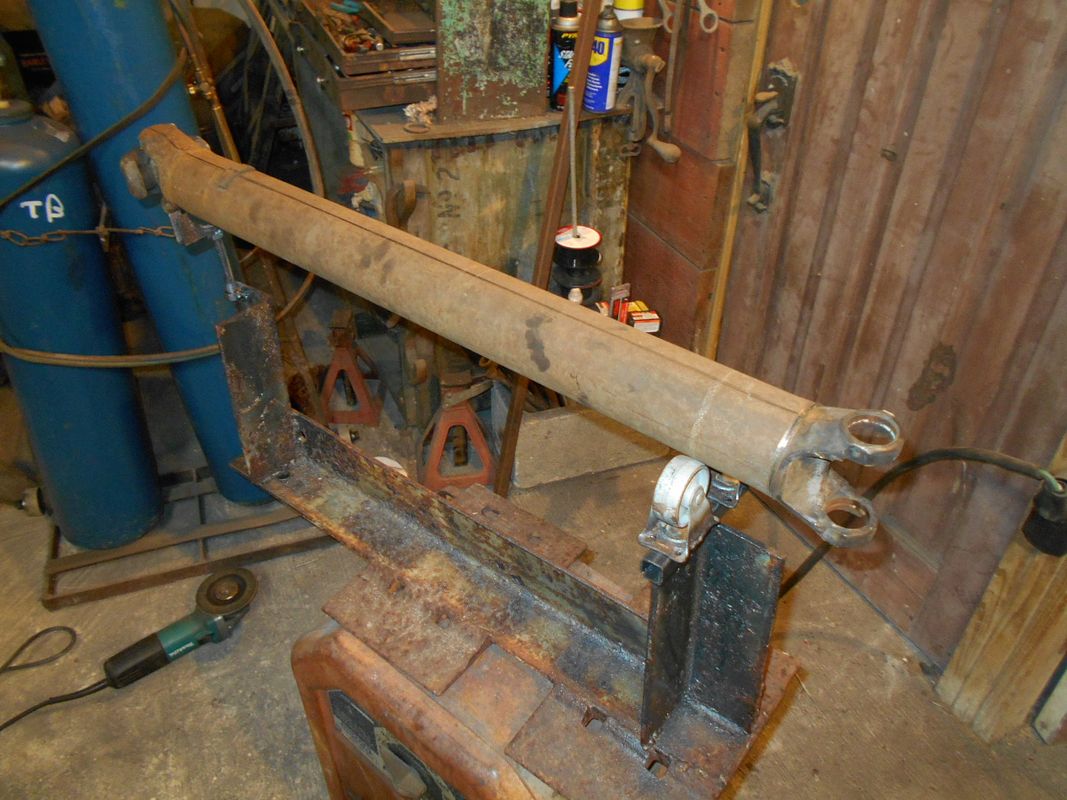
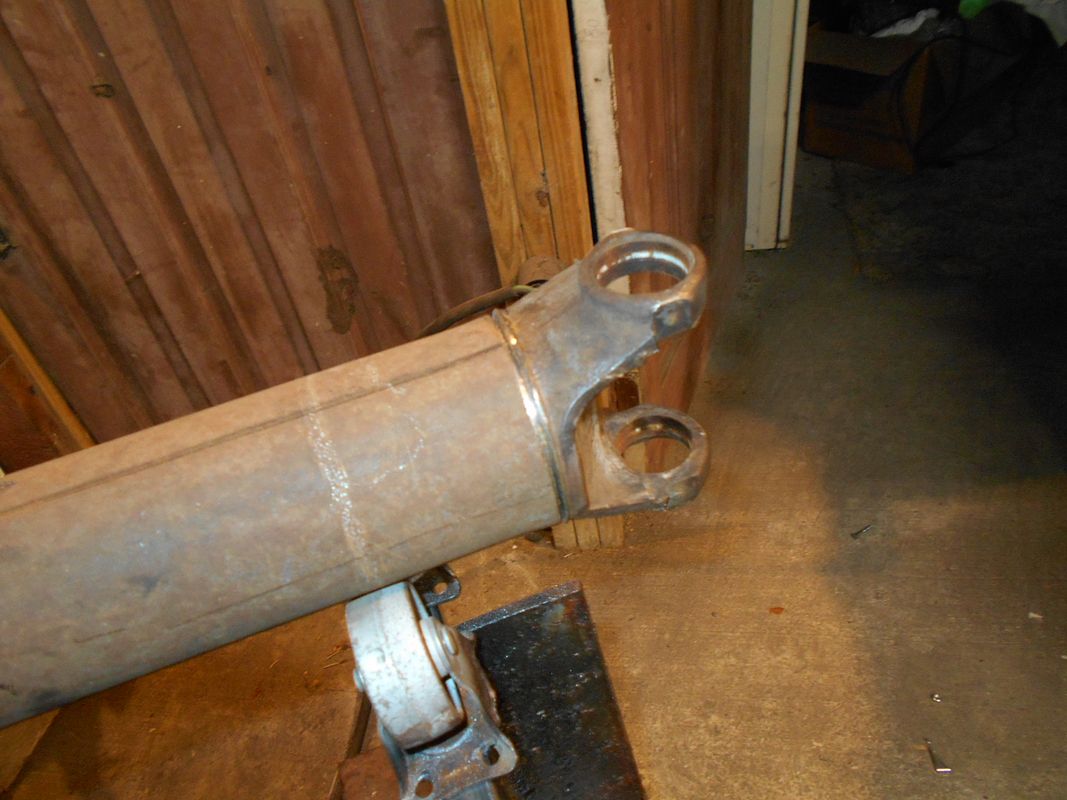
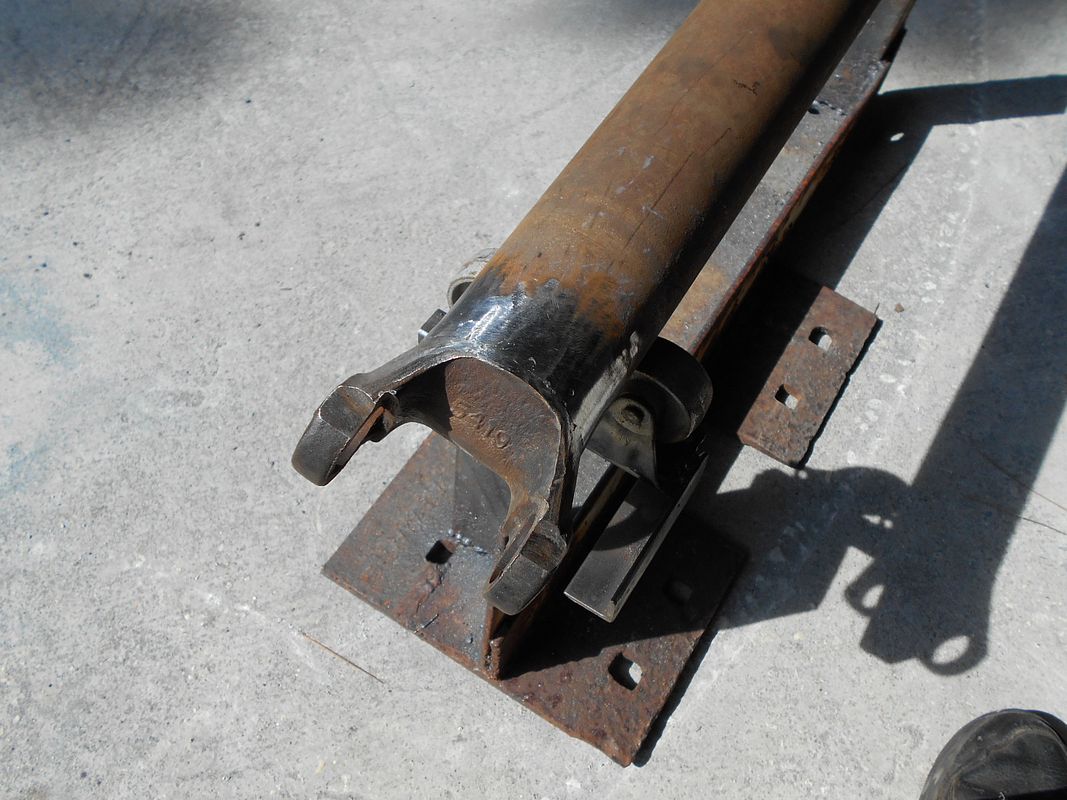
Fabbed up a temporary truing stand so I can check my driveshaft work. I shortened it to my required 31 1/2" measurement. First thing I did was scribe a line from one end to the other and provided some marks to reset against. Took a cut off disk and carefully cut the center of the weld around the yoke. The walls on the gm shaft are about 1/16" material and that's what I was trying to grind to although I never measured. Got it down where I thought it was close a gave it a 3lb rap....tinkle, tinkle across the floor....smiled when it went that well! Then I cut the hollow shaft to length and champhered the inside edges good enough for the yoke end to slide back inside, lining up my scribed lines again. The lip on this yoke is about 1/2 long and although my shaft cut is not exactly straight, it's close enough for the yoke to position itself really square in the shaft. Tapped it down where I'm touching at the longest edge, rolled it in that stand and it looks really straight. I'll weld it up tomorrow after checking for true again in the light of day. I plan on blocking the truck up on stands when I get the shaft done and let it use itself for a big lathe....later
 
Nothin fancy about it but it is enough to roll the shaft and check for run out at the new joint. The section I removed from the original had another weight stuck to it. Do you guys think I should leave it off or place it in the same relation as it was on the original? I considered putting it back on. I removed 8-10" of shaft. 2 weights on the original and they were lined up on my scribe line.
 
Nothin fancy about it but it is enough to roll the shaft and check for run out at the new joint. The section I removed from the original had another weight stuck to it. Do you guys think I should leave it off or place it in the same relation as it was on the original? I considered putting it back on. I removed 8-10" of shaft. 2 weights on the original and they were lined up on my scribe line.

I would leave it off. Run it with out and you will know soon enough if you need to replace it. The last shaft that I had shortened didn't even need any weights.
Just my 2 cents.
Torchie.
 
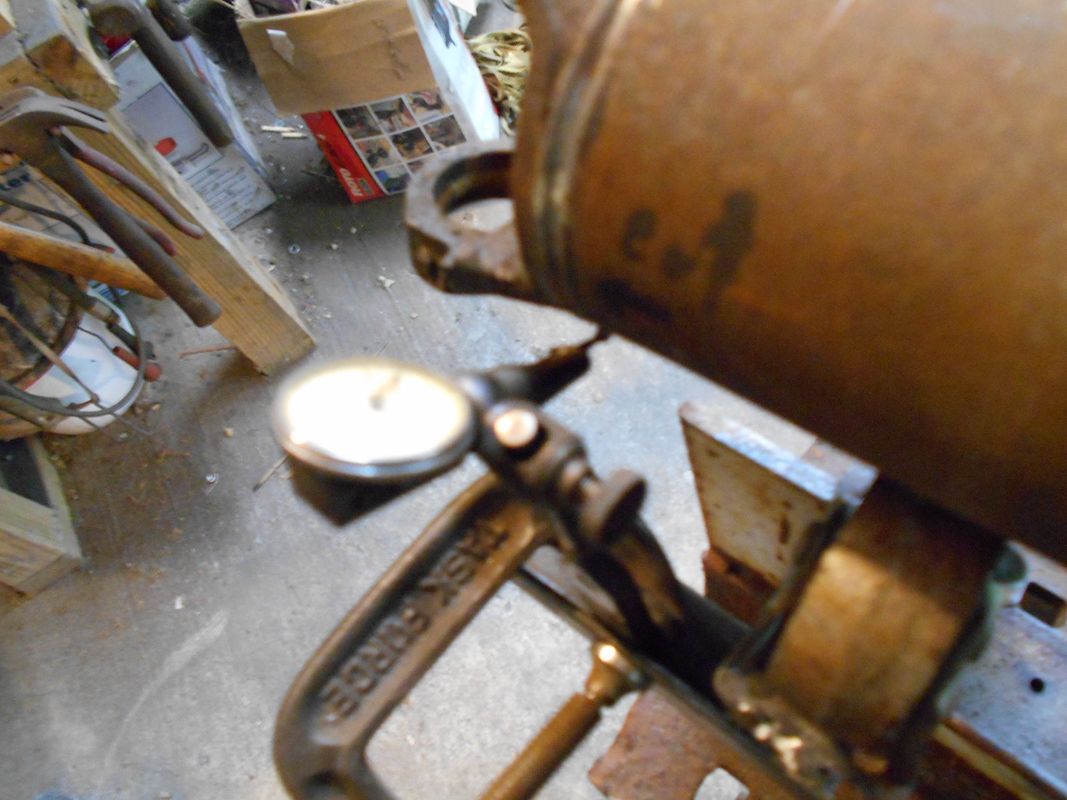
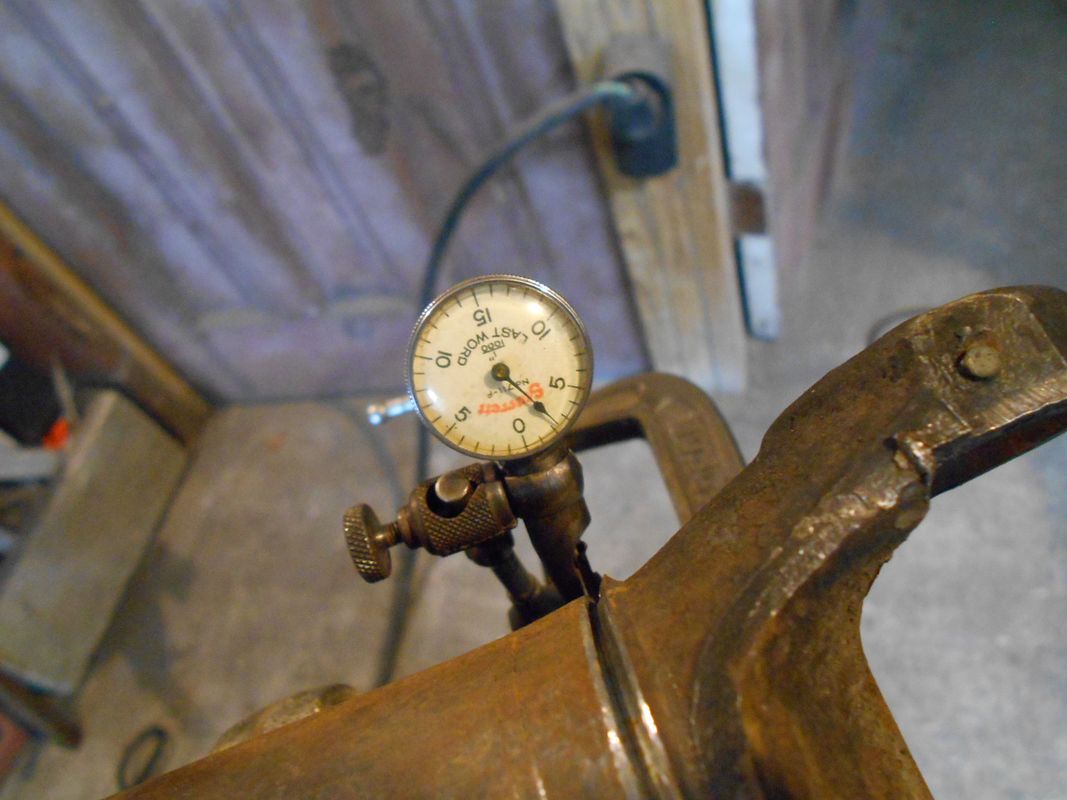
That little stand works real well. I checked the true on both sides of my joint and only ran out .002" in a small place that looked like blemish in the cast. The stand also made a nice place to work on dressing it up...


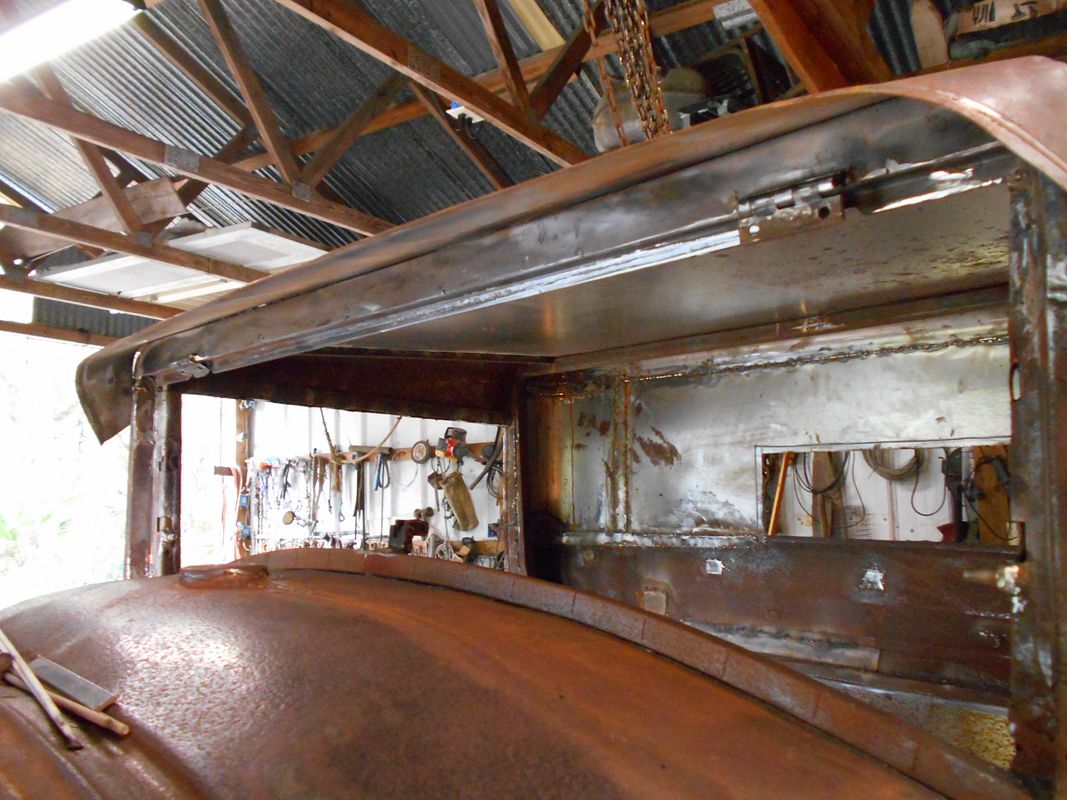
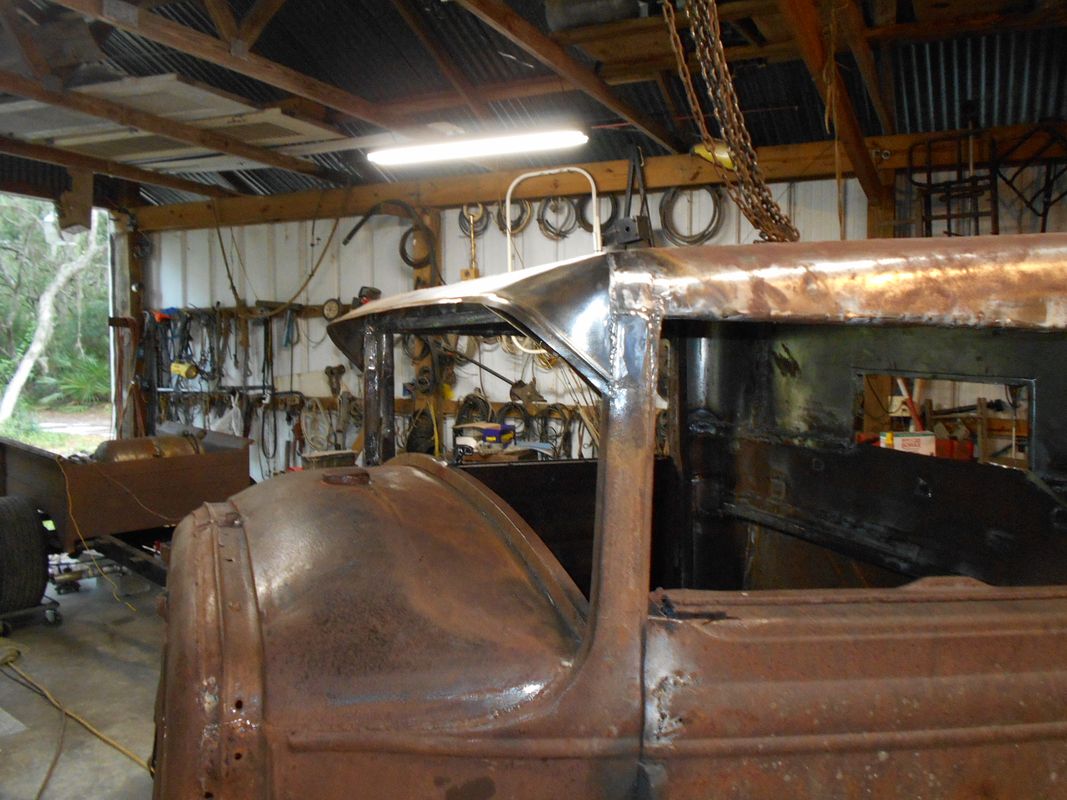
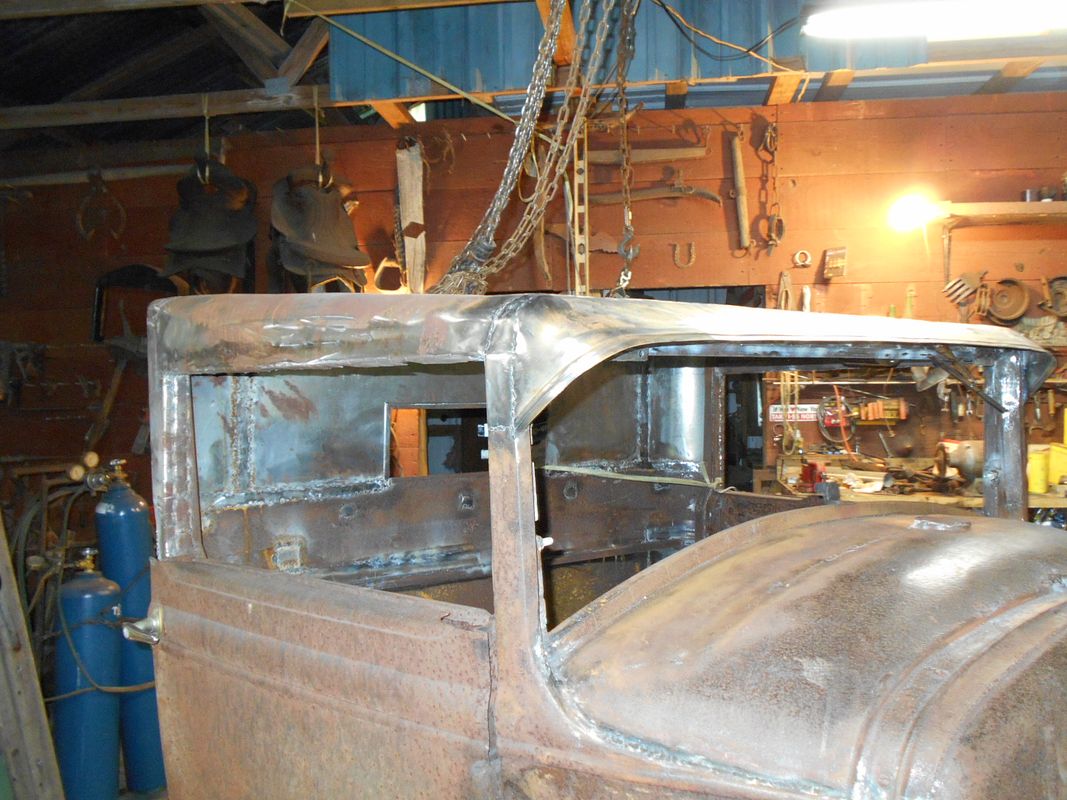
Also got my sheet metal work further along over the windshield. Still need to pop a hole thru the sheet metal for the wiper but the header is drilled already and it's easy to get to. Once I check my wiper clearance, I can tack down the visor in it's final position.
 
excellent idea on the drive shaft fixture.. im going to file that one away for next time.. still TBD on how well the one I welded up will turn out :eek:
 
On using the stand, some improvements could be made probably by placing rollers at both ends. This thing was cobbed together from junk I had laying around. I have two steel casters just welded to a small piece of 3/4" tube which in turn is welded to the old piece of angle iron frame work. The other end on mine is nothing but a 3/8" bolt, welded to an old pipe clamp. The pipe clamp touches in 4 spots and can be used to catch the weld on one end while you slowly roll the shaft. I also welded a nut on the frame at that end to make it adjustable. I think it could center itself pretty well with 2 sets of rollers..after all, you're not spinning the shaft with any speed, just checking for anything that leads you to believe things are not as true as you can make them. I have another shaft if my efforts don't suit me and a professional driveline shop about 30 miles from here....
 
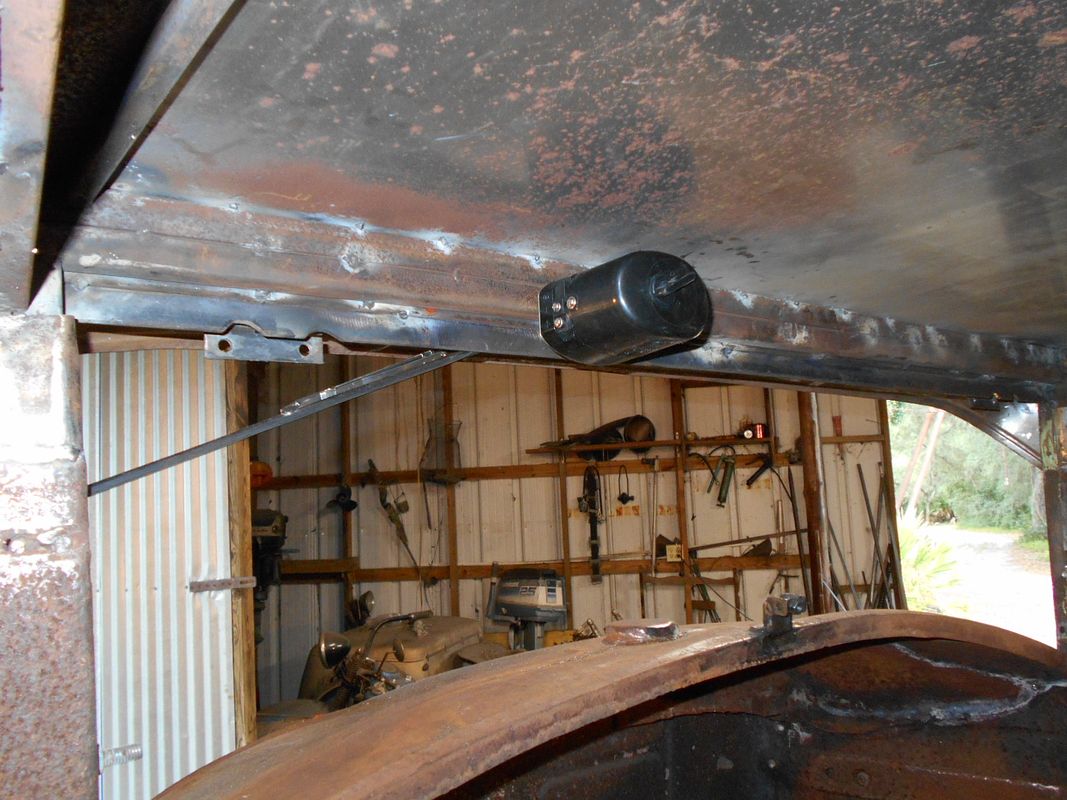
Long way from done with it but the visor making its final position is adding some appearance of progress. Mounted the wiper again to check for clearance before buttoning the visor up. Still alot of filling holes and smoothing welds to do, but I'm at it....
 
It's one of Speedways single speed, single blade jobs. Switch is on the back. It has auto park. Rotates what appears to be just past 90 degrees. I still have to clip the blade for length but I have it set where I can get the best I can with a short glass.
 

Latest posts

Back
Top