Wamego: 1949 GMC 150

Rat Rods Rule

Help Support Rat Rods Rule:

This site may earn a commission from merchant affiliate links, including eBay, Amazon, and others.
I drove 2 1/2 hours, one way, only to tell the seller I'm not interested because of his misleading ad.
You've got to take those instances with the good ones or you'll miss the good deals by not going.
 
I know I know. gotta take the shots because it works out sometimes. I was upset mostly because I got too far down the track, thinking of having those wheels and tires on the 41 for automobilia this weekend. never count chickens before they hatch.


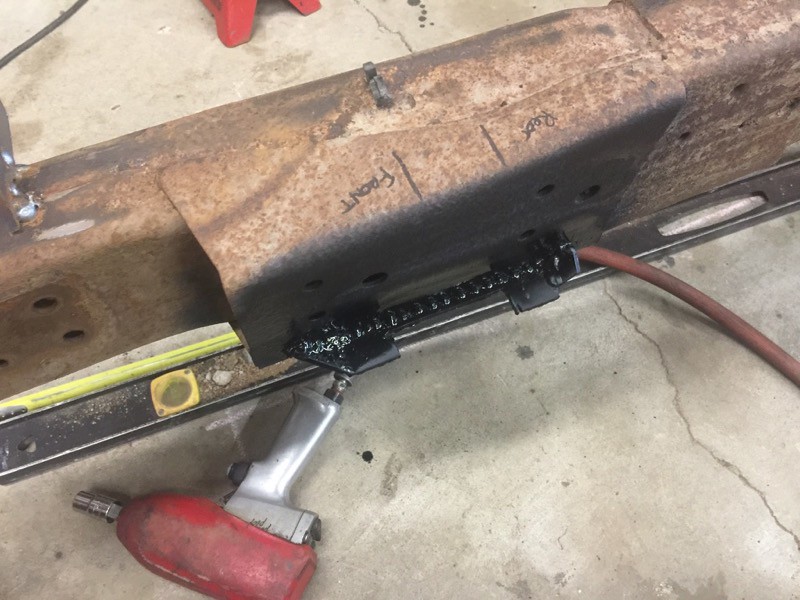
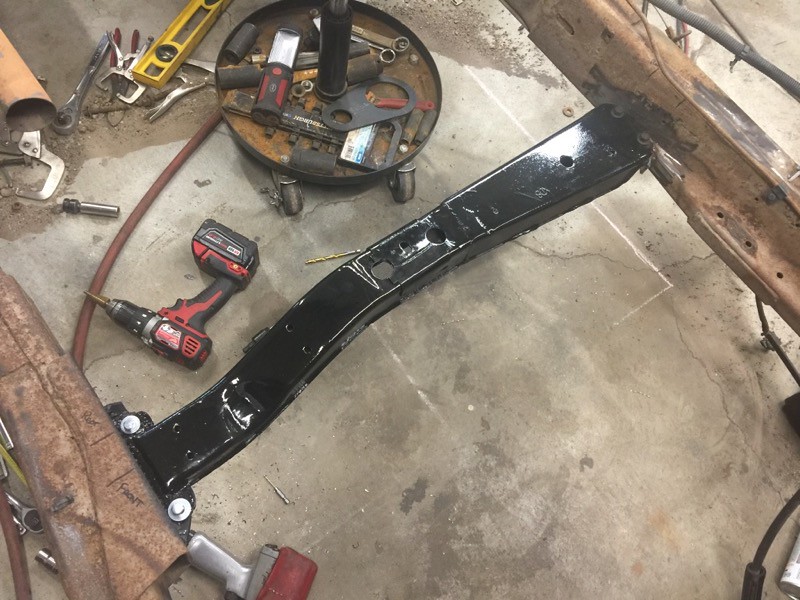
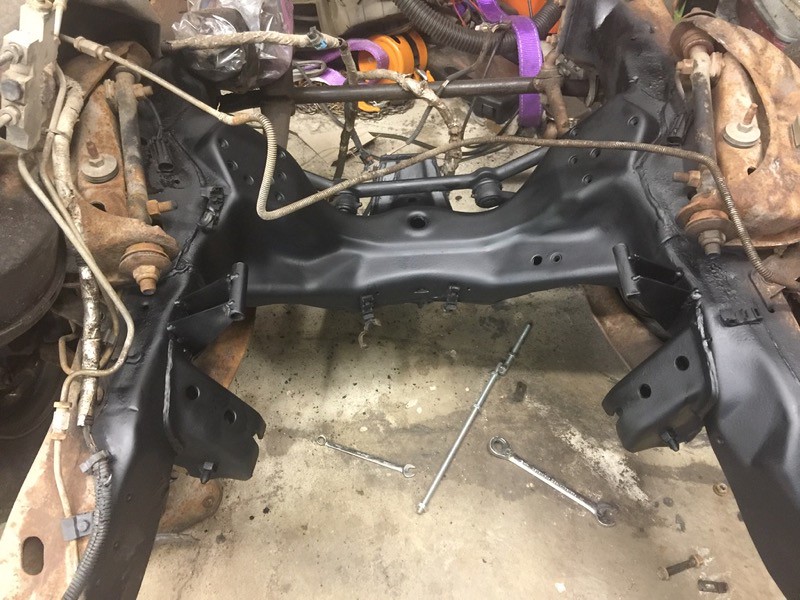
got the gussets on the ear mounts, painted up the trans crossmember and wire brushed the frame in the areas that would be hard to get to after the motor was in.

IMG_0304 by Joe Doh, on Flickr
IMG_0308 by Joe Doh, on Flickr
IMG_0306 by Joe Doh, on Flickr

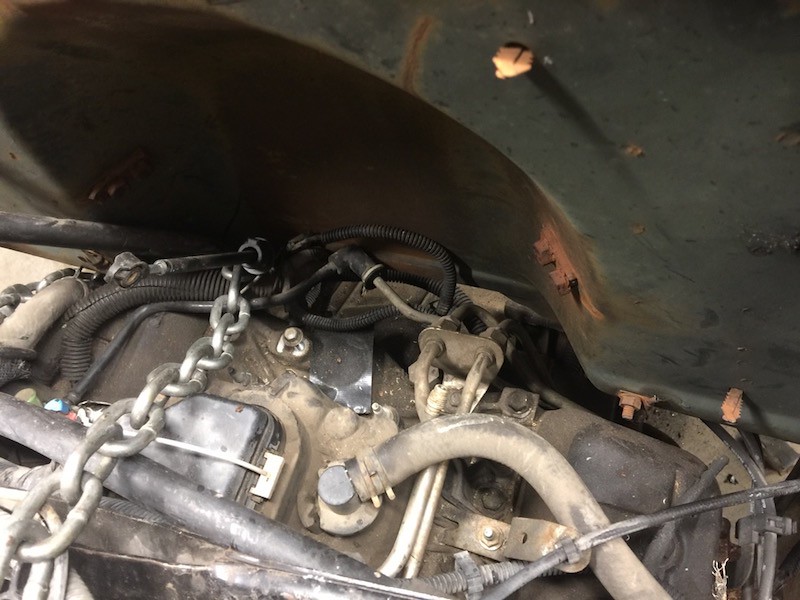
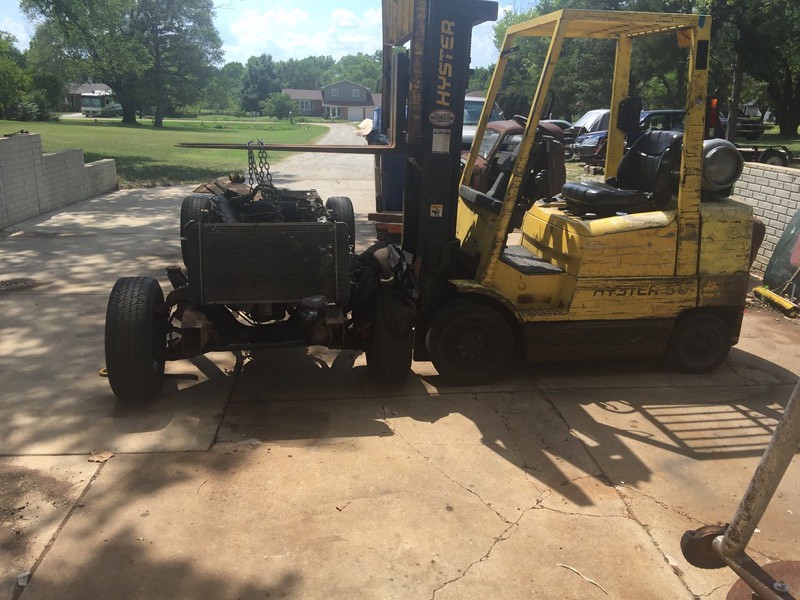
the forklift did the job, I was worried about the trans mount for a second but plop, all bolts went right through their respective mounts. easy peasy super cheesey.

IMG_0309 by Joe Doh, on Flickr

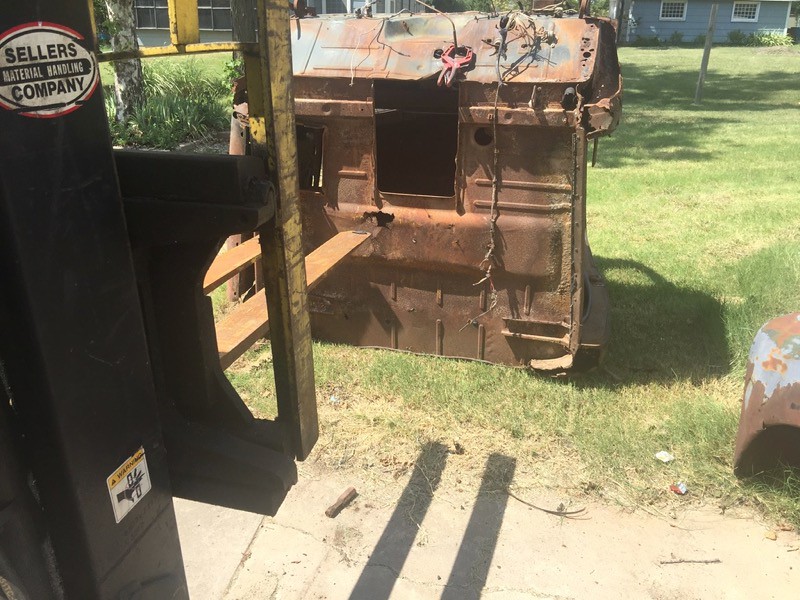
I used it again to tip the cab back so I could trim the shackle channels and carve out for the trans. look at the great condition of the floor and the supports!

IMG_0310 by Joe Doh, on Flickr

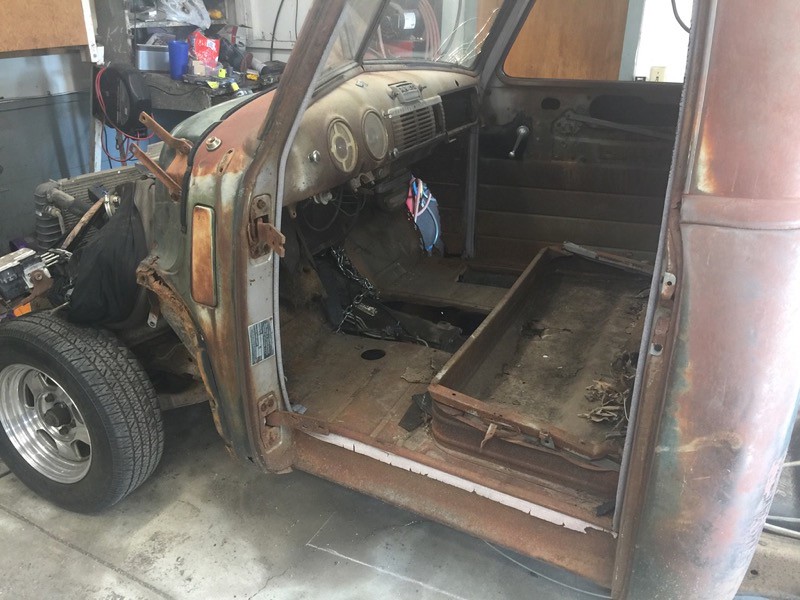
then put the cab back on.

IMG_0311 by Joe Doh, on Flickr

I need some better condition cab mounts, these were trashed and I didnt have any extras. I might pick them up tomorrow. I am also planning work for the 41 before this weekend. automobilia is an awesome show/midnight street cruise every year, and they only give 50 "best of" trophies. I won one year, never expected it, I was actually out cruising instead of at the awards. after I picked it up, on the cruise a guy pulled up next to me and said "whats that piece of **** got that mine doesnt". I just held up the plaque haha. good times.
 
I tried to make it to automobilia this last weekend but the stellar heat all day and threat of rain kept me home. if it sounds like the excuses of a guy who killed himself all last week in the west exposure concrete refractory oven that is my driveway, so be it. haha.

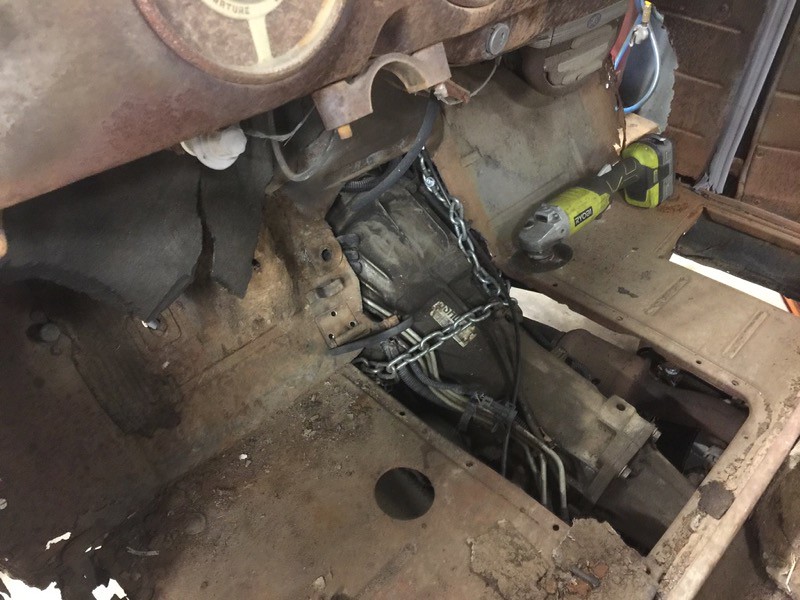
I got the bolts back through the body mounts and checked my engine move. worked out almost like I planned for it!
IMG_0366 by Joe Doh, on Flickr
IMG_0372 by Joe Doh, on Flickr

final measurement of the move: 8 3/4", fits perfectly.

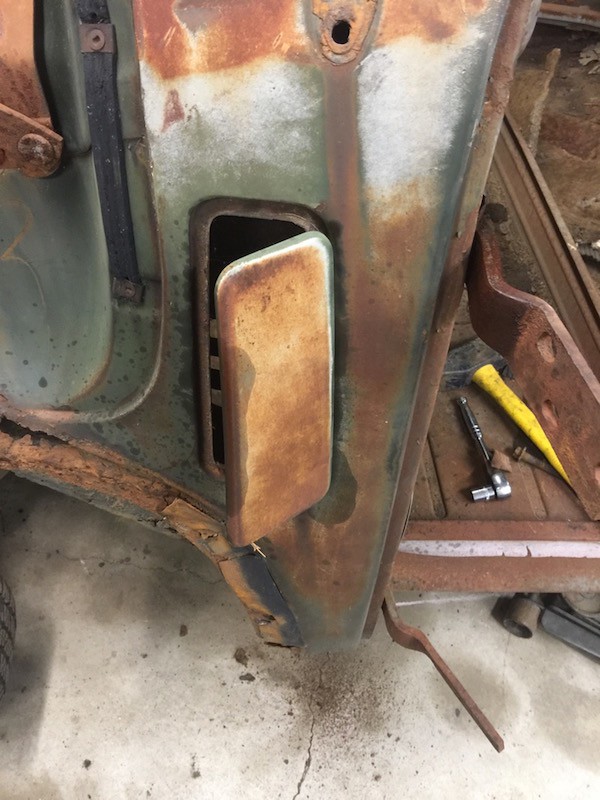
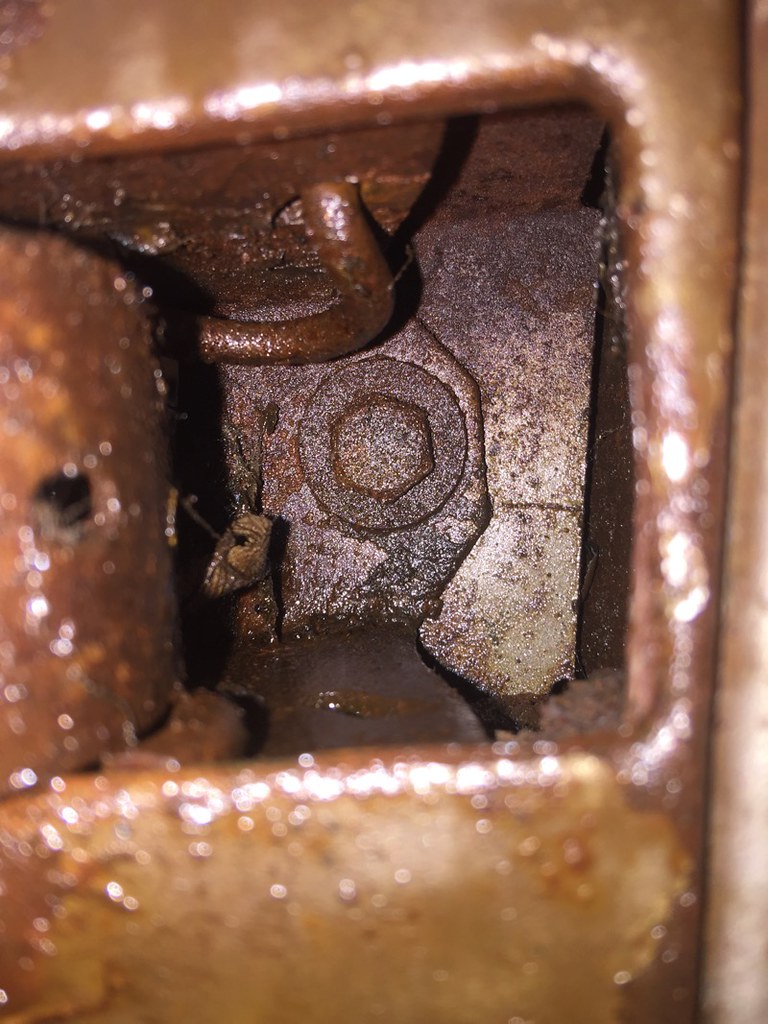
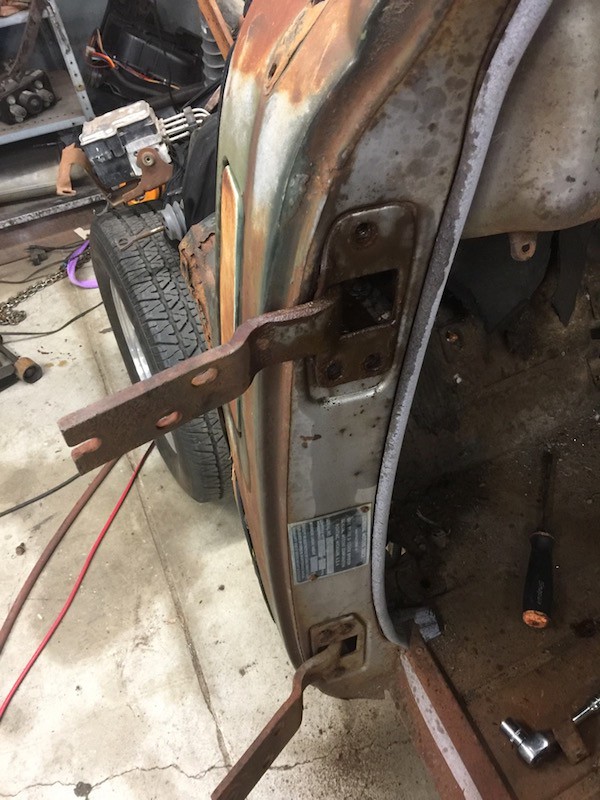
I was getting stabbed in the side by what I THOUGHT was a broken hinge, I was kind of worked up about it actually because hinges on these AD are kind of a fickle thing. turns out it was only bent because they tried to remove it without taking out the 4th bolt. a little oil and it worked fine, I even got some oil on the cowl vent and it worked like butter too.
IMG_0362 by Joe Doh, on Flickr
IMG_0363 by Joe Doh, on Flickr
IMG_0365 by Joe Doh, on Flickr


this truck, the odometer says 1354 miles or something like that. given the condition of everything I cant imagine there is 100k added to that, it really looks like a low mileage truck that got wrecked and parked.

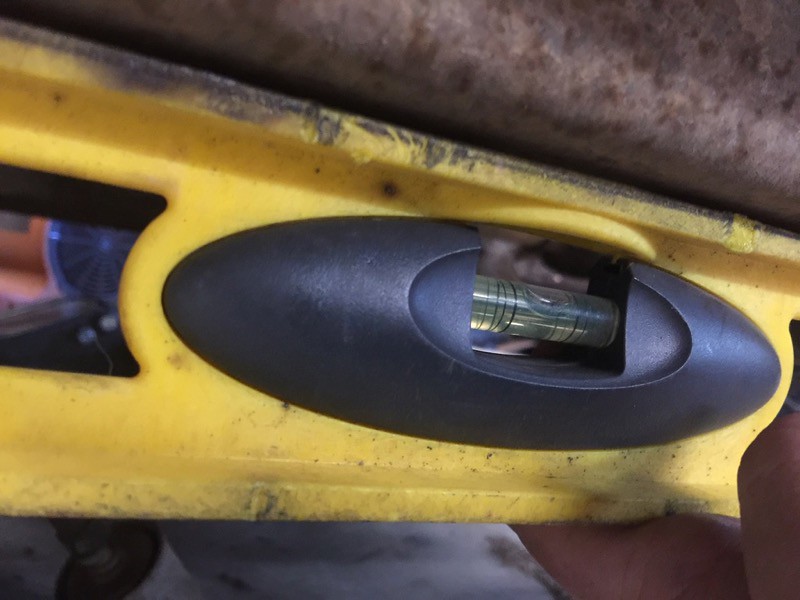
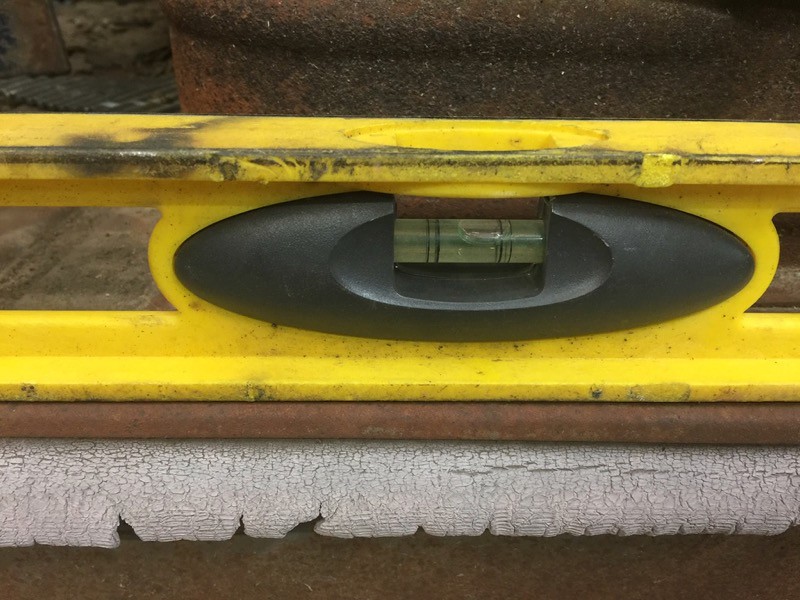
this is a good time to talk about what is "level" on these trucks. my wife came out and asked why the back was sitting lower. well it wasnt. in fact the tires give it a rake to the front, but to prove it to her I put a bubble on the floor and then on the bottom of the frame.
IMG_0367 by Joe Doh, on Flickr
IMG_0368 by Joe Doh, on Flickr

the way the s10 frame gets wide and the cab tapers out as it goes back, looking from the side gives an illusion of leaning back, but it doesnt!

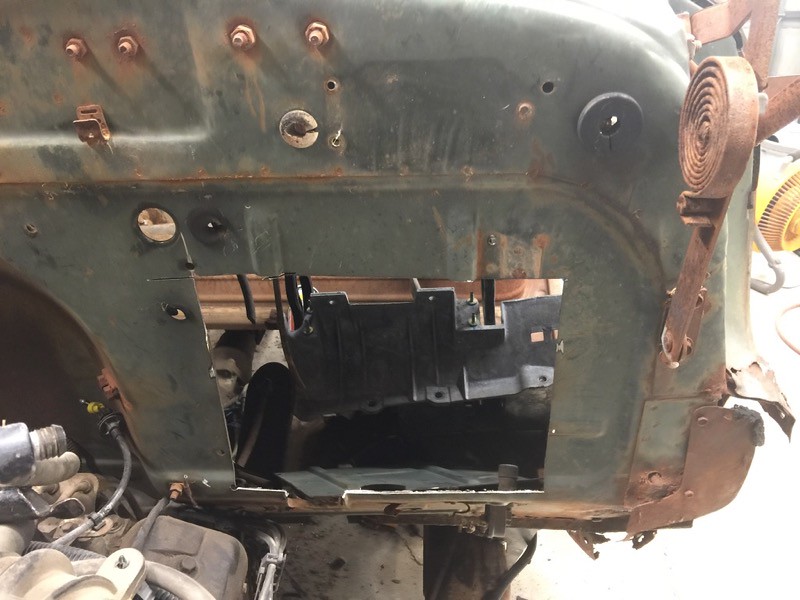
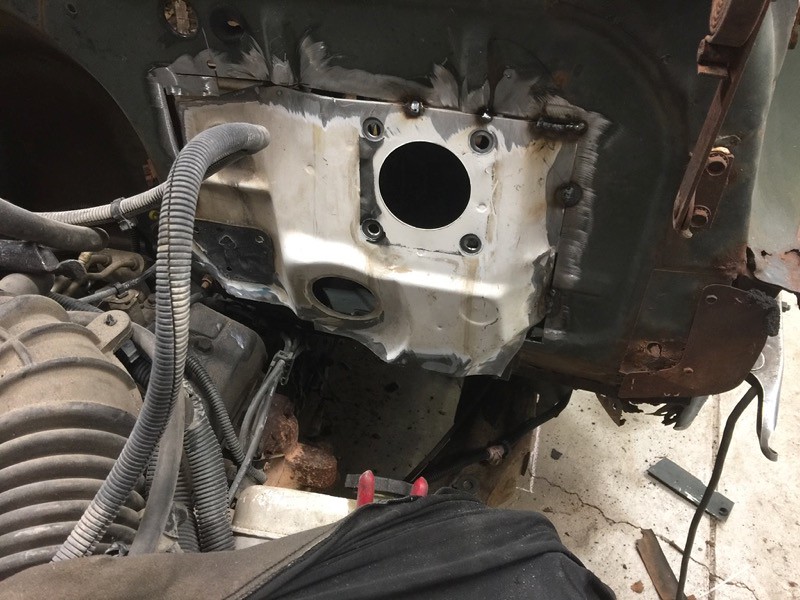
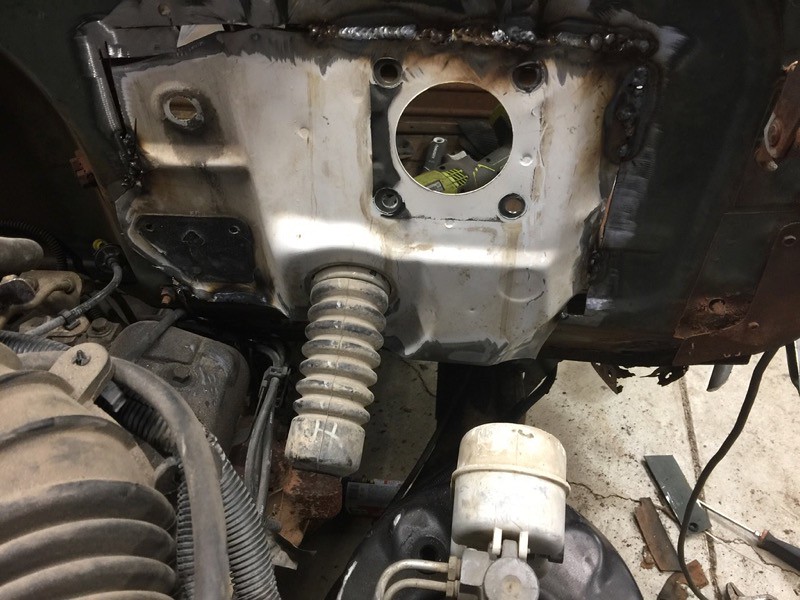
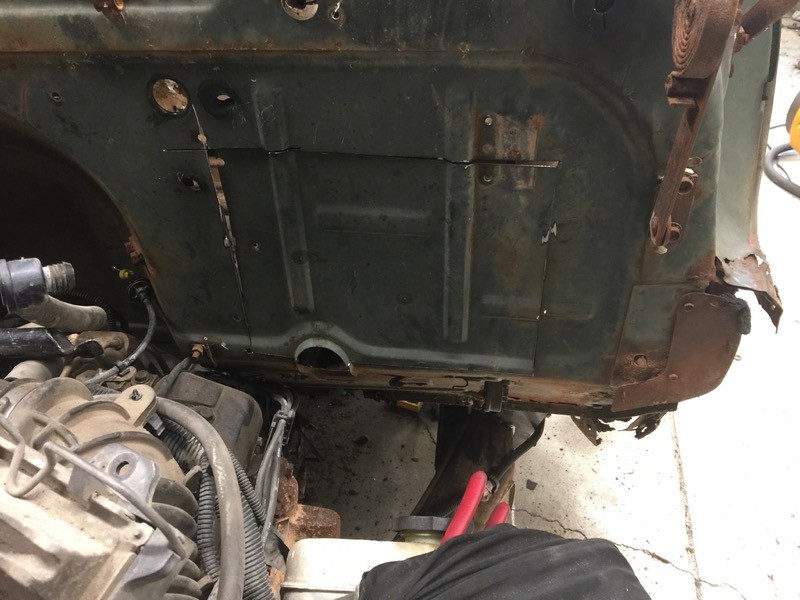
I cleaned off the firewall and started on the pedals. who says a guy cant learn? on the last 49 I built a big complicated steel box to mount the pedals to the original aluminum S10 mount. it worked, but it was a BEAR to build and fit and run wiring around etc. on the last two trucks I used the steel pedal mounts after cutting out the spotwelds on the firewall section. the 98-03 dont have any sheetmetal mounts on the firewall section though, so I will have to build them after getting the firewall section grafted in the right spot. still with me?

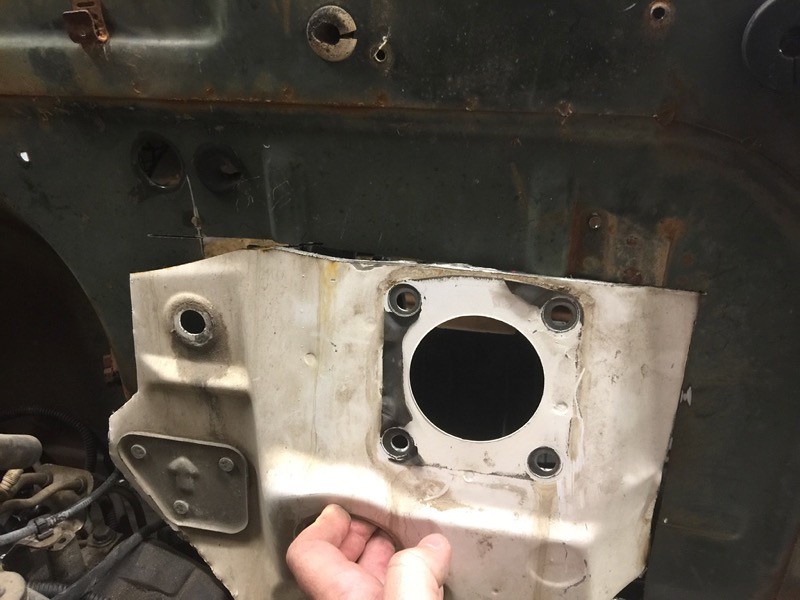
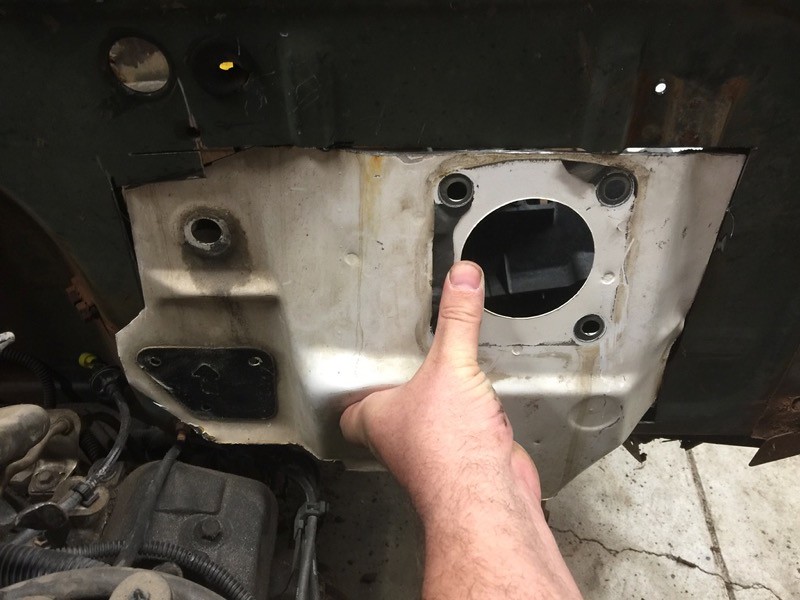
trimming the firewall I started slow instead of needing to build it back. worked great so far!
IMG_0381 by Joe Doh, on Flickr
IMG_0382 by Joe Doh, on Flickr
IMG_0383 by Joe Doh, on Flickr
IMG_0384 by Joe Doh, on Flickr
IMG_0387 by Joe Doh, on Flickr
IMG_0385 by Joe Doh, on Flickr
IMG_0386 by Joe Doh, on Flickr

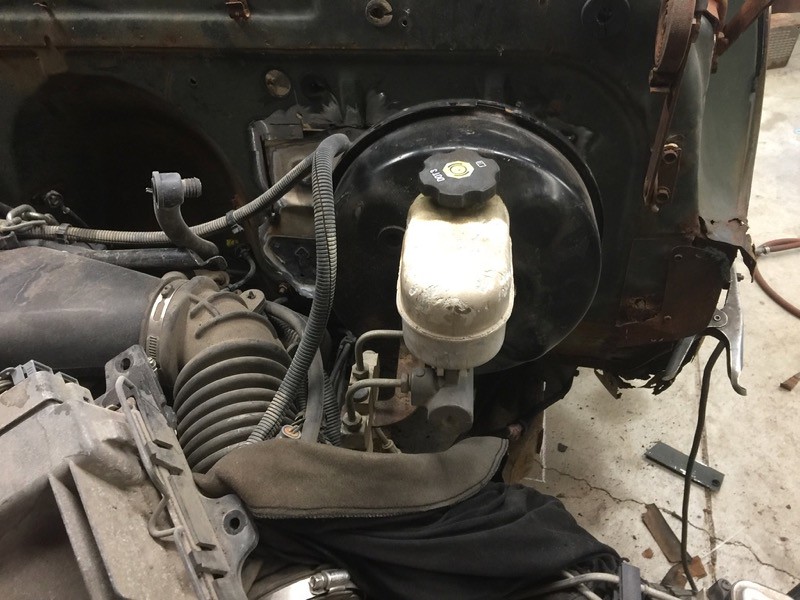
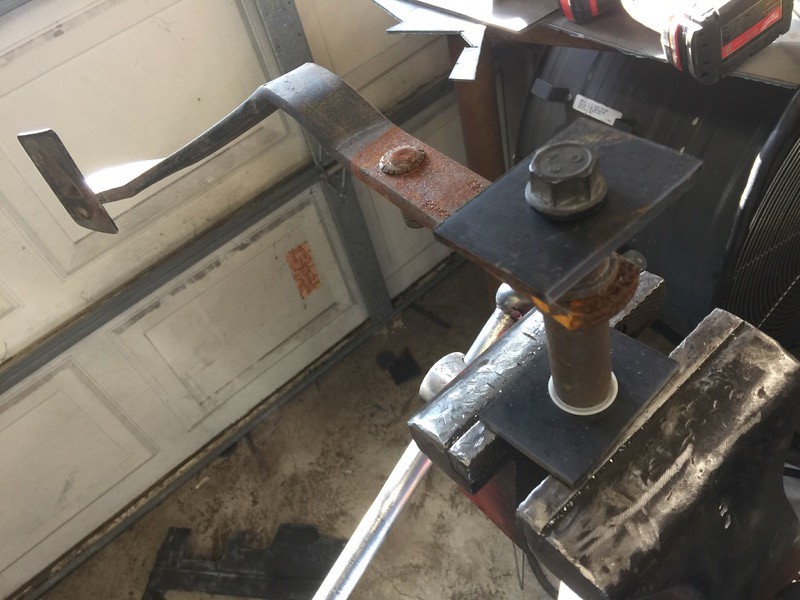
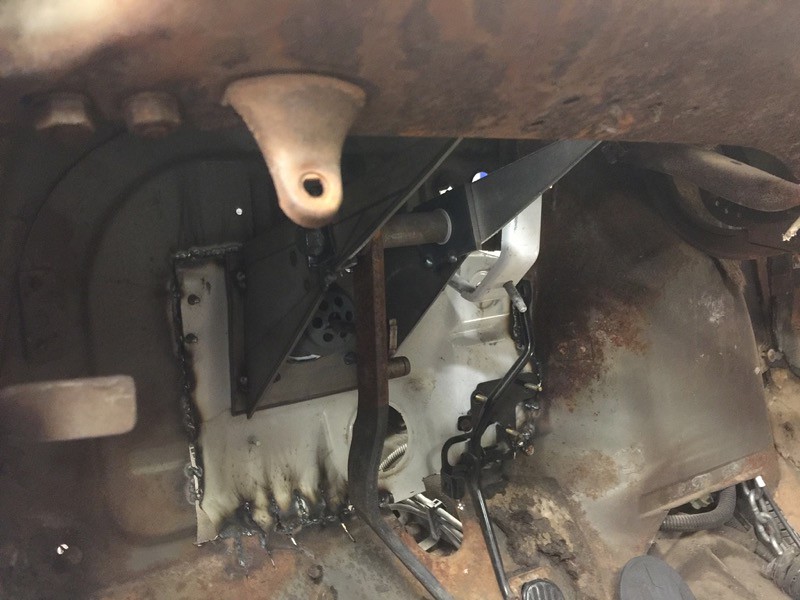
so thats the gas pedal mounted, and the brake booster mounted, now I just need the steel bracket to hold the column and the brake and I have an excellent plan for that. I did trim off the wiring pass through, but only for ease of work, I will put it back on in almost the same spot.
 
thanks fellers

What did you use to paint the crossmember? It looks good!

just rattle can gloss black. the whole frame will get shot with semi gloss when it gets pulled apart for final welding, everything is just tacked for setup right now.


I'll just say that I wish I had thought if that when I was transferring all the same parts to my 39. [cl

just let me say this is only the second of 5 that I sectioned in the firewall chunk so if you do it on your next one you are ahead of me! ;)


needed it welded in a little for the next step so I squared it up and tacked around as much as touched, which was quite a bit, shouldnt need much patching. on the bottom I was able to slice both the patch and the firewall in sections to make the contour it needed, it worked really well.

IMG_0390 by Joe Doh, on Flickr

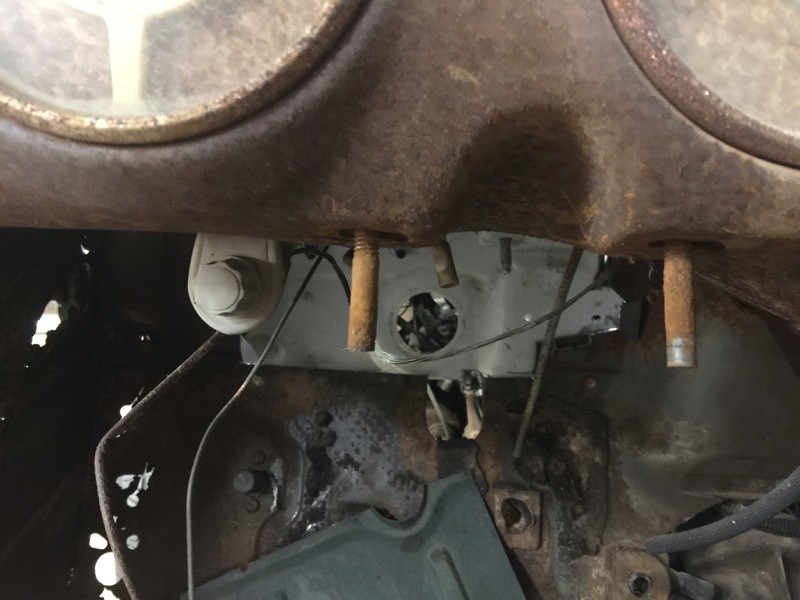
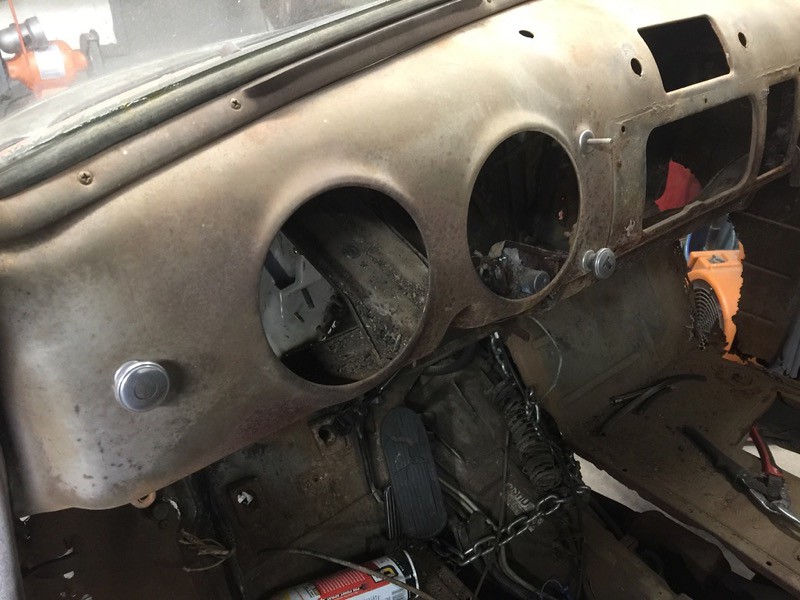
I am ashamed at how much time it took to remove the gauges, what a pain in the poker that I had forgotten. some of the nuts arent quite 3/8 (big) and arent quite 11/32 (small), if thats freaking possible? probably just corrosion.

IMG_0392 by Joe Doh, on Flickr

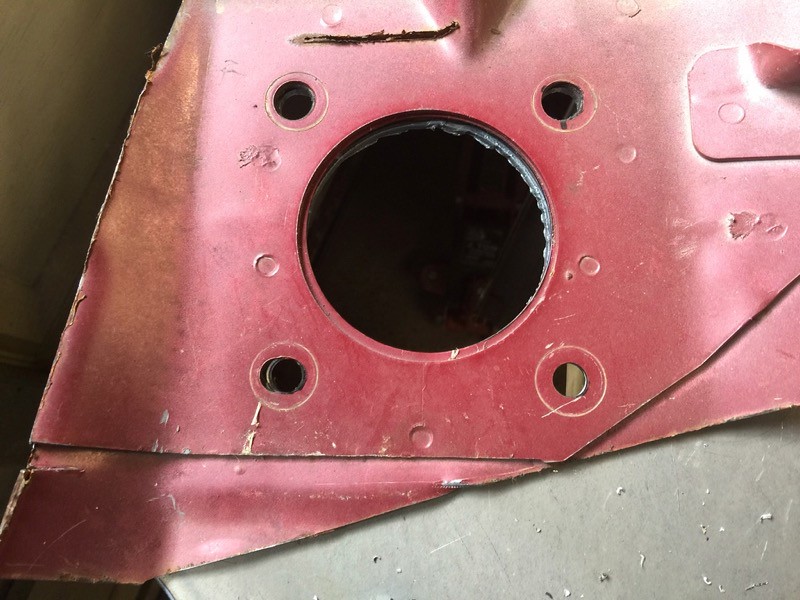
I needed a pattern of the booster mount but I just welded it to the firewall. luckily this is not the first s10 I have cut up. I think I still have a whole 98 blazer firewall section in the back but I also had this one on the shelf. you may not see it underneath but I already cut the center hole and drilled the mount holes.

IMG_0395 by Joe Doh, on Flickr

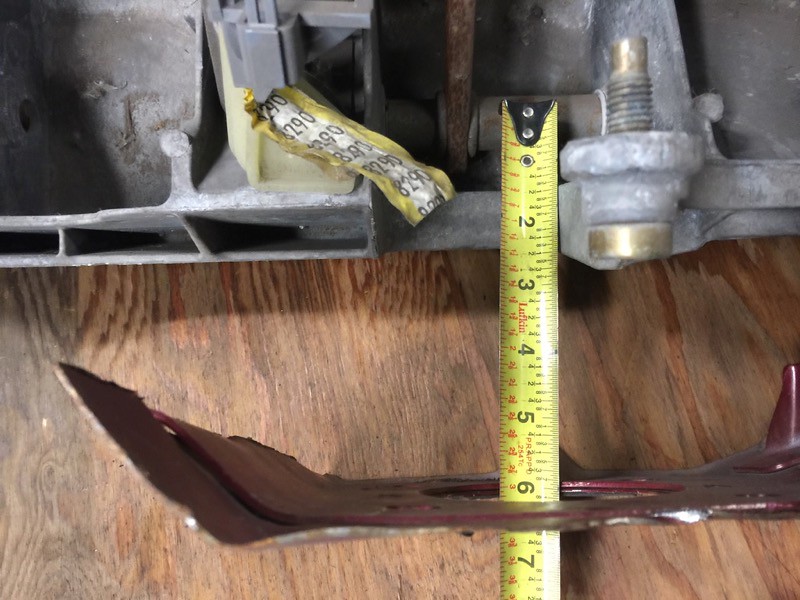
it even had a bracket still on it that I was able to bolt to the aluminum pedal bracket to get the dimensions.

IMG_0400 by Joe Doh, on Flickr

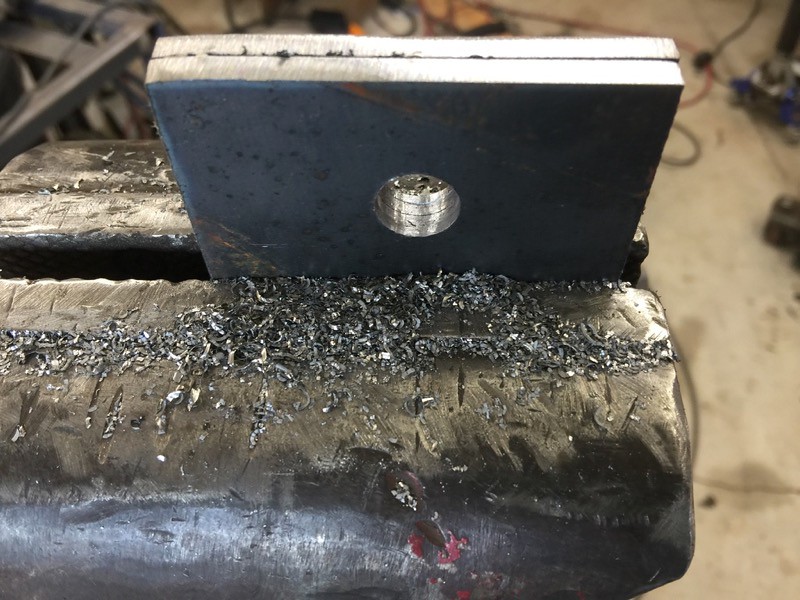
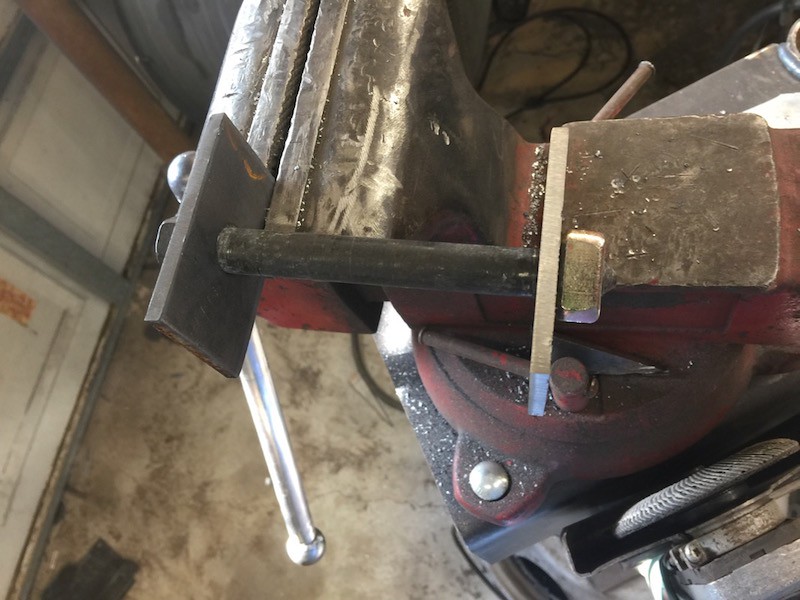
the spacing of the pedal was 3 5/8 but that wasnt wide enough to let the nuts go on the booster studs, so I built some medallions from some 10 ga and set it up to weld inside the 1/8, which would give strength to the pedal area from the doubler, and also let the inside width get to 4 3/8 (roughly) and clear the booster nuts. thusly

IMG_0401 by Joe Doh, on Flickr
IMG_0402 by Joe Doh, on Flickr
IMG_0403 by Joe Doh, on Flickr
IMG_0407 by Joe Doh, on Flickr

I know it LOOKS like I didnt get the pedal lined up with the rod on the booster but the explanation is that the booster isnt screwed down yet and is leaning down outside the firewall, which means the rod is leaning up. I didnt feel like stressing the rod for a trial fit haha.

more to come! I know it doesnt look like it but this is most of the work done, adding the column mounts to the bracket then adding bracing is all that is left, easy peasy from here on in.
 
Much appreciate you blazing the way Joe on the firewall transplant. [cl
I'm gonna try it. No worries about the gauge removal time. After all, it had 60+ years to rust and become difficult.
Take it easy with the "stellar heat and west exposure concrete refractory oven". Stay hydrated. Enjoying the photos.
[P
 
oh its just a rust converter product, I think rustoleum makes it too. its pretty weldable without contaminating the weld, and I put semi gloss right on top of it when I finish. I wire brush the surface rust off the frame but still like to use it instead of a primer or primer/paint all in one. it comes out with a flatter finish, I bet that finish would look good on a rod body.

I tightened the booster nuts to check the alignment and it was right on, then I pushed on the brake pedal and my tacks broke :rolleyes: I am noticing my welder is getting weaker? does that happen? I bought it in 1999, and have build dozens of projects with it.
 
I am noticing my welder is getting weaker? does that happen? I bought it in 1999, and have build dozens of projects with it.

Not to my knowledge.
I bought my Millermatic 200 in '85 (33 years ago) and it welds the same today as it did the day I bought it :cool:
All I've done is change consumables, liners, rollers, tips, etc.
Are you running it on an extension cord? If so how long is it and what's the gauge of wire?
Also check the voltage coming out of the receptacle.
 
I am noticing my welder is getting weaker? does that happen? I bought it in 1999, and have build dozens of projects with it.


If I might add to OI's comments...

- CLEAN: I periodically remove all covers and blow my machines clean with compressed air. (Best performed outdoors in my south exposure refractory oven. ;)) Dust and grinder dust are your machine's mortal enemy. Contact switches, rheostats, transformers and electronics don't go well with great gobs of iron particles.

- CONNECTIONS: I spent most of my working life in industrial/commercial/manufacturing welding.... I've killed the best equipment available and the single largest contributing factor to those failures were weak and/or compromised grounds.

Like Old Iron, I suspect you have small issues contributing to larger issues. Give your welder a complete check-up from receptacle to arc.

.
 
thanks, I service it all the time and keep it clean, blow it out regularly. never weld with the door open like I see some guys doing. new tips and I just moved to an extended shield, I was using a short shield for a year or two for more visibility. new tips, only lincoln parts. I have a 15 ft 8/3 extension cord in a new outlet that is only about 4 inches from the breaker box and that is right at the house junction box. on the parts there was no gap, I chamfered the edge slightly to promote penetration and the steel is new and grind with 100 grit to shine it up so if its contaminated its gotta be the welder or the gas.


speaking of, maybe the welding gas is the problem, I posted on the last project that I got a weird colored bottle. I noticed lately that all my welds look like blued steel instead of shiny silver like I am used to. or conversely maybe the welder is the problem, and causing the discoloration.

I dunno. I am not used to tacks breaking like that just POW all 4 at once. I got some really great welds on the trans crossmember and the new mounts there. but I had the heat cranked up. its a click heat (170T), not infinitely adjustable (170 plus), but I havent ever missed the infinite heat.
 

Latest posts

Back
Top