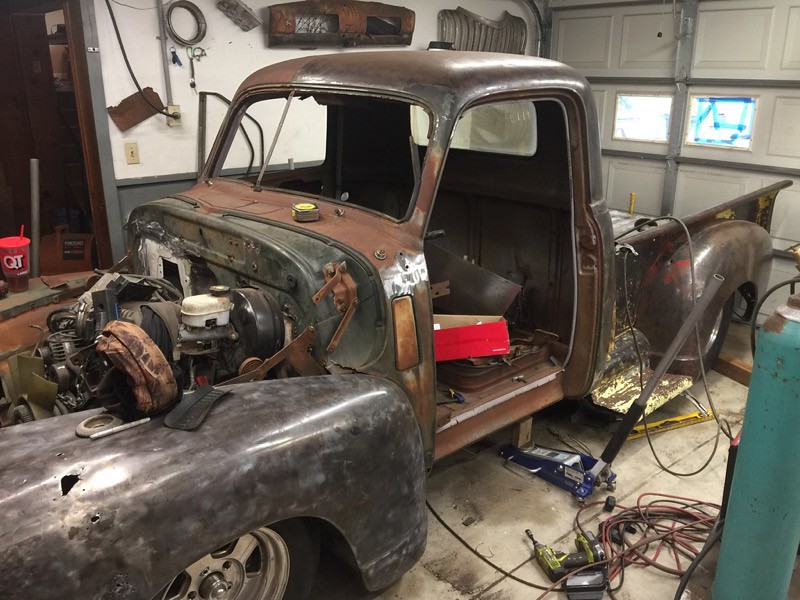
torchie you would be amazed how many guys still want to pound on old stuff! ask the local parts store.
had to trim the air directors and core support and even the frame horns a bit more, so I pulled the clip back off.
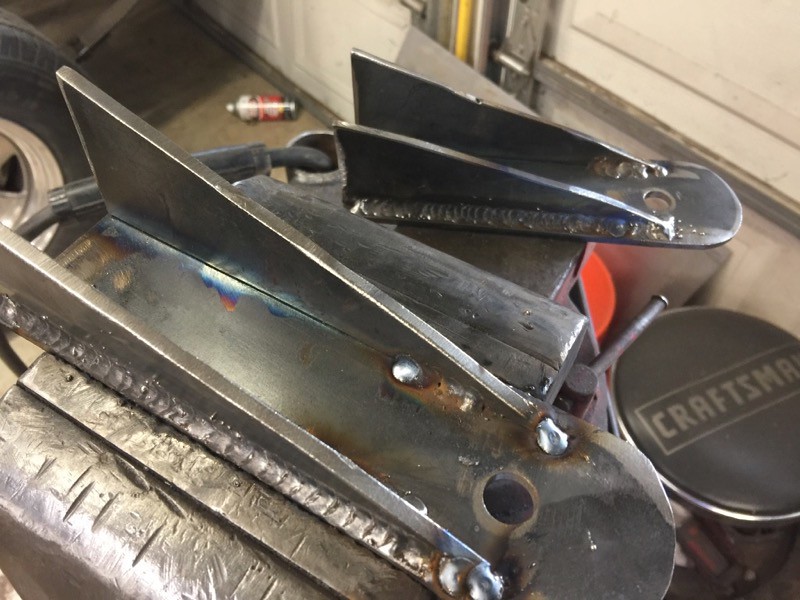
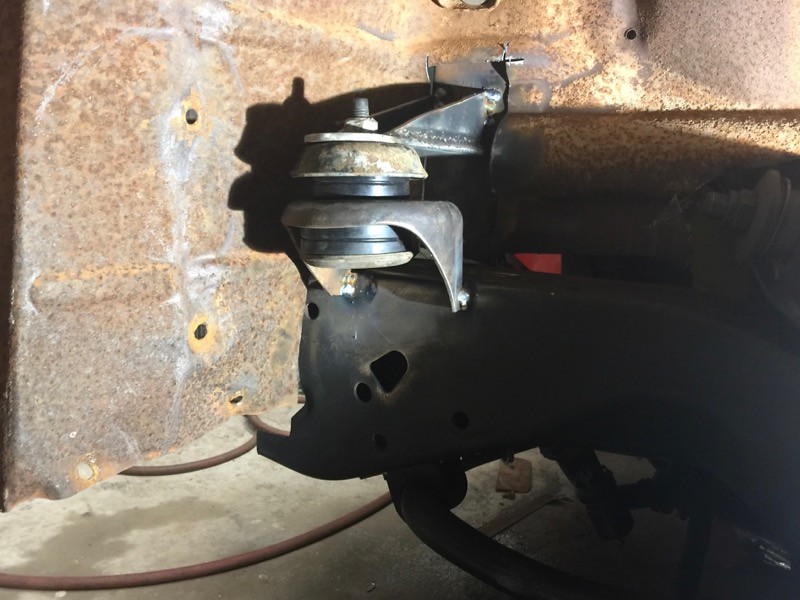
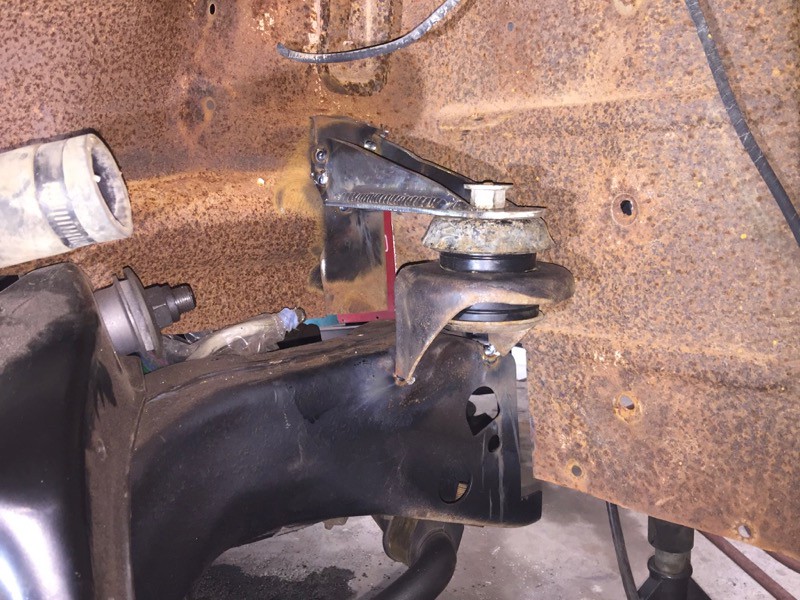
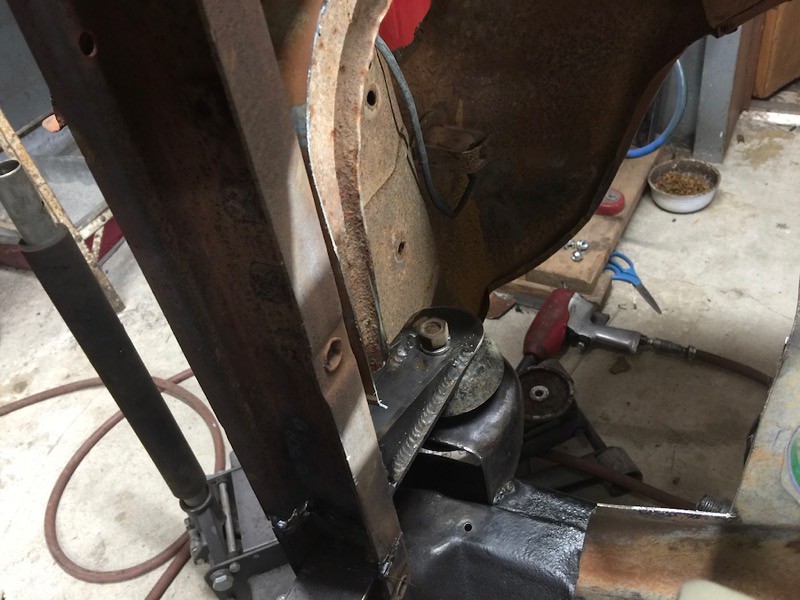
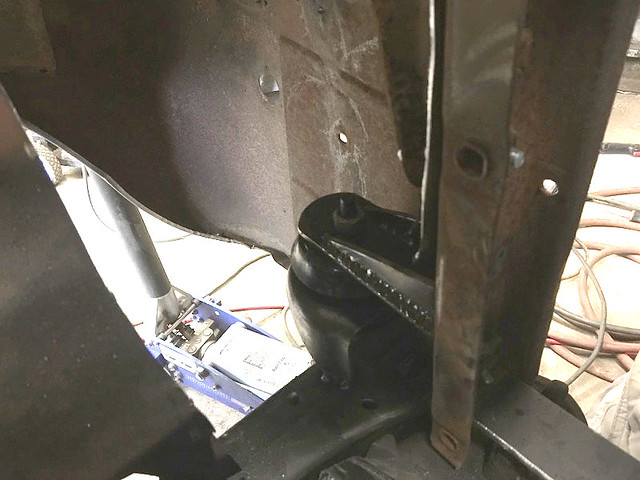
while I had my head out of my butt getting some air, I remembered that I had mismatched body mounts on the cab. lining up the front clip with various mounts didnt seem like a great idea. I had bought new energy suspension mounts a little while ago so I popped them on.
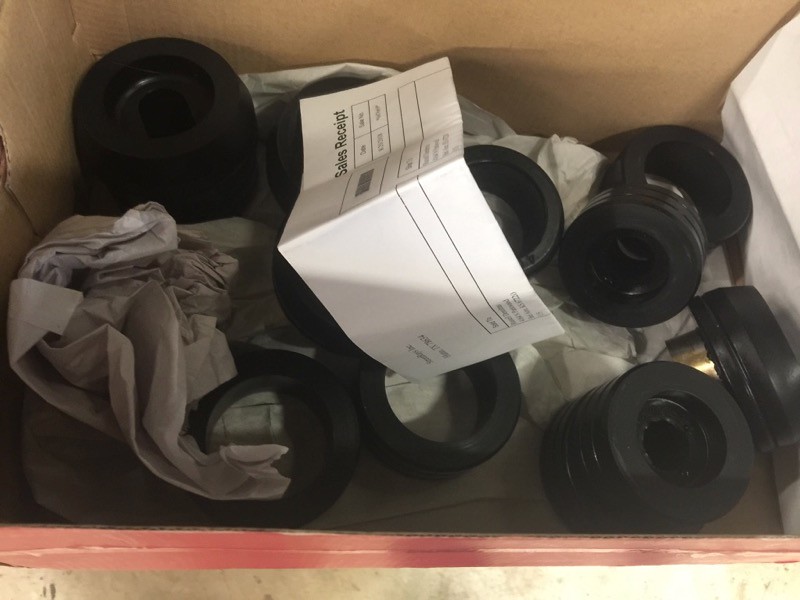 IMG_0929 by Joe Doh, on Flickr
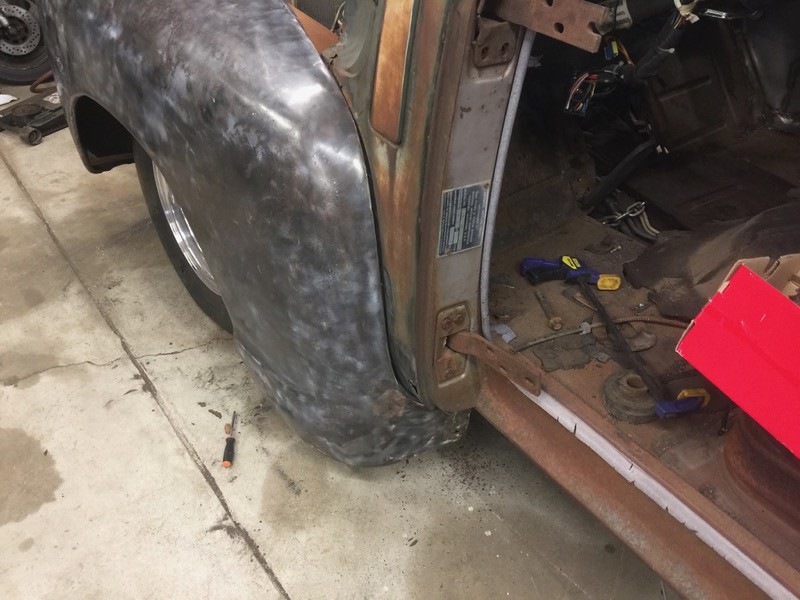
after the trim everything went together like butter. well, almost.
 IMG_0932 by Joe Doh, on Flickr
 IMG_0933 by Joe Doh, on Flickr
 IMG_0934 by Joe Doh, on Flickr
 IMG_0935 by Joe Doh, on Flickr
 IMG_0936 by Joe Doh, on Flickr
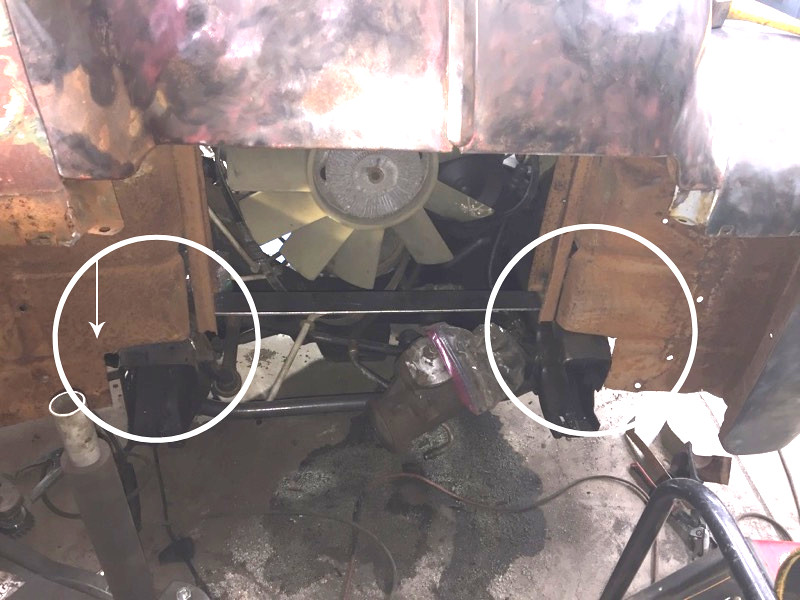
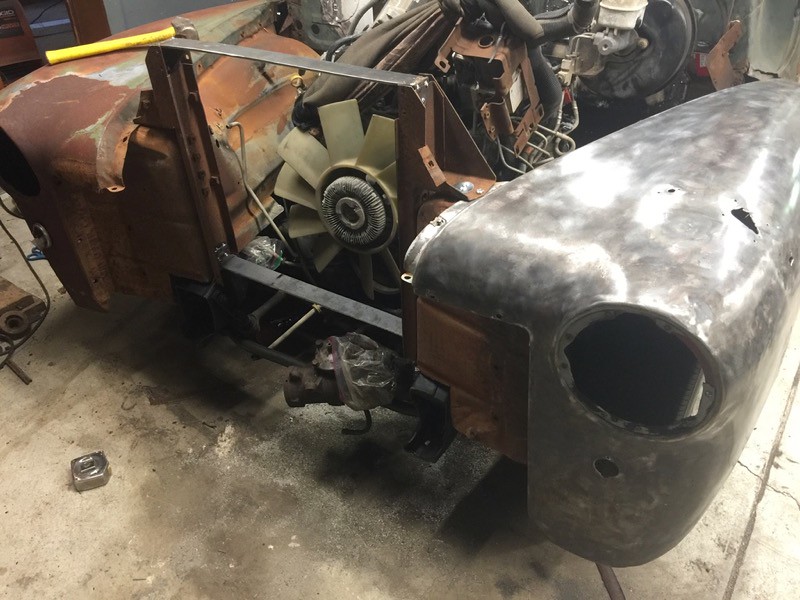
here is the problem. the accident damage in the core support made things out of line.
 IMG_0937 by Joe Doh, on Flickr
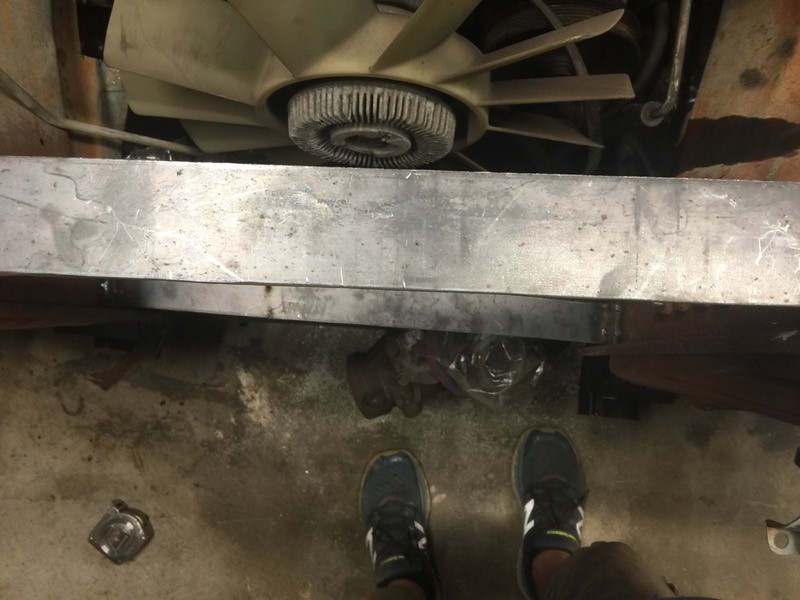
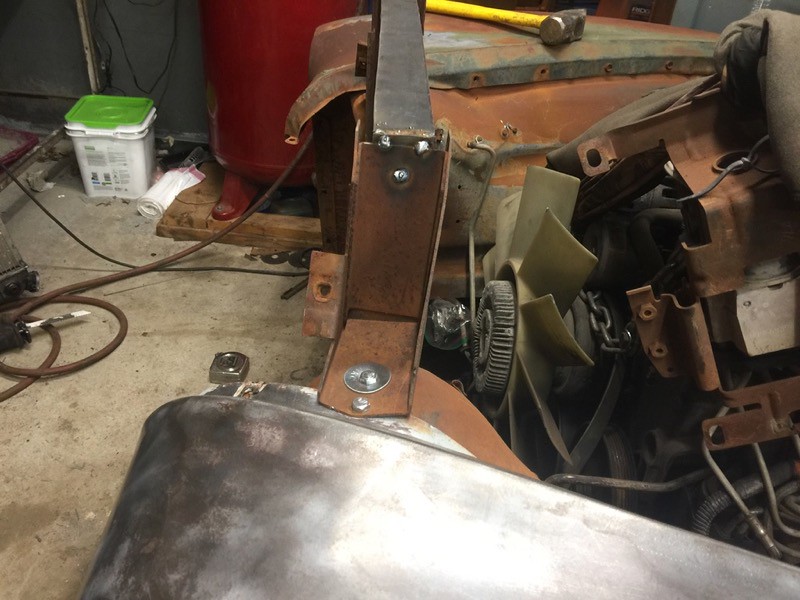
the bottom crossbar lined up with the sway bar so it looked straight enough, but the top fender mount was wagged back.
 IMG_0939 by Joe Doh, on Flickr
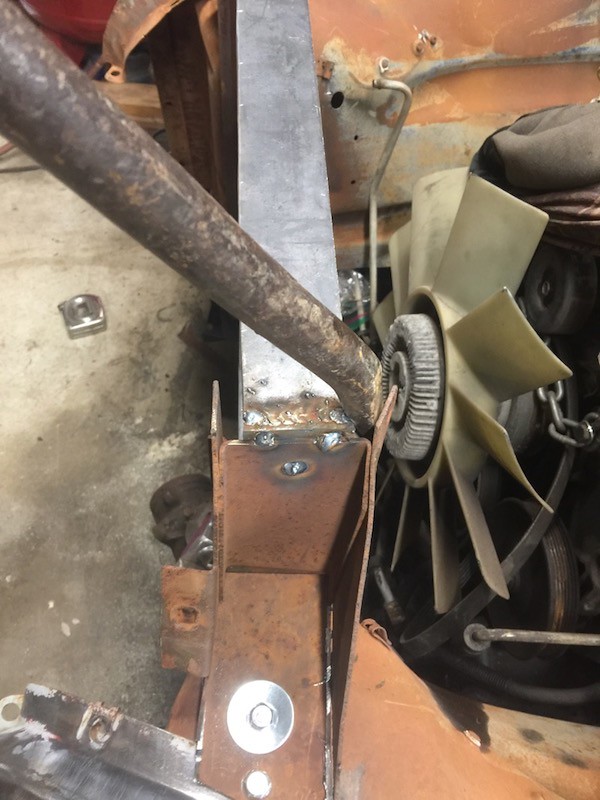
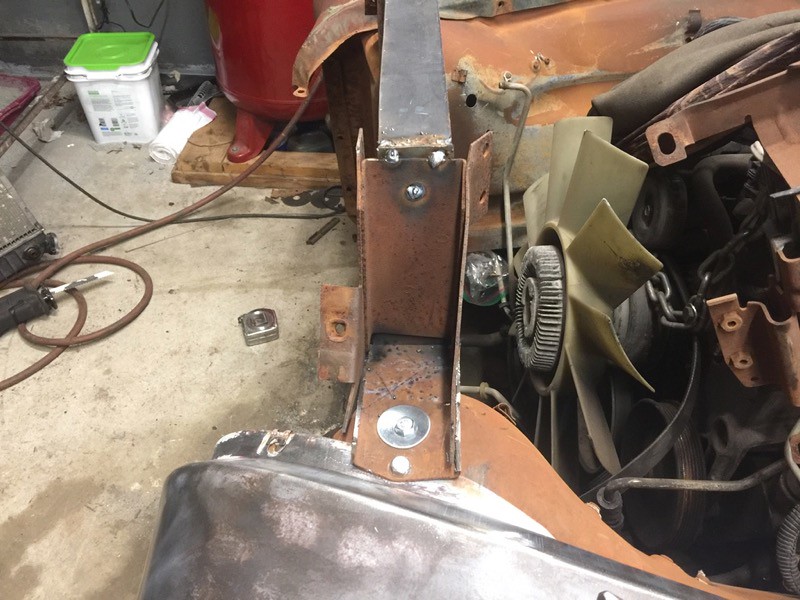
I sat and thought about my options. I dont have a torch. pounding on it with a sledge didnt appeal to me. in the end I decided that I could cut the uprights and bend them individually after using a prybar to get the core straight.
 IMG_0940 by Joe Doh, on Flickr
 IMG_0941 by Joe Doh, on Flickr
elapsed time: 10 minutes, no disassembly required, everything fits.
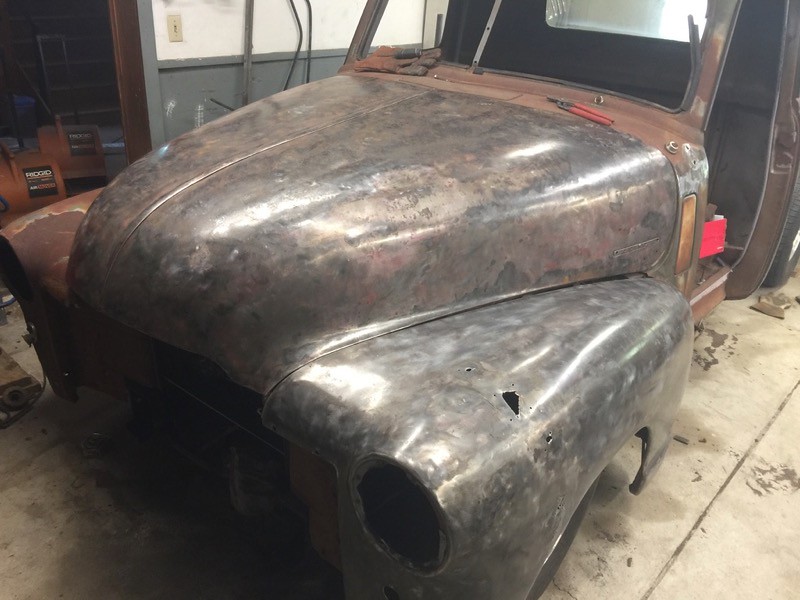
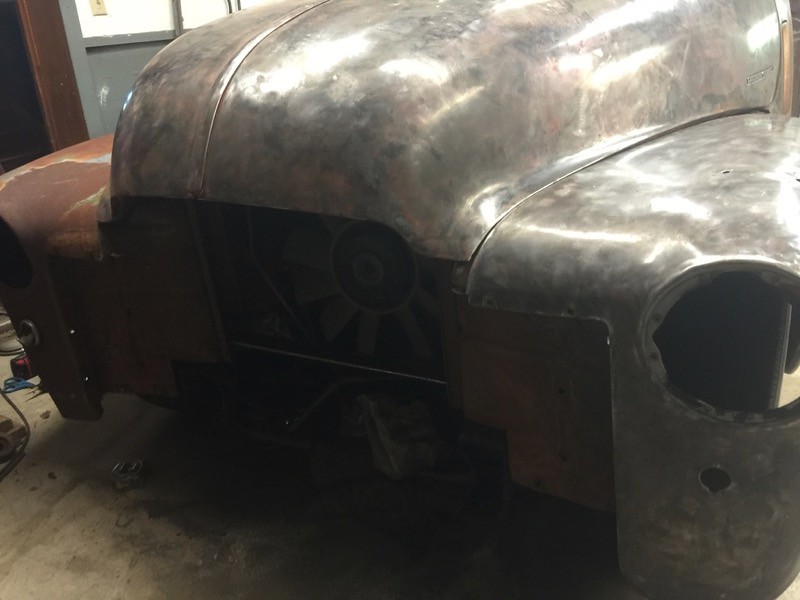
I popped the 'new' hood on for a look too, it sits too high in the back on the drivers side because of a dent in the top (from falling over, the hired help denies knowledge), I am going to build a panel tweaking tool but everything else looks right so tomorrow I should have the core support mounted and a good start on the rad/condensor mount.
 IMG_0942 by Joe Doh, on Flickr
 IMG_0943 by Joe Doh, on Flickr
 IMG_0944 by Joe Doh, on Flickr
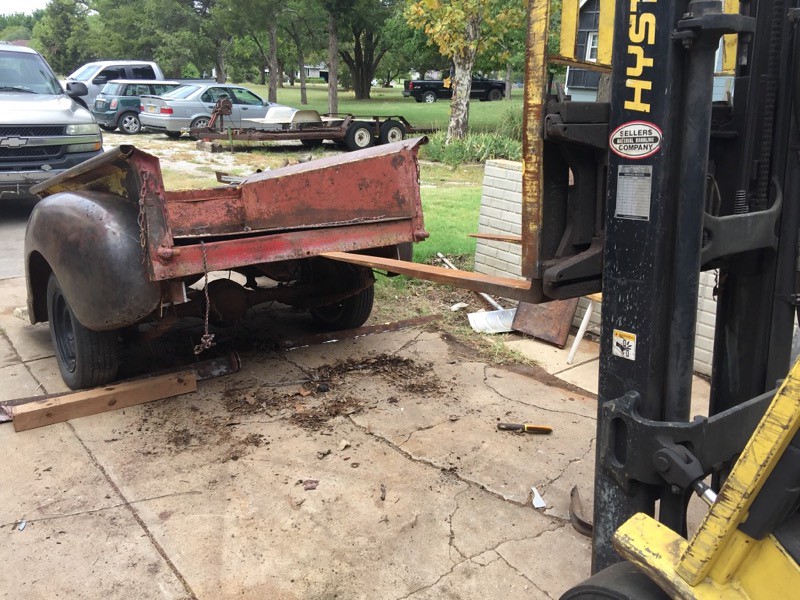
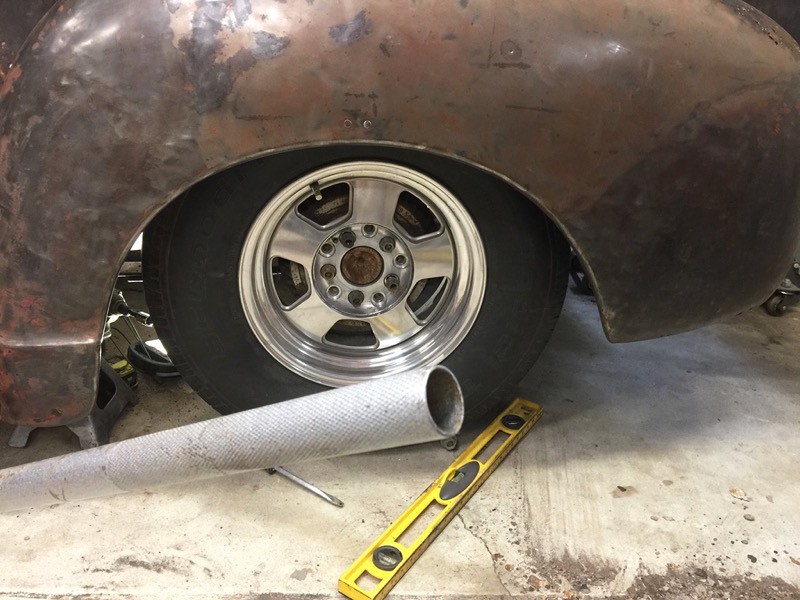
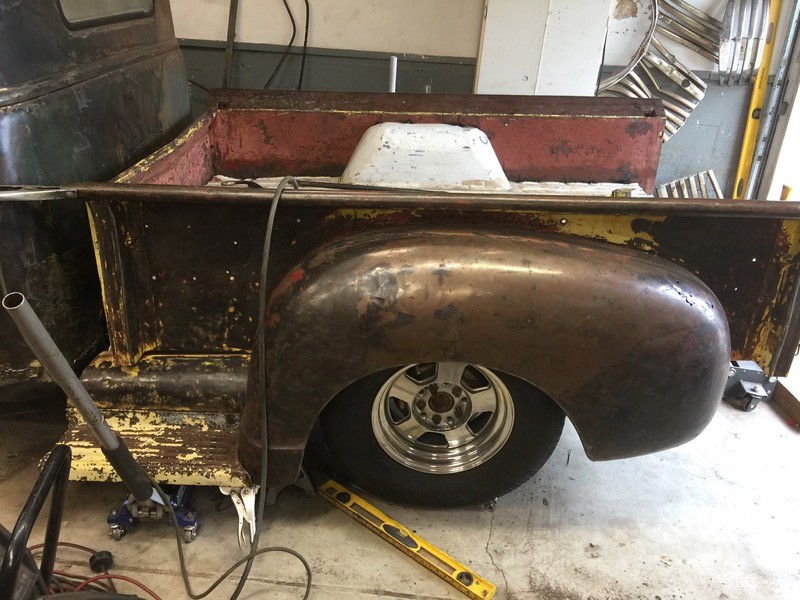
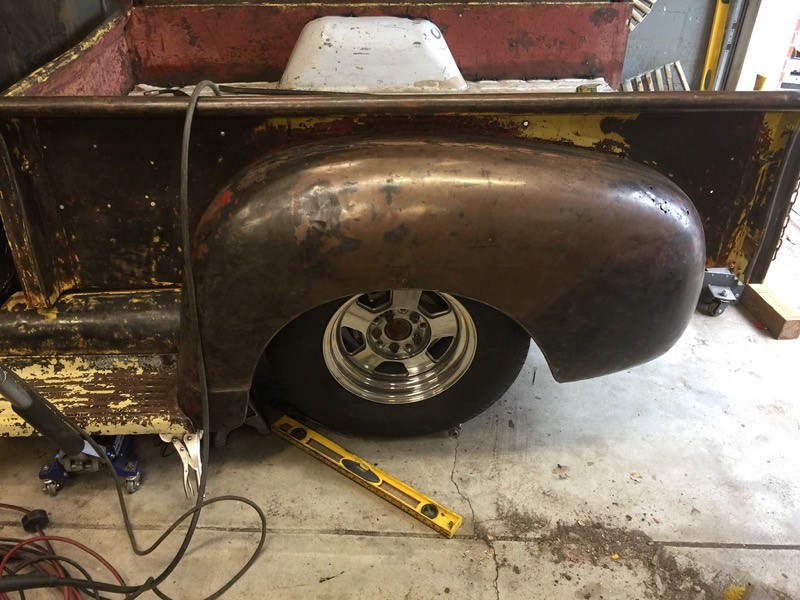
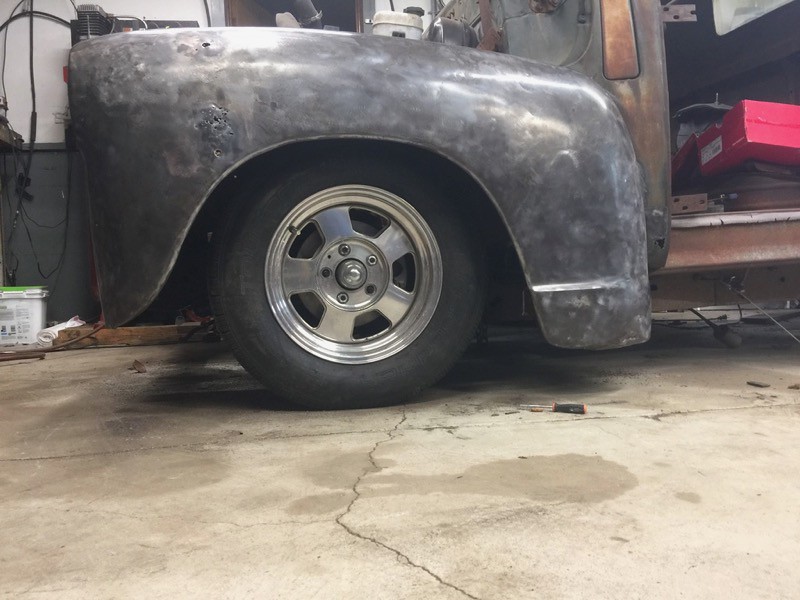
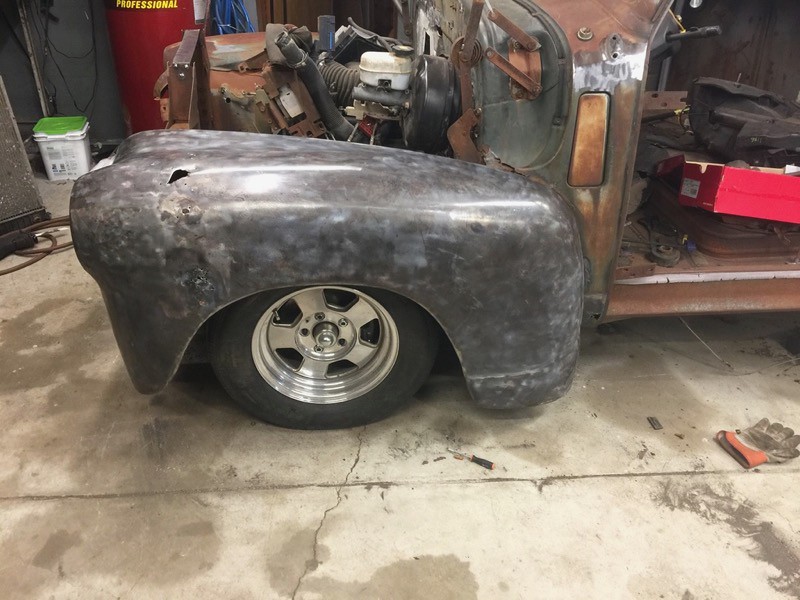
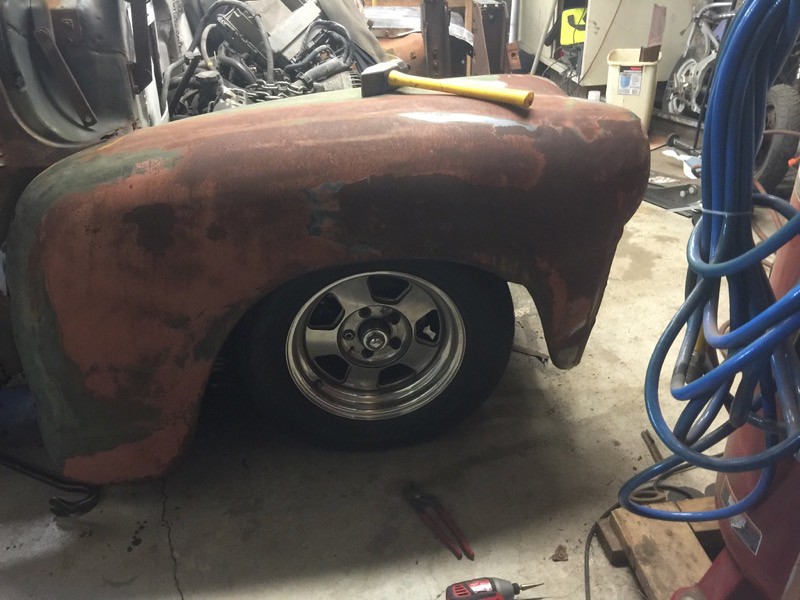
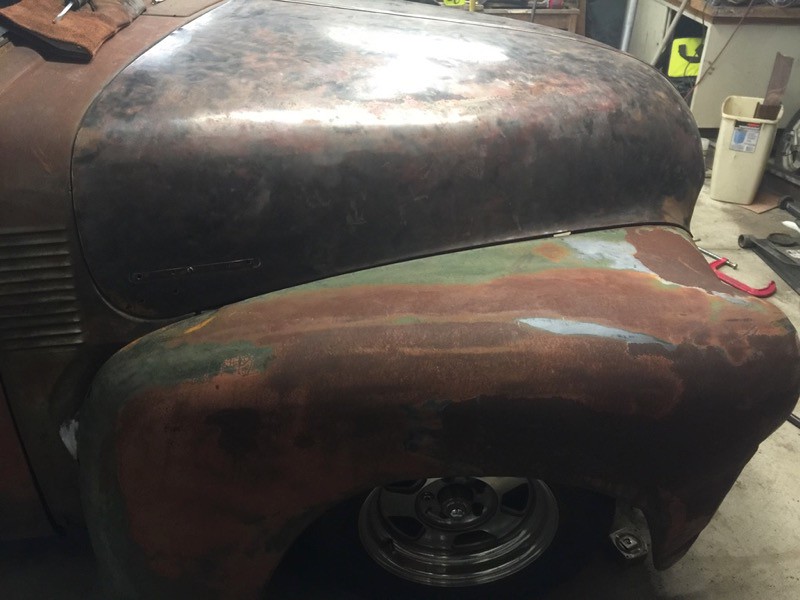
look at how mean that stance is. I cant wait to order wheels. the bottom of the fender is only about 3" off the ground, the new tire size will make it almost an inch higher. hell yes.
had to trim the air directors and core support and even the frame horns a bit more, so I pulled the clip back off.
while I had my head out of my butt getting some air, I remembered that I had mismatched body mounts on the cab. lining up the front clip with various mounts didnt seem like a great idea. I had bought new energy suspension mounts a little while ago so I popped them on.
 IMG_0929 by Joe Doh, on Flickr
after the trim everything went together like butter. well, almost.
 IMG_0932 by Joe Doh, on Flickr
 IMG_0933 by Joe Doh, on Flickr
 IMG_0934 by Joe Doh, on Flickr
 IMG_0935 by Joe Doh, on Flickr
 IMG_0936 by Joe Doh, on Flickr
here is the problem. the accident damage in the core support made things out of line.
 IMG_0937 by Joe Doh, on Flickr
the bottom crossbar lined up with the sway bar so it looked straight enough, but the top fender mount was wagged back.
 IMG_0939 by Joe Doh, on Flickr
I sat and thought about my options. I dont have a torch. pounding on it with a sledge didnt appeal to me. in the end I decided that I could cut the uprights and bend them individually after using a prybar to get the core straight.
 IMG_0940 by Joe Doh, on Flickr
 IMG_0941 by Joe Doh, on Flickr
elapsed time: 10 minutes, no disassembly required, everything fits.
I popped the 'new' hood on for a look too, it sits too high in the back on the drivers side because of a dent in the top (from falling over, the hired help denies knowledge), I am going to build a panel tweaking tool but everything else looks right so tomorrow I should have the core support mounted and a good start on the rad/condensor mount.
 IMG_0942 by Joe Doh, on Flickr
 IMG_0943 by Joe Doh, on Flickr
 IMG_0944 by Joe Doh, on Flickr
look at how mean that stance is. I cant wait to order wheels. the bottom of the fender is only about 3" off the ground, the new tire size will make it almost an inch higher. hell yes.

