Got Rust?
Well-known member
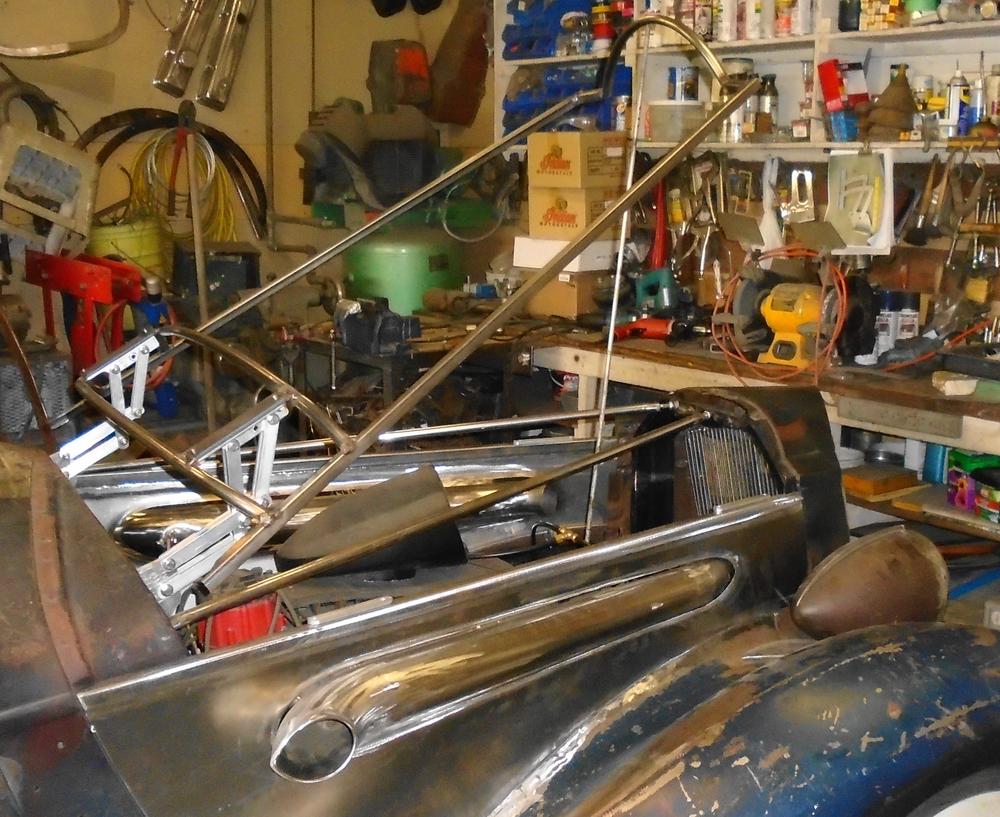
Look'n good, nice set of build pictures.

If any car ever deserved the term "Gangster". I think it is this one.
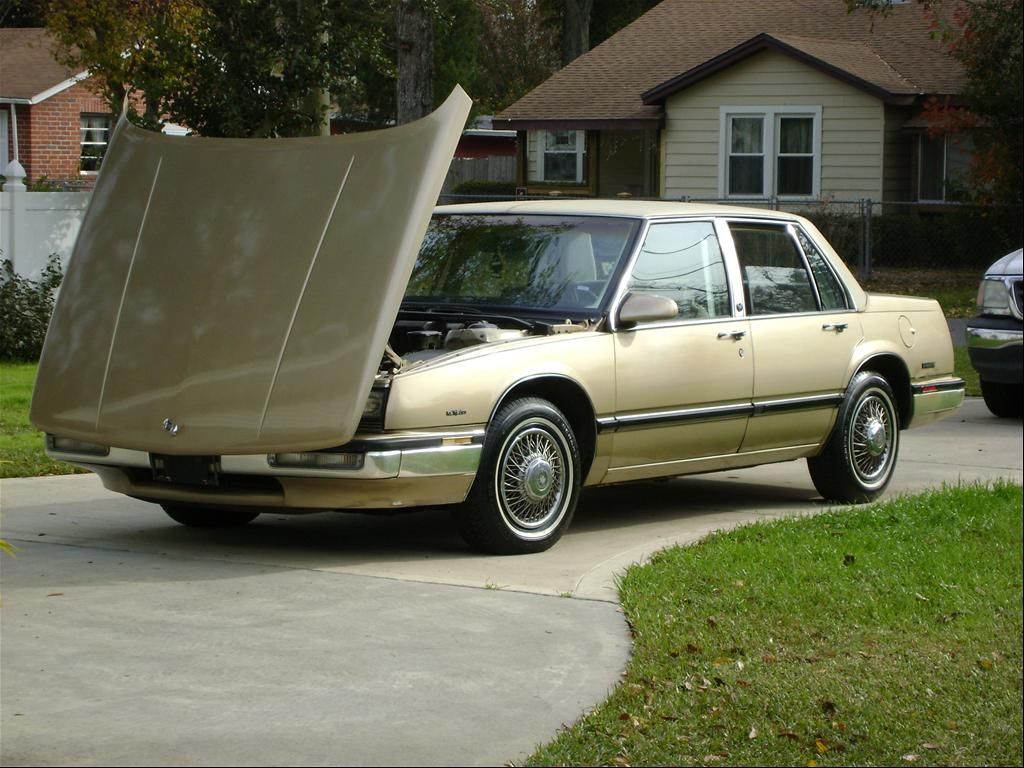
Good question. As far as locating it from side to side, the way the hood wraps around the cowl will take care of that, some 1/4" snubbers will be needed between the hood sides and top plus there will be a welting strip that attaches to the rear of the cowl. Though the hinges look like they would lift straight up, they can't, so the rear of the hood isn't going to pop up when latched.
Quickly, back to your exhaust... can you reverse the tubes you have? Left for right and therefore, forward facing? Or simply inverted? Block huggers, perhaps?
Just thinking out loud. I understand you'd have to cut and flip the flanges... and the car gets skinny up front... and, and, and....
Clearly, your builds force me to think some (and not that it matters to this build) but I've often thought the hardware from one of these Buicks might serve (the right project) well..
.

Are these hinges the ones you made from the pic with the rule under it?
Fantastic work. I'm such a hack compared to your work it kinda makes
me ill or jealous or some dang thing.
When do we get to hear the exhaust? You are going to share the moment
with us right?
Enter your email address to join:


