Made a little more progress......

Rat Rods Rule

Help Support Rat Rods Rule:

This site may earn a commission from merchant affiliate links, including eBay, Amazon, and others.
Clean job

[;)great job on your frame fabrication...clean work...one question, did'nt pick up where u got your body form??? Thx thumbbuster[;)
 
Sorry guys, I wasn't ignoring anyone, I just didn't keep tabs on this thread to see your comments.:eek:

Thanks Shea, Rainman, RR Chick, and Outlawracer. Outlaw, the aircleaners are just some Cal Custom knock offs from Summit. Small block Fords with 2 x 4's put the carbs very tight so I needed some small cleaners. I did add taller filters and just ran longer carb studs to hold them down, so the carbs can breathe easier.

Thanks George: Those valve covers are Edelbrocks, and are REALLY tall to clear my roller rockers. I had to have my firewall modified by a fiberglass shop to make room for them, but I like the look. I will never be able to remove them with the body on because the engine is so tight in there, so I made sure I had everything adjusted and tightened well before the body went on. :D As Deerchooper mentioned, those Moon breathers on the sides have removable lids so I can add oil through there.

Thanks Thumbuster. The body is an old Speedway. I built the car over 20 years ago and got it from them back then. It has held up really well for being that old. The one on my 23 is also from Speedway and I can't say much bad about their bodies at all.

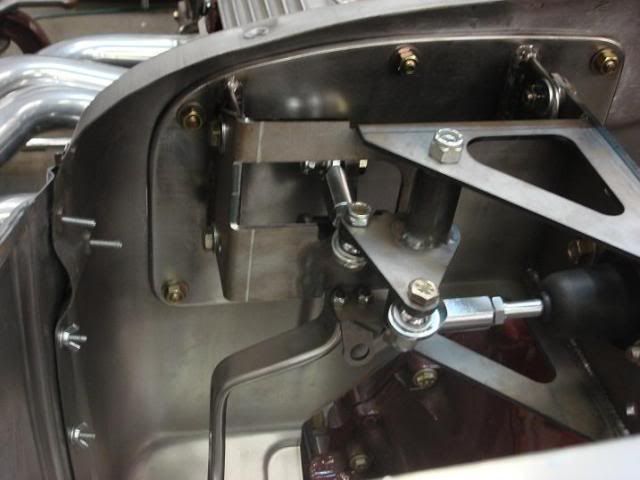
I haven't had anything picture worthy lately, and my computer is screwing up on downloading pictures anyway. But I have gotten some little things done like getting my rollbar back from the chrome shop and getting it mounted, hooking up my gas pedal, and the radiator support rods are now in place. Ready to start wiring it next.

Thanks for all the nice words and questions guys.

Don
 
Don, i haven't been on here in a while. I cant believe that i've been missing this!

Thats a beauty, Im so ticked off we dont have that kind of old tin left here in NY. Friggin salt:mad:
 
We don't have old tin here either, that's why mine is fiberglass. :D But it still feels the same to me when I'm going down the road. :)

As a little update, I have gotten about half way through with my wiring. The Rebel kit is really speeding things up a lot from when I used to build my own wiring harnesses from scratch. This is the only way I'll ever wire one again.

Don
 
Thanks Deluxerux. I haven't had a lot to update lately, mainly been helping my Son Dan get his RPU done. But in between I have gotten a lot of the wiring done, and now stuff is starting to work when you flip the switch. Down to the gauges and headlights, so I should be done by the end of this next week.

As for Dan's RPU, we have made HUGE progress. A week ago we changed the firewall from black to Ford Wimbledon white, and when that dried we were able to start bolting the body together for the very final time. Hooray!!!!! It is so nice to be doing something other than sanding and painting. By the end of last night we have the body pretty much all done, except for installing the top of the cowl and the dash and windshield. Dan has started doing the wiring, and the last two pictures show the drop down panel he made for the fuse block and wiring. Much easier to service than standing on your head under a dash.

Don

dansbodyassembled.jpg


dansbodyassembled2.jpg


dansbodyassembled3.jpg


dansbodyassembled4.jpg


dansbodyassembled5.jpg
 
Thanks BigIrish. That setup comes from Kugel Komponents and really solves a lot of problems. They also make it in a clutch/brake combination. We were impressed with the quality and engineering that went into it. We had to make some modifications to make it fit our firewall but it helped us out a lot.

We first made this plate to bolt to the firewall.

dans30mastercylinder003-1.jpg

And then bolted the brake setup to it.

dans30mastercylinder007-1.jpg


Don
 
Last edited:
This weekend we made probably the biggest leap we have ever made with my Son Dan's rpu............we got the body and bed on for the last time and wheeled it outside for some pictures. [cl We mounted the top frame and now it will go to the upholstery shop, probably next Friday, when we pick up my 27 that is getting it's interior.

Not much left to do, some brake work, electrical wiring, finish up the 32 grille shell and headlights, and small stuff like that. We are hoping to be able to drive it for the first time by the end of the year. It has taken almost 5 years to get to this point, and Dan is thrilled...........so am I.

Here are a few pictures from today.

Don

dansbodyonfinaltime2.jpg


dansbodyonfinaltime3.jpg


dansbodyonfinaltime4.jpg


dansbodyonfinaltime.jpg
 
WOW!!! Super nice. First class job.[cl

What did the top bows come off of? Could you post some close ups of the bows and some info?

I am wanting to do a top for my roadster also.[dr

Thanks
 
Lookin good![cl Don, you amaze me with your talent! That is some great looking fabrication and welding, I wish I had your talent..Dan must be chomping at the bit!:eek::D.CR
 
Thanks guys, but I can't take any credit for this one.......it's all Dan's work. I have helped him a little, but mainly helping to lift stuff and handing him tools. :D He is kind enough to say he and I built the car, but I know the truth............99% of it is all his hard work.

The top bows originally came from Speedway, are Kwik Top brand, I think. But he highly modified them to work on this car. Originally, they are made to be a folding top but he never wanted this one to fold and there was a brace that ran on a weird angle in the side window area. He cut it up., shortened a lot of the braces, and got it to fit better. They also used self tapping screws to hold the front header panel to the sides, and he didn't care for that, so we drilled holes and used bolts and T nuts instead. We figure at 70 mph there has to be a lot of strain on the top, so we wanted it to be solid.

Overall though, the Speedway top frame kit isn't a bad start. I'll see if there are any better pictures to post for you.

Don
 
Nice! I think the flat and the SS hardware hits it off just right! I love it![cl
 
Thanks 455. :D

I found these pictures of the top frame than might help you out, Ratcrazy.


danstopframe2.jpg


danstopframe3.jpg


And we covered it with masking tape to get an idea of how it would look once covered with upholstery.

danstopframe4-1.jpg


danstopframe5.jpg


Don
 
that is surely one nice RPU i think you guys have some extreme patience to go with all that talent...

very, very nice work gentlemen; you should be proud[cl[cl[cl[cl[cl
 

Latest posts

Back
Top