rebuilding a homebuilt sedan

Rat Rods Rule

Help Support Rat Rods Rule:

This site may earn a commission from merchant affiliate links, including eBay, Amazon, and others.
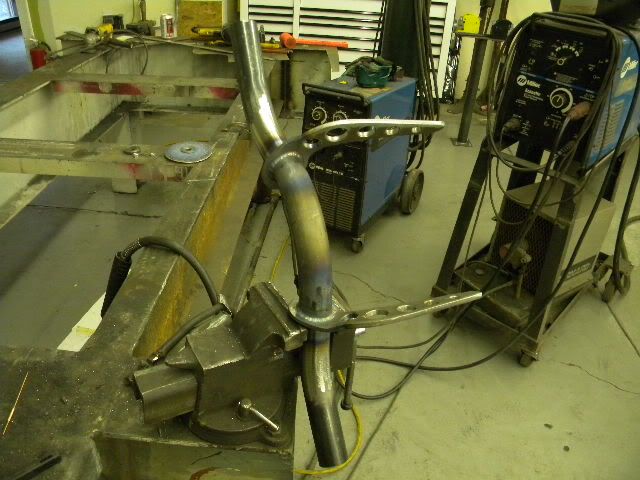
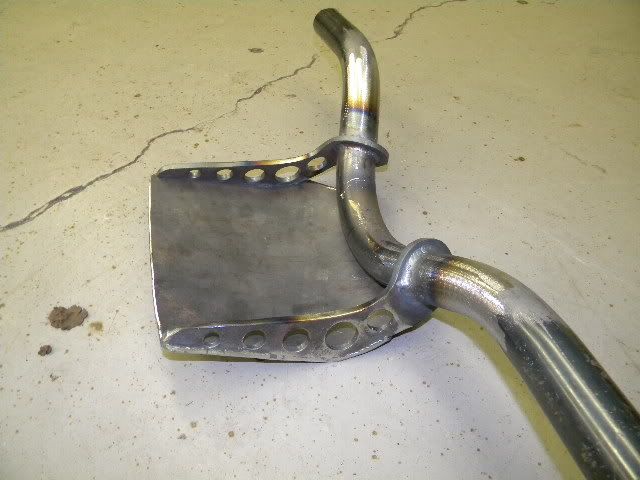
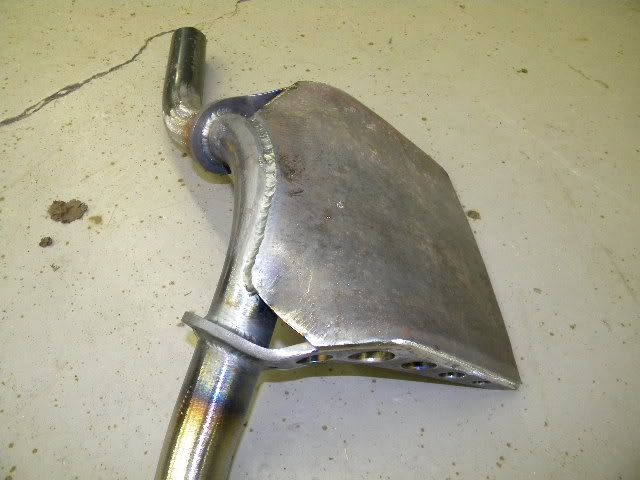
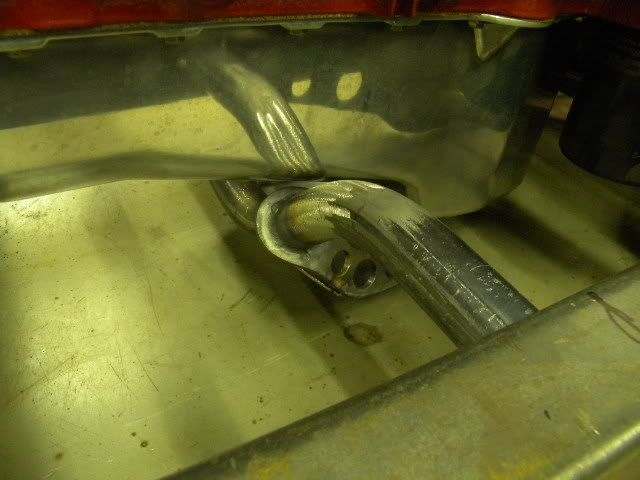
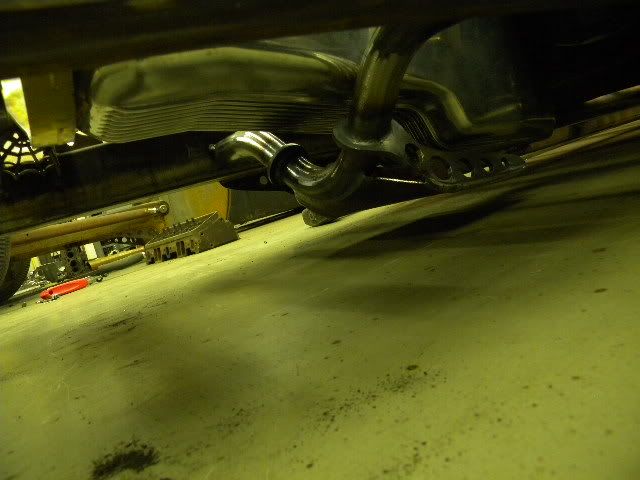
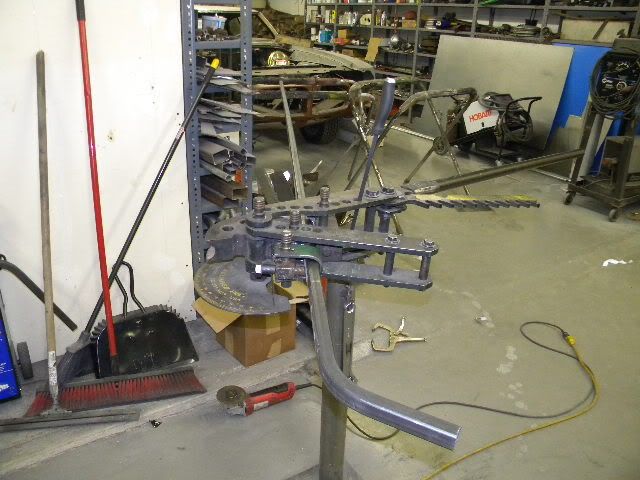
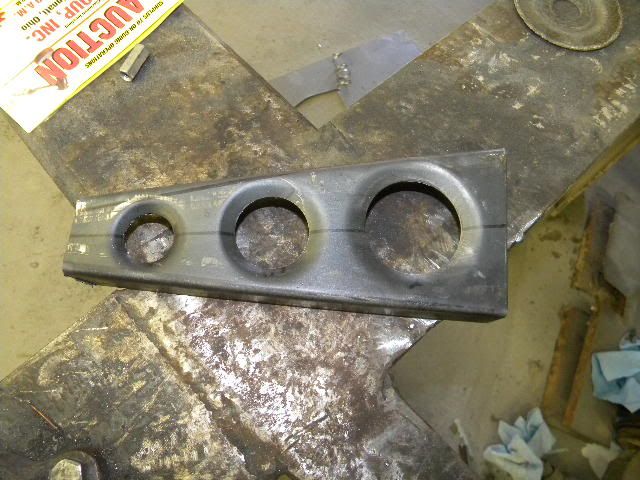
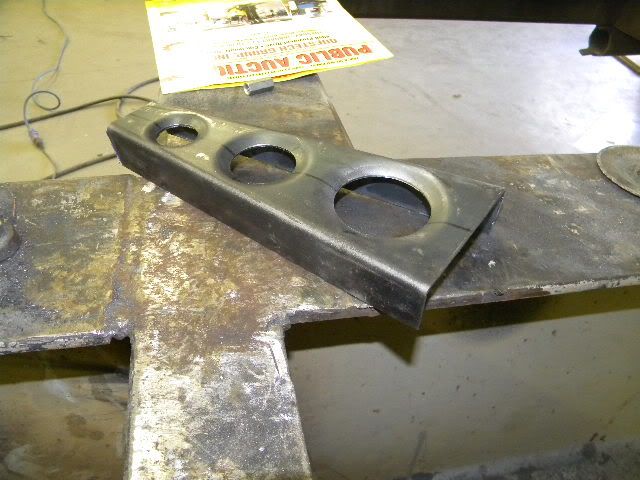
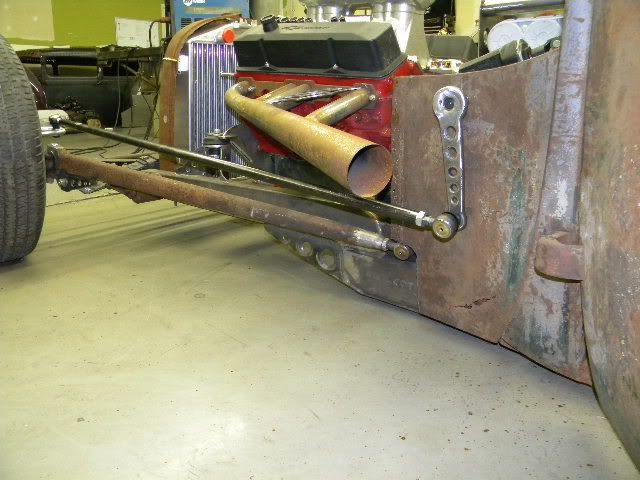
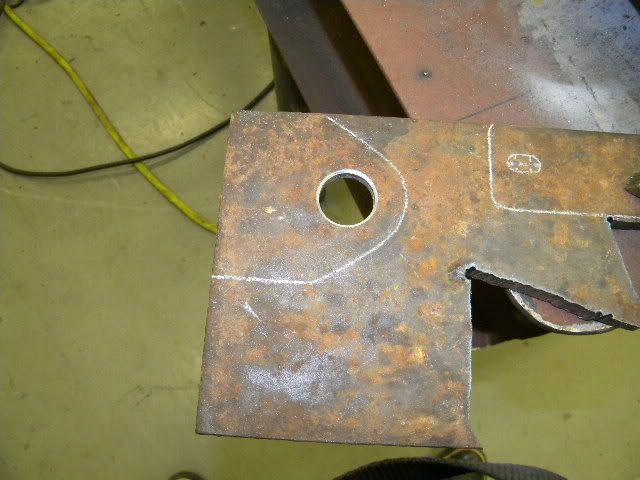
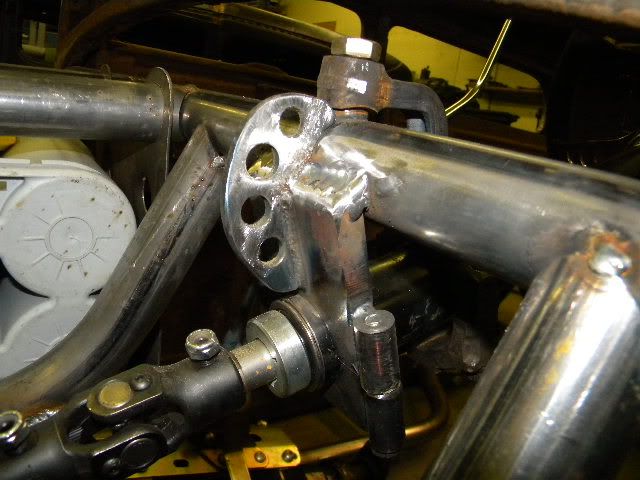
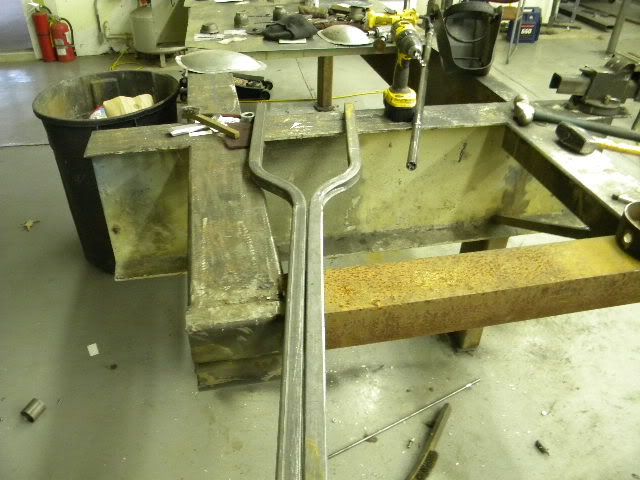
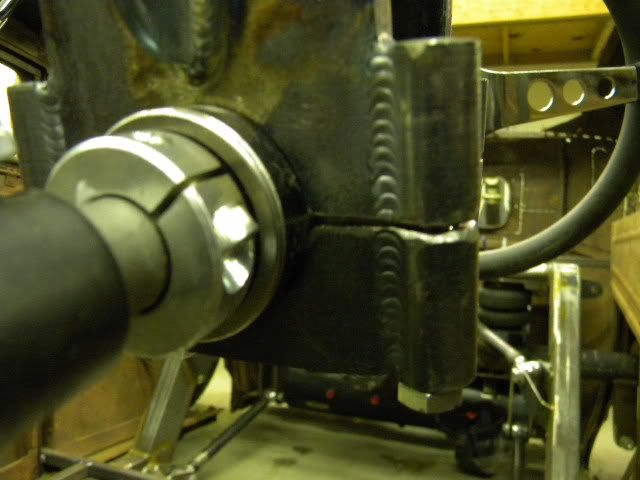
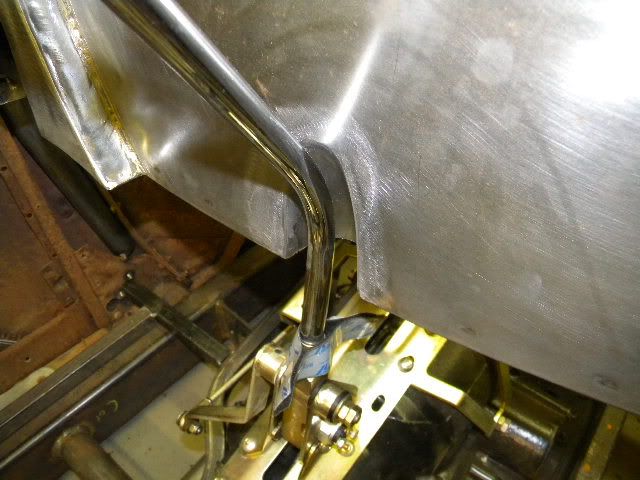
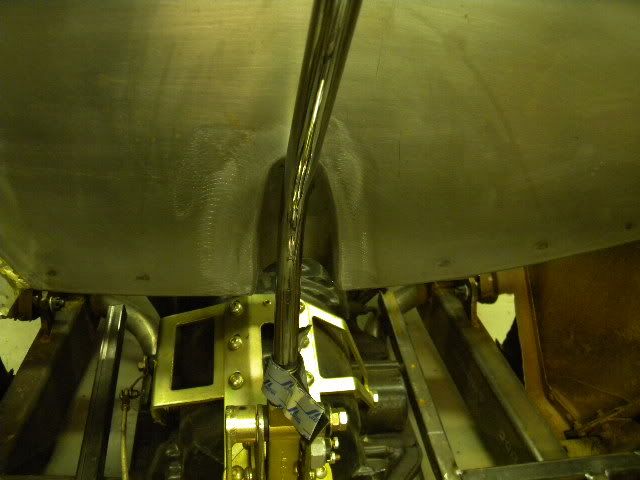
The pitman arm took about an hour to layout and make. So it wasn't to bad.

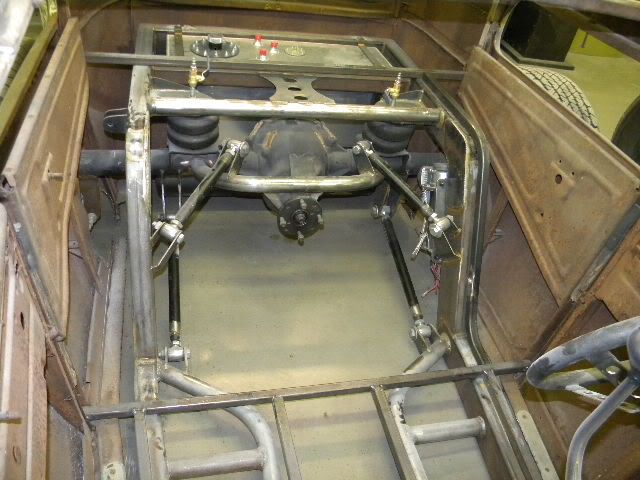
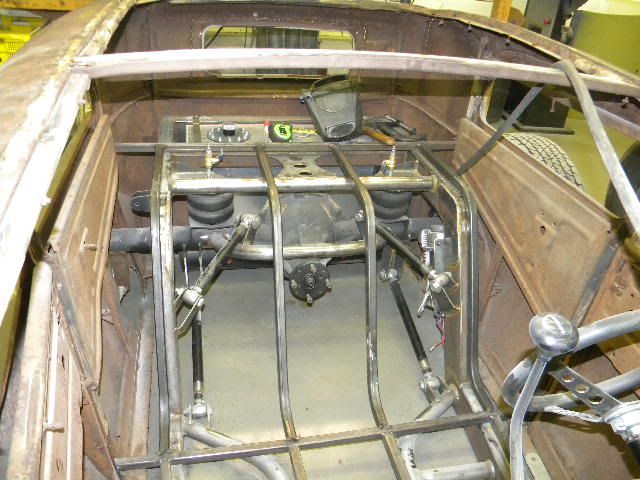
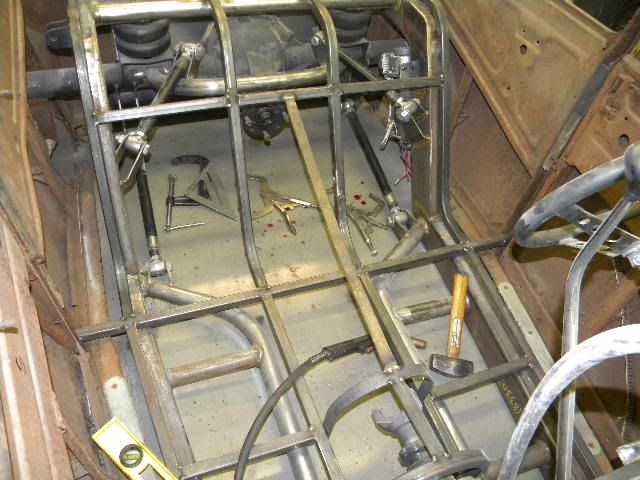
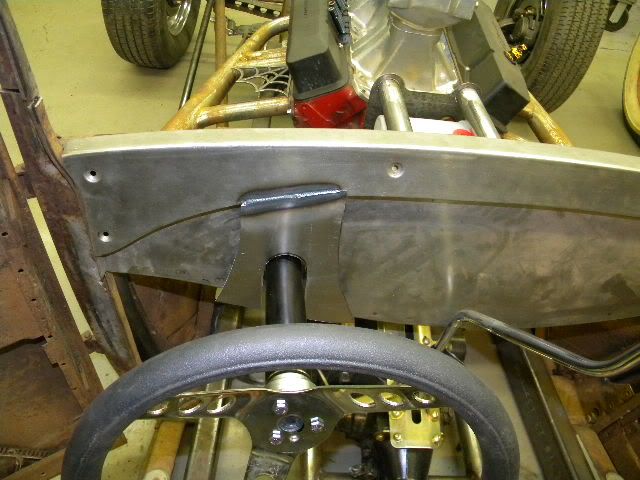
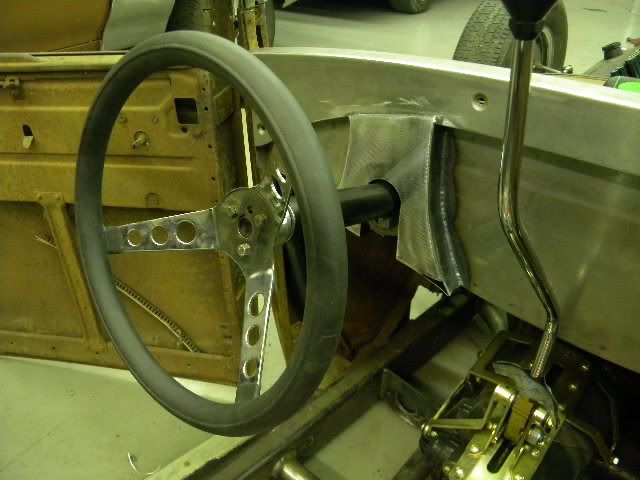
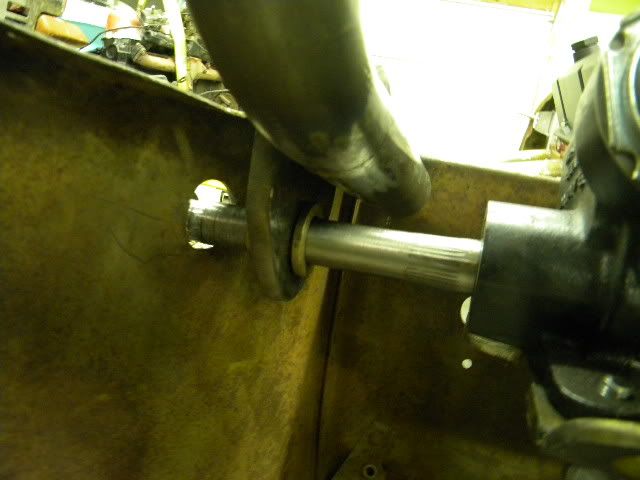
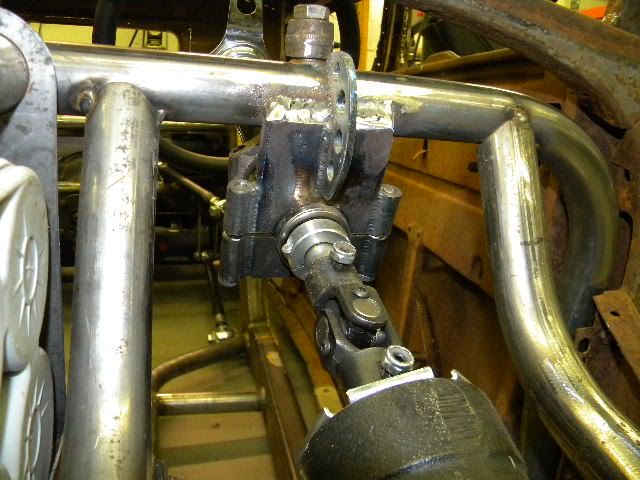
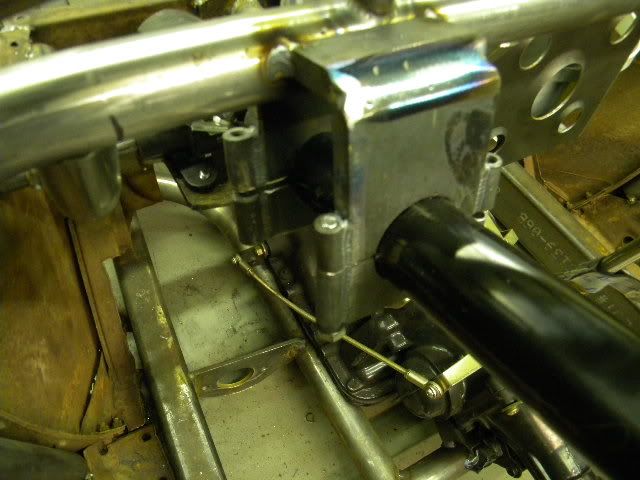
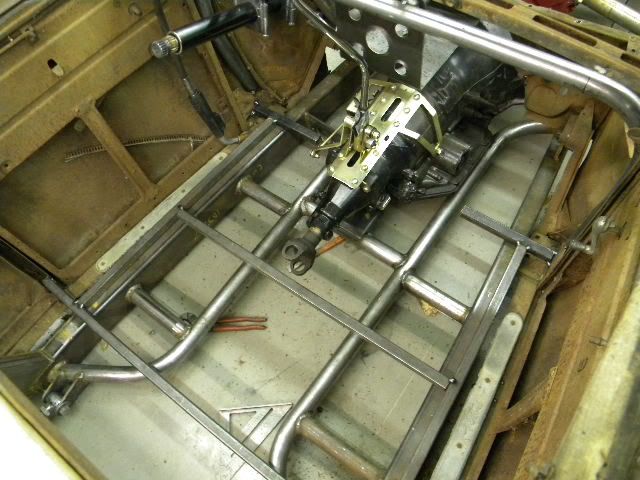
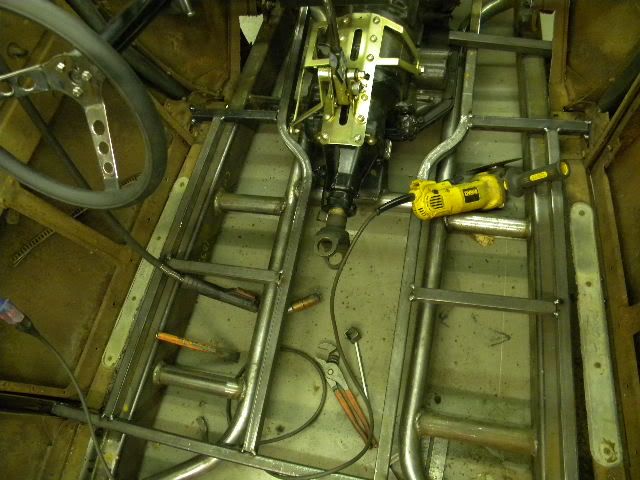
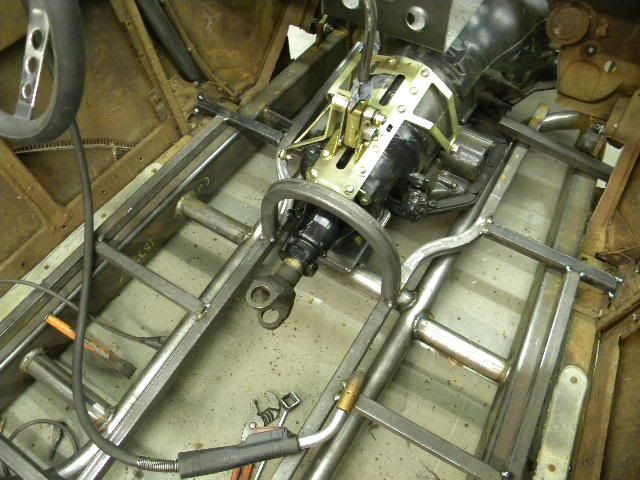
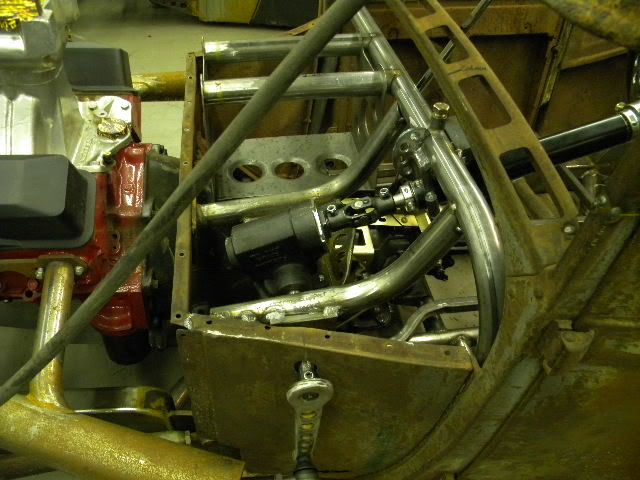
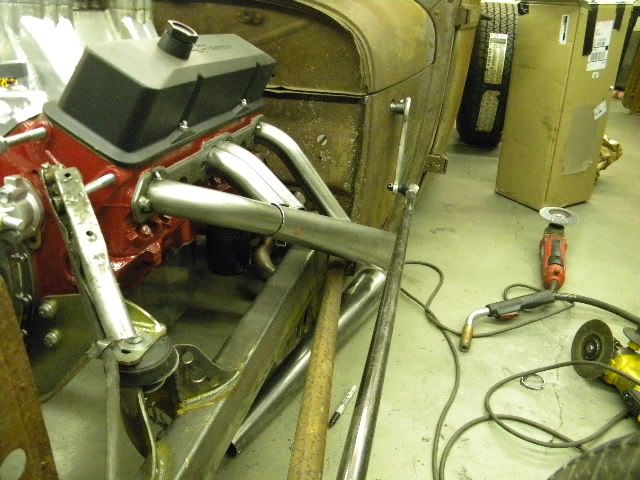
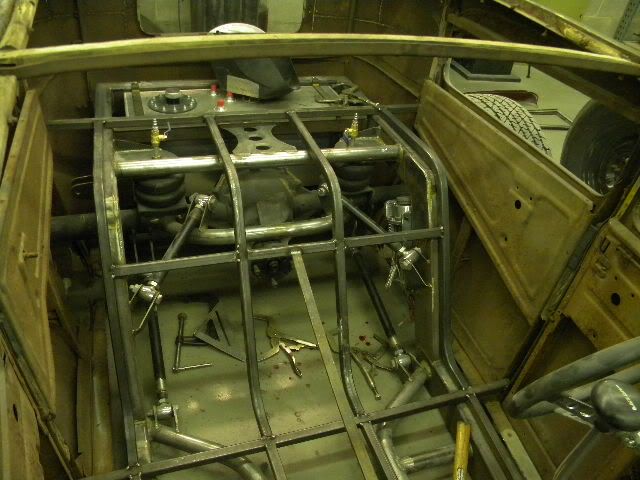
The steering box is a reversed corvair box.

And my shoes are leather they work well as long as I don't drop frames on them lol
 
here are some more pics of working on the dash, and more on the steering

DSCN4967.jpg

DSCN4968.jpg

DSCN4969.jpg

DSCN4978.jpg
 
got some more work done on the steering. pretty much got it all buttoned up for the most part. made new column mounts, bored a brass bushing, and cut a groove in the bushing for a snap ring to hold it in place. so nothing to spectacular.

support bushing bracket
DSCN4980.jpg


in place
DSCN4985.jpg


one of the steering shaft mounts
DSCN4981.jpg

DSCN4982.jpg


replaced the connecting rod with another bracket for the front column mount
DSCN4984.jpg


will take some better pics tomorrow of the whole set up. forgot to so it today
 
Looks great - I like the way you've built the universal into the steering column. What did you use for the sleeve? I would imagine that there is a bearing in the top right close to the steering wheel? With the two supports quite close together inside the dash area, is it pretty sturdy? My roof is pretty low, and I think I'll be relying on the steering wheel getting in and out, hence my concern with it being sturdy.

The car is looking great by the way!

Thanks for all your posts and great ideas....
 
Bill the steering universal is not built into the column. It is a bolt on the works with a double d shaft. The column itself is a shorty speedway column that I shortened. It has a bearing at the top and bottom. The main reason I put two mounts was for the very reason you stated. With one mount you could not get the column to budge other than flex. So I wanted to put another to help with stress over time. They are about 6 inches apart and hold everything well. I plan on keeping an eye on it and if the tube starts to bend I will replace it with thicker wall tube and bore the ends for the bearings
 
Thanks for the answers to all my questions....now if I may ask one more? Are you putting any sort of insulators or anything between the floor structure and the frame? I'm in exactly the same place with my build.....any advice? I figured I'd need something to minimize noise, vibration, etc, but it would sure be a lot easier if I didn't have to!

Thanks in advance....
 
yea the body will be rubber mounted. the way i do it is build the skeleton then made the mounts, cut out some rubber pucks out of some .750 rubber sheet i have and raise the body some ( roughly .250 in) with the rubber. the mounts are on the side of the rails set .50 inches from the top to achieve the .250 clearance
 
I like them both! Nice down sweep angle on the header. makes it look fast sitting there
 
finished up the headers. also the owner wanted a skid plate made to protect the aluminum oil pan, ask and you shall receive

DSCN5024.jpg

DSCN5023.jpg


nice tight fitment of the tubes to the cones, before i cut out the holes and fully welded. some pics of some of the welds

DSCN5027.jpg

DSCN5025.jpg


skid plate fabbed up
DSCN5034.jpg

DSCN5035.jpg

DSCN5036.jpg


some welding on the skid plate

DSCN5033.jpg

DSCN5038.jpg
 
here are some pics of the skid plate tacked in. need some opinions on the fin on the header, not sure how i feel about it.

DSCN5043.jpg

DSCN5044.jpg

DSCN5045.jpg


also snapped a shot of the model a's lined up

DSCN5049.jpg

DSCN5050.jpg
 
a small update, doing some little things for the Cincinnati world of wheels. finished up the floor skeleton, started mounting the seats to the skeleton (floor will still be fully skinned), and mounted some carbs and a scoop. some pics............

what i started with today

DSCN5158.jpg


bending up the last pieces of the floor skeleton

DSCN5159.jpg


skeleton going in

DSCN5160.jpg


DSCN5161.jpg


DSCN5162.jpg


seat risers

DSCN5163.jpg


DSCN5164.jpg


seats bolted up

DSCN5167.jpg


DSCN5165.jpg


DSCN5166.jpg
 

Latest posts

Back
Top