Roadster pickup from leftovers.

Rat Rods Rule

Help Support Rat Rods Rule:

This site may earn a commission from merchant affiliate links, including eBay, Amazon, and others.
Don, if you don't mind me asking, what spindles and arms are you using? Also what did the 8" come out of? If you mentioned it somewhere else.......sorry

As always, the work looks fantastic!

Paul
 
looking great don, ive been following this but i figured i better jump in now so i dont miss any thing.

if you dont mind me asking, i like how your bucket was painted. what color of copper paint did you use? i would like to do something similar to my 41.
 
Thanks, guys. Paul, the spindles are 46 Ford square backs that had the arms cut off when I got them. The steering arms are Superbells that are slightly longer than stock and also dropped a little to clear the wishbones. They bolt onto the two lower holes in each spindle.

DC, the gold/copper color was 2005 Hummer Fusion Orange. I had been kicking colors around and one day a customer came into work with a Hummer and I had to walk outside to get a better look. It was exactly the shade I was looking for, and I asked him what color it was. It was very old timey looking and sprayed great. There was a mild flake to it, but that went away as it cured.

Don
 
You're welcome, DC. :)

This weekend we got the front mount built and also built the frame mounts that hold the early Ford bisquits. I had a couple of partially complete biquits in my stock, enough to mock things up until the new ones come Tuesday. Dan busted his tail for two days, figuring out the best way to build the mounts and then doing the actual fab work. I did about 10% of what he did, and I really am appreciative of his hard work. It turned out much better than what I would have turned out.

Now we can build the transmission crossmember, which should be a piece of cake, compared to the front one. Here are some pictures from this weekend.

Don

First we made a simple jig so we could heat and bend the 2 inch x 3/8 steel that would become the bottom of the mount.

myrpumotormountmade001.jpg


Once we got it bent up we welded some rounded corners on it to hold the early Ford bisquits that will become the main mounts, and bolted it to the block for a trial fit.

myrpumotormountmade003.jpg


Then we built some side pieces that bolt to the timing cover and are welded to the bottom mount.

myrpumotormountmade004.jpg


And finally, here is the finished mount, after we built the frame mounts to hold the Ford bisquits.

myrpumotormountmade007.jpg
 
Thanks guys. No, the plate across the bottom is 3/8 (and was a bear to heat and bend :eek:) but the side pieces are 1/4. Hurst used something like 3/16 for most of their mounts, so this one should be way strong enough. We were walking a fine line between a mount that would be strong enough, and yet not so big and bulky that it looked hideous.

Don
 
Thank you, Perley. He does work hard at anything he takes on, like his day job, his sax playing, and car building. I'm very proud of both of my Sons, they have turned out to be pretty good people........and very good friends. :)

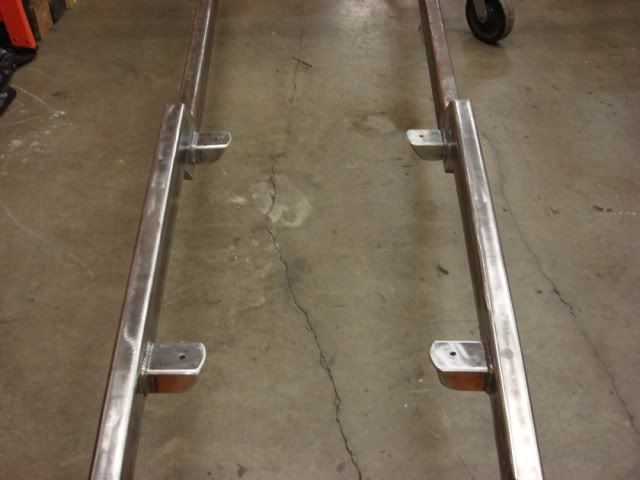
I am making a little change in the way I was going to mount the engine and transmission in this car. Originally I felt the front mount and transmission mount would be enough, but some members on another forum posted that they didn't think so, and that it needed a center mount, like the Olds had originallly. To make a long story short, I got hot under the collar, generally made an a** of myself, and had to eat crow. :eek:

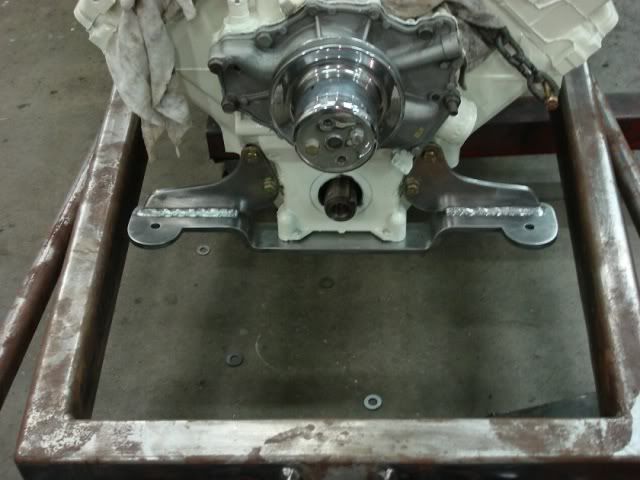
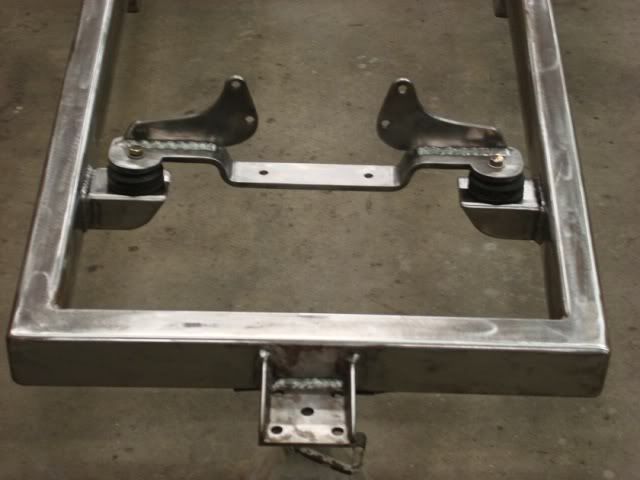
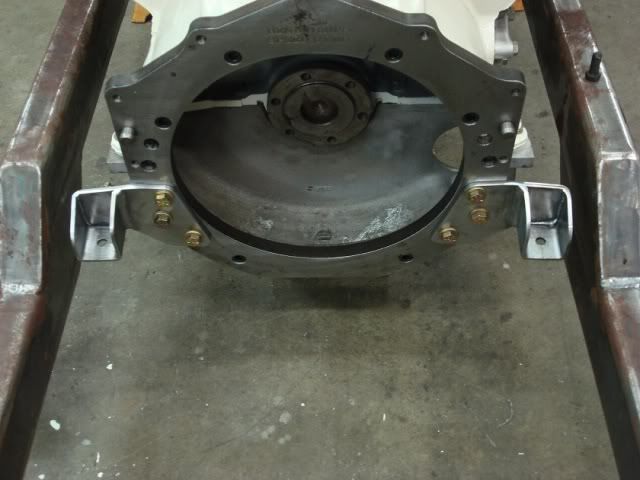
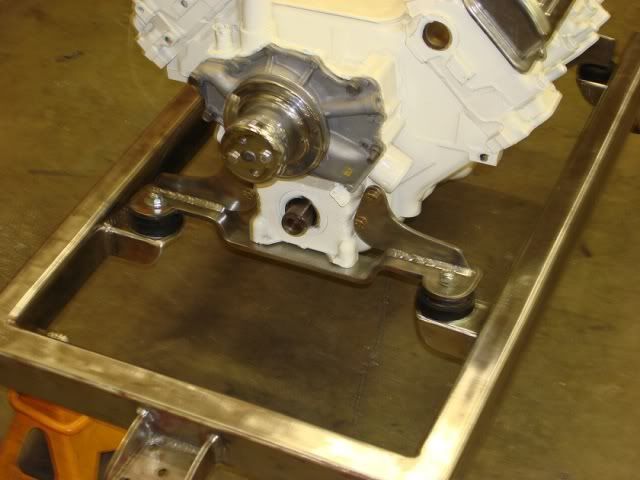
I also spoke with Bendtsens, who made the transmission adapter, and they said a center mount was a good idea, because of the long distance between the front engine mount and the tailshaft mount on the TH350. So, we are going to make an extra set of mounts that come off of the 3/4 thick steel adapter plate and mount some early Ford bisquits on the ends to give more support in the middle.

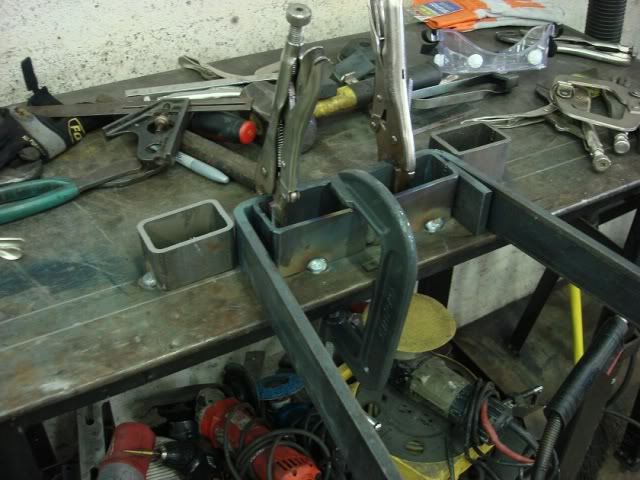
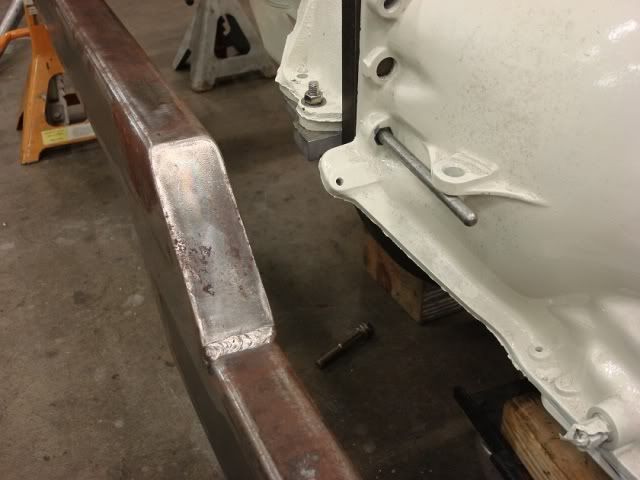
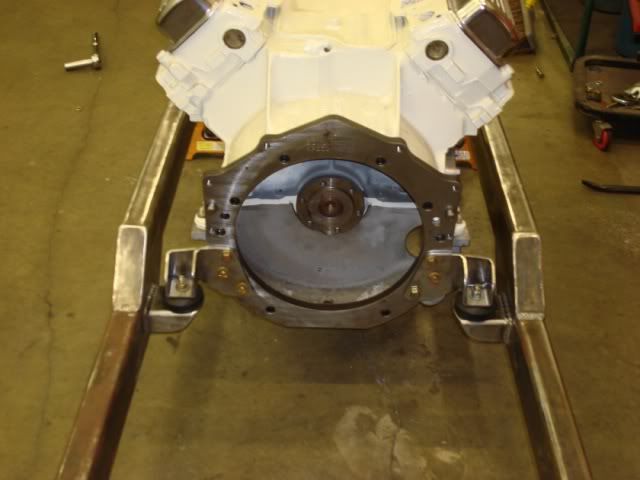
This is the spot where the mounts will go, once we get them made on Friday.

Don

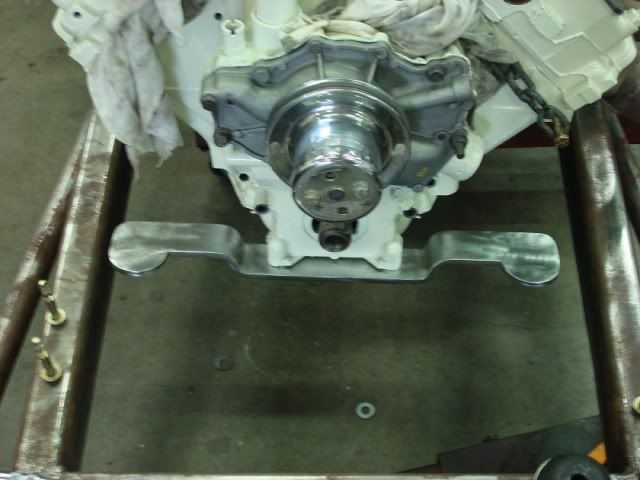
This is where the drivers side mount will go.

myrpuoldsbellhousing001.jpg


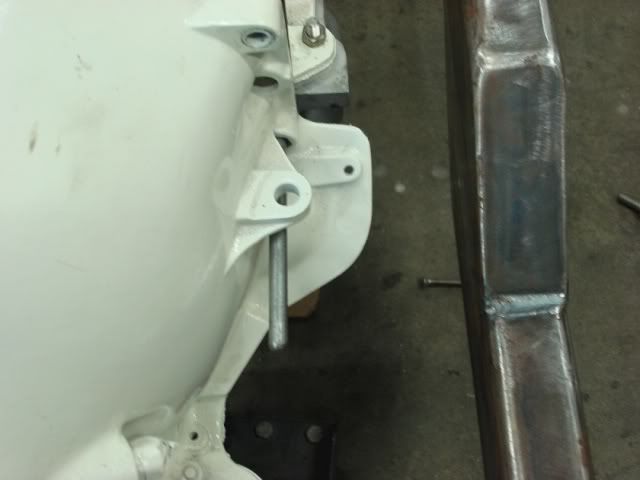
And this is where the passenger side mount will go.

myrpuoldsbellhousing002.jpg
 
Preacher, I think you pulled and won. :D I've been looking at it and I think I am going to just have a conventional radiator built and install it in front. I am going to use the Moon tank for something else some day, so there won't be any air blockage to the radiator in front.

Since I have the car more mocked up I can see the radiator would end up taller than I thought, and I can also extend it a little below the front rails, making it probably tall enough to cool the Olds just fine. It will save me running a lot of plumbing to the bed and leave more space there for my tank, battery, and some storage.

Don
 
Don, I am glad to hear that you are open to changing ideas. A lot of guys don't step back during the build to see that an idea may not work as well. Building rods is fluid, things I wanted to do have changed too. Keep up the good work.
 
Thanks, Todd. Yep, you have to keep your mind open and not stick absolutely to the original plan you had as the car starts coming together. Clearances change, and something you liked in your head may not look that great in steel, so you have to be flexible.

I mentioned that some members on another forum didn't like the fact we were only using the front mount on the motor and the rear transmission mount. They felt it would put too much strain on the aluminum bellhousing. I finally had to concede that they were right and I was wrong, so Dan and I built a set of mounts that bolt to the transmission adapter plate. This will make the whole drivetrain a lot more stable and strong.

We simply cut out some 1/4 inch steel plate to shape, drilled some hole, tapped a couple more holes in the 3/4 inch thick adapter plate, and then welded on some ears that will ride on early Ford engine mount bisquits. In the pictures below the frame mounts aren't in place yet, but we did get those welded on last night before we quit.

Don

myrpurearmotormounts001.jpg


myrpurearmotormounts002.jpg
 
Thanks, I think it will probably not move a lot. :D Tonight Dan and Don helped me put the motor back in the frame, and everything lined up fine. Here are a couple of pictures of it resting on all 4 mounts. Next I will build the crossmember under the tailshaft.

Don

Here is the bare frame, showing the mounts we welded on.

myrpumotoronall4mounts001.jpg


And here is the motor resting on all 4 mounts.

myrpumotoronall4mounts008.jpg


myrpumotoronall4mounts009.jpg
 

Latest posts

Back
Top