Ok, you guys shamed me into doing some work on my rpu.

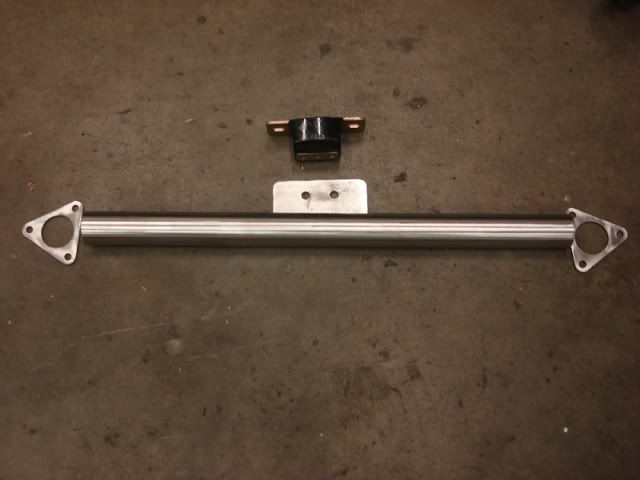
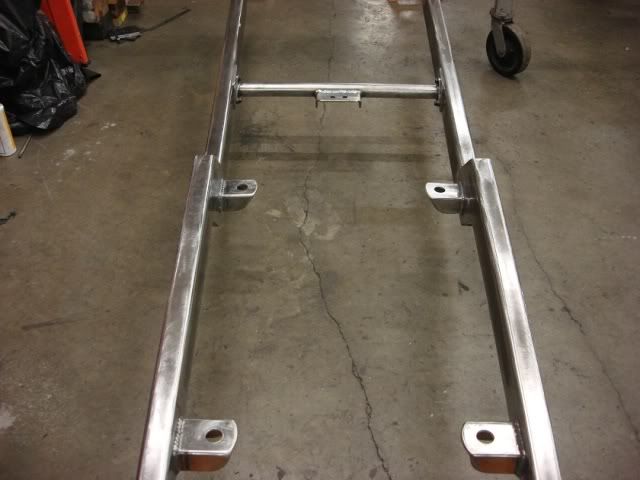
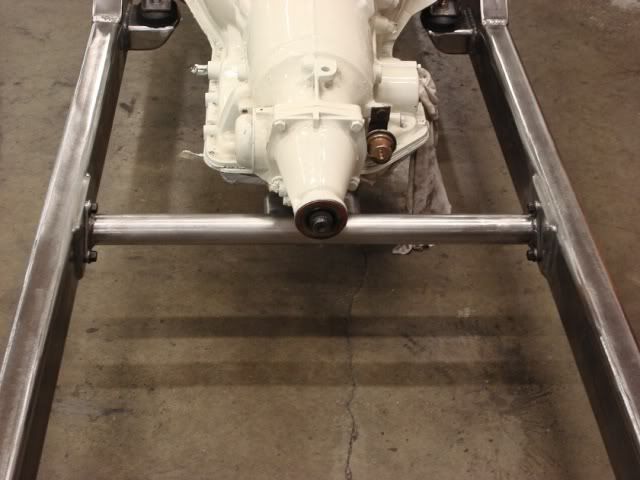
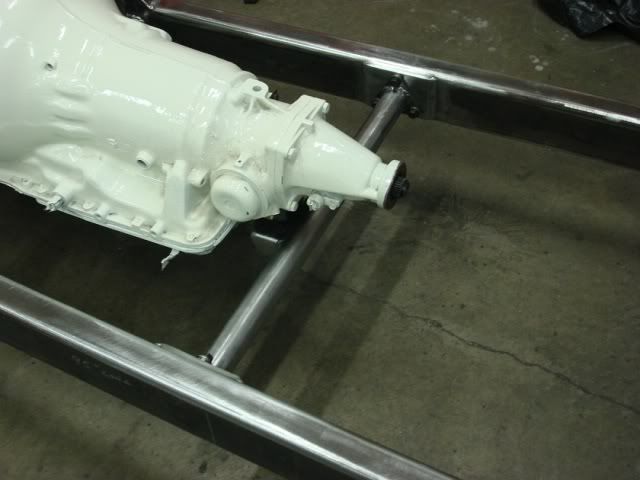
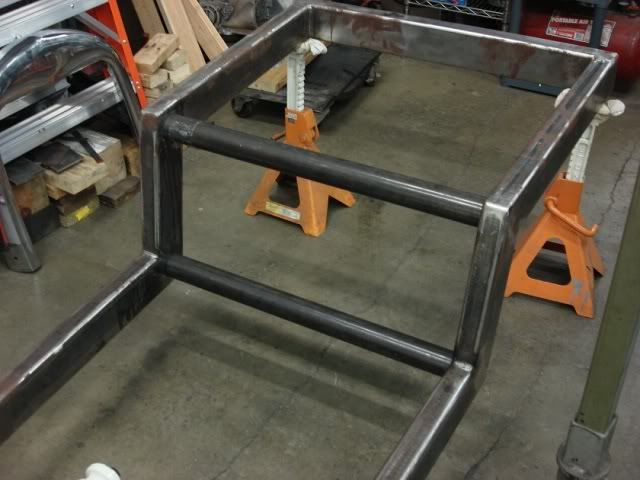
I only have two crossmembers to get out of the way, then I can start hanging the rear end in the frame. I wanted one to be at the bottom of the kickup and one at the top of the kickup, to give some support there.
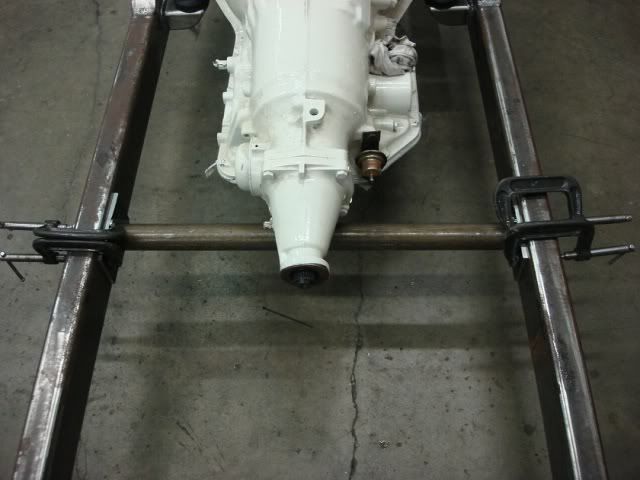
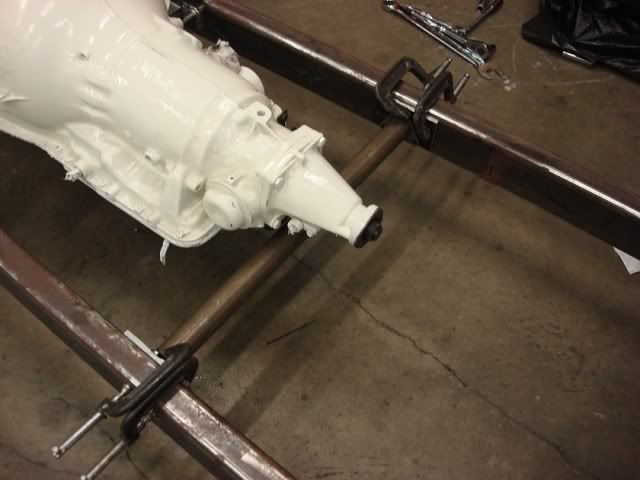
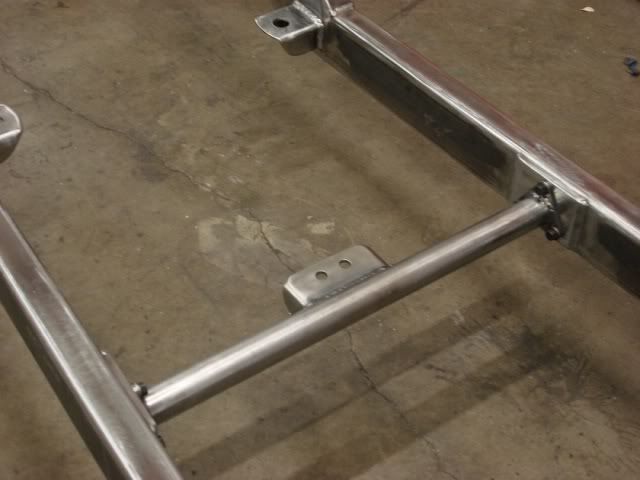
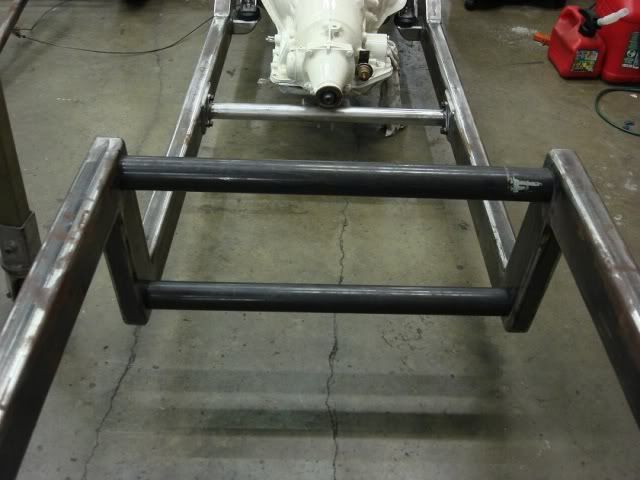
We had some 2 and 1/4 round tubing in the shop, so that is what I made them out of, but first I had to drill 4 2 &1/4 inch holes in the frame rails to slip the tubes into. I used a holesaw and my big 1/2 inch drill, and that was almost my undoing. The holesaw grabbed while cutting one hole and ripped the drill out of my hands. I thought I had broken or sprained my wrists, but they are ok, just sore. For the rest of the holes I screwed a piece of 3/4 inch pipe into the drill motor to use for leverage, and that helped a lot. Bet I feel it tomorrow though.
All I have to do now is throw the tubes into the blast cabinet to get the mill scale off, and then grind some clean metal around the holes so we can weld them in place. Here are a couple of pictures of the crossmembers slipped into their holes.
Don