roddguy1
Well-known member
Wow, I gotta say from one tin wacker to another, that took some nerve to cut into those big fenders like you did. You definately pulled it off though and the results look fantastic. I say it again..... awesome build. [cl


Two words, "Flawless Execution". Beautiful work.
I'm not trying to make your head ache, or criticize, far from it.
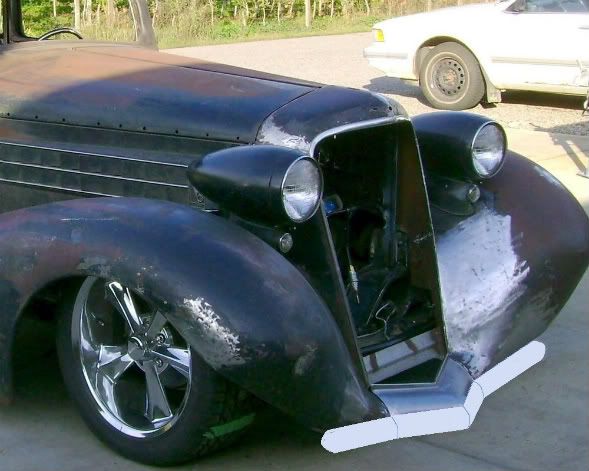
Just an idea I couldn't keep to myself. An attempt to show off the chin I like so much, and pull the sides in closer to the fenders.
I'd move someplace where a front bumper isn't required.
Lotsa fun, they are really thin, like 22ga. or less.


You were born to build totally unique hot rods.


Got the console finished up today. Using a 4 switch GM power window switch to work the air valves and a couple more at the rear of the console for the windows. Made a drop-in liner for storage under the armrest. Also got the original inside door handles mounted and made arm rests, still need to cut some reliefs in them to get a grip to help closing the door.
Enter your email address to join:


