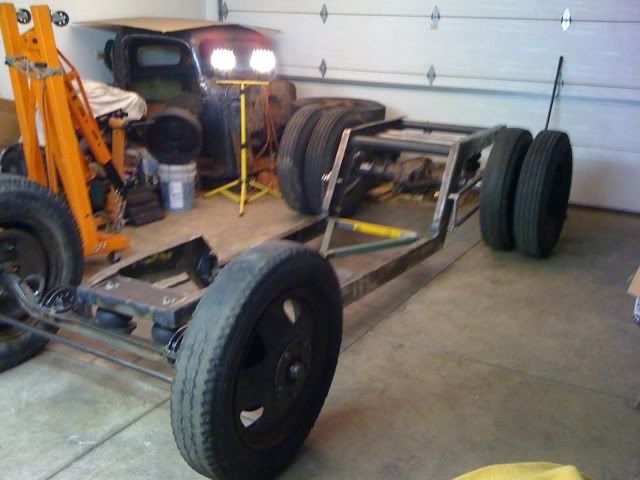
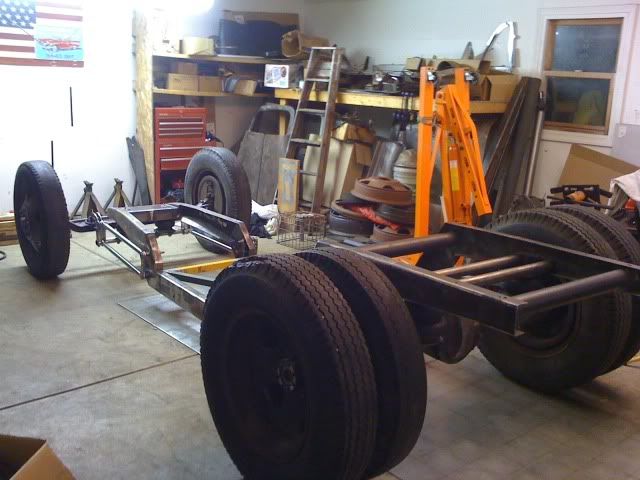
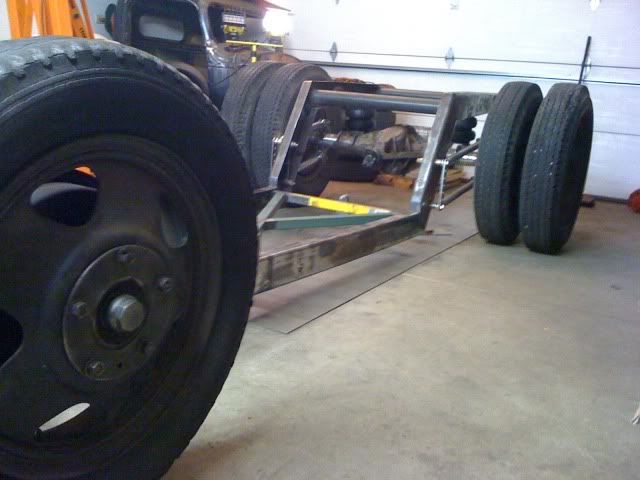
1936 chevy low cab build 1.5T

Rat Rods Rule

Help Support Rat Rods Rule:

This site may earn a commission from merchant affiliate links, including eBay, Amazon, and others.
Wow thats really taking shape you should be VERY proud! Awsome job! and idont think ive ever used awsome before ha ha

Thanks man i am doing the best i can, which means its taking awhile.... well im glad i have helped increase your vocabulary

Very clean work. Very nice.
Thanks gas, coming from you that is quite a complement

Great work Corpo.
Thunder

Thanks!

ALL I CAN SAY IS:eek:
Oh yeah??? :D thanks!
 
Thanks man i am doing the best i can, which means its taking awhile.... well im glad i have helped increase your vocabulary


Thanks gas, coming from you that is quite a complement


Thanks!


Oh yeah??? :D thanks!

WHATS GOIN ON WITH THIS BILD IM HEARING CRIKITS DO U NEED THE POOKIES TO COME OVER AND THRASH:cool:
 
sorry pookies... Not a whole lot of exciting stuff to report unfortunately ... we did get my dads 57 to fire up on Monday.. hes owned the car since 76... decided to restore it.. it has been apart since 99 i believe.. anyway got the engine rebuilt and in.. sounds good


My truck:
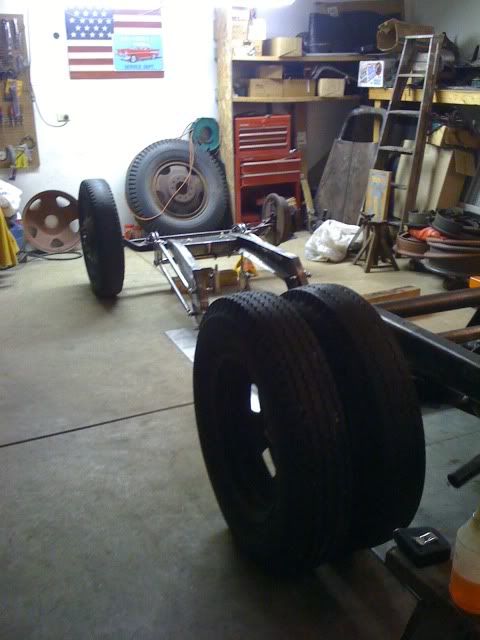
I got the set of rims from the guy over at kb... and just my luck the hole size in the rims are larger, so i have spent a bunch of time changing out the wheel studs.. tons of fun... i also think 2 of the six rims are shot, but i wont know for sure till i clean them up, might be able to repair them, but thats fine, i have 2 from my truck that i can run up front, not that it really matters that they wont match, i don't think you will be able to tell since you wont see the same side of the front as you will see on the rear...

anyway heres a pic with the new old shoes on the back, these rims are slightly narrower than what was on there but weigh a fraction of the weight... less than half
IMG_1071.jpg


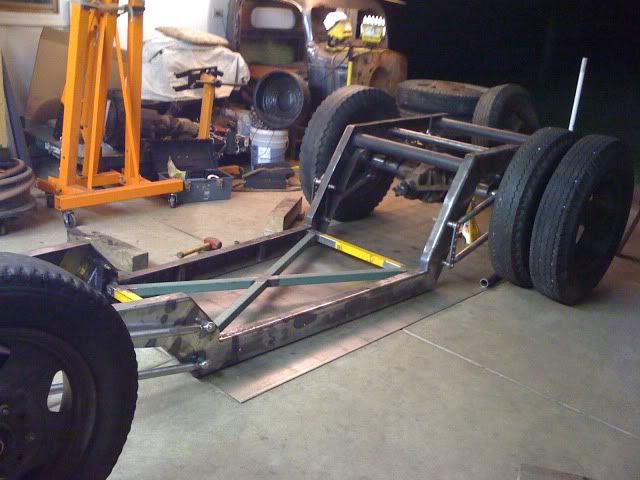
another shot: only had the one side switched over at this point.. but all 4 are on the back now
IMG_1075.jpg


I am on about rev 4 of my rear cross member.. i keep making brackets and parts.. and decide i don't like them.. i have gone with box, tube, sheet, all sorts of different variations.. i have settled on a design now, a nice simple one, a bunch i did looked two heavy and i wasn't happy with it...

so expect it to be holding itself up in a few days, i have also figured out the rear panard placement...

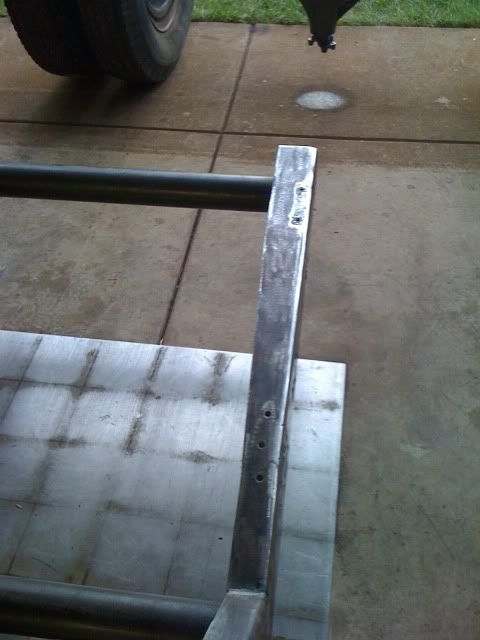
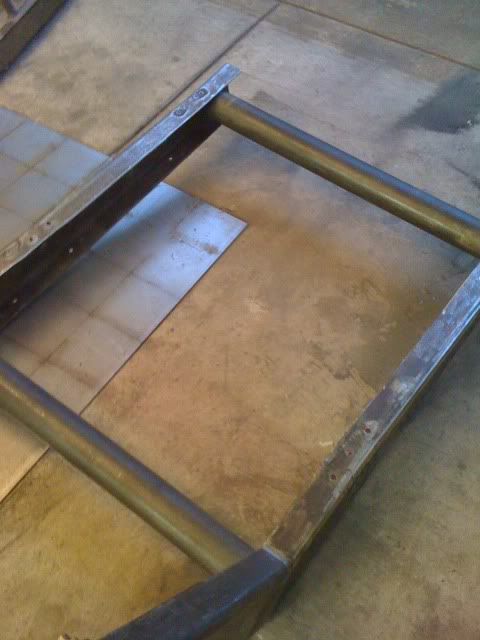
another thing i did was square up the back half of the frame, these old frames were stamped out of strip, and where the frame height narrows, all they did was wrap the material further around the bottom.. so i decided i better square it up before i weld the cross member in

before:
IMG_1087.jpg

after:
IMG_1088.jpg


not very exciting but it had to get done

its all good i was just makin sure u wer still on track hehe:cool:
 
that just looks so professional it makes me jealous--are you sure you're still building a RAT rod?:D:cool:

keep up that "awesome" fab work....and documentation...;)
 
that just looks so professional it makes me jealous--are you sure you're still building a RAT rod?:D:cool:

keep up that "awesome" fab work....and documentation...;)

Thanks for the compliments man i appreciate it, this is my first undertaking like this.. so im just taking my time, although many times i want to cut corners.. but in the long term i will be mad i did.. leme tell you i was tempted to just weld in one of the cross member set ups i made just so it would be done.. and i actually had it all in there getting the welder set up... and then i sat there looked at it.. and was like NOPE.. haha..

Im building a rod, people can chose to call it whatever they want, im just building to my vision, which will be probably a little more refined than most "rats" but thats just how i see it in my head

i will probably be shunned by rod guys, and by rat guys when im done.. haha..

im glad you are enjoying the documentation.. cause it would be way easier to not do it.. cause im lazy!


Freak'n sweet man i dig the dualie!

thanks man, i like your binder.. good looking unique truck, i like the lines on it
 
thanks! thats the same reason i like it too!, You know what would look cool on your rig, and this is just my idea I'm sure you already have a vision your going for, but if you could rig up a smaller scale ole tow truck boom in your bed, and make it look like an ole rat recker! that would be killer dude, either way I dig it keep up the good work!
 
AWESOME build!!

Thanks man, im really liking your build, a tail dragger is on the list of need to build.... some day... haha

WOW! Corpo, your truck's looking fantastic so far! The craftsmanship looks topnotch and it looks capable of withstanding a nuclear blast! Keep doin' what yer doin'!:D

Regards,
Shea:)

Thanks man, i want it to be reliable.. i hope to drive it on my commute to work when its nice out.. thats 43 miles one way


I did make some progress the rear cross member is in, oddly i didn't take any pictures???? what was i thinking.. i must not have been...
 
Thanks man, im really liking your build, a tail dragger is on the list of need to build.... some day... haha


Thanks man, i want it to be reliable.. i hope to drive it on my commute to work when its nice out.. thats 43 miles one way


I did make some progress the rear cross member is in, oddly i didn't take any pictures???? what was i thinking.. i must not have been...

:eek: blame it on arc flash:cool:
 
Allllllright here we go! sit back.. got a bunch


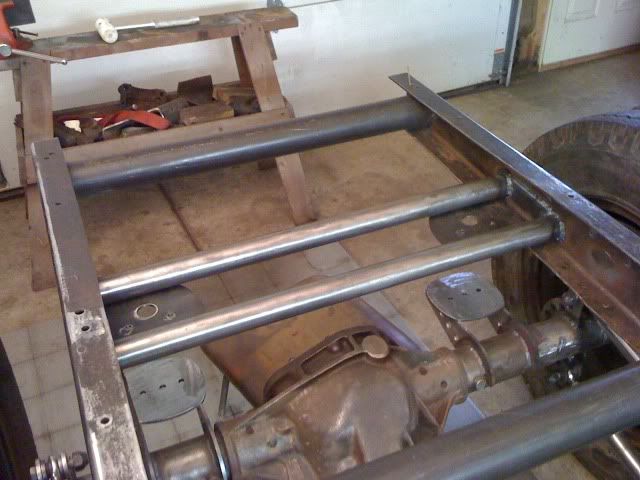
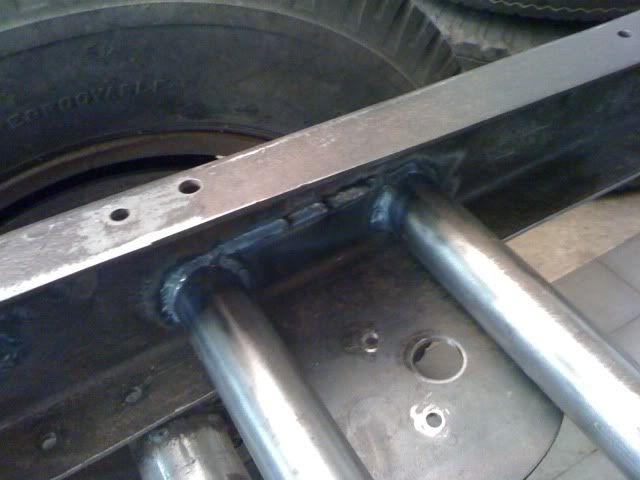
So here is the top of the crossmember.. the tube i had laying around.. 2" diameter with a quarter inch wall..

IMG_1108.jpg


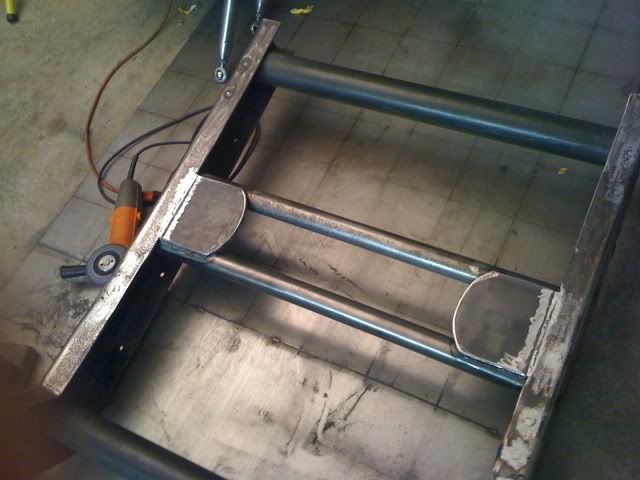
I cut the plates out of this random piece of 3/16" i had it had a 90 degree bend in it, this way i could weld it to the side of the frame rail as well
IMG_1109.jpg


then i flipped it over and added a second plate cause i needed it to be flush across with the frame rail
IMG_1112.jpg
 
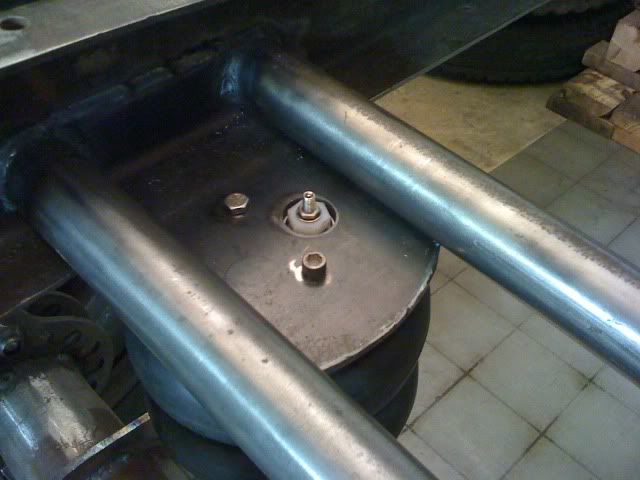
Then i made some temporary fittings, i bought some plastic fittings and used some used motorcycle valve stems that my dad got from a friend who works as a motorcycle mechanic, these are valve stems for alloy rims ....and made these

IMG_1131.jpg


can you sense what is coming next???

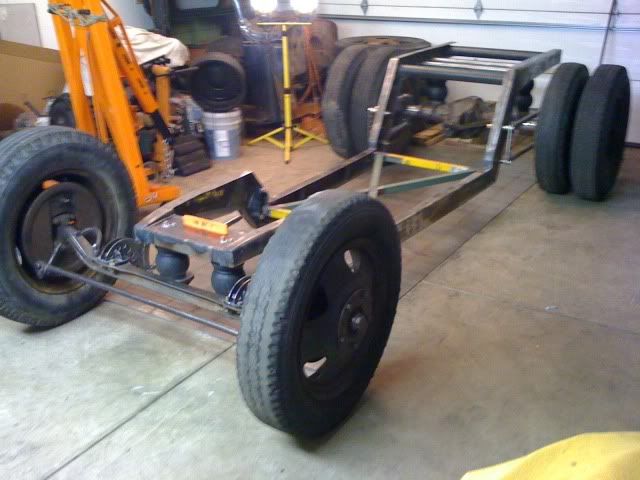
shes a roller!
IMG_1146.jpg


IMG_1148.jpg
 
Heres some more...man did it feel good.. i pushed it back and forth a few times just cause i could.. haha.... its pooring tonight so i couldnt roll it outside

this is probably around the height i anticipate running it at
IMG_1125.jpg


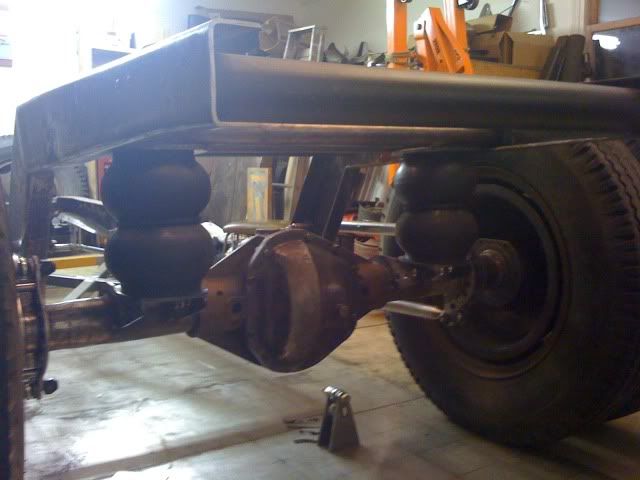
big old rear bags
IMG_1122.jpg


heres one with the bags at full inflate.. shouldn't have too many issues with getting over speed bumps... gets all the way up to 6.5" of ground clearance
IMG_1141.jpg
 
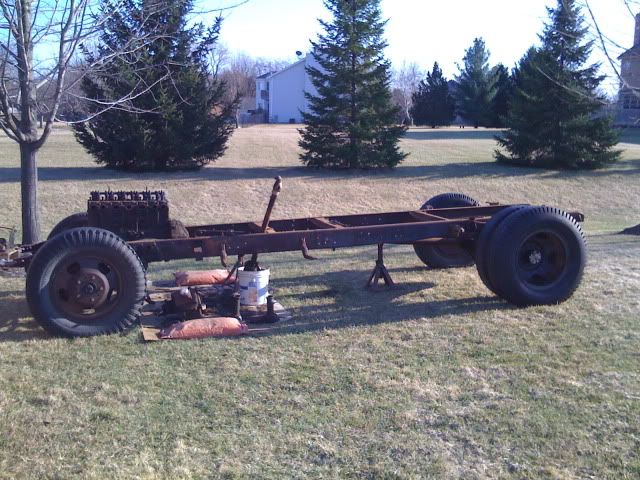
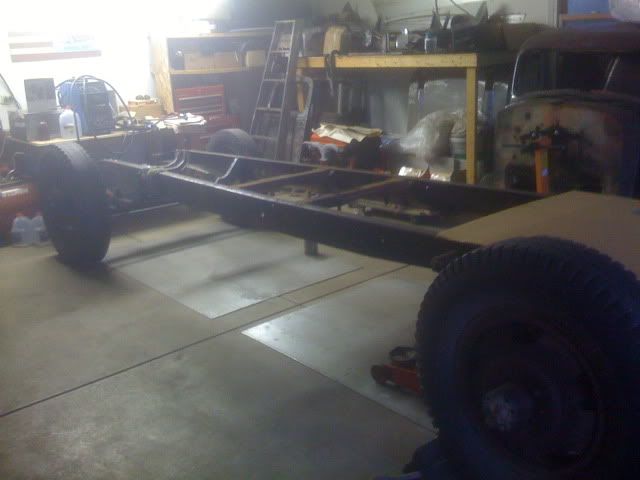
just for fun.. lets look back a bit
IMG_0584.jpg

IMG_0692.jpg

IMG_1148.jpg


quite a change in a few months.. it rolled into the garage middle of may... its only about 24" lower now
 
back to the serious stuff... panhard bars...

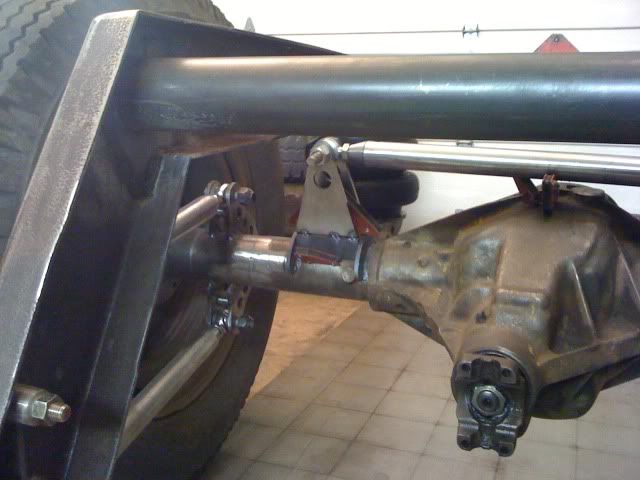
heres the start of the rear one... the front is going to be tricky...
IMG_1135.jpg


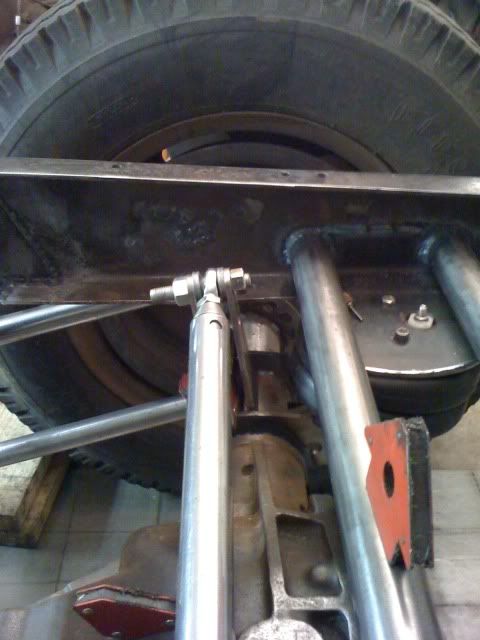
is there any issue with running the bracket slightly forward? i don't see a problem with doing it this way.. but maybe one of you more experienced guys have some insight for me..

IMG_1139.jpg


its just barley going to clear the pumpkin when its layed out.. but it will clear, as you can see i made the bracket.. then decided it was too short.. so i tacked on another piece to get it to the height i need.... this will be set parallel to the ground at half ride height.. i believe this is the correct way to set it???

if anyone has any interesting thoughts on the front panhard bar.. let me know.. im thinking it may have to go on top of the axle.. but that will mean a pretty heigh tower on the front of the frame.. dont know how i feel about that...

let me know what you guys think about the pics... im pretty stoked on it..
 

Latest posts

Back
Top