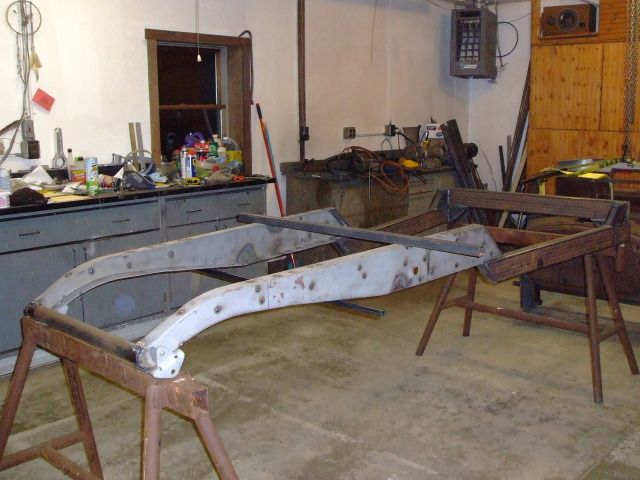
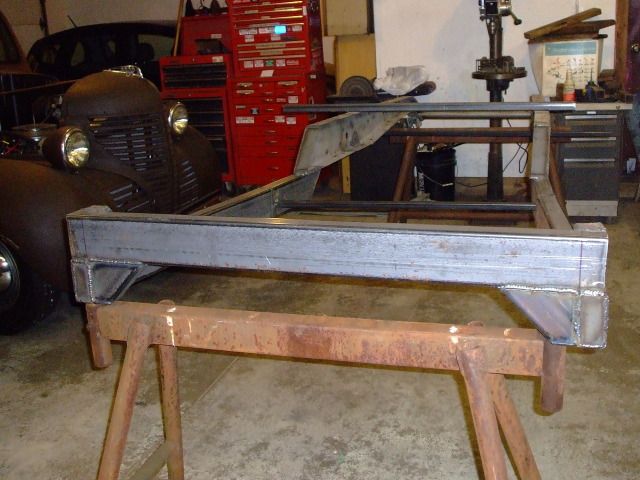
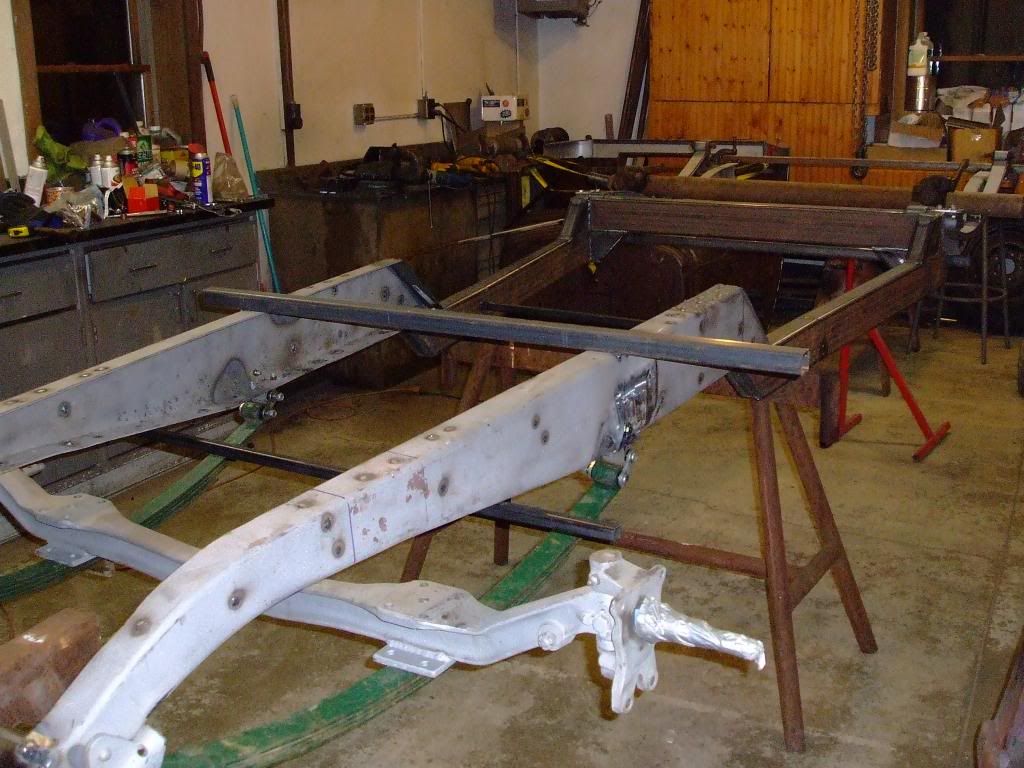
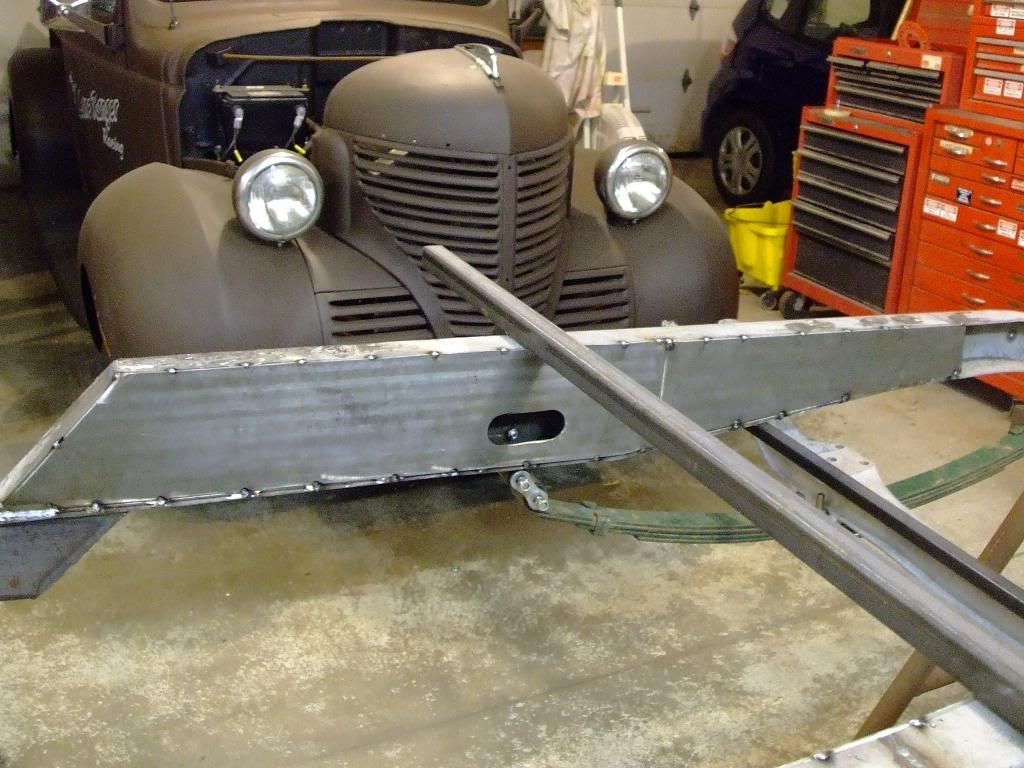
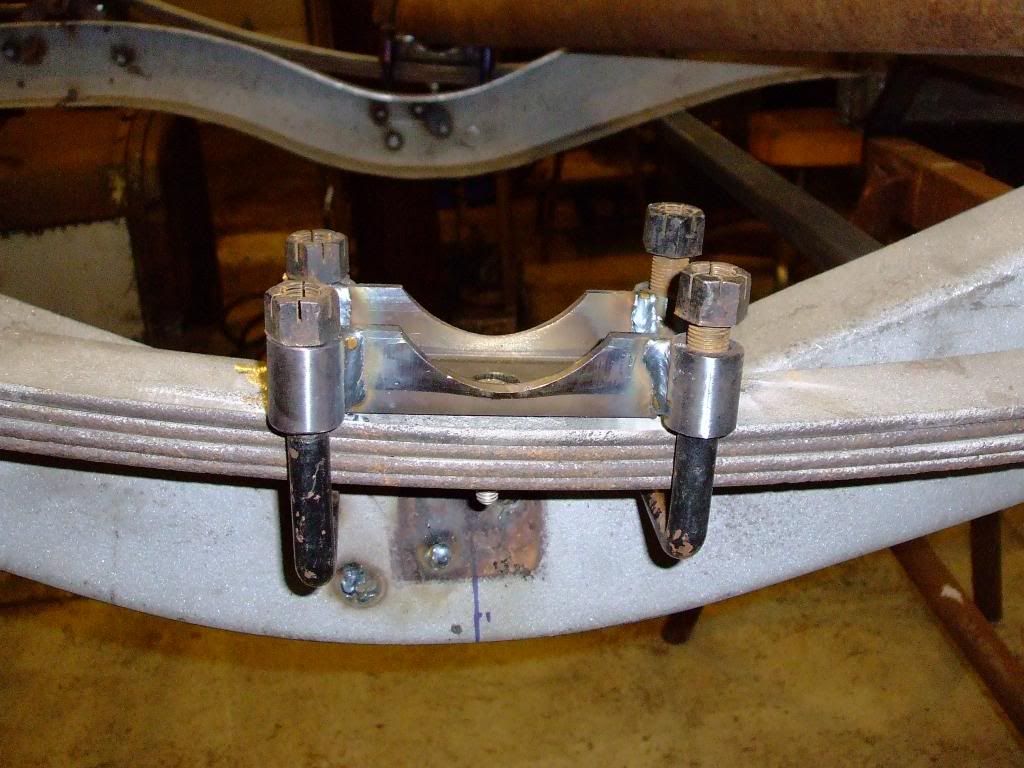
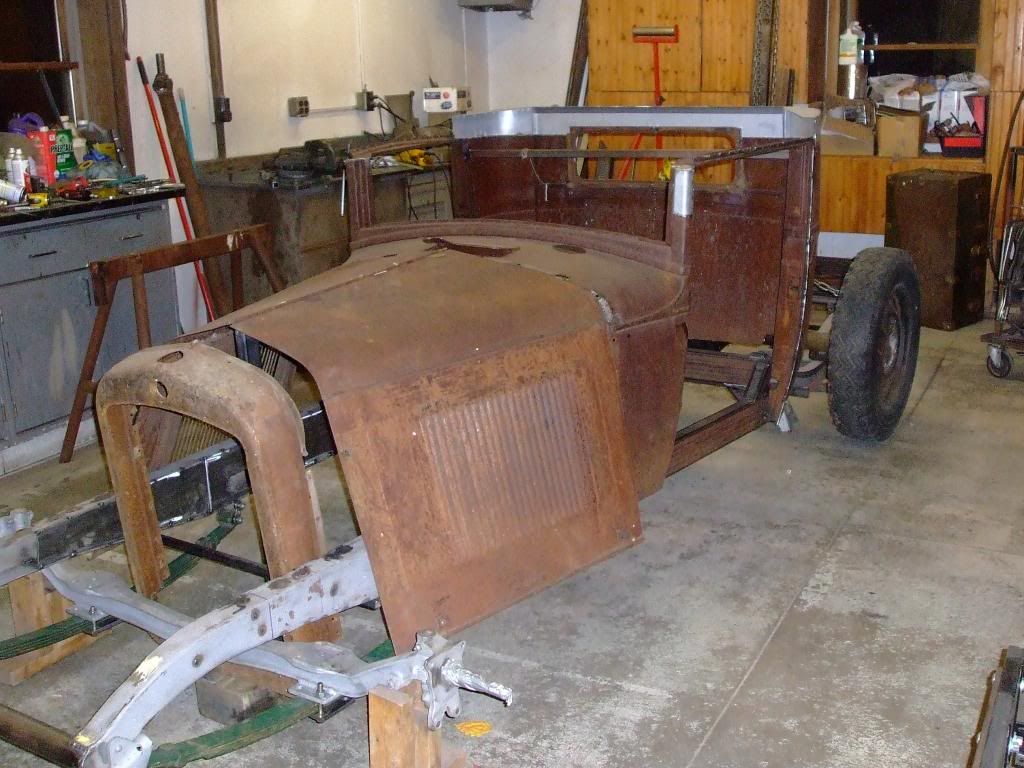
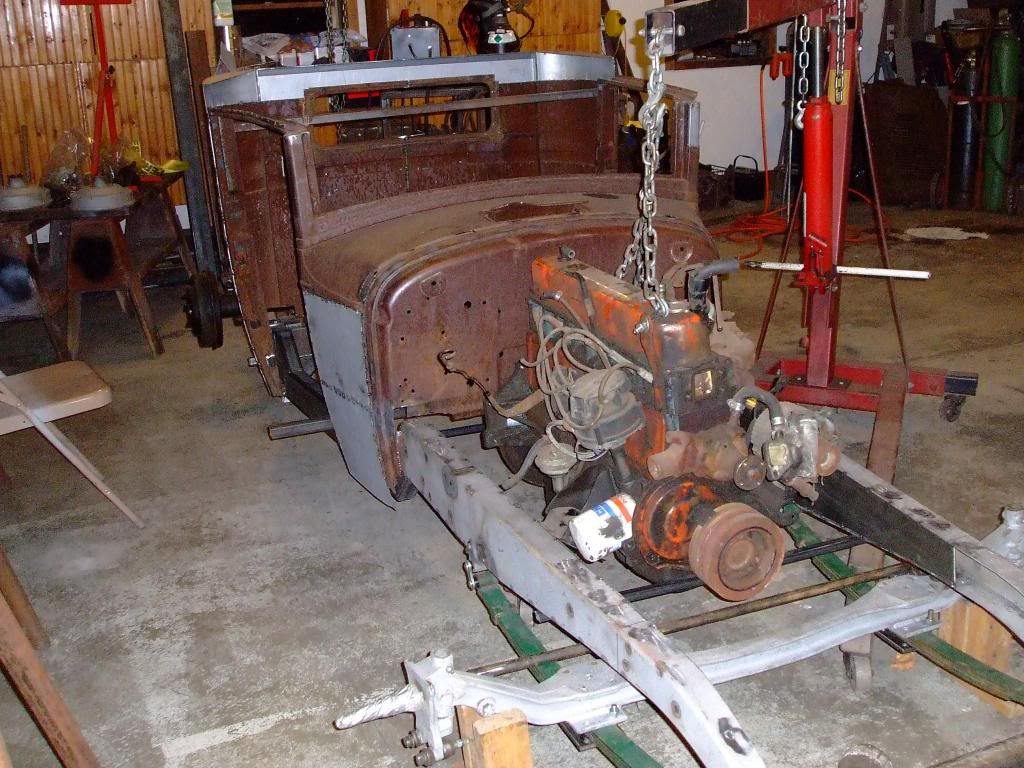
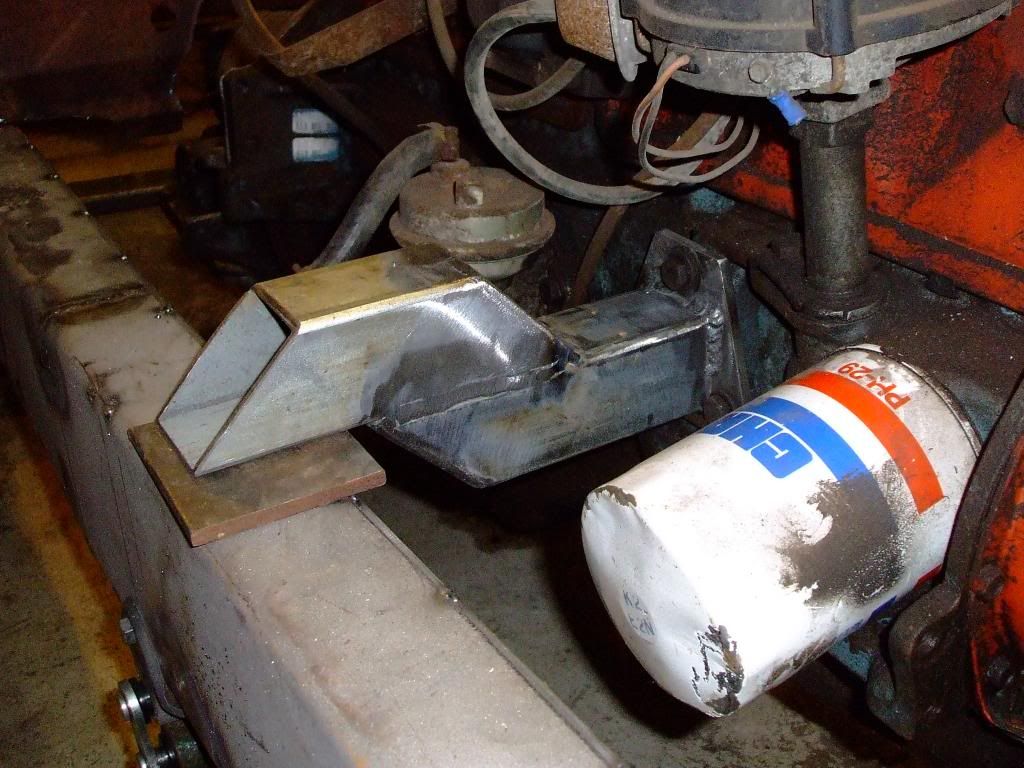
looks like this thread is meandering a little so I will add to it.
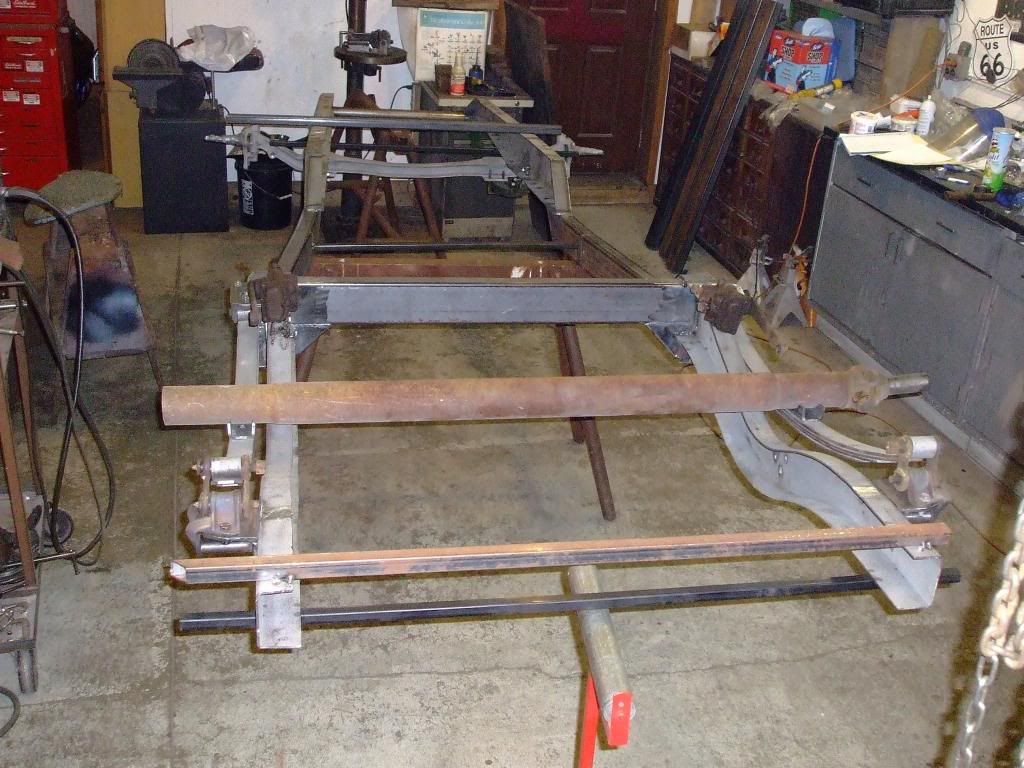
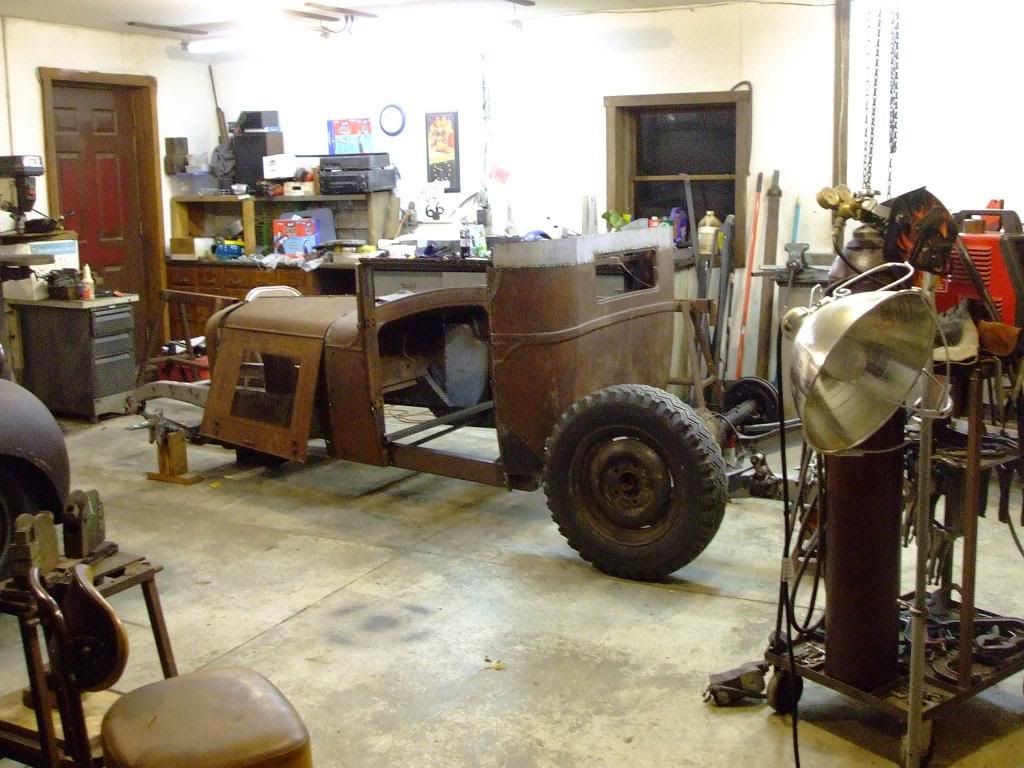
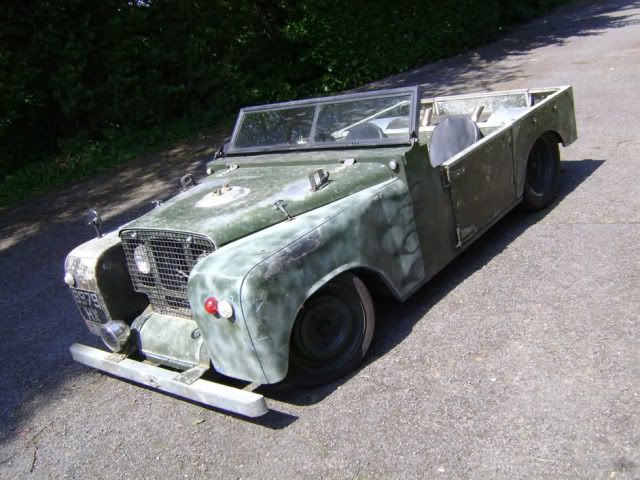
I can't stop thinking about this Rover. It is way cool. And I blame E-Man for having me drive past the Rover repair shop near me looking in the back for a spare body")
I can't stop thinking about this Rover. It is way cool. And I blame E-Man for having me drive past the Rover repair shop near me looking in the back for a spare body