Wamego: 1949 GMC 150

Rat Rods Rule

Help Support Rat Rods Rule:

This site may earn a commission from merchant affiliate links, including eBay, Amazon, and others.
wow... well in the dark you wont see the dents and yer skin will grow back on so... :D

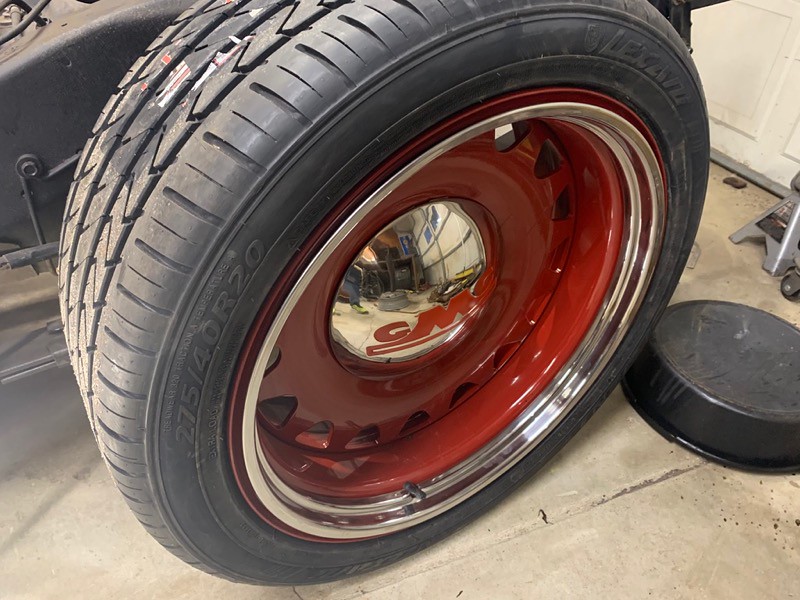
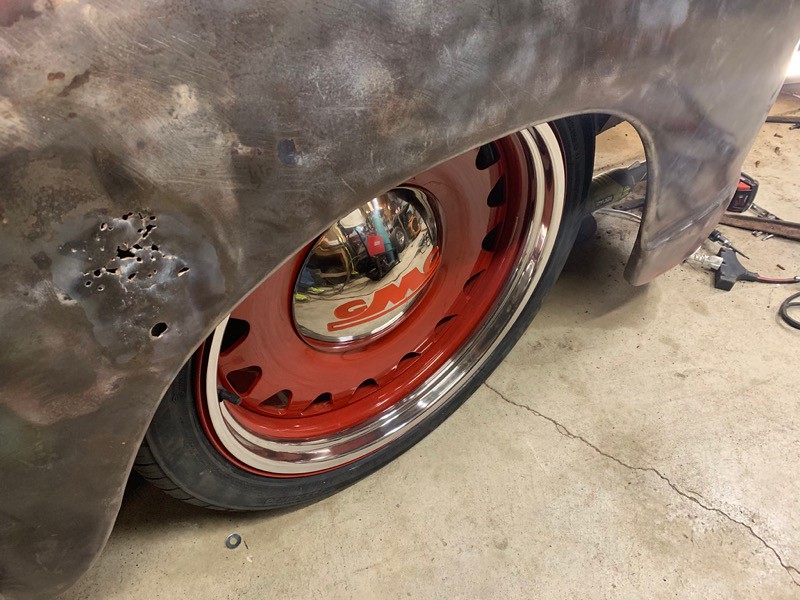
those wheels are waaaaay cool! cant wait to see them on the truck. all in all great progress! [cl
 
Those wheels are heavy!!! What size are they 20?? They make some nice stuff and they are going to look killer on your truck!!
 
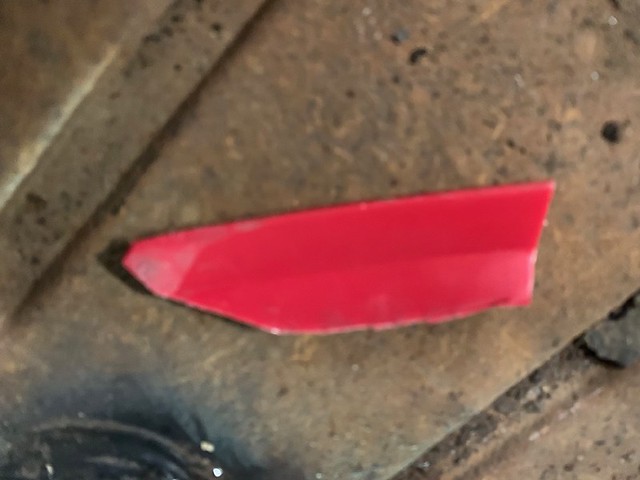
thanks sno, I have a couple plastic sticks I made from an old lawnmower cover, they work great!

IMG_2218 by Joe Doh, on Flickr

I also have a flat hook I fashioned from an old screwdriver, it helps moving the rubber lip over the seam. this windshield rubber was still a major payne, the last one almost fell in. but this one looks better too, so six of one, half dozen of the other.

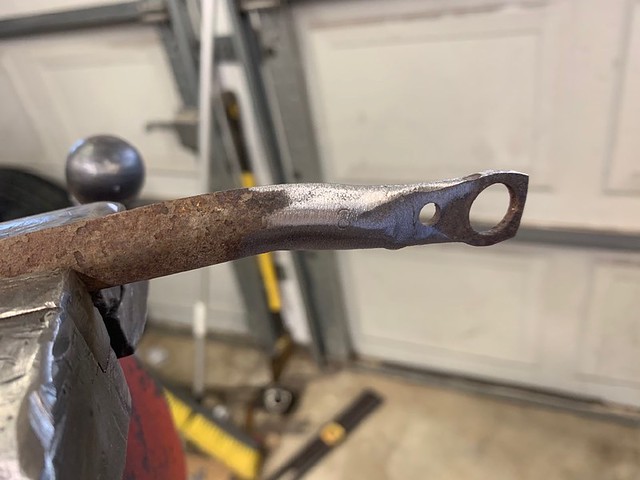
installed the wiper motor and shortened the pass wiper arm 3/4". if you are using a newport wiper motor you will need to do this too. the instructions say to "bend the arms" if something binds, but the passenger arm is just too long, bending will just make it harder to attach.

56356941504__6D44F9AC-47D5-4BE8-BB28-A556288D17F7 by Joe Doh, on Flickr
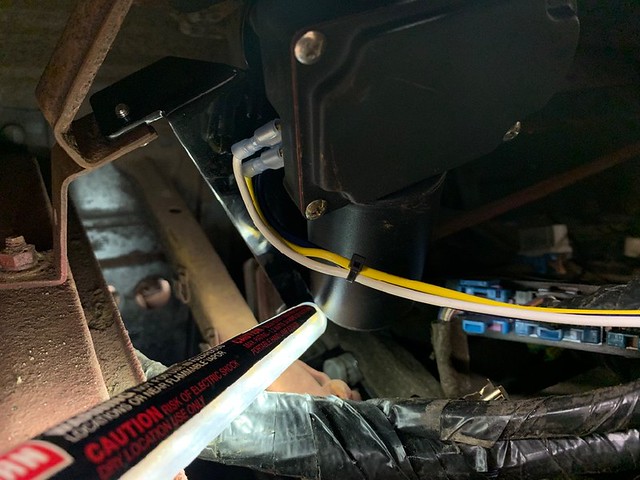
IMG_2208 by Joe Doh, on Flickr
I am thinking if I am reading the wiring diagram of the s10 correctly, I can hook the motor up to the factory stalk.

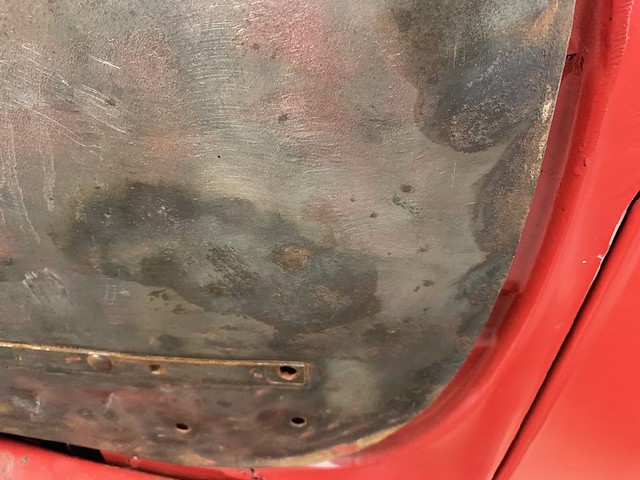
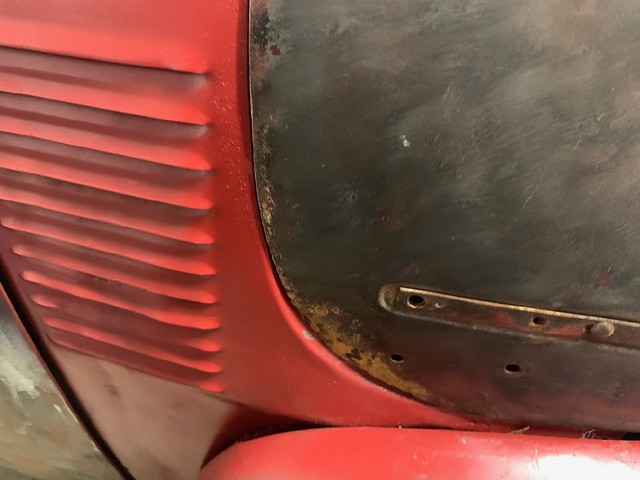
more hood problems. the passenger side was in right but the drivers side was off, this is the accident side so likely needs adjusting from that anyway.

IMG_2205 by Joe Doh, on Flickr
IMG_2204 by Joe Doh, on Flickr
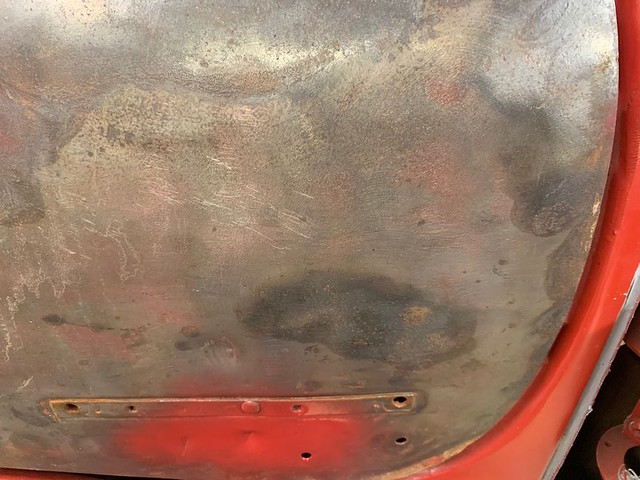
closer, still needs a little more..

IMG_2210 by Joe Doh, on Flickr

well crud.

IMG_2212 by Joe Doh, on Flickr

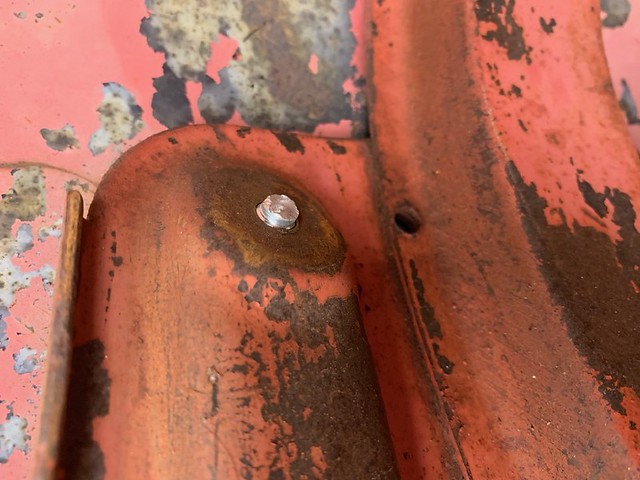
this will be the THIRD set of hood bolts I have bought, the first got lost in the shuffle when I came home with them, this set broke from repeated install/removal.

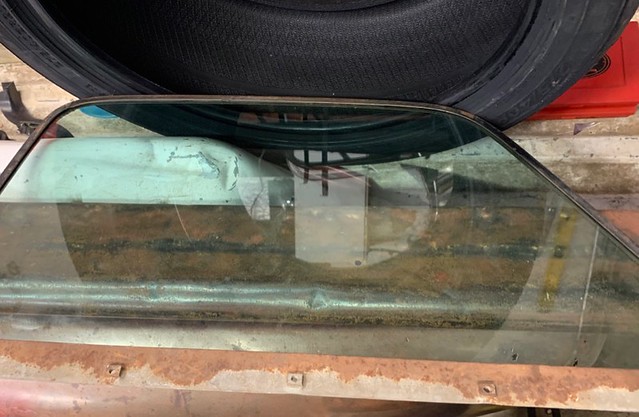
it was too late to get them so I installed the new passenger glass in the frame.

IMG_2213 by Joe Doh, on Flickr

if you havent done this job, it involves a sledgehammer. :eek: the glass fits in the channel in rubber set tape, sometimes you get lucky and the old tape stays in when you take out the broken glass, but its tighter than my wallet. some liberal tapping was needed to get the set screws back in.

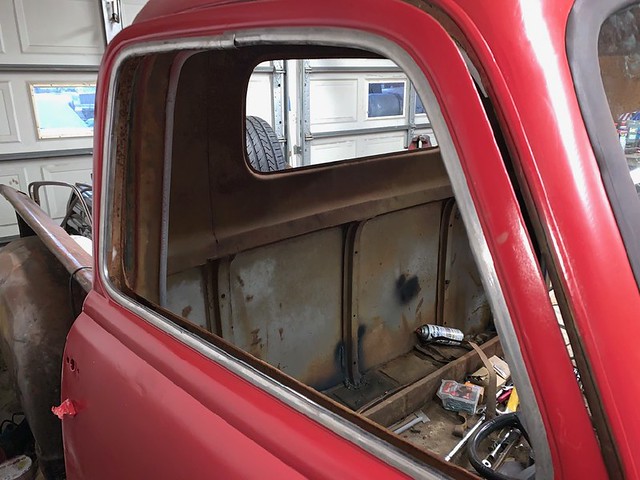
then I switched out the passenger door trim for that stainless I got at the swap meet. looks good.

IMG_2215 by Joe Doh, on Flickr

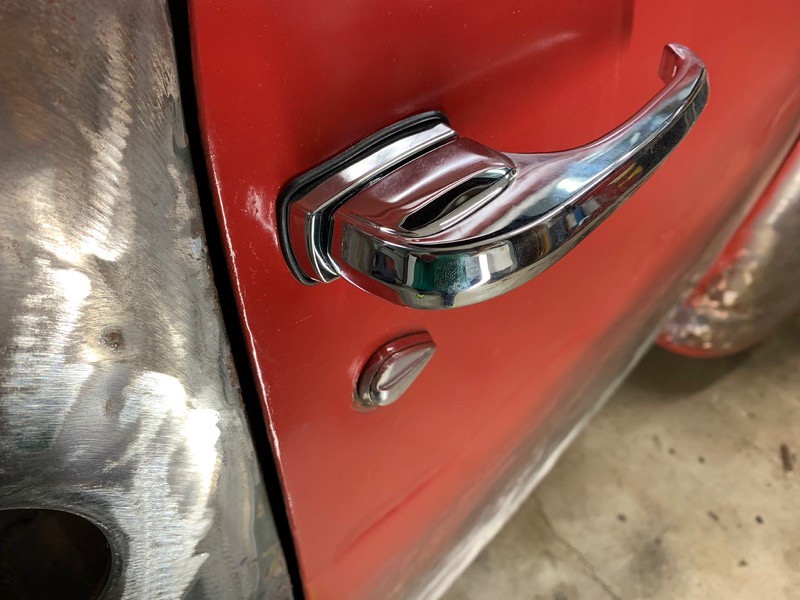
I put the new chrome door handle on after that and the door swung shut. :( time to stop.


edit: powdercoat called and the tire shop was around the corner.
 

Attachments

  • IMG_2231.jpg
    IMG_2231.jpg
    126.3 KB
Last edited:
it was my fault. I was running them in and out with a cordless screwdriver and never cleaned the threads with a tap. so they galled up and stuck. :mad:

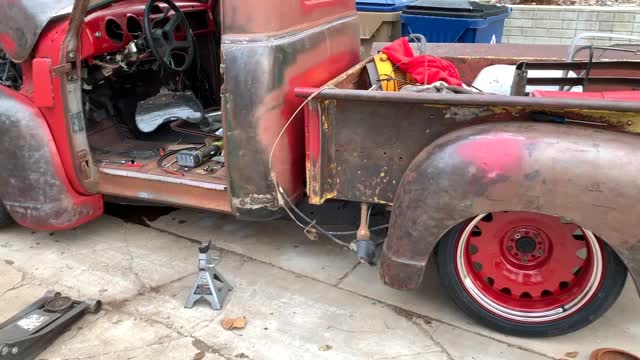
well I wouldnt normally put the wheels on till the truck was running and mostly done. But thats usually because in the past I have painted the rims, which chip and scratch, and I also used whitewalls, which show every speck of dirt. since these are powder coated and blackwall, no harm in a bolt up, right?

attachment.php

attachment.php


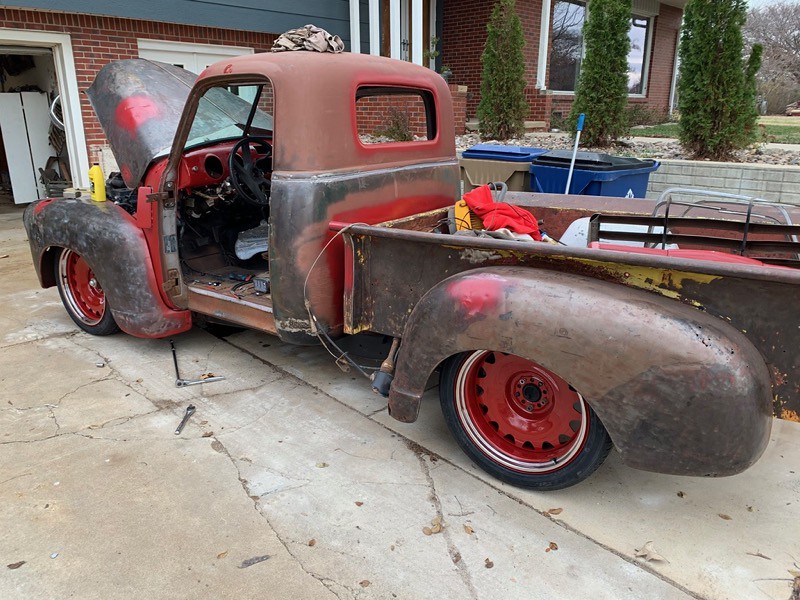
I might have to roll the fender slightly in front, otherwise I think the offset is PERFECT and with no spacers. everything clears inside the fenders. the rears are slightly smaller than my mock up wheels and the fronts are 1.5" taller which means the truck raised 3/4" and I think the resulting stance is PERFECT.

(in my admittedly biased opinion.)

FYI the sizes are 20x8 front 4.5 backspace with 245/40 and 20x9 rear 3.5 backspace with 275/40.

I want to clean the shop today, I had a guy visit and I was just embarrassed by how much STUFF is laying around.

you might notice I am attaching pictures. flickr plans to delete anything over 1000 pictures Feb 1. one of the reasons I did not invest full size pictures with them. so until its a problem I will attach photos from now on I guess.
 

Attachments

  • 56400120049__74DCD5D7-92E4-4F20-BEAD-263126E988B4.JPG.jpeg
    56400120049__74DCD5D7-92E4-4F20-BEAD-263126E988B4.JPG.jpeg
    158.2 KB
  • 56400126975__19359902-3FD4-4BCD-8712-89632A716395.JPG.jpeg
    56400126975__19359902-3FD4-4BCD-8712-89632A716395.JPG.jpeg
    131.9 KB
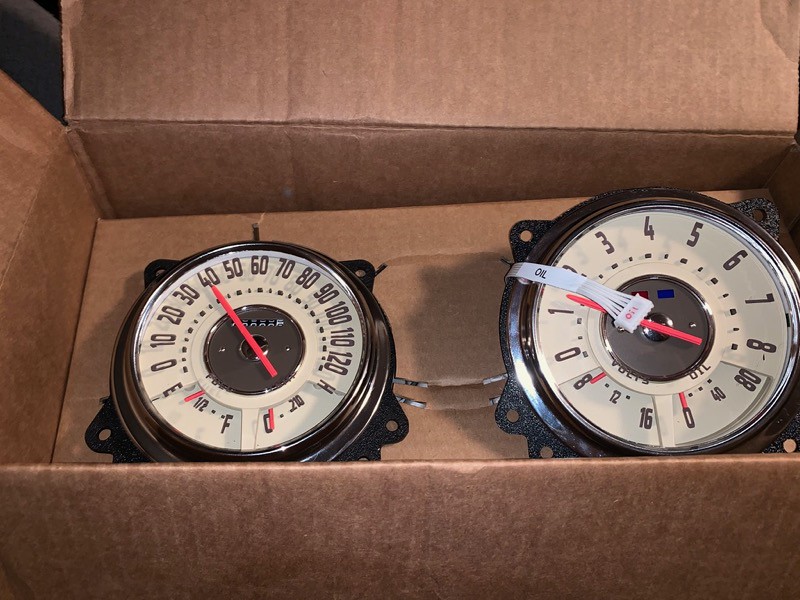
learned my lesson, tapped the hinge where the bolts were missing. got the hood adjusted, might need to rotate to get it to move back. turned the wheel lock to lock and everything fits perfect! con2r sent me a picture of the gauges. the needles will be red, not orange, I think this is a photoshop.
 

Attachments

  • IMG_2270.jpg
    IMG_2270.jpg
    139.5 KB
  • unknown.jpg
    unknown.jpg
    55.8 KB
  • IMG_2274.jpg
    IMG_2274.jpg
    147.2 KB
  • IMG_2271.jpg
    IMG_2271.jpg
    152.9 KB
  • IMG_2269.jpg
    IMG_2269.jpg
    128.1 KB
  • IMG_2268.jpg
    IMG_2268.jpg
    165.5 KB
  • IMG_2267.jpg
    IMG_2267.jpg
    181.6 KB
  • IMG_2264.jpg
    IMG_2264.jpg
    158.2 KB
  • IMG_2263.jpg
    IMG_2263.jpg
    137.3 KB
  • IMG_2262.jpg
    IMG_2262.jpg
    127.1 KB
Nice Wheels! Thanks for the great pics and updates, I really appreciate the information as I intend to start my Thriftmaster build this winter.
 
thanks fellas!

billm I like helping people out, if I forget a step just ask.

today was start day, even though I am confident in my double and triple checks I always pull it outside. I had hooked up the battery and turned the key inside, to my surprise the fuel pump turned on. I am used to needing a key relearn on these trucks, after having everything disconnected a while. so I shoved it outside and filled up the oil and coolant and power steering.

IMG_2291 by Joe Doh, on Flickr

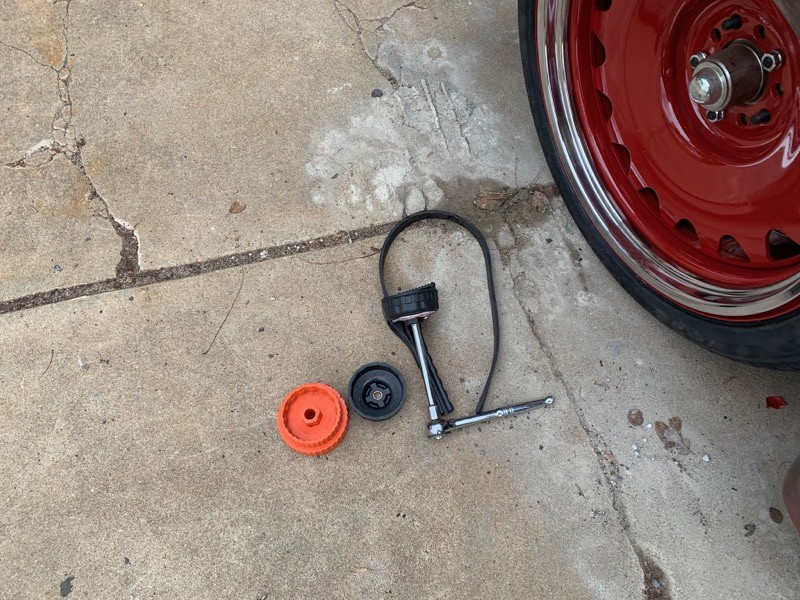
that picture is actually after the "first start". the puddle underneath is from where I didnt crank the oil filter down enough a couple months ago. my neighbor is a lifesaver, and not one of those christmas flavors like pine tree or yule log, one of the GOOD flavors like cherry or pep-o-mint. he had a plethora of ways to crank down the filter, which needed a FULL TURN. haha.

IMG_2292 by Joe Doh, on Flickr

heres the quick running vid, click to play.

56427198279__11D18ED9-40AD-42AF-B5F2-E76412857DBA by Joe Doh, on Flickr
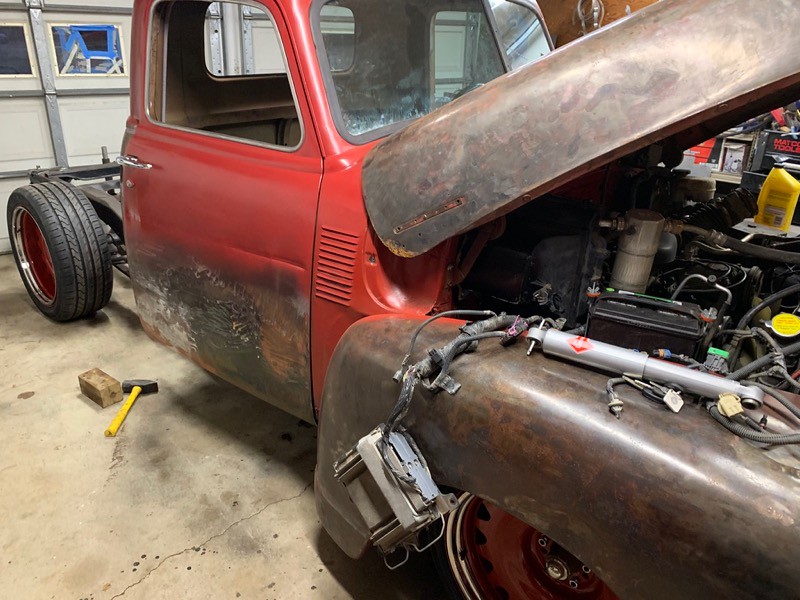
I mean this thing just JUMPED on, barely even touched the key. I mean its only been 5 months or so since it last ran but still, just LEAPT to life.

I needed to do the rear shocks and some other stuff under the bed floor like the fuel filler, and grind the cab corners some more so I pulled the bed off and DROVE in.

IMG_2302 by Joe Doh, on Flickr

no leaks, I got the power steering sealed up (it had been leaking) and the trans lines are dry, no coolant drips. we went out for frosty margaritas to celebrate!

after dinner got the shocks on (holy shee-ott these things are TAUT), and some of the other stuff too. worked on the passenger door latch, works like butter now.

IMG_2307 by Joe Doh, on Flickr


remember that spot on the firewall that was going to hold the PCM, then the battery, then neither? the rad overflow fits perfectly right there haha. tomorrow I will button up the fuel filler and put the bed back on. then running boards, then wet sand the dash, and so on. I am hoping I can take pictures with it on thanksgiving, the door is ready to go back on!
 
thanks! I was a little nervous because the garage has had a whiff of old gas for a while now, I thought it might actually have a leak in a fuel line. but now that its started it doesnt smell, I think the complex 2003 evap controls werent able to work without a battery hooked up is all.


did the lower air director and splash shield install, routed the harness and got the grille surround mounted. no small feat from all the damage to the lower pieces and inner fenders. but its done, the grille is fitted but not installed, I will need to paint the front end first.
 

Attachments

  • IMG_2311.jpg
    IMG_2311.jpg
    173.9 KB
  • IMG_2313.jpg
    IMG_2313.jpg
    165.9 KB
  • IMG_2315.jpg
    IMG_2315.jpg
    167.7 KB
  • IMG_2316.jpg
    IMG_2316.jpg
    173.3 KB
  • IMG_2317.jpg
    IMG_2317.jpg
    168.8 KB
gauges showed up, very pretty!
56487994496__FBA778A1-8BEF-494D-8AB9-9FBB8257DF33 by Joe Doh, on Flickr
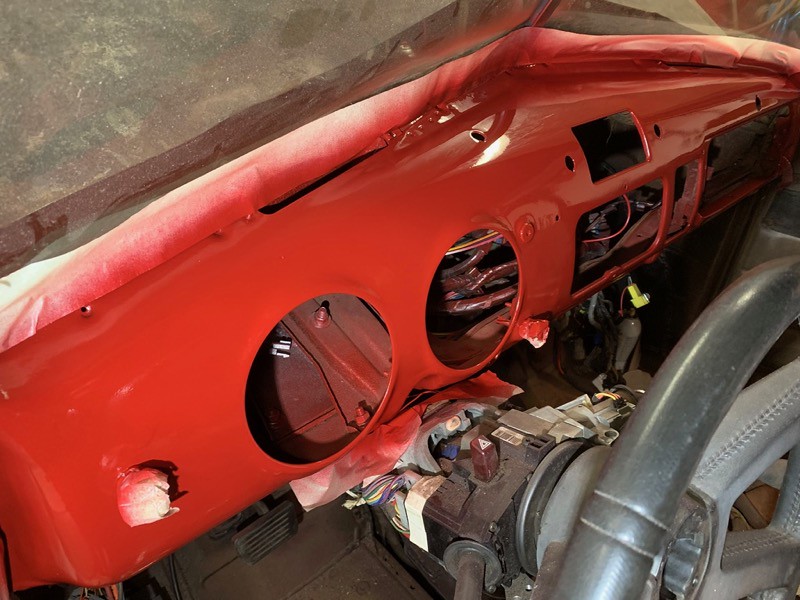
they use a thumb drive to upload a csv file, so you can do gearing changes pretty easy by comparing indicated to gps.

I couldnt see putting the pretty gauges in that dash with the runs in the clear though, so I followed the pro painters advice and sanded with 200 then 400 then 1000 and knocked the runs and even all the sand scratches out, and laid down a new base and then clear job.

IMG_2374 by Joe Doh, on Flickr

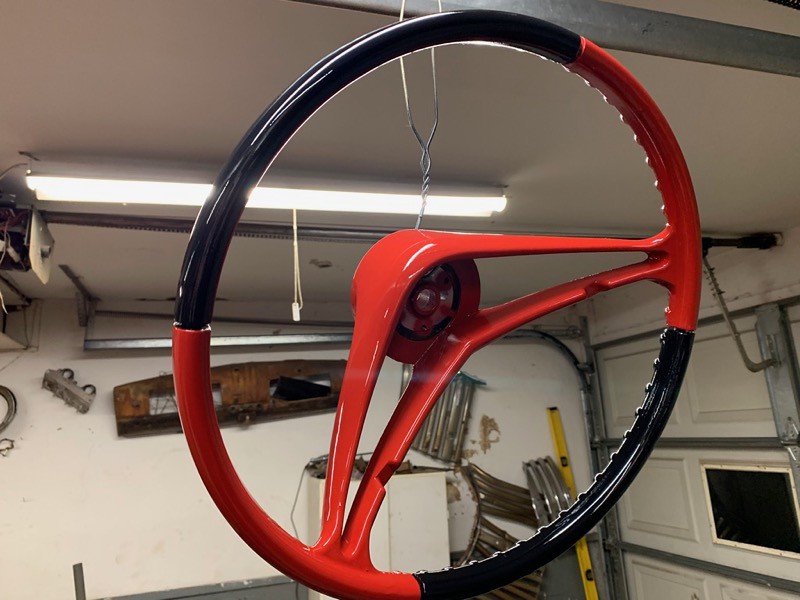
I even managed to not wait long enough to pull the tape and tapped it on the fresh clear. oops. but a spritz of a final coat made it even prettier. I sanded and recleared the steering wheel too.

IMG_2380 by Joe Doh, on Flickr

since I couldnt do anything else to the cab for fear of knocking dirt or rust out of the roof onto the fresh dash paint I started messing with the hubcaps. I stopped by bowtie bits and picked up my GMC caps. they dont mount to the mobsteels, only held here with double sided tape, but I DID figure out how to modify the scratch/dent caps mobsteel sent to me to weld to the gmc caps. so win win.

IMG_2335 by Joe Doh, on Flickr
IMG_2334 by Joe Doh, on Flickr


tomorrow will be a short day, maybe I will get the filler done on the passenger door. I have to go to canton oh for the rest of the week. I might stop by tony packos in toledo. its all about that christmas cash though!
 

Latest posts

Back
Top