I made the trip to canton and let me tell you, there is a reason I drove older cars. I rented a new camry because it was 15 hours one way after all. the weather was crud and suddenly the cruise control disconnected (while cruising), a message on the cluster said the radar sensor was dirty. I looked in the owners manual at the next stop and it said to clean the sensor just spray water in the grille.
well, it was 16 degrees and there was a distinct lack of available places to spray water with.
normally this isnt a problem because you just pick overdrive and feather your foot, right? except this car had an 8 spd transmission and the top 3 gears were overdrive, so what happened is I would bleed off some speed and step on the gas slightly to pick it back up, and the car would downshift once or even thrice from 8th to 5th. now my slight press was a part throttle jump. I spent the better part of 800 miles see/sawing from 63-77mph. miserable.
add to that the door panel angle was such that resting my arm on it hit my elbow wrong, I just found out today I have cubital tunnel in my left elbow from it, weak grip strength and partial numbness in two fingers. yay.
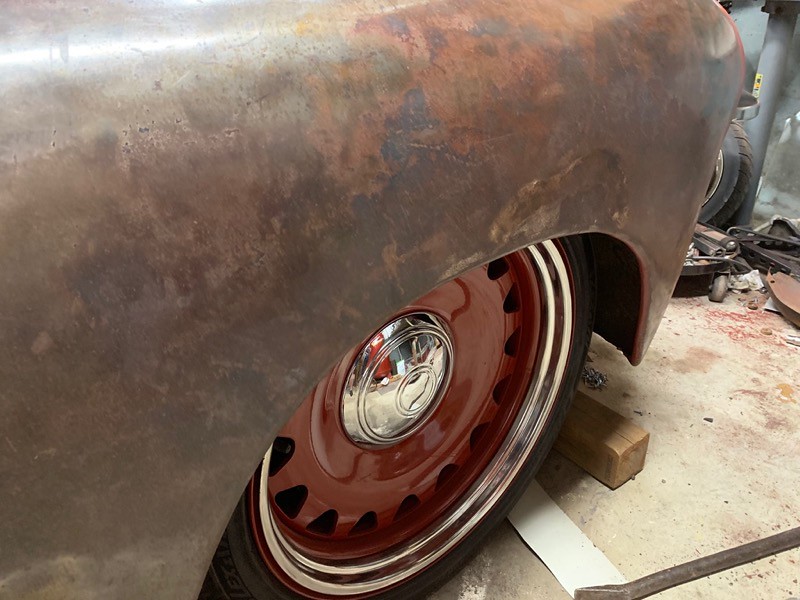
anyway, I started to figure out the hubcaps. the rally caps fit fine
 IMG_2445 by Joe Doh, on Flickr
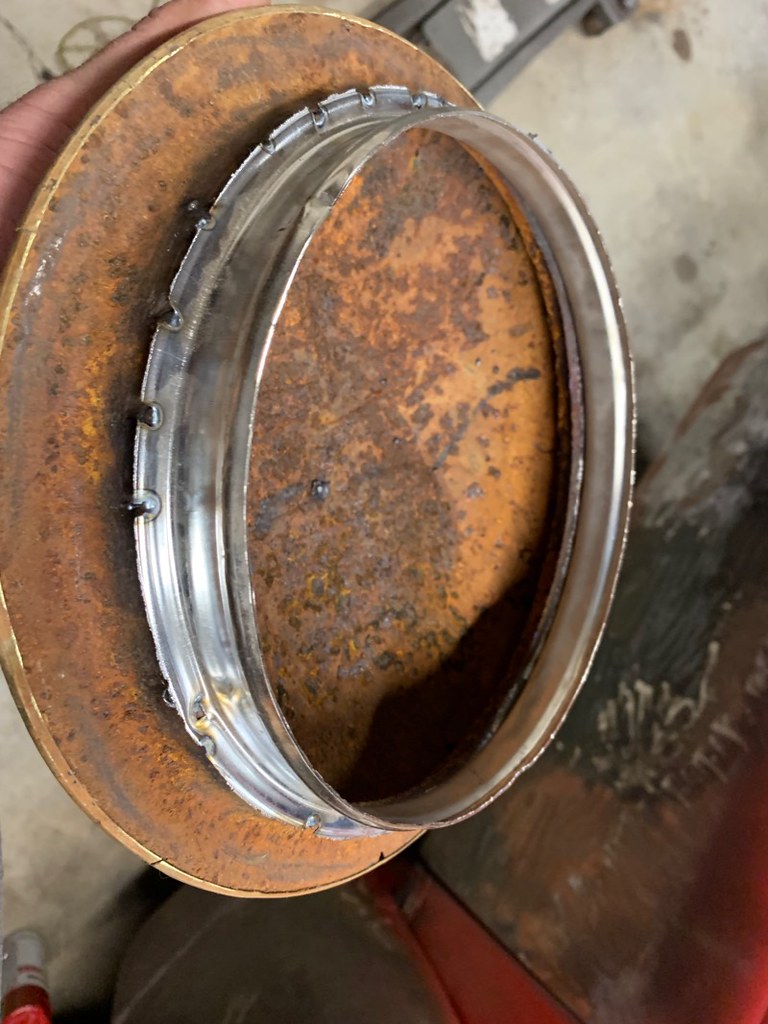
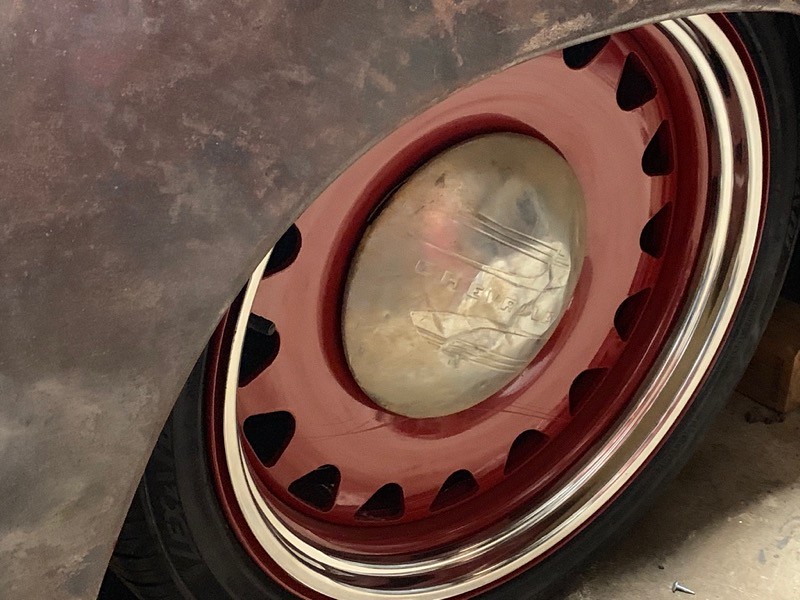
I got five dented caps, so with one to spare I dug out a 41 cap to test with.
 IMG_2437 by Joe Doh, on Flickr
 IMG_2441 by Joe Doh, on Flickr
its just slightly proud of the wheel, I think I may try to get it in a bit. maybe I am being nit picky about something most people wouldnt even notice.
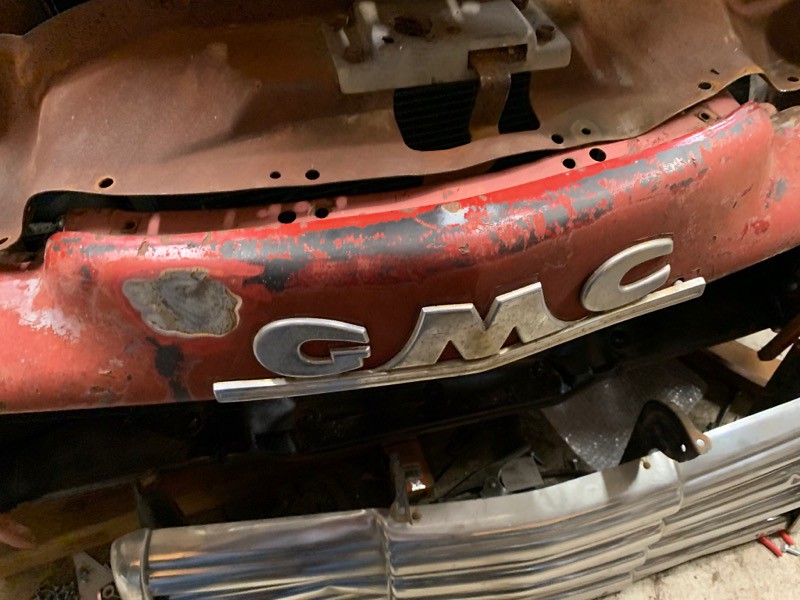
then I worked on the hood latch panel. it was bent from the wreck and I considered a new one but it is $180 and that just offends sensibility to buy something to replace something else that with a little work will fit as well. I bolted it in left to right and let the stress of bolts pull it back to shape.
 IMG_2426 by Joe Doh, on Flickr
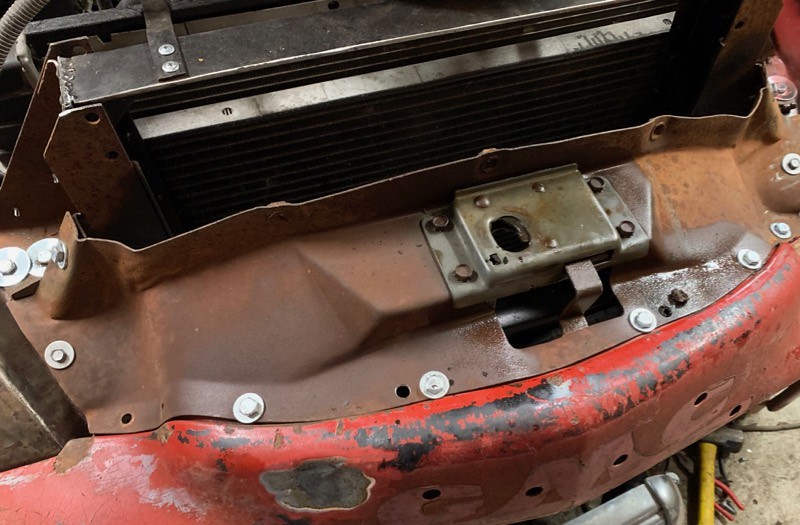 IMG_2427 by Joe Doh, on Flickr
hood shuts, the passenger side has a little gap that I might be able to do something about.
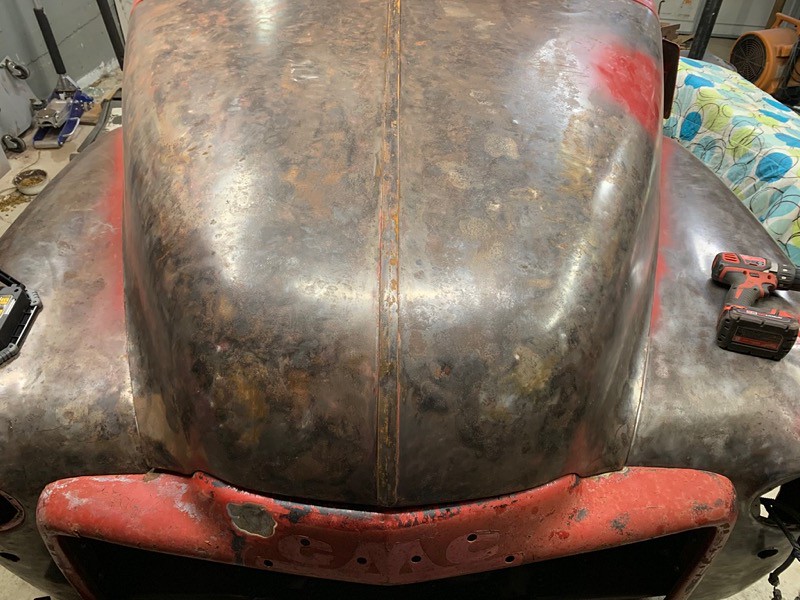 IMG_2428 by Joe Doh, on Flickr
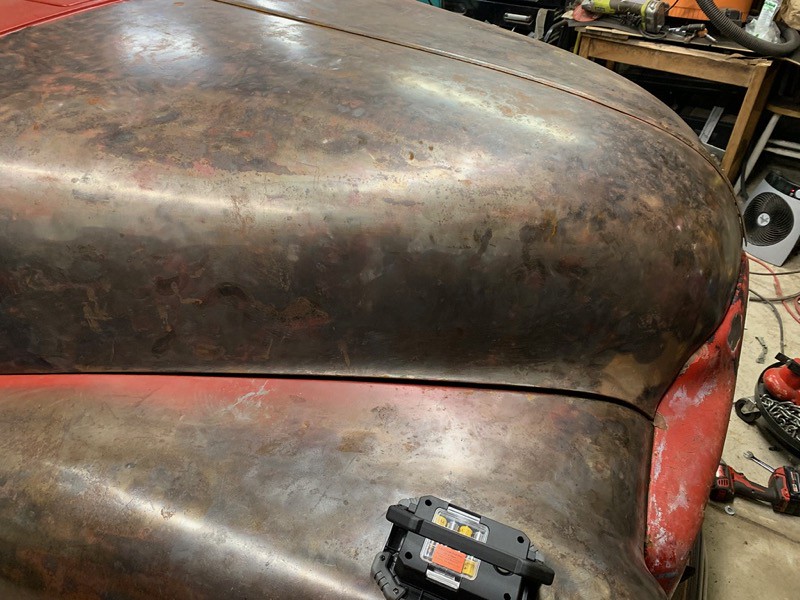 IMG_2429 by Joe Doh, on Flickr
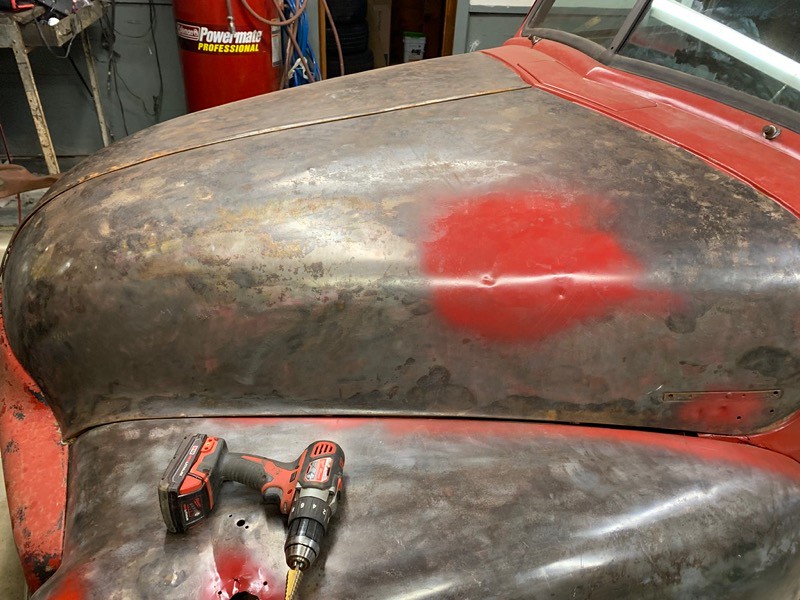 IMG_2430 by Joe Doh, on Flickr
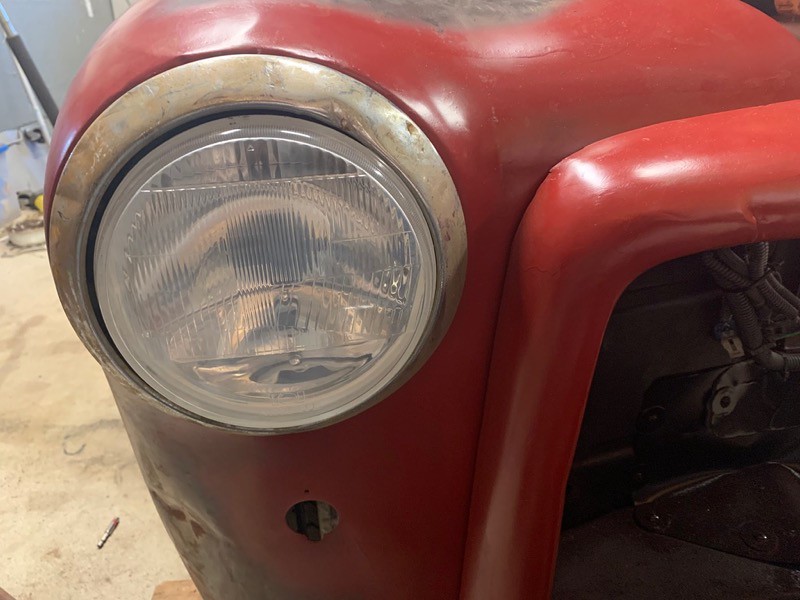
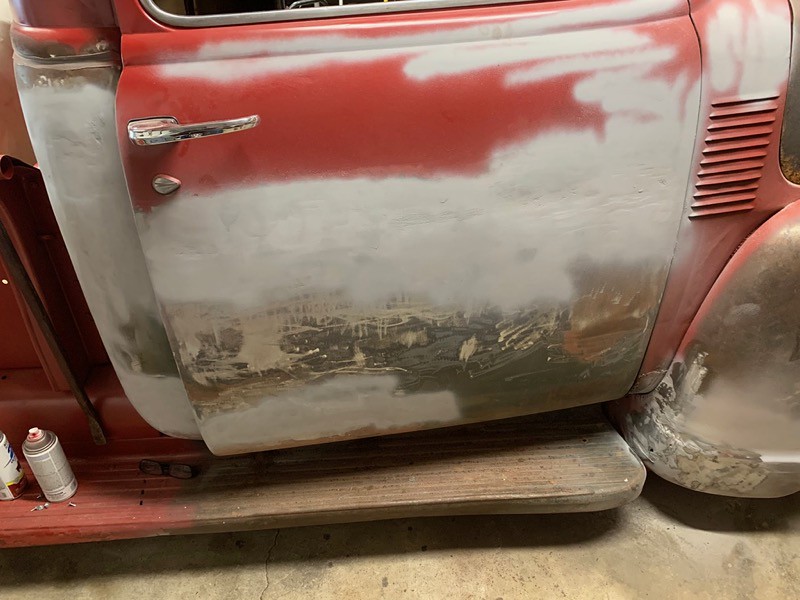
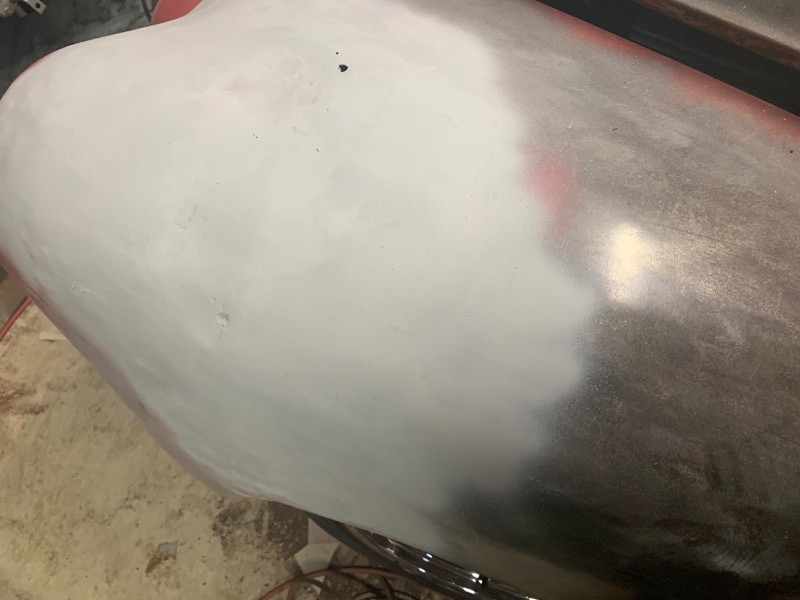
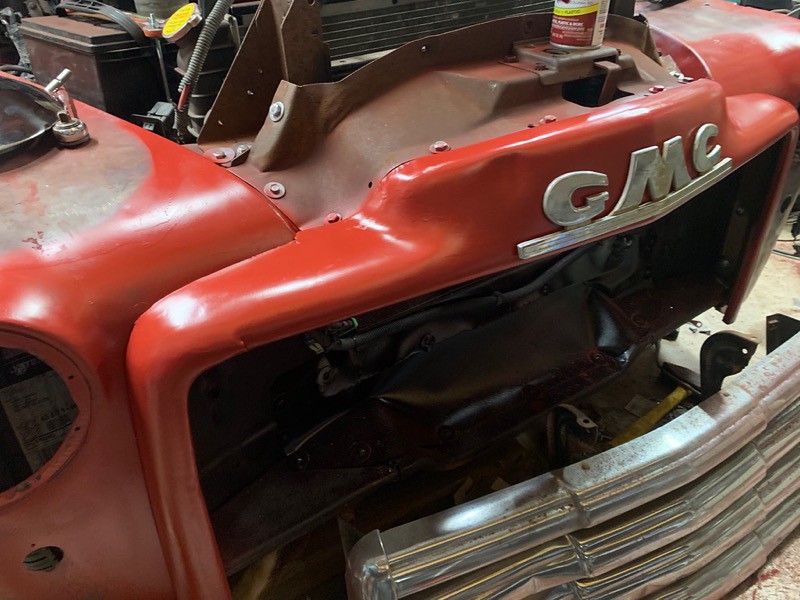
I sanded all the old paint off, straightened the emblem and bobs my uncle.
 IMG_2446 by Joe Doh, on Flickr
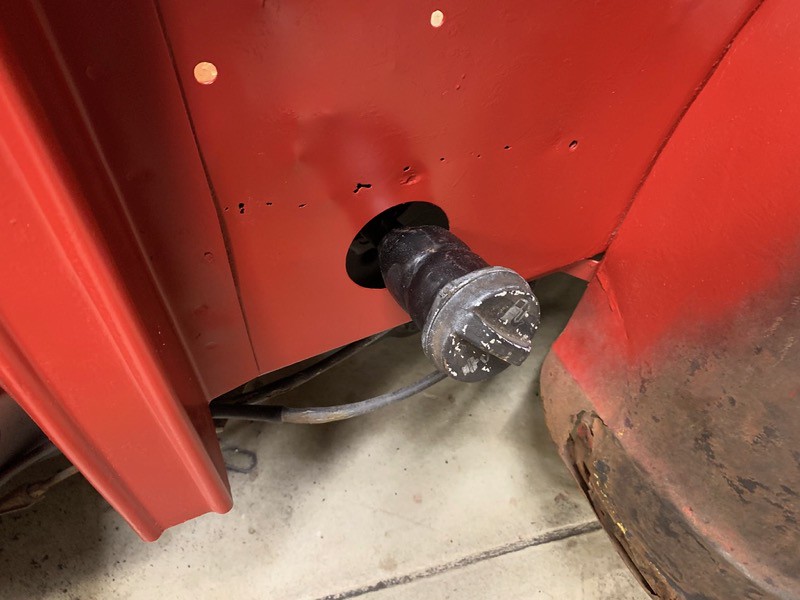
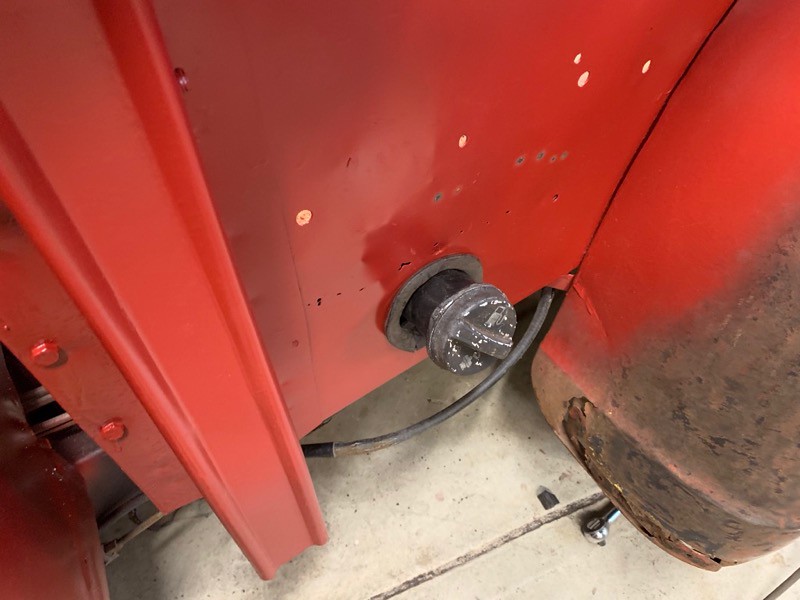
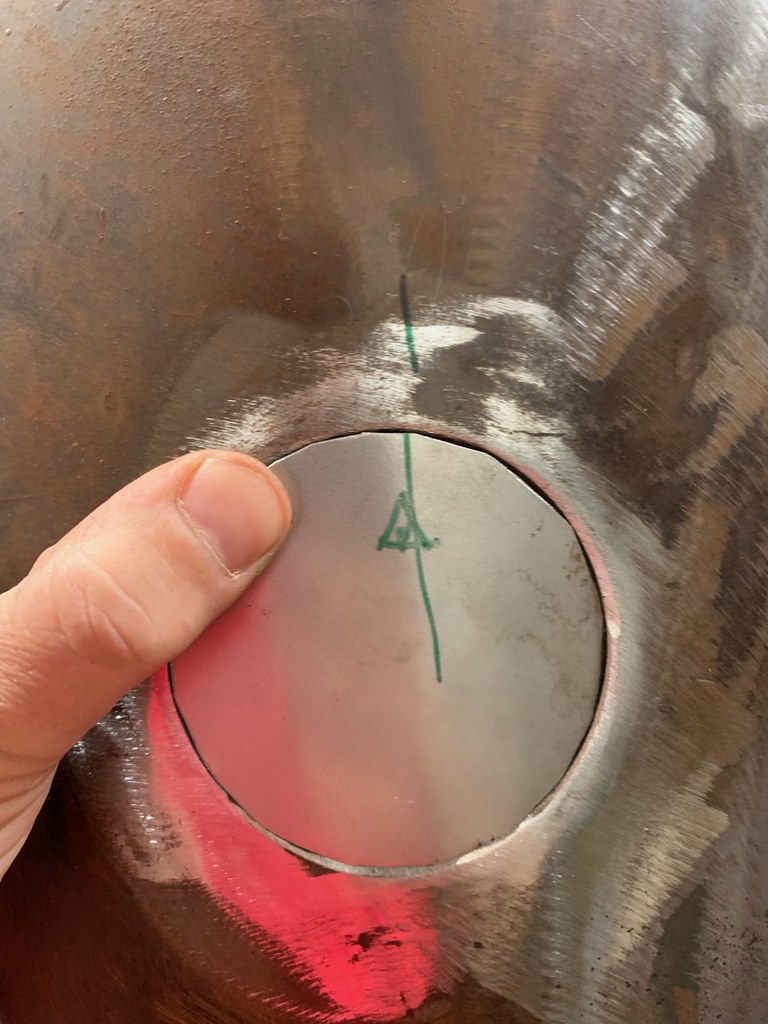
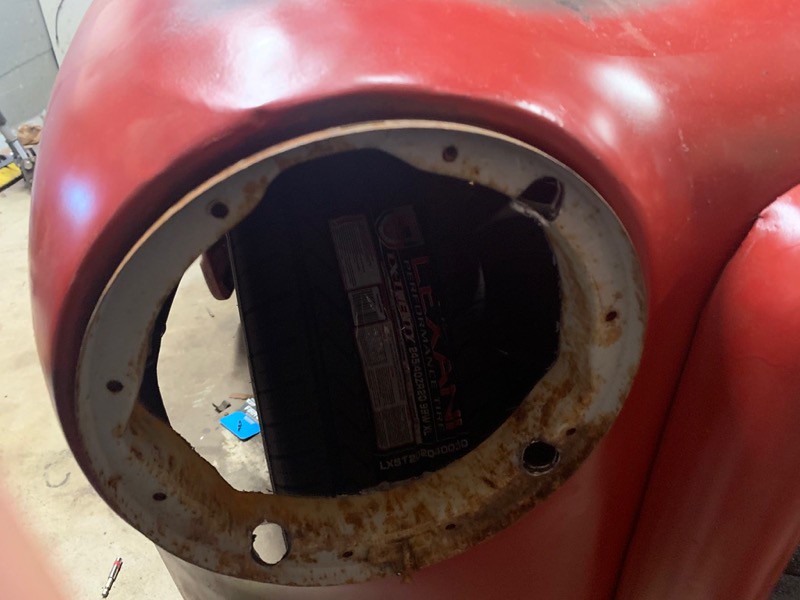
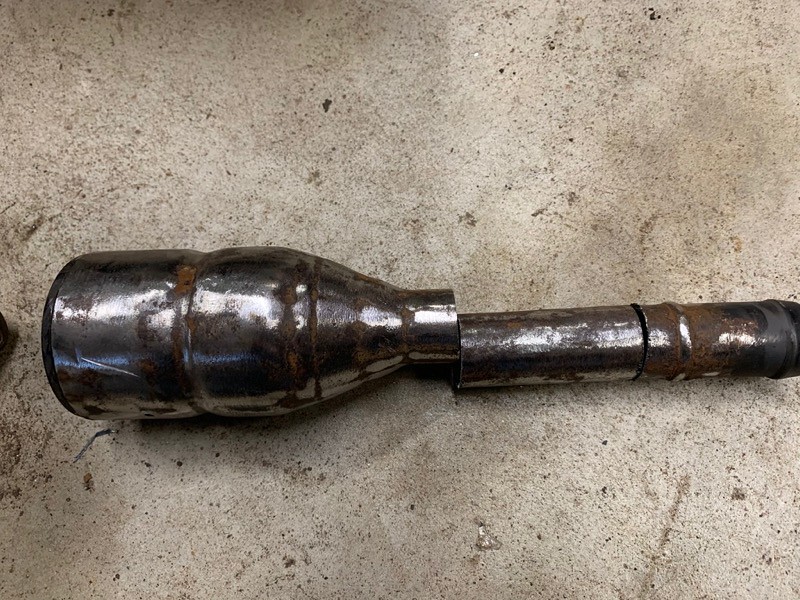
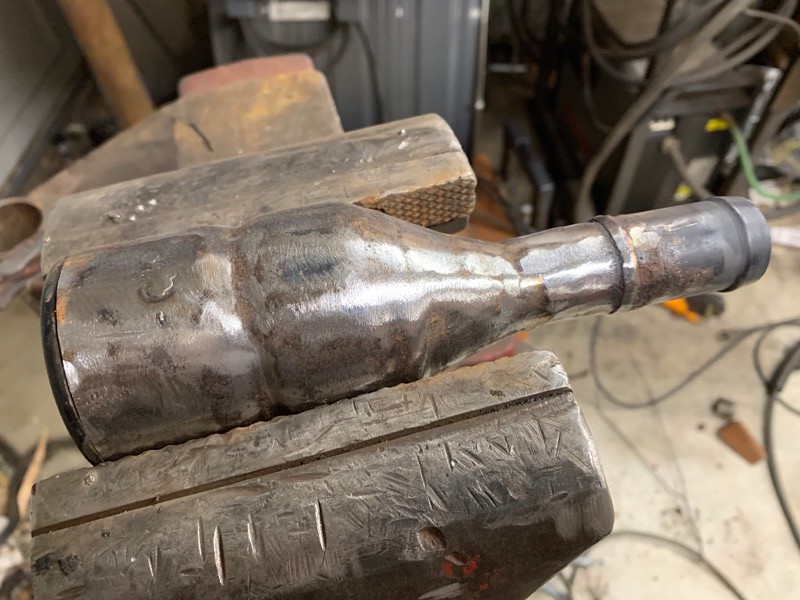
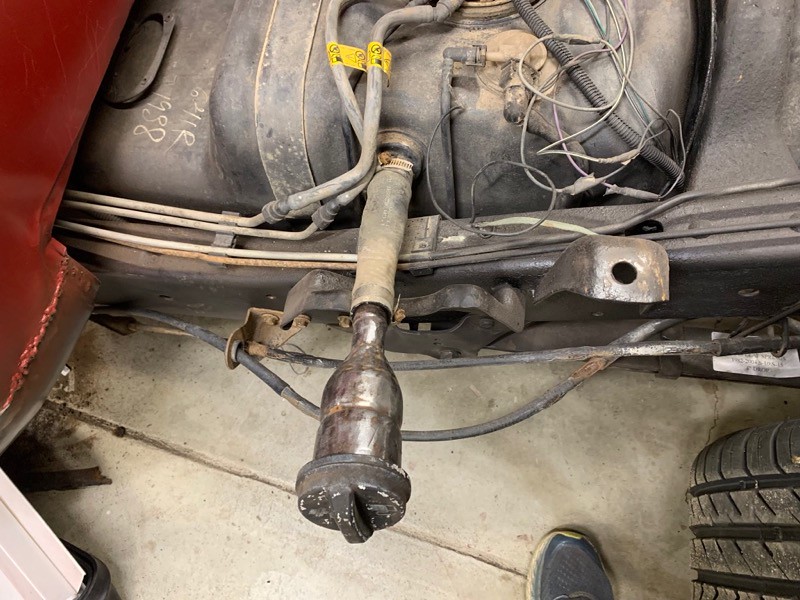
I learned on the last truck that installing the filler neck was better as a stick through than a bolt on, too many things to get perfect if you bolt it to the bedside. I use pinch welt on the rough cut and it works out nice, and you can remove and replace the bed without trying to get past the running boards and aprons and bedsides from below to get the filler neck loose.
I shortened the rubber hose about 4 inches and took another 3 out of the steel neck. should work a treat.
 IMG_2442 by Joe Doh, on Flickr
 IMG_2443 by Joe Doh, on Flickr
 IMG_2444 by Joe Doh, on Flickr
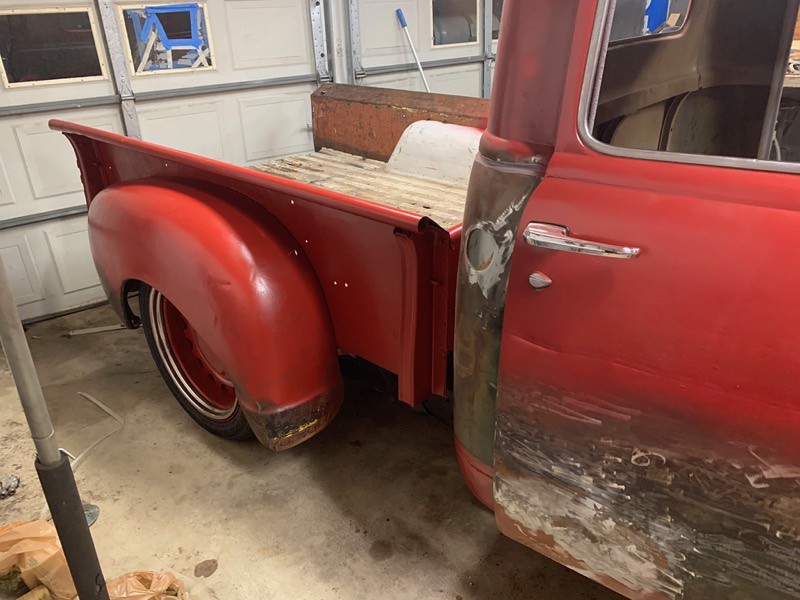
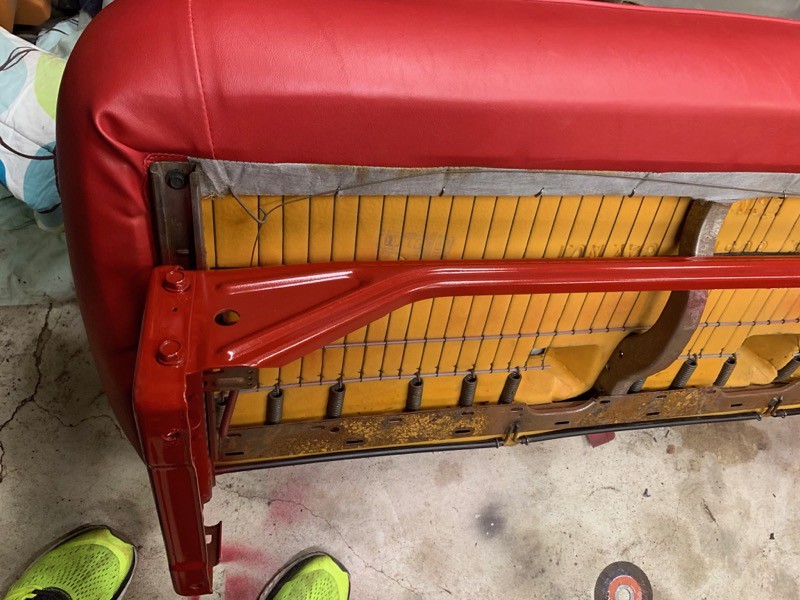
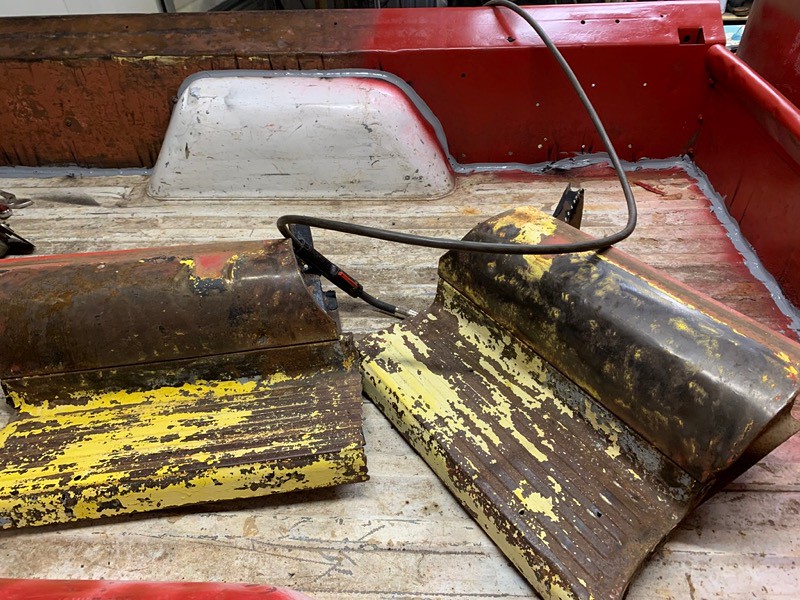
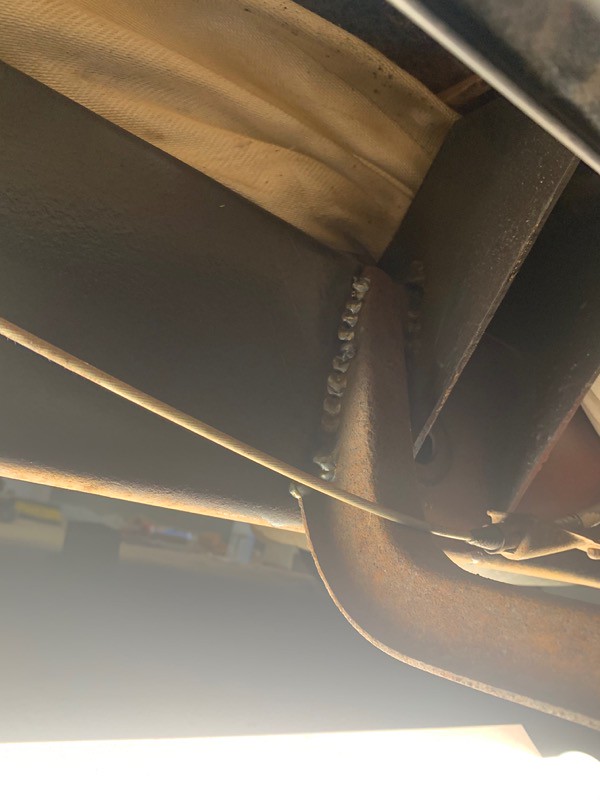
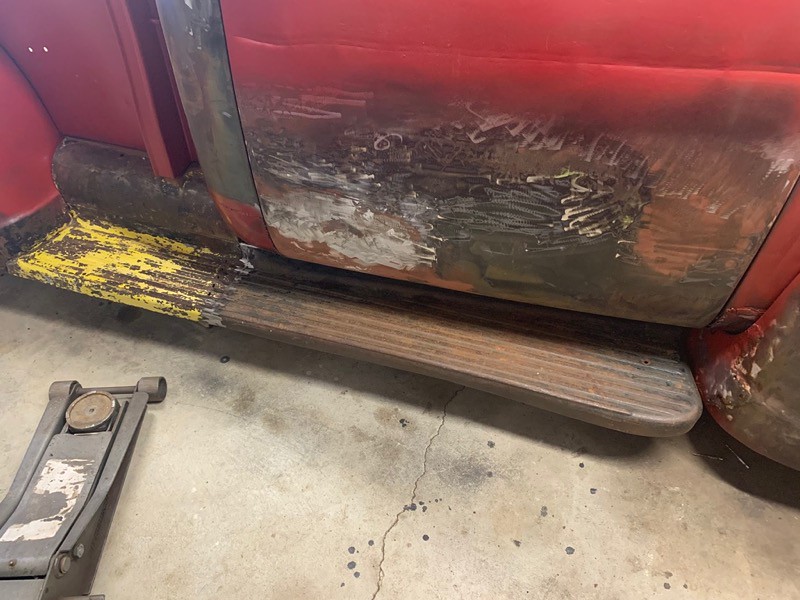
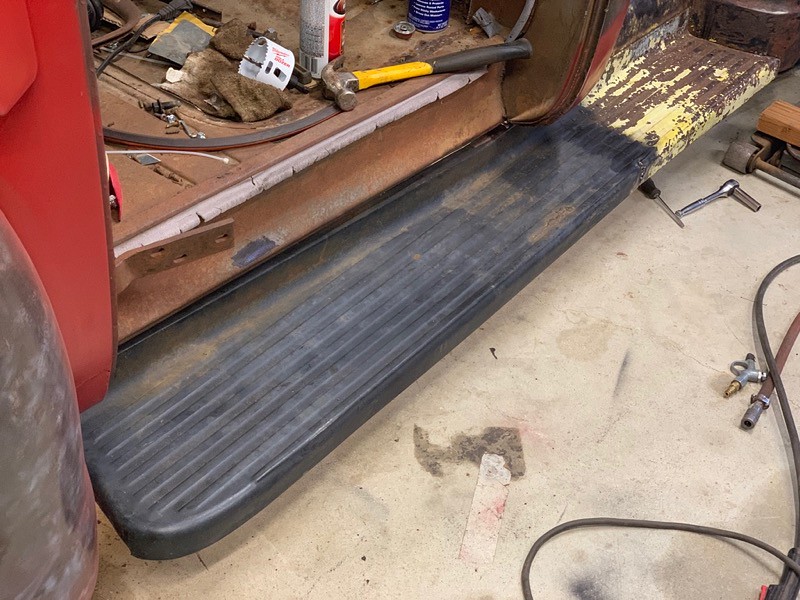
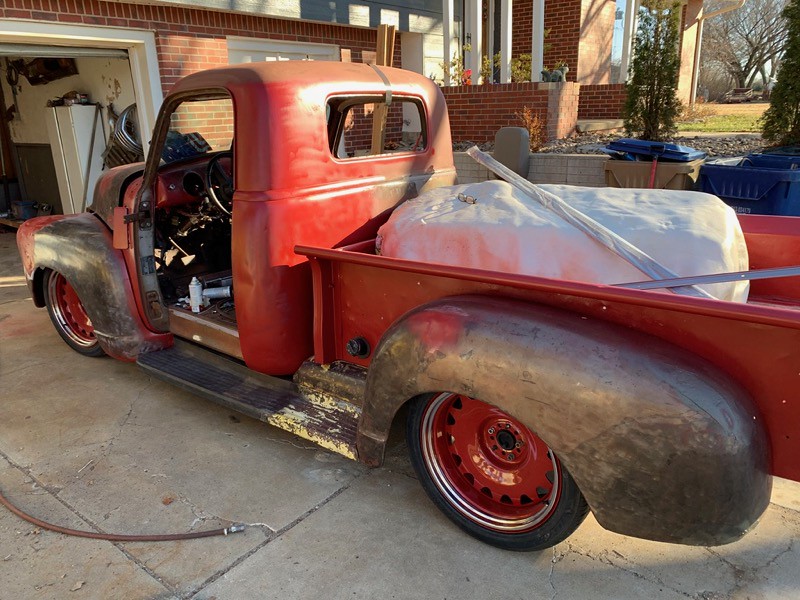
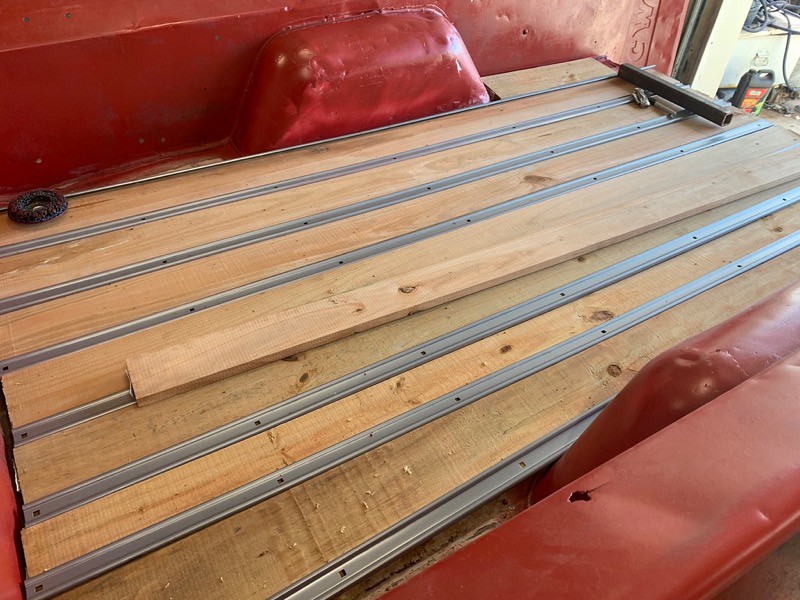
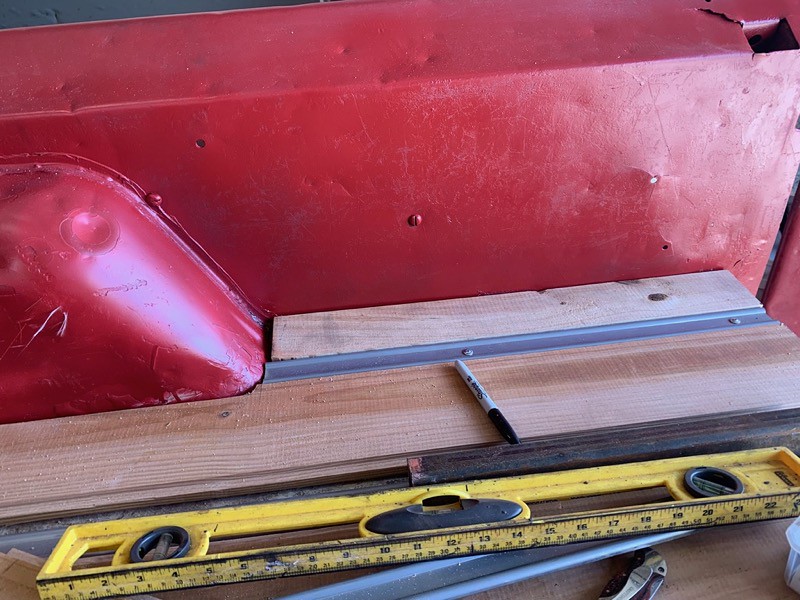
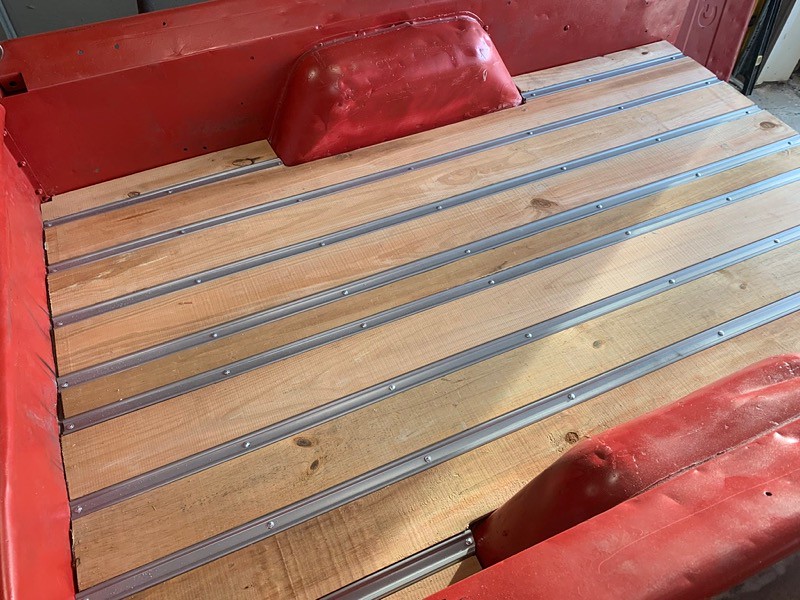
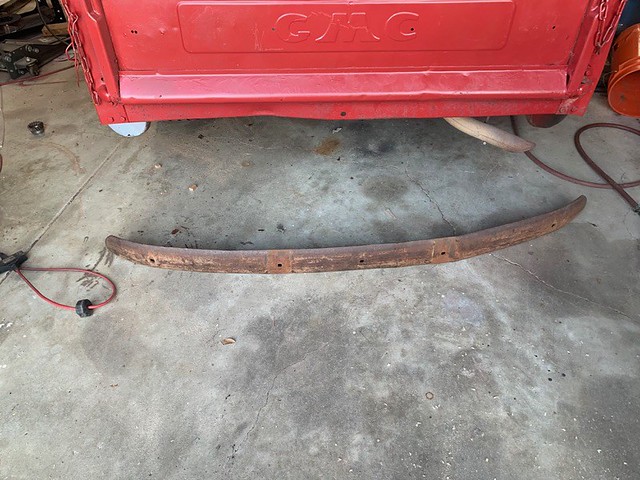
should get the cab corners ground down and the bed back on tomorrow. things should really fly after that, then its interior and bed wood and running boards, lights etc.
well, it was 16 degrees and there was a distinct lack of available places to spray water with.
normally this isnt a problem because you just pick overdrive and feather your foot, right? except this car had an 8 spd transmission and the top 3 gears were overdrive, so what happened is I would bleed off some speed and step on the gas slightly to pick it back up, and the car would downshift once or even thrice from 8th to 5th. now my slight press was a part throttle jump. I spent the better part of 800 miles see/sawing from 63-77mph. miserable.
add to that the door panel angle was such that resting my arm on it hit my elbow wrong, I just found out today I have cubital tunnel in my left elbow from it, weak grip strength and partial numbness in two fingers. yay.
anyway, I started to figure out the hubcaps. the rally caps fit fine
 IMG_2445 by Joe Doh, on Flickr
I got five dented caps, so with one to spare I dug out a 41 cap to test with.
 IMG_2437 by Joe Doh, on Flickr
 IMG_2441 by Joe Doh, on Flickr
its just slightly proud of the wheel, I think I may try to get it in a bit. maybe I am being nit picky about something most people wouldnt even notice.
then I worked on the hood latch panel. it was bent from the wreck and I considered a new one but it is $180 and that just offends sensibility to buy something to replace something else that with a little work will fit as well. I bolted it in left to right and let the stress of bolts pull it back to shape.
 IMG_2426 by Joe Doh, on Flickr
 IMG_2427 by Joe Doh, on Flickr
hood shuts, the passenger side has a little gap that I might be able to do something about.
 IMG_2428 by Joe Doh, on Flickr
 IMG_2429 by Joe Doh, on Flickr
 IMG_2430 by Joe Doh, on Flickr
I sanded all the old paint off, straightened the emblem and bobs my uncle.
 IMG_2446 by Joe Doh, on Flickr
I learned on the last truck that installing the filler neck was better as a stick through than a bolt on, too many things to get perfect if you bolt it to the bedside. I use pinch welt on the rough cut and it works out nice, and you can remove and replace the bed without trying to get past the running boards and aprons and bedsides from below to get the filler neck loose.
I shortened the rubber hose about 4 inches and took another 3 out of the steel neck. should work a treat.
 IMG_2442 by Joe Doh, on Flickr
 IMG_2443 by Joe Doh, on Flickr
 IMG_2444 by Joe Doh, on Flickr
should get the cab corners ground down and the bed back on tomorrow. things should really fly after that, then its interior and bed wood and running boards, lights etc.


