
You are using an out of date browser. It may not display this or other websites correctly.
You should upgrade or use an alternative browser.
You should upgrade or use an alternative browser.
41 chevy 1.5 ton, second build
- Thread starter deerchooper
- Start date
Help Support Rat Rods Rule:
This site may earn a commission from merchant affiliate
links, including eBay, Amazon, and others.
401ton
Well-known member
Looks like a nice build! I'm looking forward to seeing the beltline repair.
401ton
Well-known member
Looks great but I have a general question if u dont mind.....How do you grind down all the welds without removing too much material in and around the welds .....I struggle with this and my weld will crack in some places after grinding and cannot figure out how to beat this problem
Most don't do it this way, but I left extra material and used a flanging tool so there is metal left below the weld. It works better for me anyway. Then just seam seal when done.

deerchooper
Well-known member
- Joined
- Apr 3, 2010
- Messages
- 744
well, i got the body sand blasted today, rushed home after work (after unloading my wallet at the paint shop) and put a coat of metal etching primer on inside and out. try to get another 70yrs out of this truck.
pics tomorrow.
pics tomorrow.
Snake Farm
Ol school snake charmer!
[P[P[P
deerchooper
Well-known member
- Joined
- Apr 3, 2010
- Messages
- 744
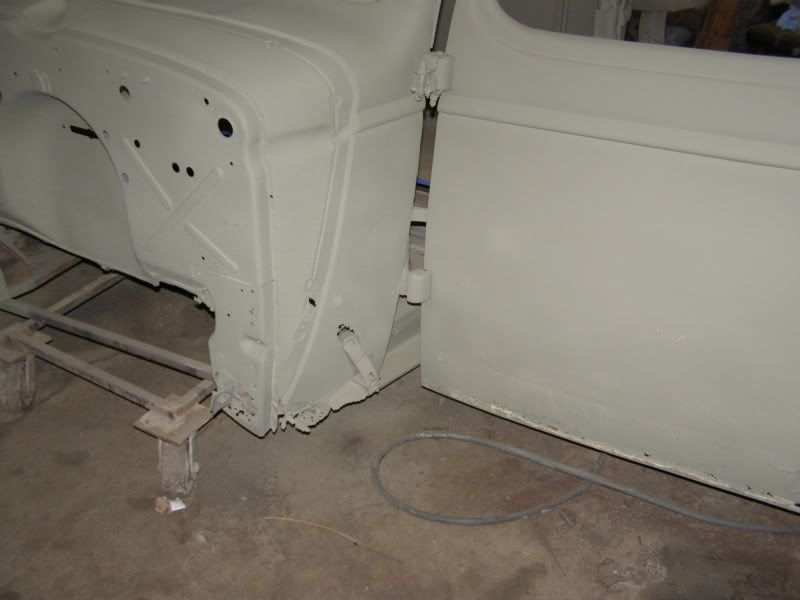
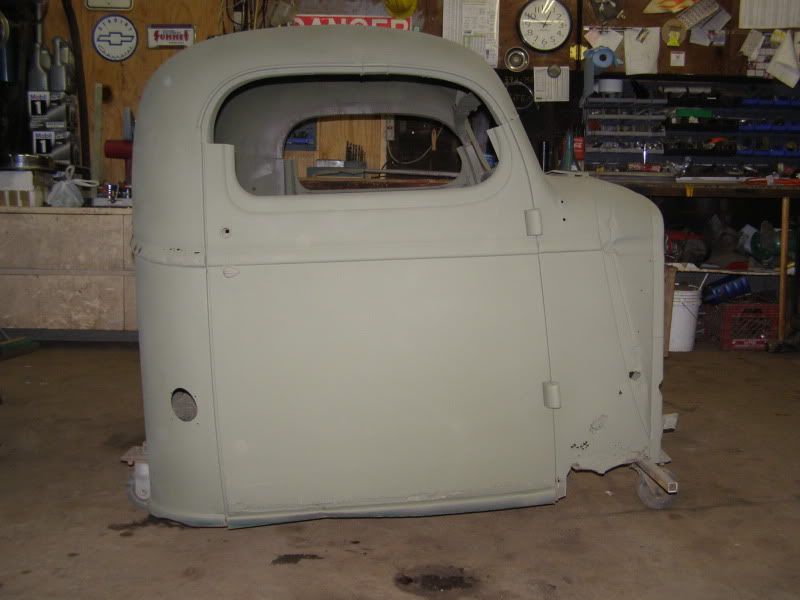
well here it is primered. didnt get any pics of it in the raw blasted state. i had it blasted inside and out. i laid 2 coats of metal etching primer down, its green in color but it shows up gray in the pics.
deerchooper
Well-known member
- Joined
- Apr 3, 2010
- Messages
- 744
the areas where the fender was attached looked really bad before it got blasted. there are some holes but it looks better than it was.
deerchooper
Well-known member
- Joined
- Apr 3, 2010
- Messages
- 744
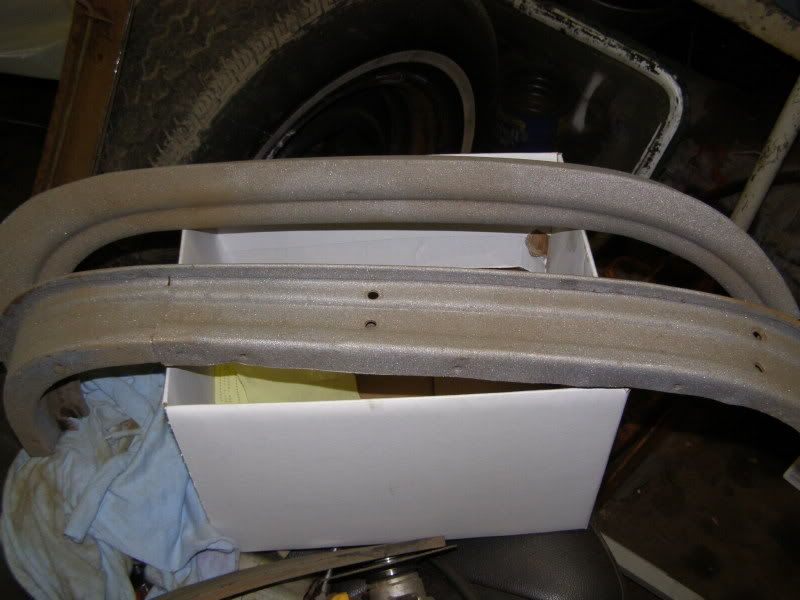
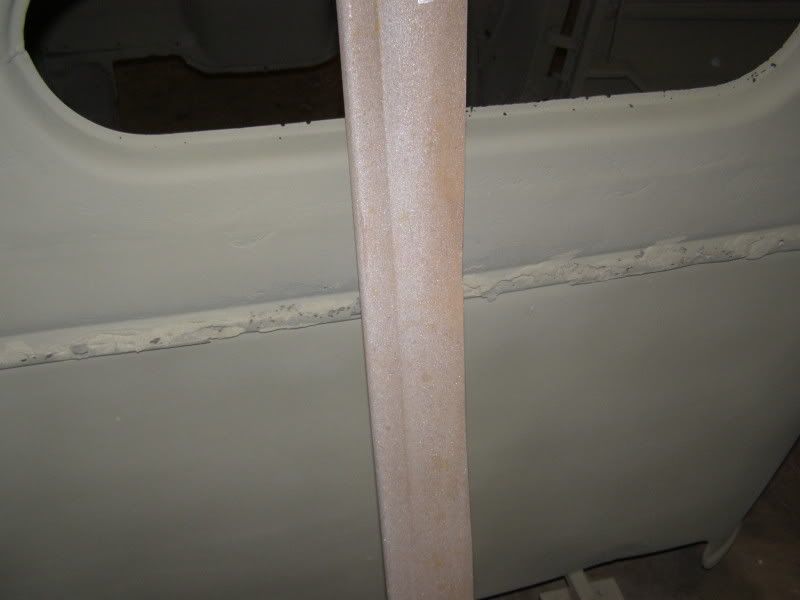
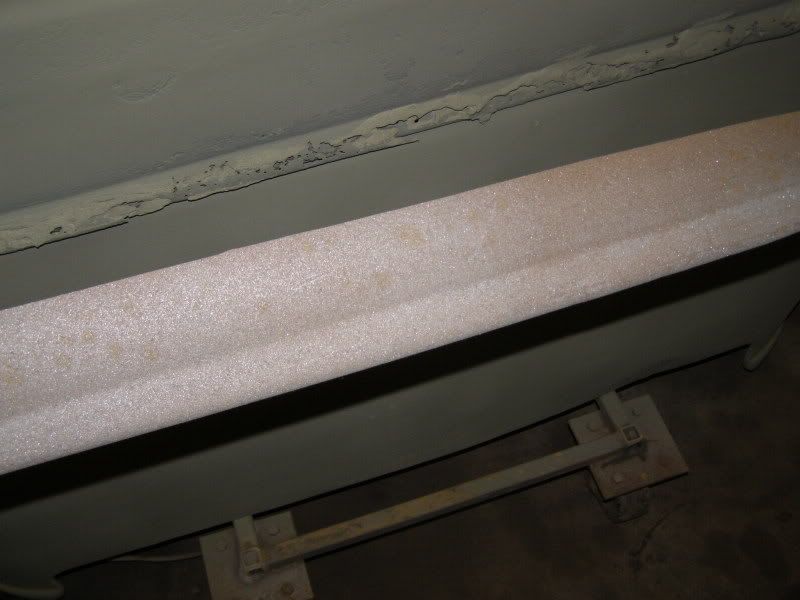
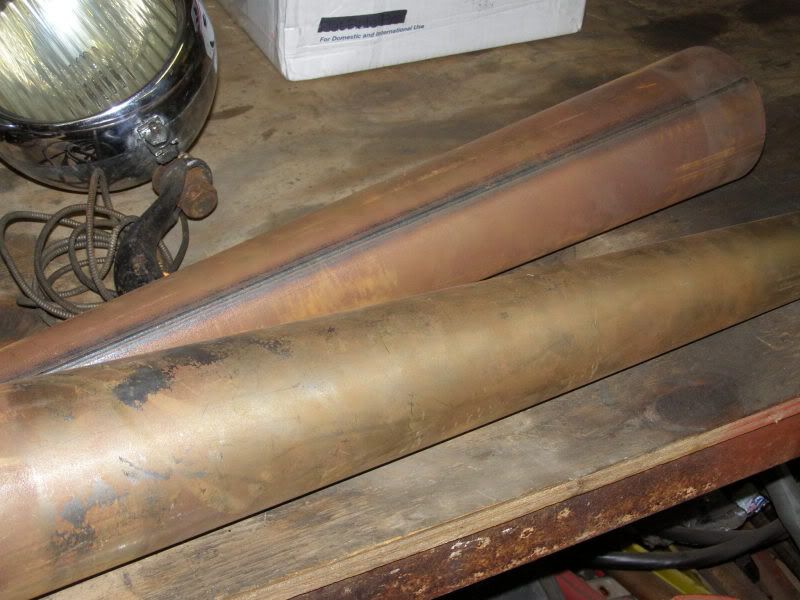
well, here are my patch pannels for the rear body line. they were removed from a hood i bought a while ago.
deerchooper
Well-known member
- Joined
- Apr 3, 2010
- Messages
- 744
nice man... i wish i could shell out to have my cab blasted.. but my cheep self will just continue to toil away with the wire wheels
free-be corpo, got it done threw work.
deerchooper
Well-known member
- Joined
- Apr 3, 2010
- Messages
- 744
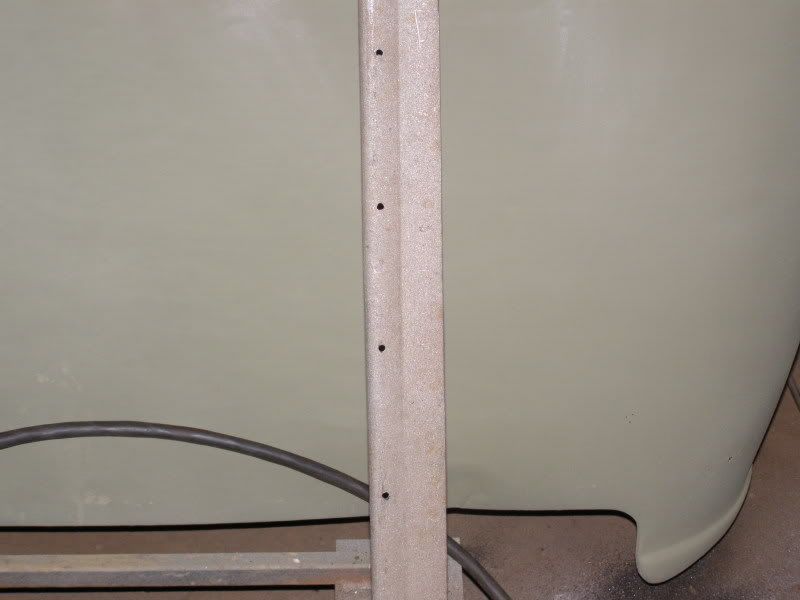
heres the rear body/ hood line lol. i cut 2 1/2" from the bottom of the hood lip. then on the other cut where the hinge is i cut from the outside hood line 1/4". i think 5/16" would be better. the hood body line is a little smaller in height, that is where the 5/16" would come into play because you have to hammer it open just a little. you also have to set your vice close and give a pull back on the top seam to lay it out some. give it a little arch on the knee and install it.
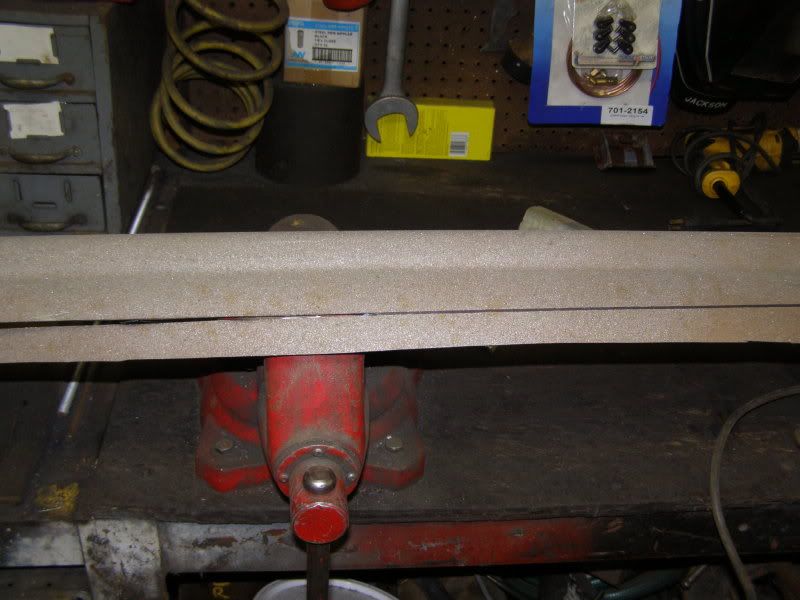
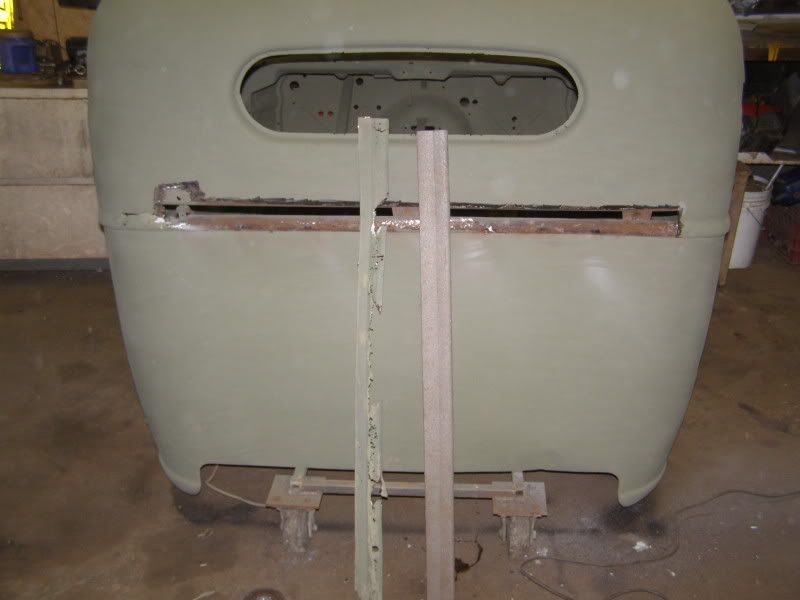
the holes are there for 2 things. 1- to weld it back to the bottom pannel as chevy spot welded it there. 2- i used self tapped screws to pull it tight, if they stripped i just used a 1/4" bolt and nut to get it tight and welded it.
heres where im at now.
the holes are there for 2 things. 1- to weld it back to the bottom pannel as chevy spot welded it there. 2- i used self tapped screws to pull it tight, if they stripped i just used a 1/4" bolt and nut to get it tight and welded it.
heres where im at now.
cking894
Well-known member
Hi Deerchopper,
I just found your build this morning for the first time. It looks like your doing a great job.
You asked about taking some off the bottom of the cab. I have the same cab as you and chopped mine five inches. I took three inches off the bottom of the cab and channeled it three and a half inches over the frame. I am six feet tall and still have plenty of head room inside. I do use a signal light viewer so I don't always have to bend down to see the signal lights. In normal driving it's pretty comfortable. I have over 4000 miles on it since March and wouldn't change a thing about my chop.
Here is a link to my build. http://ratrodsrule.com/forum/showthread.php?t=10825
Here is a link to all my build photos on flicker. http://www.flickr.com/photos/five_wide_club/sets/72157612192731377/
Keith
deerchooper
Well-known member
- Joined
- Apr 3, 2010
- Messages
- 744
nice build keith.
what year econoline did them seats come from?
my progress is slow right now, but i plan on hitting it hard next week. i really really REALLY hate body work. but im going to forge ahead and get the cab done 1st. my buddy is a body man and he is going to help me finish it when i get all the welding done. once that is over things are going to move quickly with the rest of the truck. im more of a mechanical/ frame type and not to happy with body stuff.
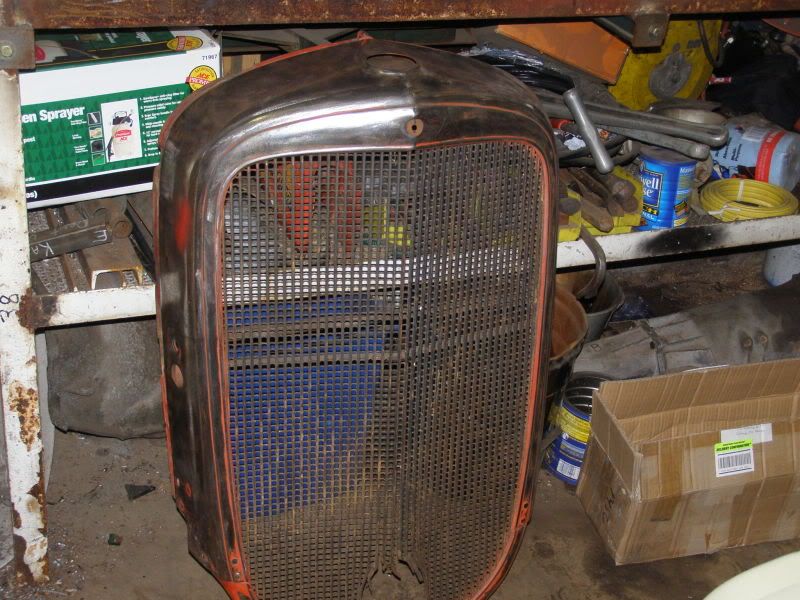
i did get some parts while moaping on the build. i got a set of megs, 41-48 tail lights, spoon pedal with cable, sw gauges (dont know if there going in this) and a couple of other things i cant remember. i also got a 35 chevy truck grill and shell for christmas.
what year econoline did them seats come from?
my progress is slow right now, but i plan on hitting it hard next week. i really really REALLY hate body work. but im going to forge ahead and get the cab done 1st. my buddy is a body man and he is going to help me finish it when i get all the welding done. once that is over things are going to move quickly with the rest of the truck. im more of a mechanical/ frame type and not to happy with body stuff.
i did get some parts while moaping on the build. i got a set of megs, 41-48 tail lights, spoon pedal with cable, sw gauges (dont know if there going in this) and a couple of other things i cant remember. i also got a 35 chevy truck grill and shell for christmas.
deerchooper
Well-known member
- Joined
- Apr 3, 2010
- Messages
- 744
i did finsih welding the rear patch in yesterday and started on the pass side door frame top. tomorrow i will get out in the cold and see what i can finish.
cking894
Well-known member
I'm not sure what year the seats are out of. They were already out of the van when I found them at the wrecking yard. My grill is out of a '35 Chevy. I cut it down three inches so that the top of it was level with the cowl.
Keep up the good work and Merry Christmas. Keith
Keep up the good work and Merry Christmas. Keith
sneakysnake
"There’s nothing new in originality"
Looking good!!, your not waisting any time.LOL
deerchooper
Well-known member
- Joined
- Apr 3, 2010
- Messages
- 744
i hate winter, even the 165,000 btu torpedo heater i have hates it, lol. it just makes things go slow for me, kinda in a hibernation mode.
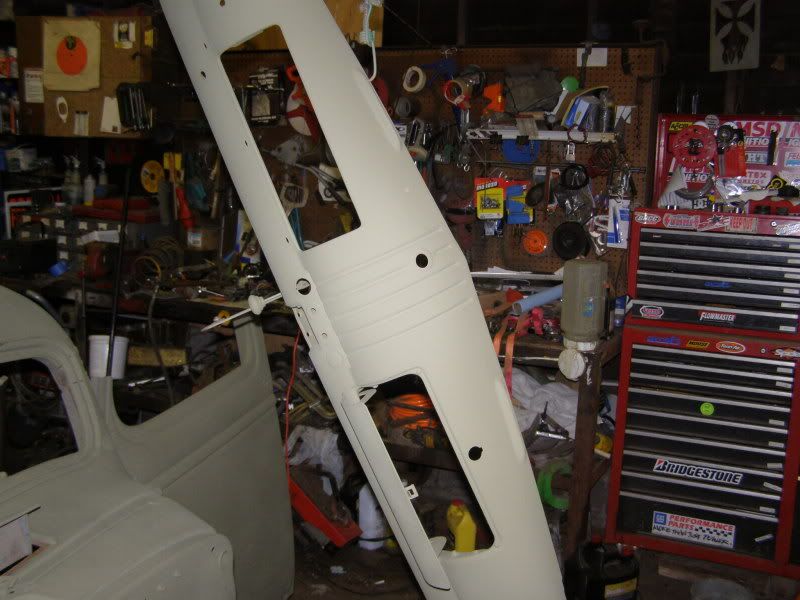
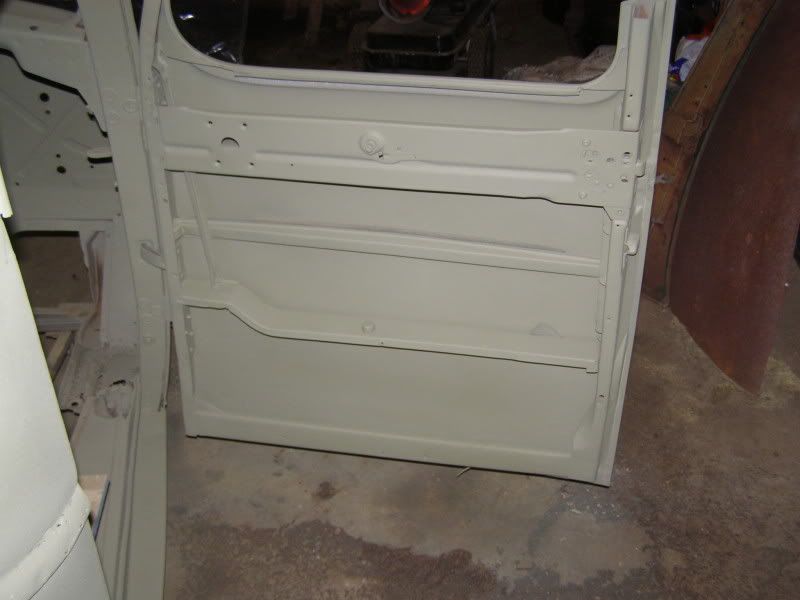
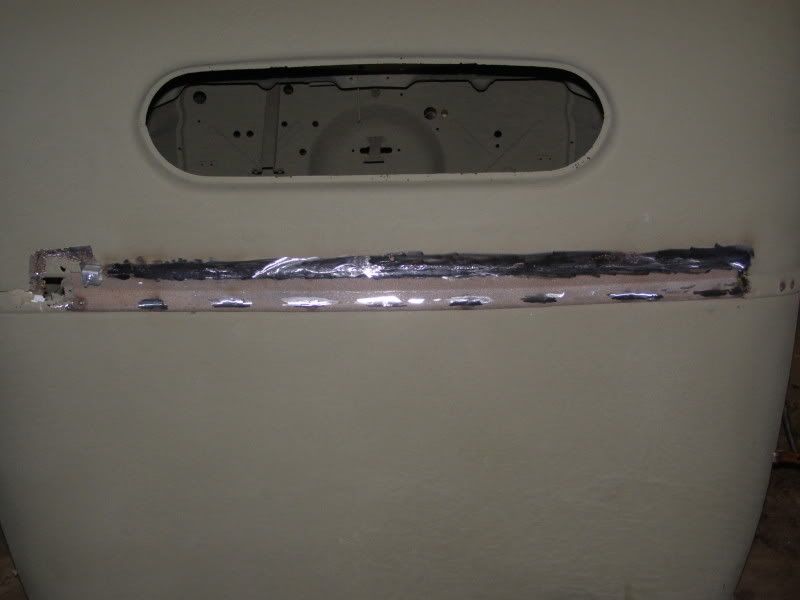
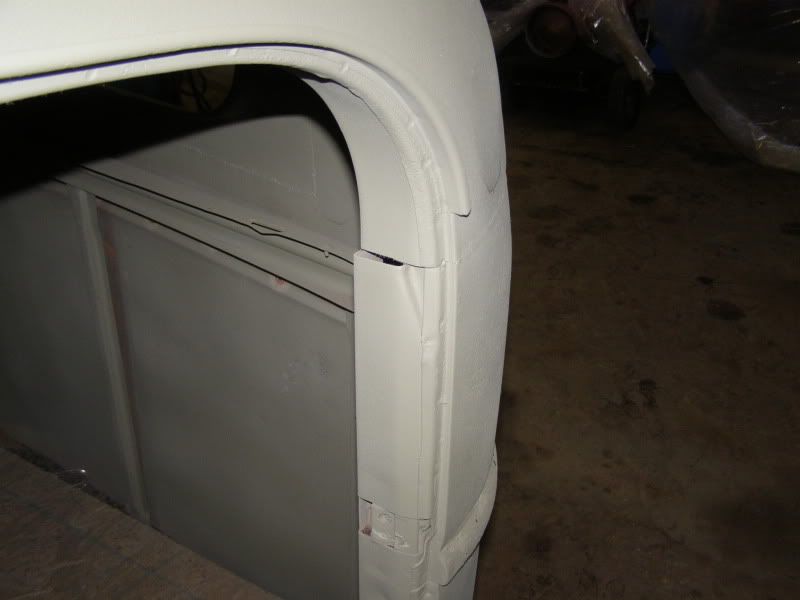
anyhow, i plugged away at the door some more and the pass side a pillar. not done but getting there. the out side of the door skin looks good where i patched in the door top. but what i didnt figure in is all the missallined inner structure that i have to play with and make look good. i just dont recall anybody showing that in there builds.
enough gabbing heres some pics.
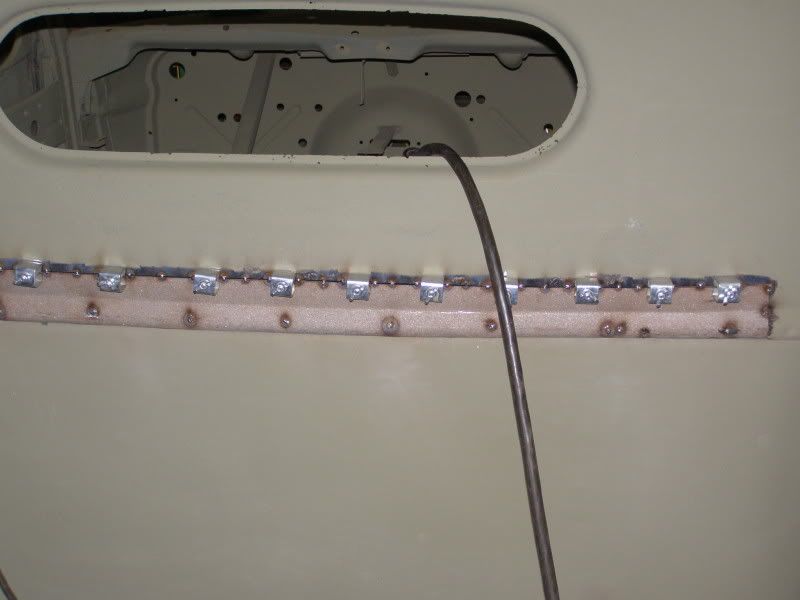
heres the back repair, next trick is to figure out how to make the hood side wrap around the cab.
anyhow, i plugged away at the door some more and the pass side a pillar. not done but getting there. the out side of the door skin looks good where i patched in the door top. but what i didnt figure in is all the missallined inner structure that i have to play with and make look good. i just dont recall anybody showing that in there builds.
enough gabbing heres some pics.
heres the back repair, next trick is to figure out how to make the hood side wrap around the cab.
deerchooper
Well-known member
- Joined
- Apr 3, 2010
- Messages
- 744
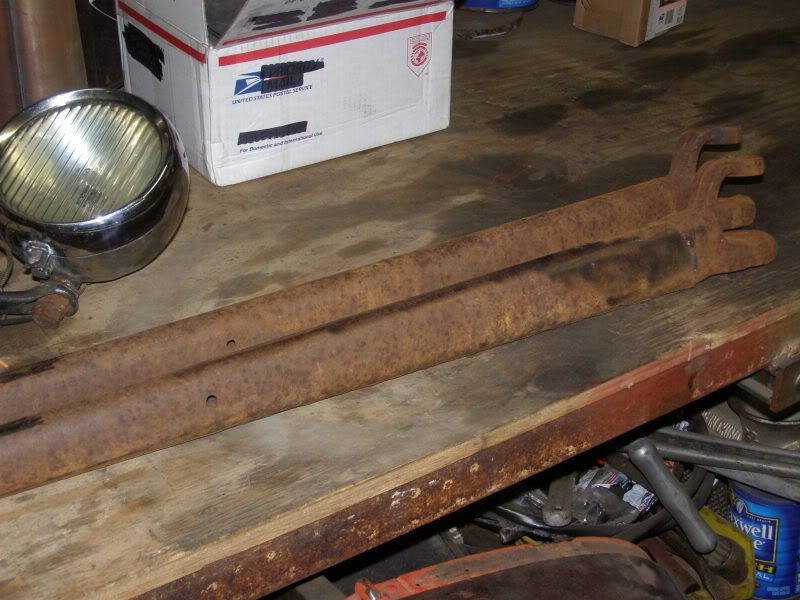
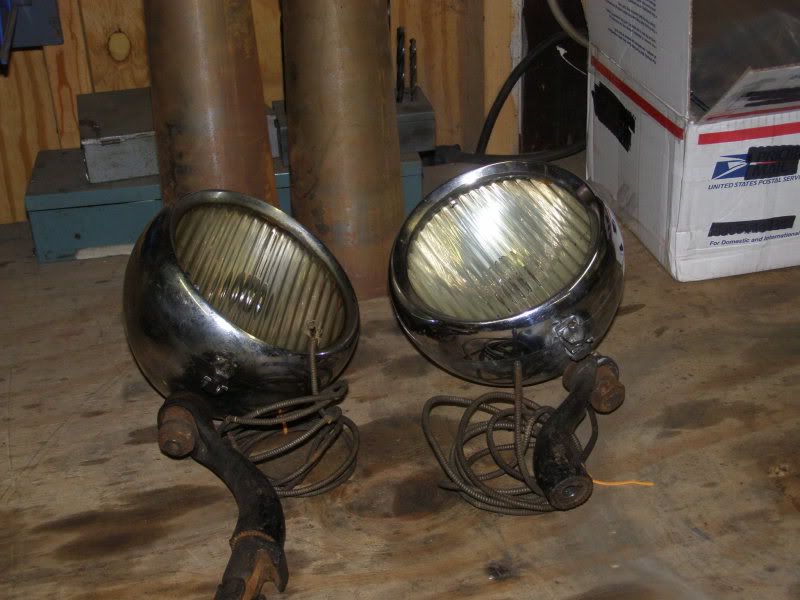
heres some of the parts ive been getting. i just got the bones today. i might take the headlights and put them on my olds. the grill shell, well i dont know where that is going yet, lol. the megs i got online
deerchooper
Well-known member
- Joined
- Apr 3, 2010
- Messages
- 744
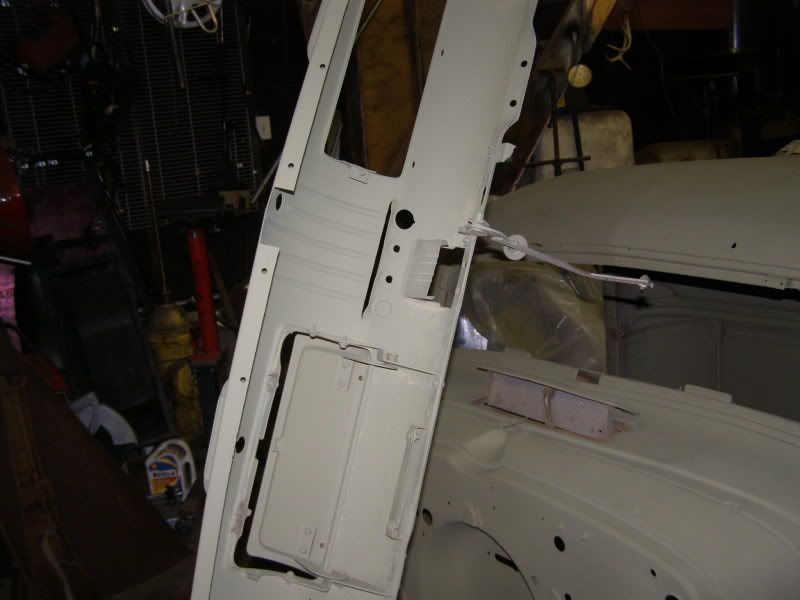
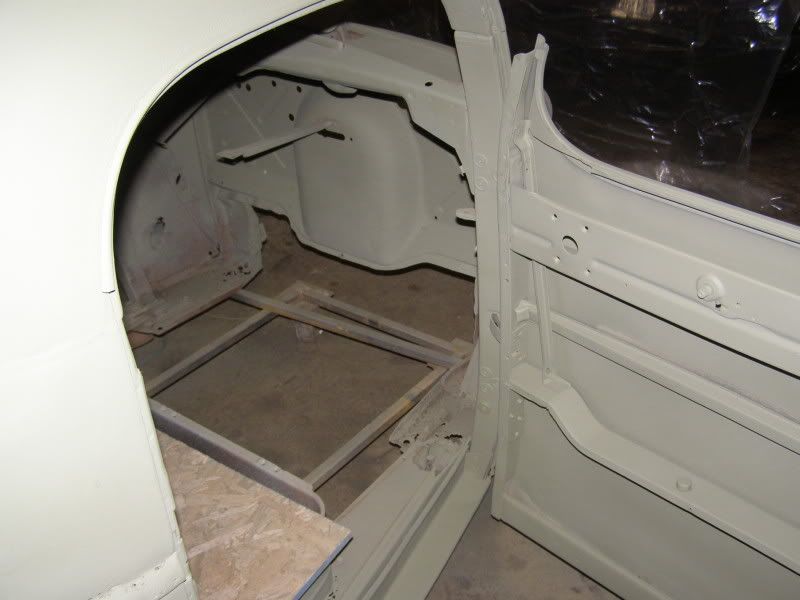
heres the door and b pillar missalignment and my fixes.
i took a pic of the driver side to give you an idea of what i had to work with on the pass side.

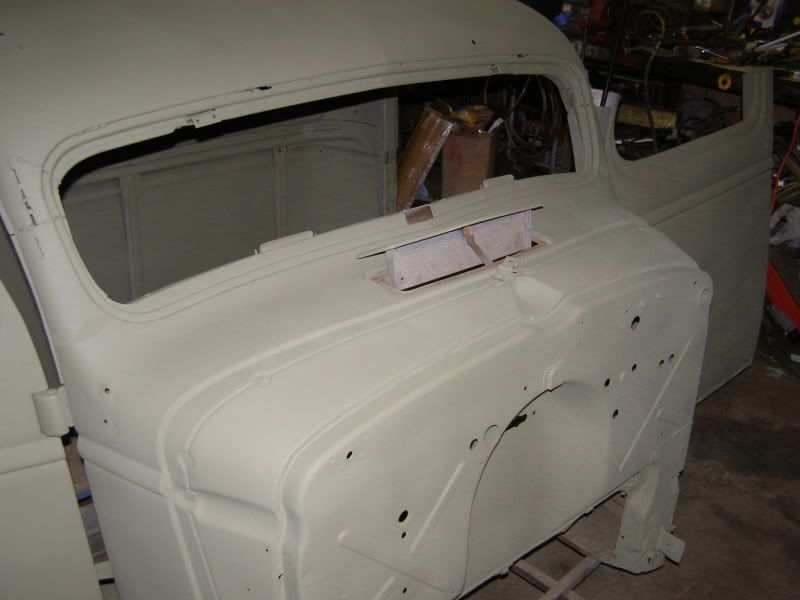
i took a piece of what was left of the section i cut out and made a bridge to fit on the inside so it was flat for the window seal. the out side of the rear door i tapped into place, cut the funny square shape and laid it back to match the upper section.
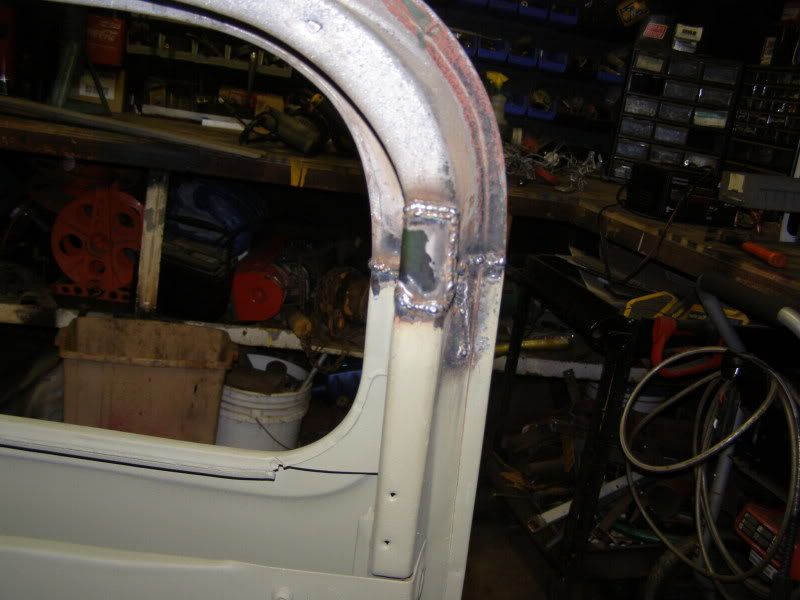
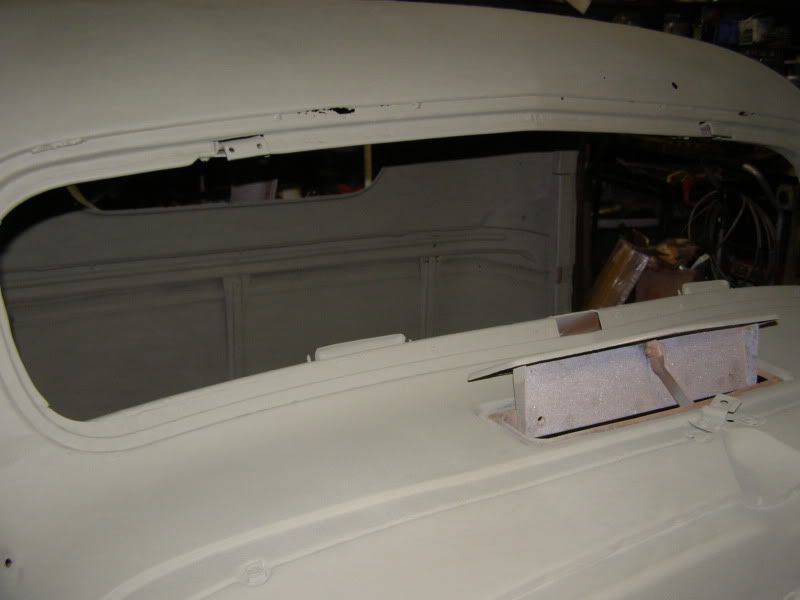
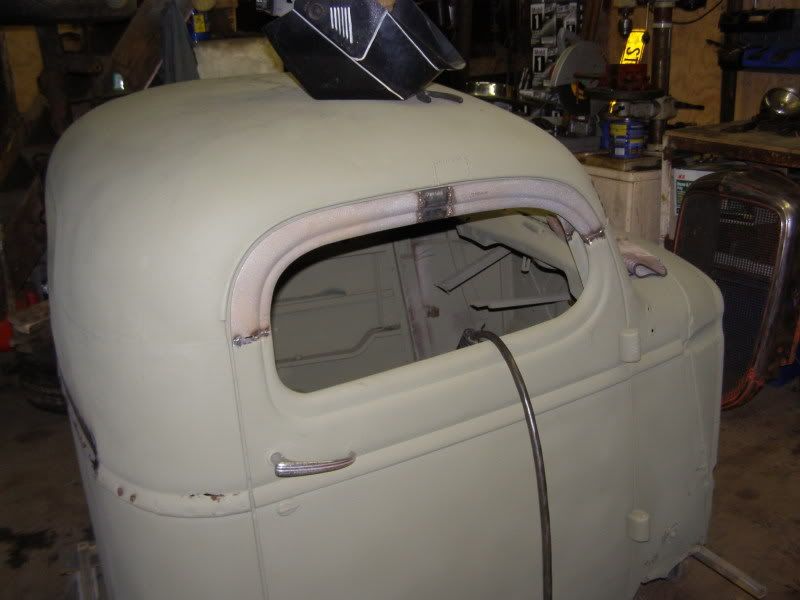
just a pic of the top repair/ fix.
i took a pic of the driver side to give you an idea of what i had to work with on the pass side.
i took a piece of what was left of the section i cut out and made a bridge to fit on the inside so it was flat for the window seal. the out side of the rear door i tapped into place, cut the funny square shape and laid it back to match the upper section.
just a pic of the top repair/ fix.
deerchooper
Well-known member
- Joined
- Apr 3, 2010
- Messages
- 744
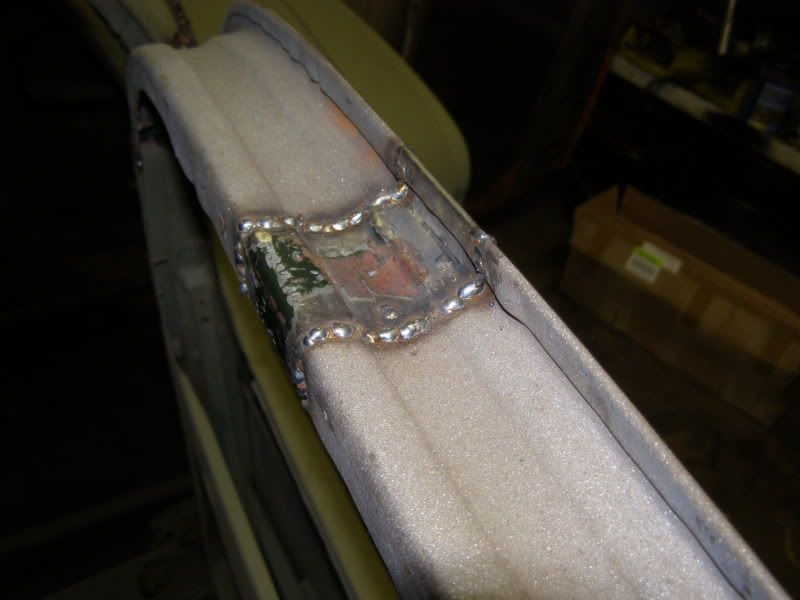
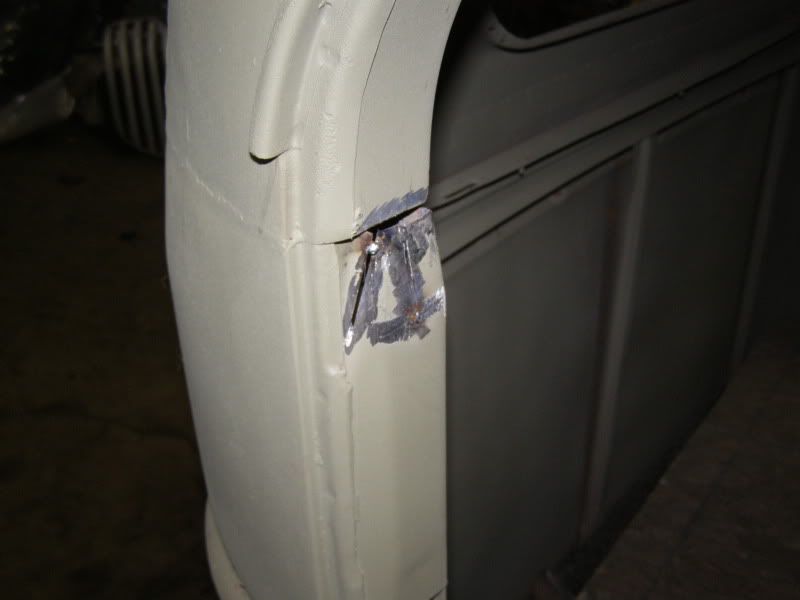
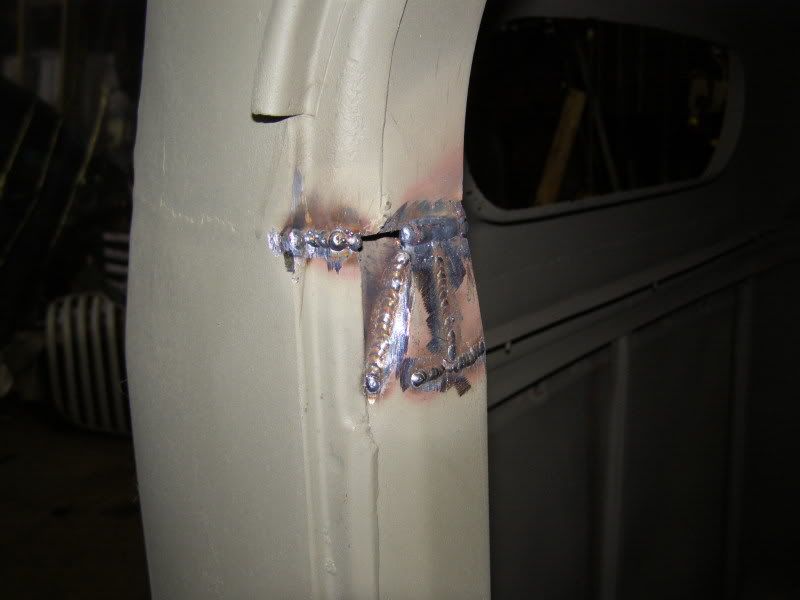
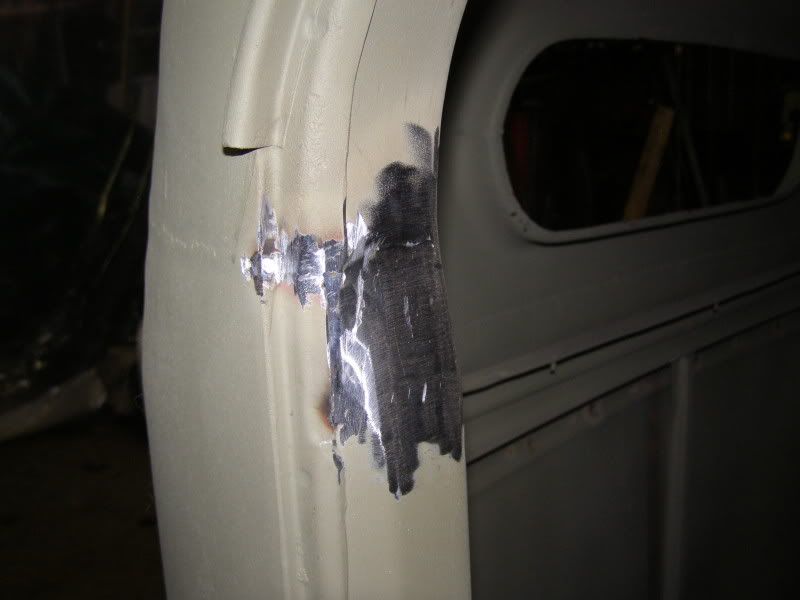
i then moved on to the b pillar/ door sill. i cut it a few times and hammered it back to blend it in. once it was welded i cut a little piece to fill in that recesed are as well to make it look like it was never there.
cut and hammered
welded together.
added filler and smoothed.
i also got the a pillar welded up today on the pass side, i still have to do the inside of the a pillar. i also started with the drivers door top and got that tacked in and the upper filler strip installed. those pics will come tomorrow.
cut and hammered
welded together.
added filler and smoothed.
i also got the a pillar welded up today on the pass side, i still have to do the inside of the a pillar. i also started with the drivers door top and got that tacked in and the upper filler strip installed. those pics will come tomorrow.