You are using an out of date browser. It may not display this or other websites correctly.
You should upgrade or use an alternative browser.
You should upgrade or use an alternative browser.
'65 Rover Half Cab
- Thread starter bob w
- Start date

Help Support Rat Rods Rule:
This site may earn a commission from merchant affiliate
links, including eBay, Amazon, and others.
Dr Crankenstein
Rocket Surgeon
BlueNorther
Well-known member
WOW!! that looks like 1/2 scale SBC, why not a V12 jag motor????
maverickmk
Rebel Rodder
WOW!! that looks like 1/2 scale SBC, why not a V12 jag motor????
Yeah, 'cuz those are just laying all over the junk yards
bob w
Still crazy after all these years!
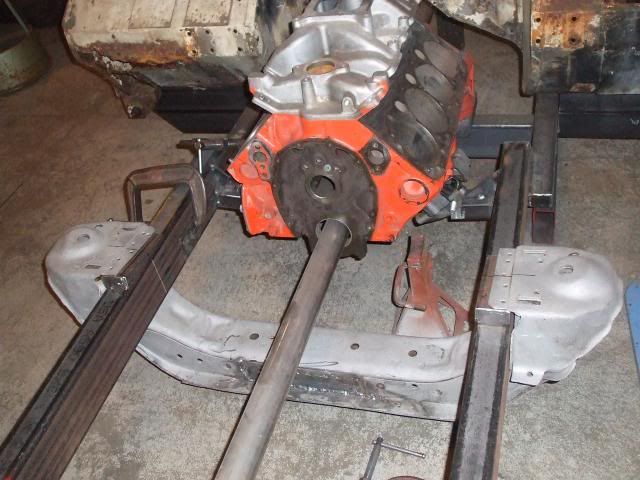
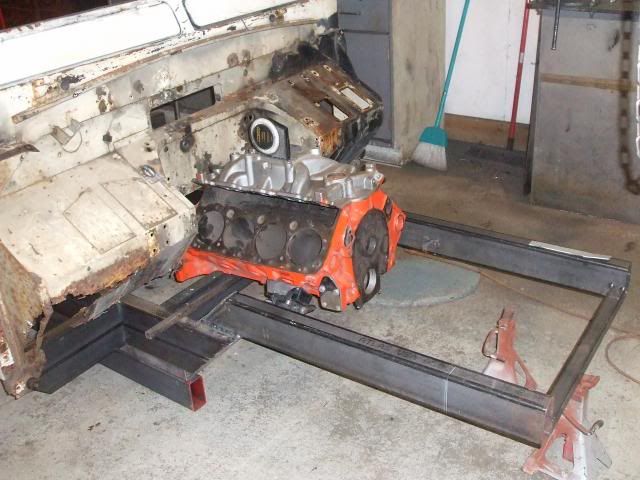
Picked up my MII crossmember from Jerry the Sandblaster. After a little more trimming and fitting it is in place and ready to be welded. I'll remeasure everything in the morning before melting it together. It is set with the top of the crossmember horizontal front to rear. That puts the correct amount of anti dive in the upper A arms.
bob w
Still crazy after all these years!
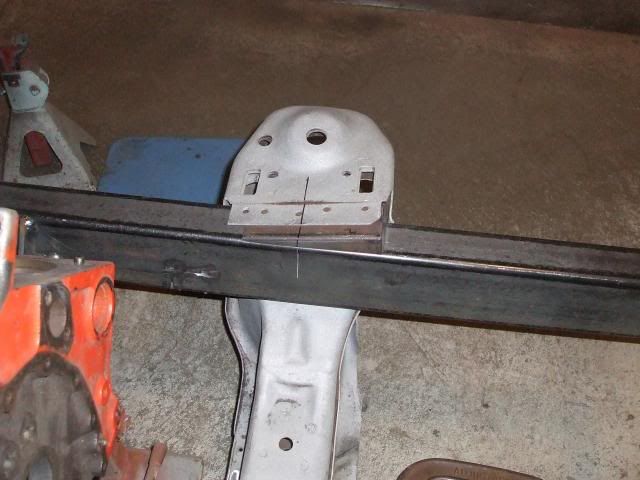
I made wedges to fill the gap between the spring towers and the frame.
Yes, Dr. C there's a fair amount of room in front to the engine. I can't remember, was it Denis or Felix Potvin that designed the Potvin blower drive?
BlueNorther, it would be fun to use a really exotic engine in a build. Couple years from now I'll have a slant 6 powered Hupmobile roadster. That's pretty weird, eh?
Dr Crankenstein
Rocket Surgeon
I can't remember, was it Denis or Felix Potvin that designed the Potvin blower drive?
Neither... but I like the way you think. [cl
.
Snake Farm
Ol school snake charmer!
Yep, looks like yer buildin' a blower motor..........that's definitely a low compression crank
The cross member install is looking sweet Bob.
bob w
Still crazy after all these years!
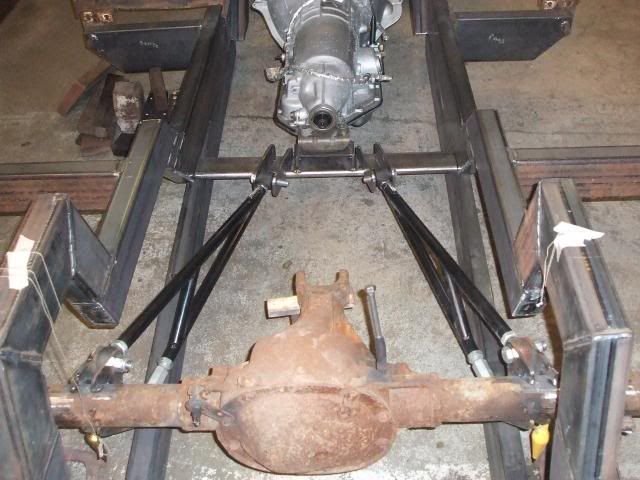
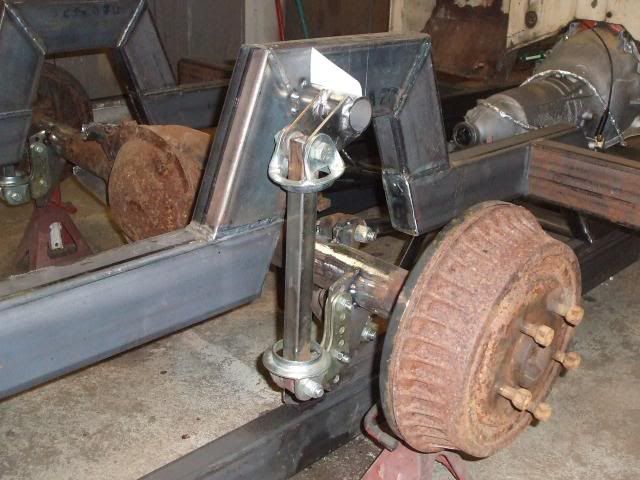
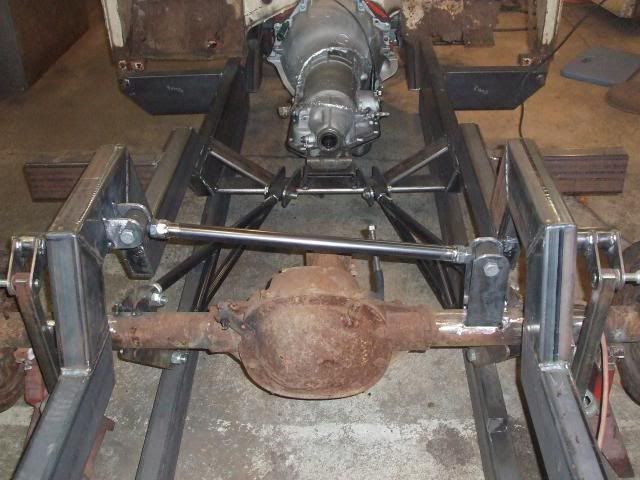
Made and tacked in place the trans crossmember. I wanted it at the bottom of the frame so the exhaust system can run over it. The trans mount is on a 2" riser made out of 1/4" plate. I angled the ladder bars in to allow for some roll on irregular surfaces. Also got rid of the front spherical rod ends and used Pete & Jakes heavy duty urethane ends in order to reduce the transfer of road shock and vibration into the cab.
bob w
Still crazy after all these years!
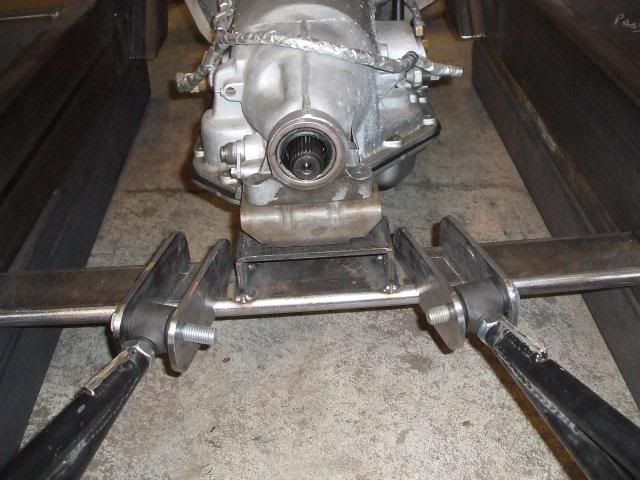
Here's a close up view of the trans mount and the brackets for the ladder bar front joints.
The Potvin blower drive was designed and manufactured by Chuck Potvin. He also made camshafts and other speed parts. His good friend, Dean Moon, who was born in Minnesota but had the good fortune to move to California at a young age when his family relocated from the frigid north to the land of fruits and nuts, bought Potvin's business and rolled it into the Moon Equipment Company.
Last edited:
bob w
Still crazy after all these years!
skull
''SARCASM: just one of his many talents.''
inside
shouldn't the springs & shocks be on the inside of the frame for better tire clearance. are you planning a watts linkage or panhard bar and maybe a rear sway bar?

l really like the idea of a pro touring range rover
Later
shouldn't the springs & shocks be on the inside of the frame for better tire clearance. are you planning a watts linkage or panhard bar and maybe a rear sway bar?
l really like the idea of a pro touring range rover
Later
Attachments
bob w
Still crazy after all these years!
Skull, the Rover is intended to be an almost daily driver. Nothing too radical. I copied the original frame, but now realize I didn't need to. It is pretty narrow. That's why I put the springs & shocks outboard. There's room for a fairly wide tire even with the outboard springs.
There will be a panhard bar
The Rover would have made a cool autocrosser or drag car.
There will be a panhard bar
The Rover would have made a cool autocrosser or drag car.
bob w
Still crazy after all these years!
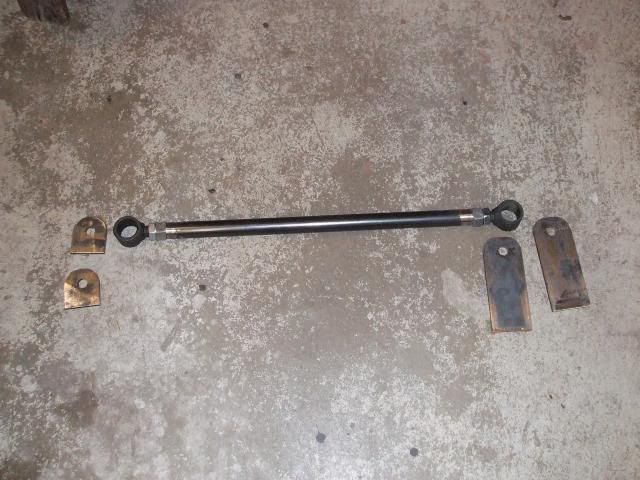
When I bought the heavy duty urethane rod ends for the ladder bars from Pete & Jake's they sent me 5 instead of 2 (I paid for all 5). Even though they are much heavier than what is needed for a panhard bar, I had them in hand and also had some .120" wall 1" tubing. Using 1/4" by 2 1/2" flat stock for the brackets, I made a panhard bar kit tonight. Also made some braces for the trans crossmember.
bob w
Still crazy after all these years!
bob w
Still crazy after all these years!
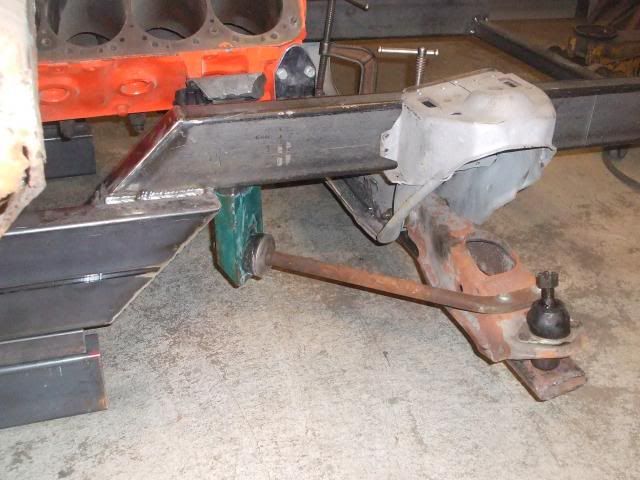
On to the front. Got the crossmember tacked in place. Found a chunk of 3" heavy channel that worked well for the strut rod mounts. I welded 1/4" plate in the web of the channel to create a 3/8" thickness, which is what the rubber bushings are intended to sandwich.
The bracket mounts directly under the motor mount so there is good material to weld to.
Dirtyrat
Got Fins?
Those strut rods look very similar to many Nissan vehicles...
earthman
Fascinated by rolling objects!
Wow! Don't know what else to say. 
bob w
Still crazy after all these years!
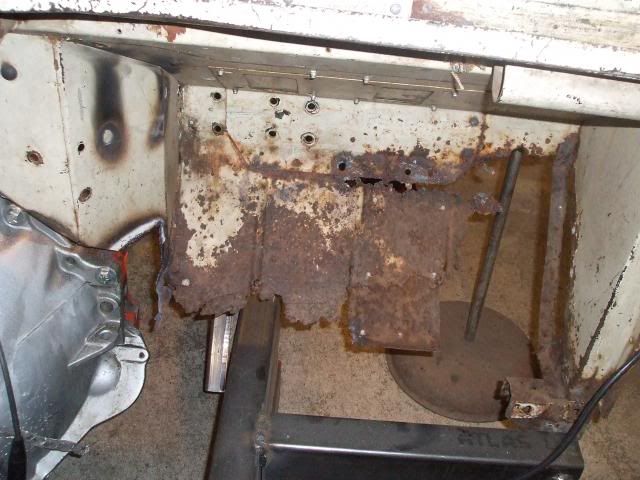
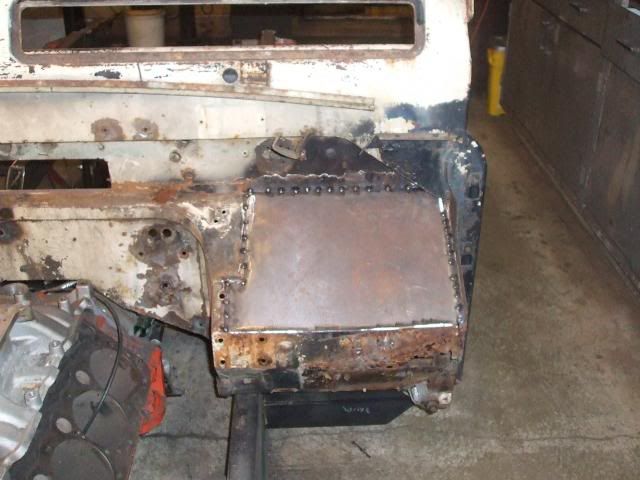
Even though the body is aluminum the firewall, A pillars and front floorboards are steel. Rusty steel as you can see.
DR, the strut rods are stock Mustang II. I have to flip the frame over to weld the bottom side of the motor mounts. Then I can weld the strut rod mount on. Lots of fooling around to get it right.
