Another fenderless 53

Rat Rods Rule

Help Support Rat Rods Rule:

This site may earn a commission from merchant affiliate links, including eBay, Amazon, and others.
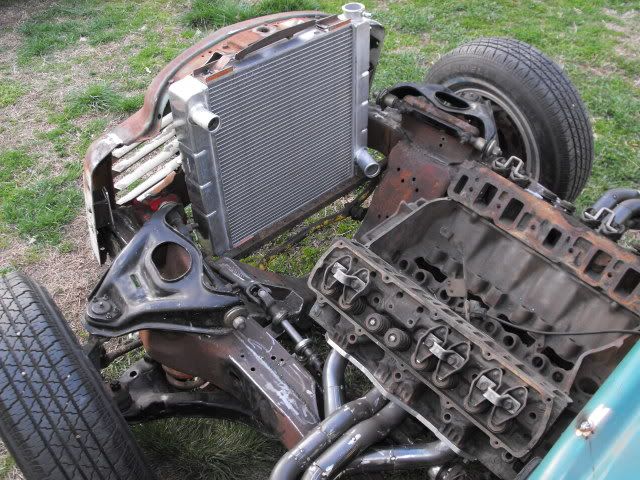
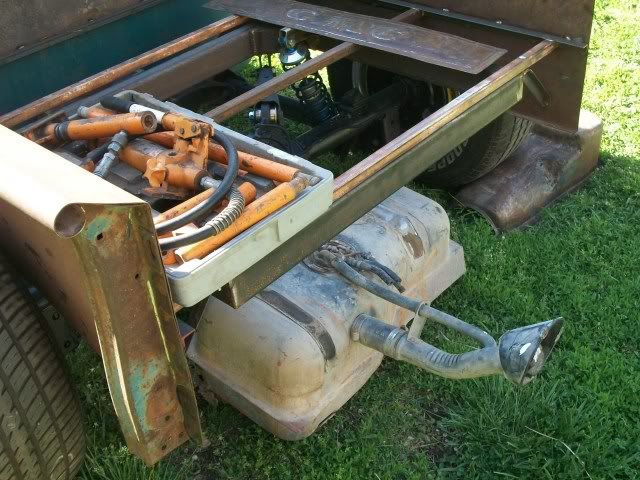
Hey TW, do you think you could run through what your steering u-joints and parts came off? I'm looking at my linkage and it looks like I need exactly what you have.

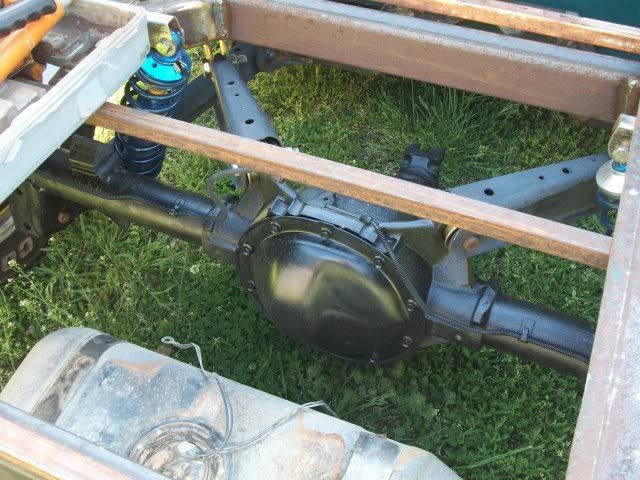
It's mostly GM stuff. I collected this stuff over the years. Go looking in some salvage yards. Cars with front steer racks are a good source. Some of the parts are custom machined by me.

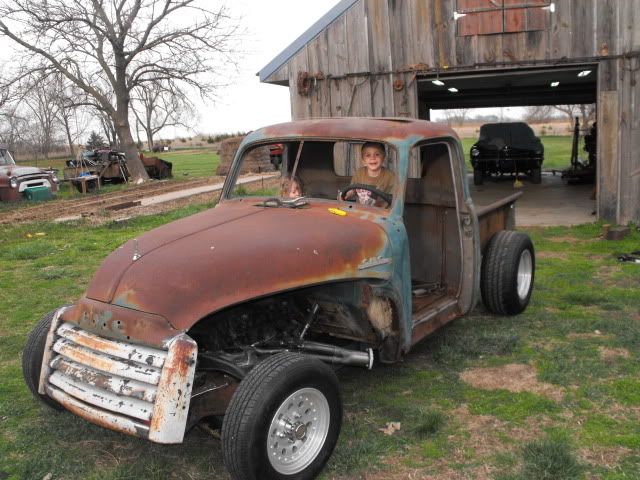
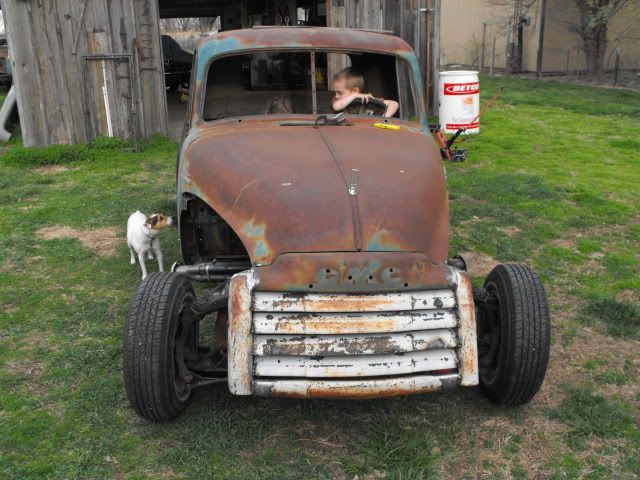
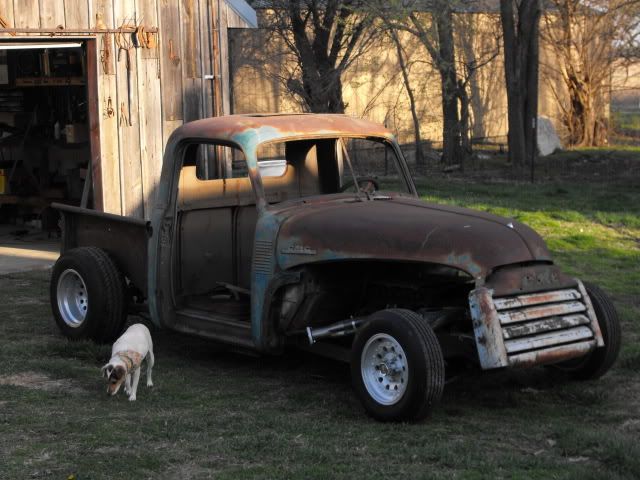
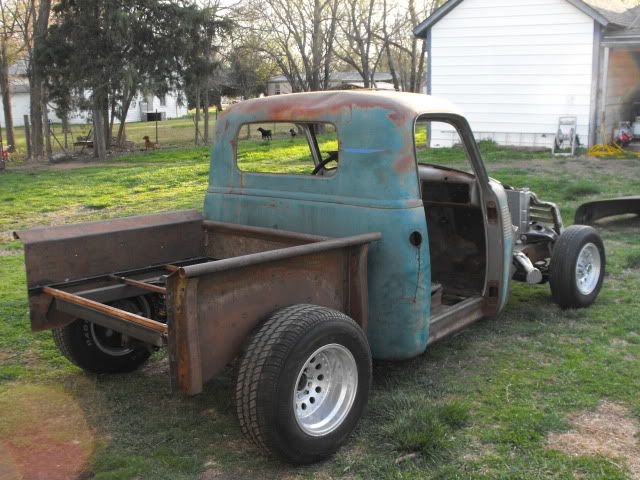
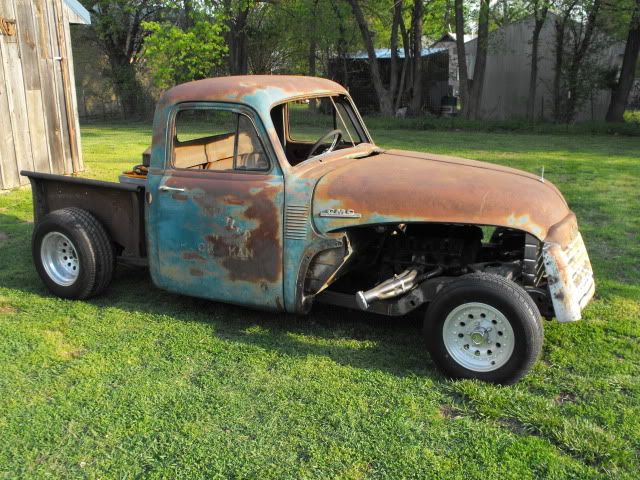
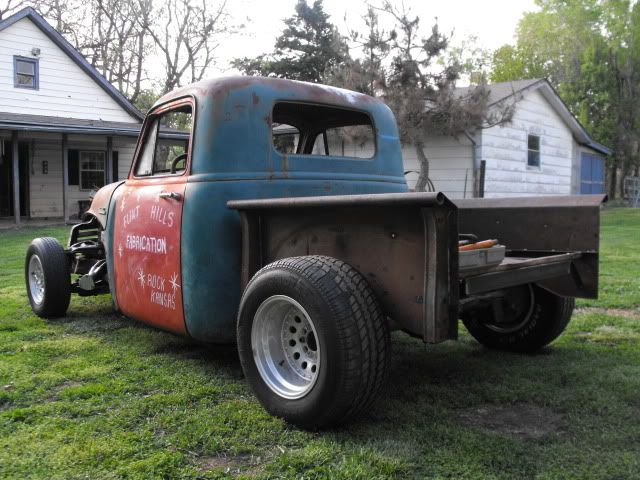
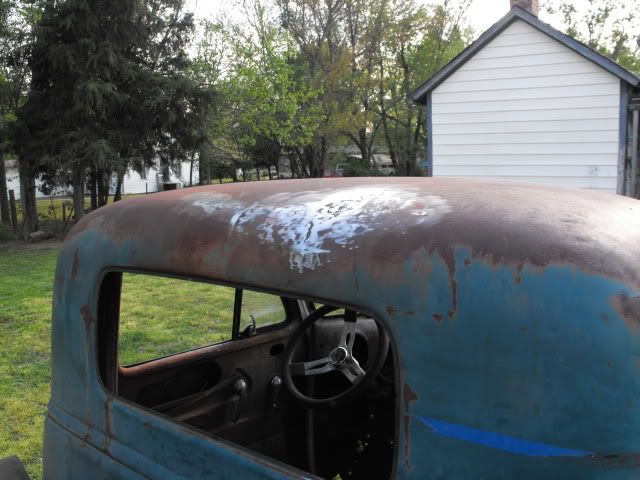
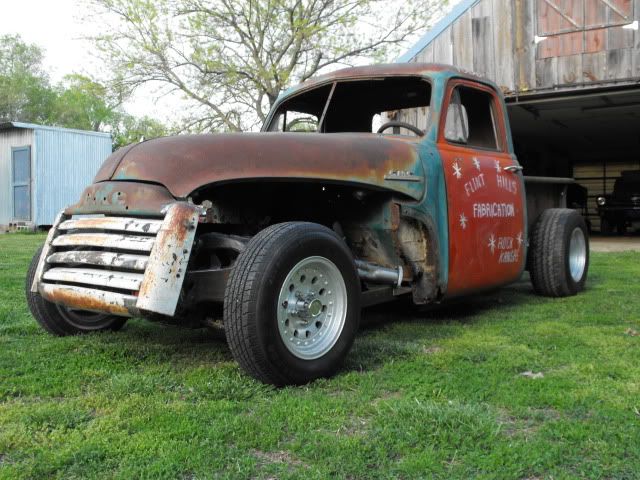
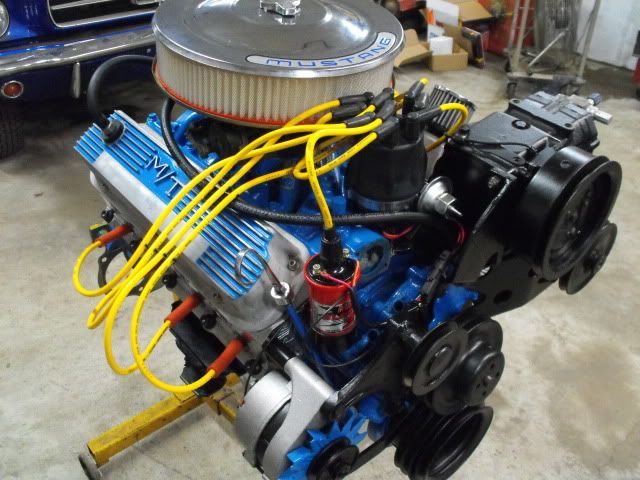
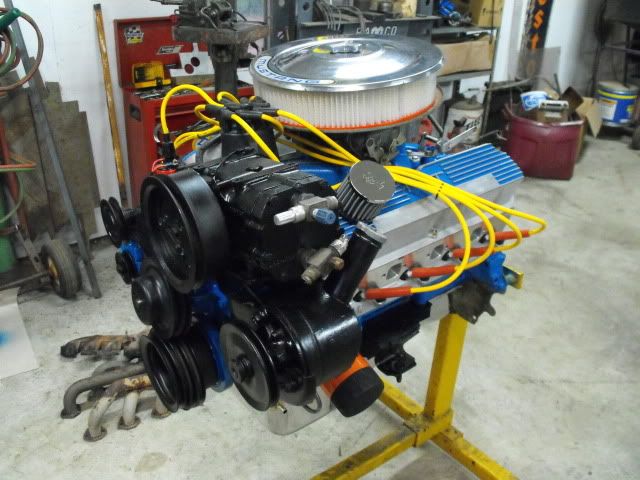
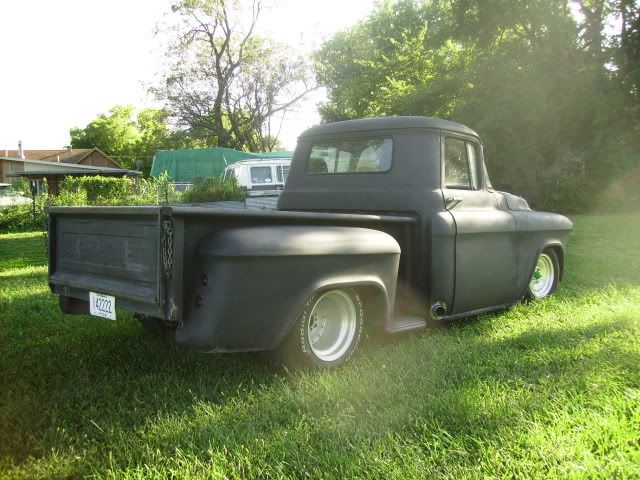
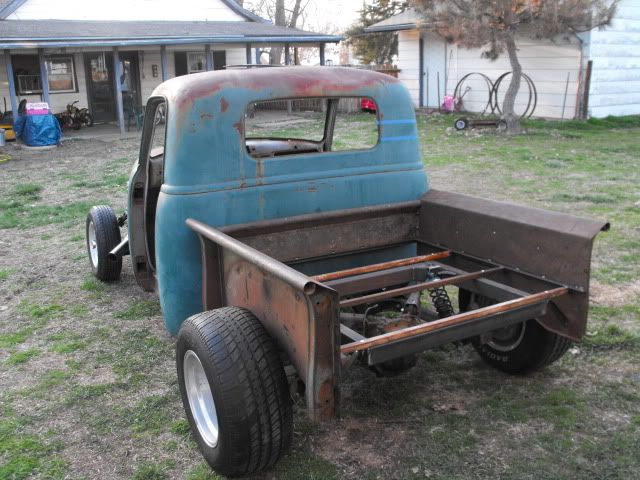
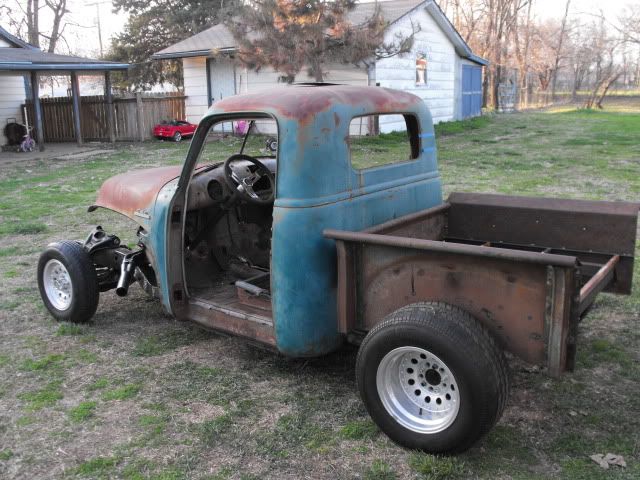
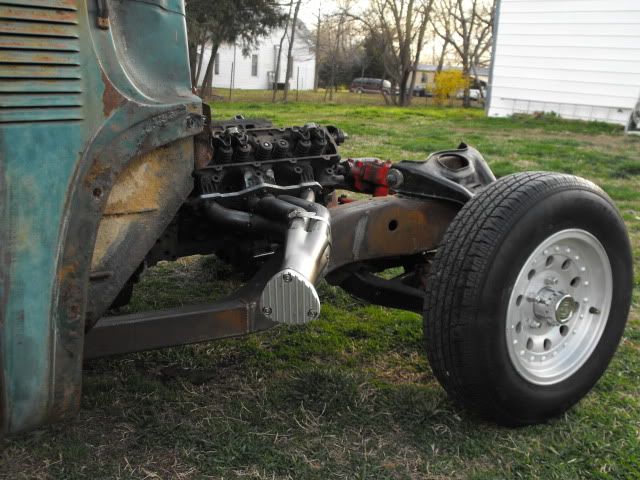
Here are a couple more shots of my truck.

ratbed53035.jpg


ratbed53031.jpg


ratbed53034.jpg


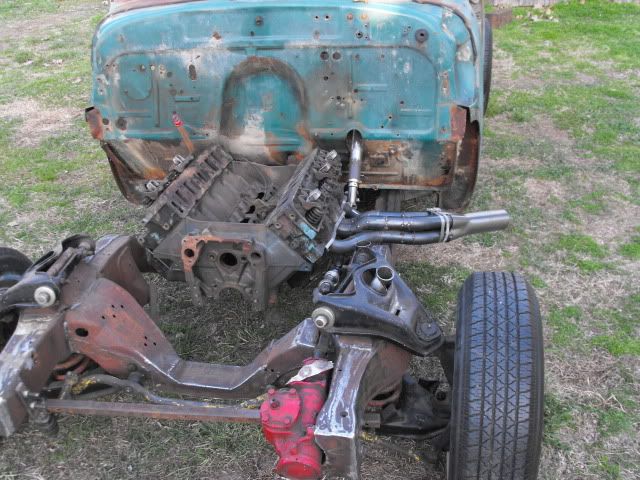
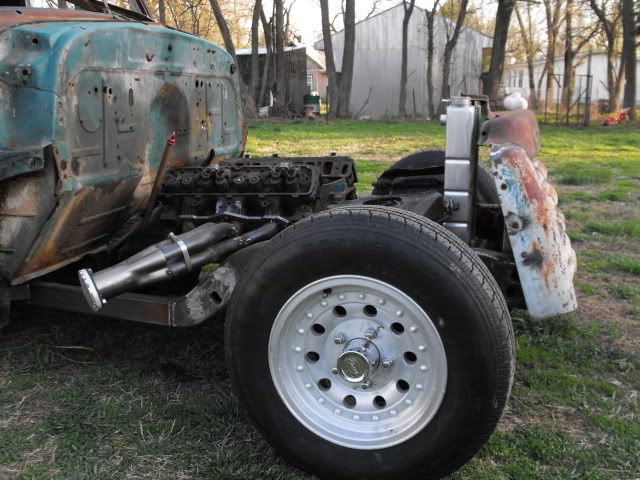
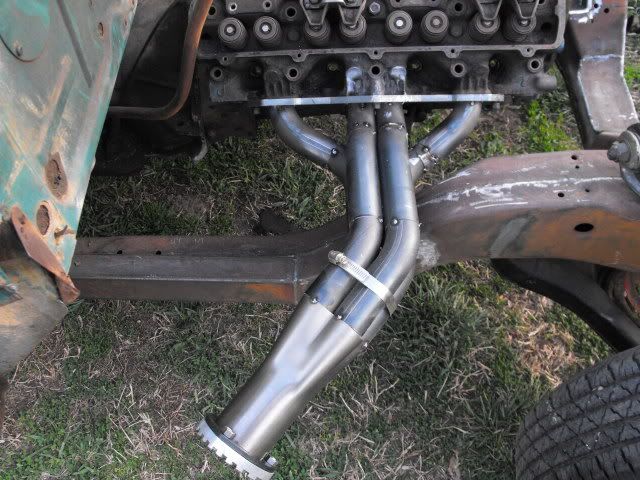
I started working on the passenger side header today. I get some pics. later.
 
Got the right header mocked up. They are now ready to be dissasembled and the tubes TIG welded before the final assembly. TIG welds are much easier to grind down.

headerrat005.jpg


I fabricated these aluminum end caps to plug up the headers. I'll be running a 2 1/2" exhaust off of the sides of the collectors to the back under the cab. I'll work on that later. next up the brake pedal assembly. I know I said that before but I got sidetracked by the header build.

headerrat004.jpg


62 Chevy II I'll be heading your way with some welding supplies soon. I almost hate to take them apart now.

Looking good Todd, but I'd lose the cool header caps and run them open, you know I would. :D
 
Okay I lied, I decided to work on the grill. Heres what I came up with.

headerrat001.jpg


The grandkids got a cheap ride out the garage door. I cut another coil off the front springs. It will set about right when I get the real engine in it and a few other items

headerrat004-1.jpg


I'm pleased with the look and need to find some headlights for it.

headerrat003.jpg


I want some 38 GM truck lights I beleive. Need to hit the swap meets.Later !
 
Decided to work on the radiator support and hood latch. I have a little more to do still but this is what I have so far.

rat007.jpg


It's a good thing this truck has a long hood. It might even look okay without a hood. I was glad I got the steering box covered.

rat009-1.jpg


I still need to trim the doubler under the hood so it will clear the Water neck and corner of the tank on the radiator. Bingo made it into this shot.

rat002-1.jpg


I just like this picture except for the big dent in the roof

rat010.jpg


Later
 
I decided to put the doors back on to get a better idea of how the truck looks. I found out right away that all the moving around with the tractor and straps without the doors had squeezed the cab out of shape. I spent most of the weekend with the porta power pushing it back into shape. Lesson leaned and now I'll share my mistake with you. The doors will shut now and fit pretty good.

rat018-1.jpg


I also played around with my grand kids chalk on the drivers door.

rat026.jpg


I got sick of the big dent in the roof so I pulled it out with a slide hammer.

rat021.jpg


I decided that I need to raise the engine about 1" to get a little more clearance for the oil pan and tranny pan. I'll work on that later. I'll be assembling the engine for the Mustang that lurks in the back ground on many photos, so post might be few and far between for a while.

rat025.jpg


I wish I had more freinds more time and more money in that order. Later
 
Love this build. I had an idea last night after looking at the thread. Keep the grille surround, but use a 50 Buick grille instead of the GMC grille. That would give it a VERY aggressive and mean look.

Just a thought

Bruce
 
I don't have a Buford grill but that might look good. I need some headlights to complete the look. I'm hoping to find some 38 or so Chevy truck lights. Those are the ones with the air foil shaped mounts and are somewhat bullet shaped. I have been finishing up some small details here and there but no pics. Thanks for the interest!
 
I have a few pictures of stuff I got done about a week ago. Since the wheels were re-drilled and originally fit a Chevy truck, the hole in the center was 3.270 and my axle center is only 2.785. I turned these spacers for it. I put a raised chamfer on the back side that fits the chamfer on the inside of the wheel that keeps it in place. I figure it's safer than relying only on the wheel studs and it looks kind of cool. I also painted the brake drums bright yellow. Thats something we would of done back in the day.

rat2001.jpg


I also cut the spring pads off of the rear axle and re-located the bump stops. Once I was done I painted the axle. I don't think I mentioned it but I found a posi unit for this and put it in also. I still have the 2.73 gear but I figure the 455 will pull this okay as light as the truck should be. With gas $2.79 a gallon and climbing it will most likley stay in there.

rat2003.jpg


This is a fuel tank from a S-10 that I am considering using. I'm knee deep in the Mustang engine so it might be a while before I post again.

rat2002.jpg


I'll post a couple pics of the mighty 331 stroker I'm building when I'm done. Wish it was mine!
 
I'd say the 2.73 is a very good choice, it would be easier and safer to use a fuel cell if you're going to hide it anyway. BTW nice wheel chock.
 
The only thing about the fuel cell is that the one I have will not fit under the bed floor. I don't plan on buying one that will fit. The S-10 fuel tank will fit if I can re-clock the inlet 90 degrees. I'm not seeing how it would be much safer to run a fuel cell unless it was contained. I'm still up in the air about what I'm going to do. I was thinking I might even use the internal fuel pump in conjuction with a fuel pressure regulator. I might come up with something better. I appreciate the feed back, it helps me think.
 
Anbody wanna see what I've been up to? Anybody care?

amandascammra237.jpg


Here it is, 333 c.u. (3.25 stroke), AFR heads, Comp cams XE262, Scat crank, Rods, Mahle Pistons, Blah Blah Blah! It ought to cruise just fine. It's the original block for the Mustang and we decided to skip the Roller retro fit and go with a mild cam.

amandascammra239.jpg


I'll be dropping it in in the Morning.
 
I finally sent that Mustang from hell packing. Somebody kick me where the sun don't shine the next time I take on a project like that. It was just one thing after another and it still is not right. But enough about that pile of crap that missed it's destiny as a Cash for clunkers trade in.
The 53 is on the back burner for now and I am working on my 56 that is my avitar. I think I'll just do some updates on it in the coming weeks on this thread if you guys don't mind then later this year I'll work on the 53.
The deal with the 56 is it was about a tic away from having a rod bearing do the loop-de-loop. It has sat all winter and I finally fired it up and drove it around the block. Dang it's still got that knock I heard last year and the winters rest didn't make it go away.
So I put it in the shop and tore it down. The number one rod bearing was the culprit. Not sure why but it is what it is. I picked up a new Scat crank from Speedway motors. I also got a used set of 6" H-beam rods that turned out to be a mixed match set. I'm still trying to determine if they will balance.
I hope to pick up a set of new Mahle flat tops but will need to get paid for the Musturd first. I also hope to run a Lightened Speedway flywheel. More on all this later.
Right now I'm re-working an old set of ladder bars for the 56. I'll try to post some pics later. stay tuned and thanks for all the kind words and support.

56chebyman006-1.jpg
 
A freind gave me these old funky ladder bars a while back. I'm have no idea what they fit. In order to make them work with my leaf springs I had to modify them. They needed to have to same pivot as the front of the springs.

ladderbars001.jpg


I just have to do the other side now.

ladderbars004.jpg


Check that purty green paint!
 

Latest posts

Back
Top