1933 chevy tudor sedan aka Project Copper Tone!

Rat Rods Rule

Help Support Rat Rods Rule:

This site may earn a commission from merchant affiliate links, including eBay, Amazon, and others.
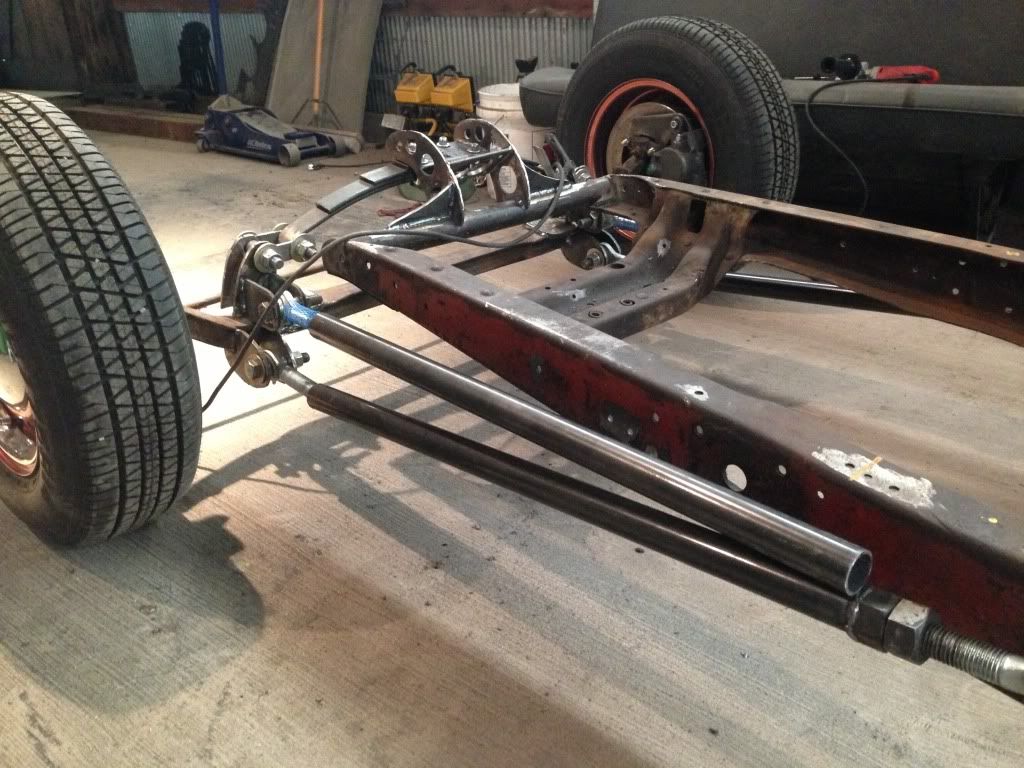
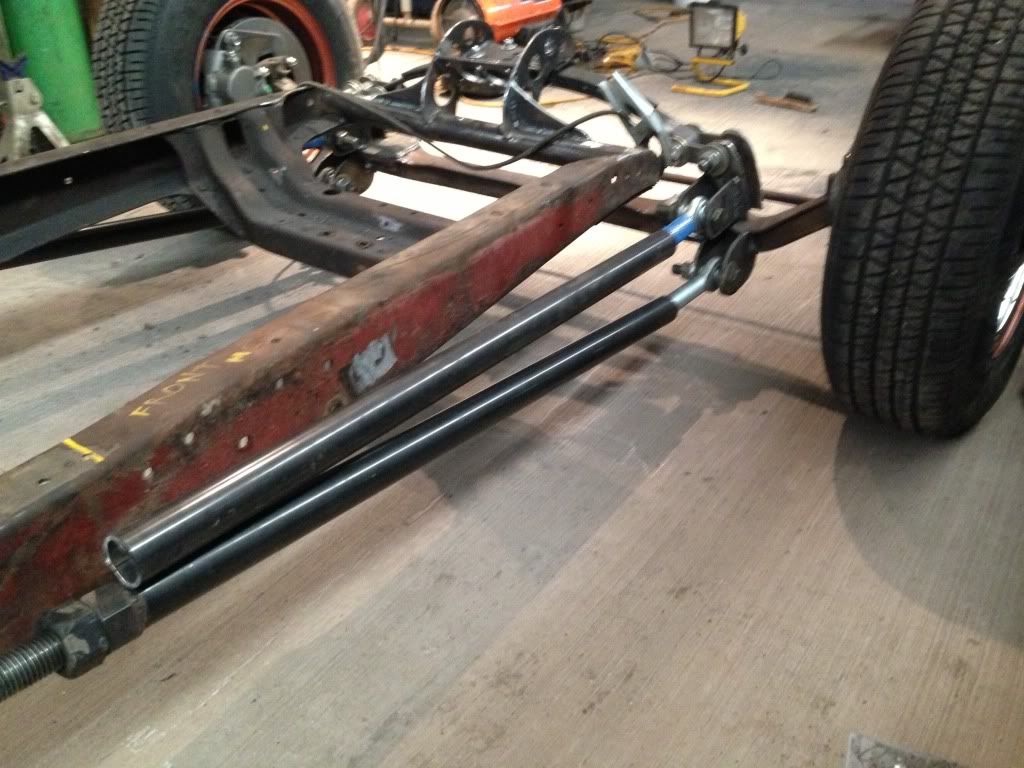
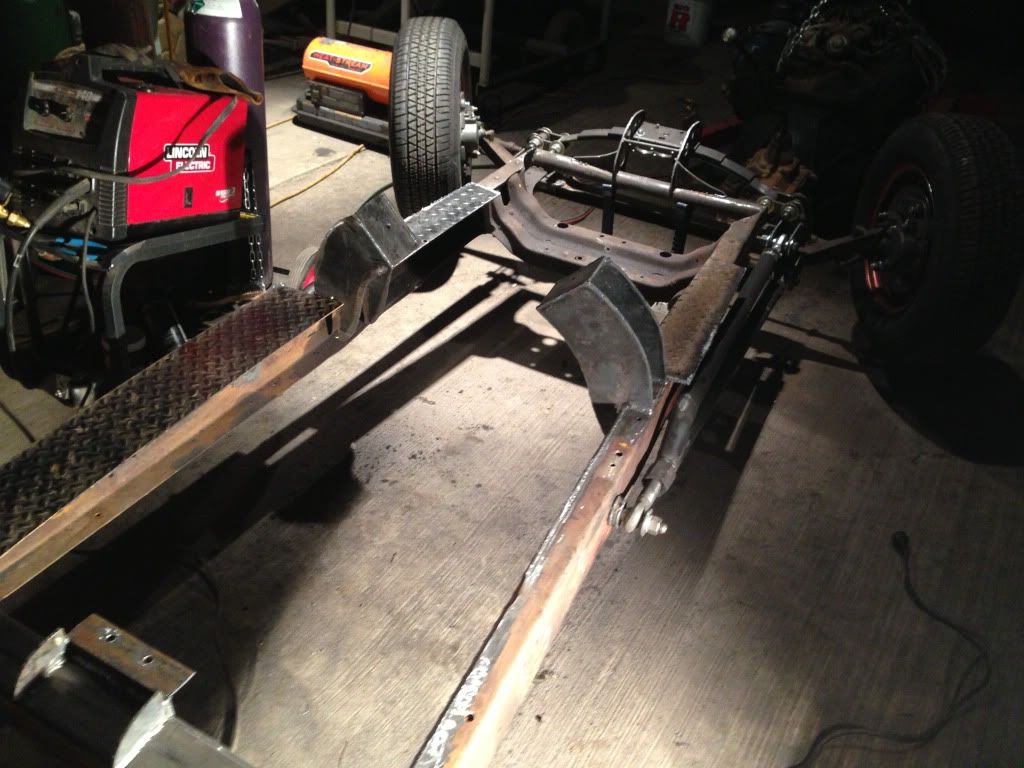
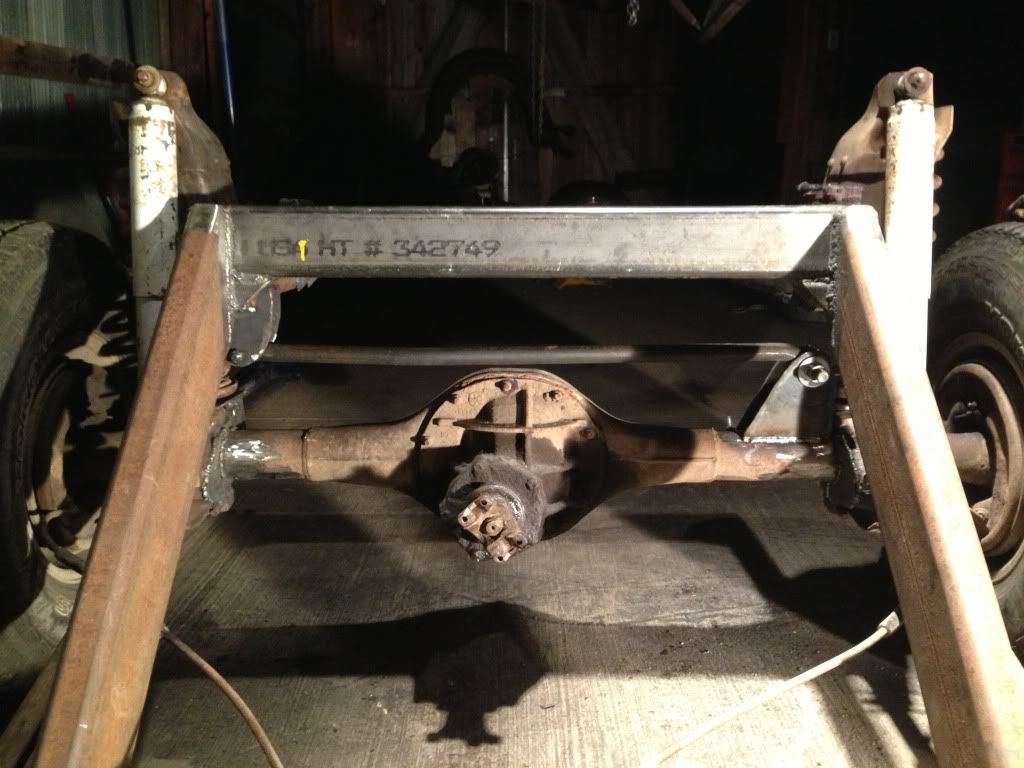
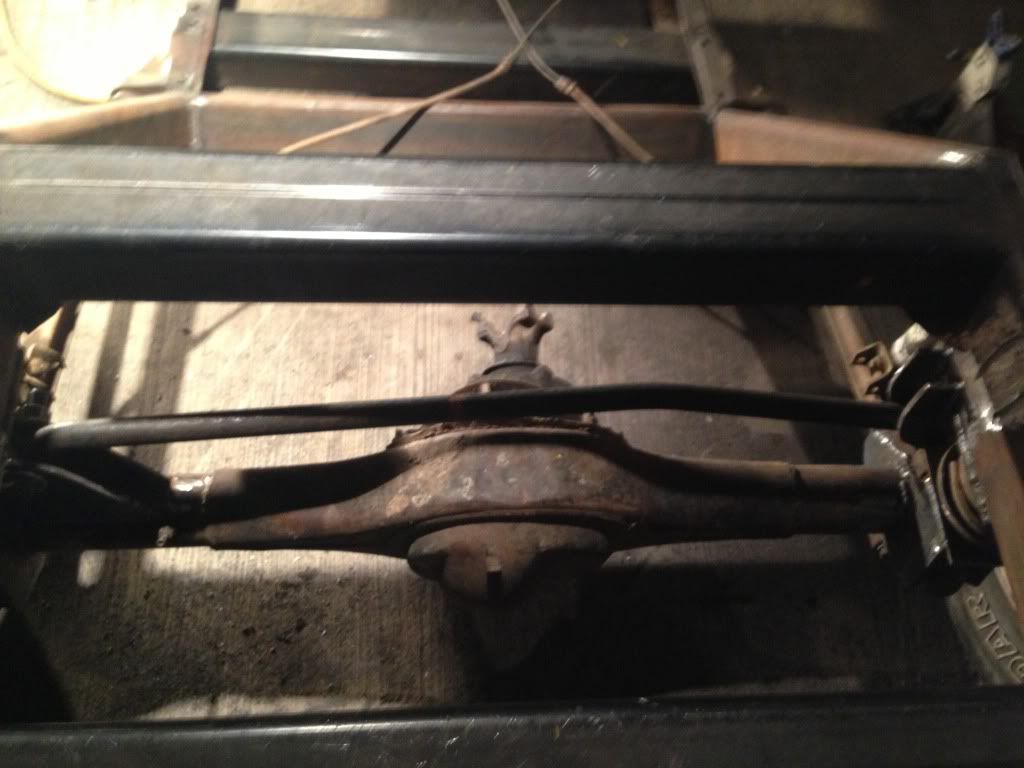
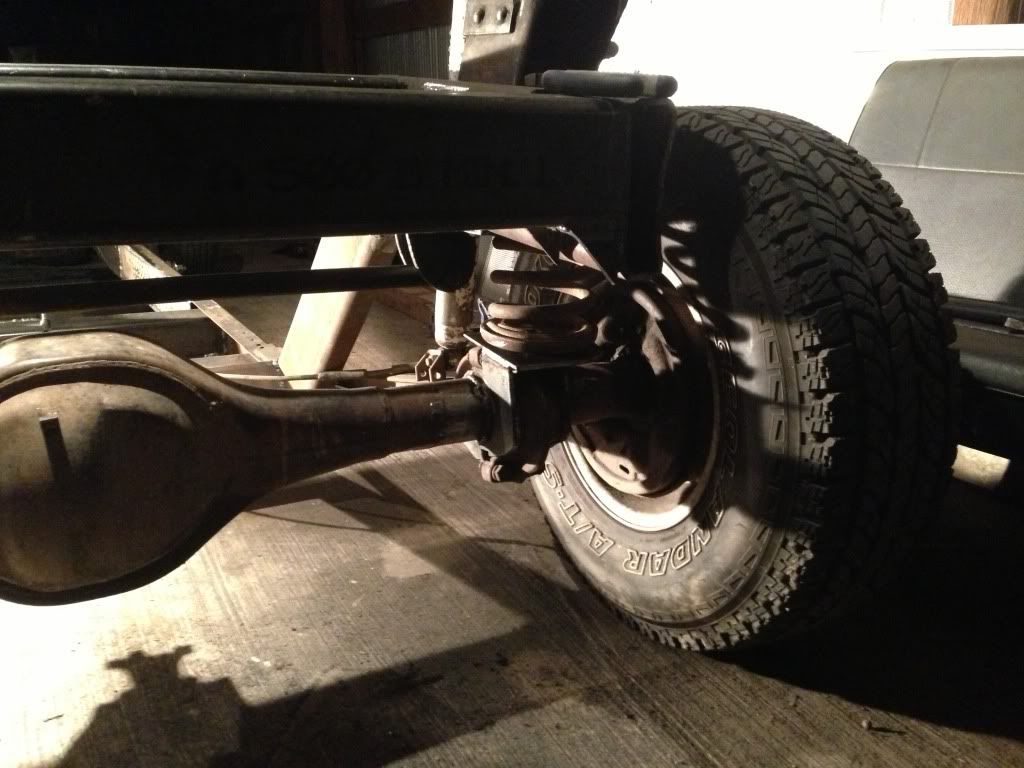
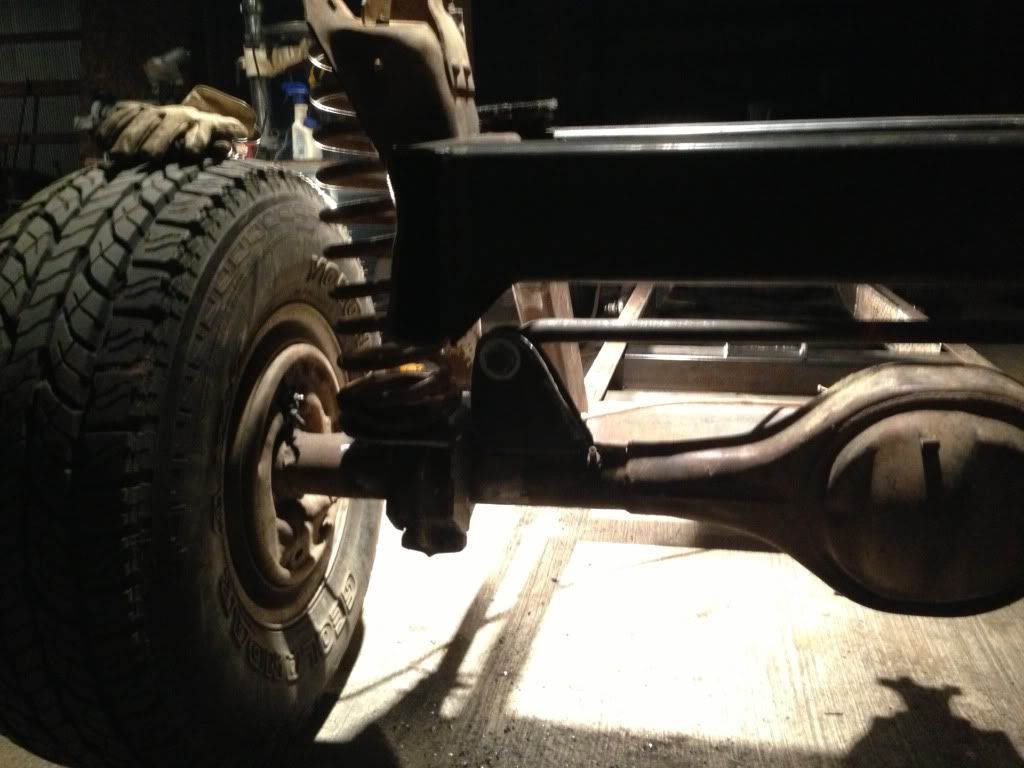
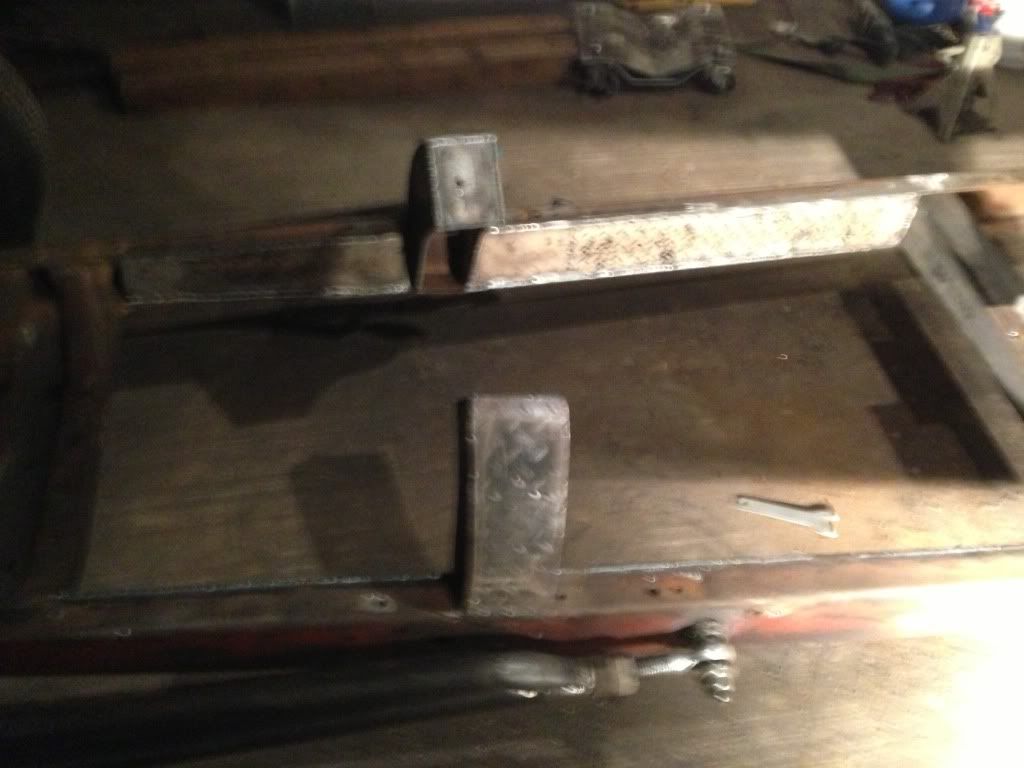
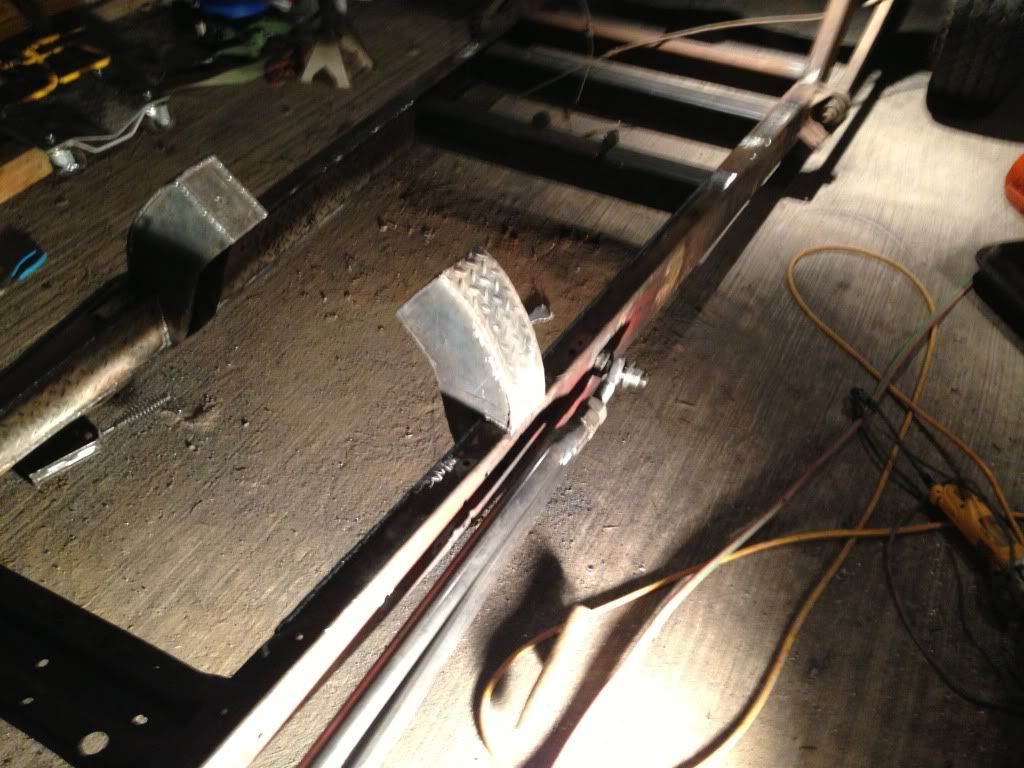
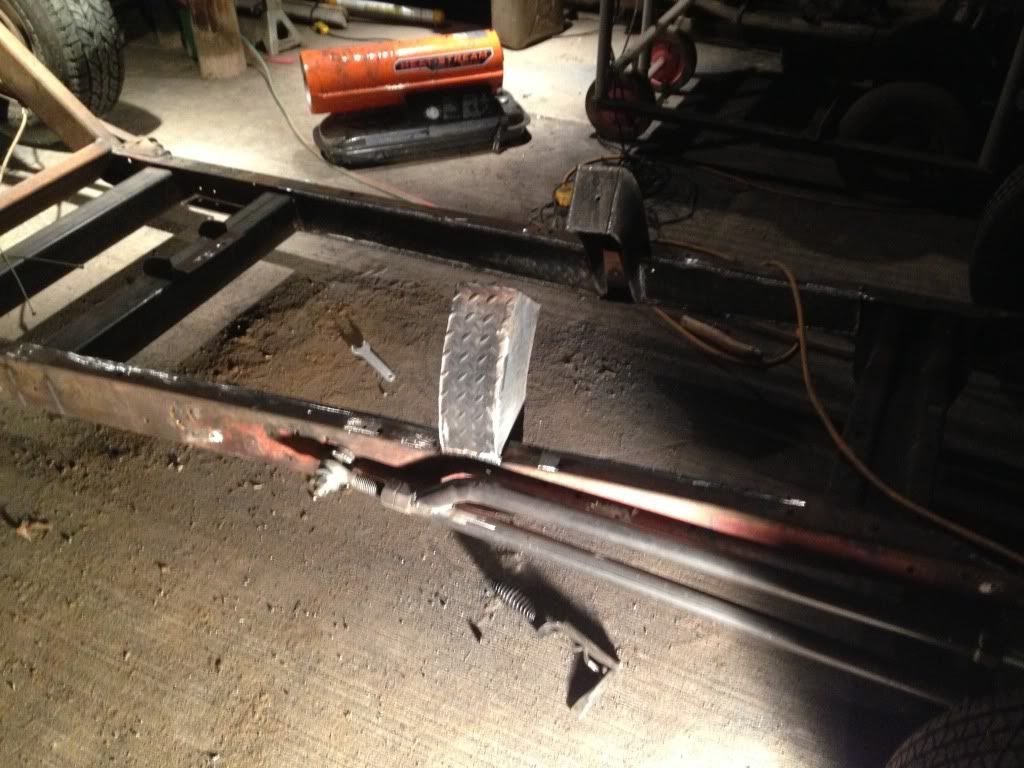
Okay, so I think I understand now. When you brake, the axle wants to twist due to the momentum of the car and under hard braking, it would twist even further and the only place that's keeping solid pressure is the radius arms and the spring perch. So, I broke out the torch, cut the old brackets off, made new ones and moved them out about 3 more inches so that they are in line with my spring brackets. Now, obviously this is only a mock up but my idea is to make a few more brackets to mount an upper rod on each side and weld the upper to the lower rod. Anyhow, here's a picture to show what I have in mind. Mind you, the upper rod is just sitting across and it won't be where it's at. Just for demonstration purposes only.
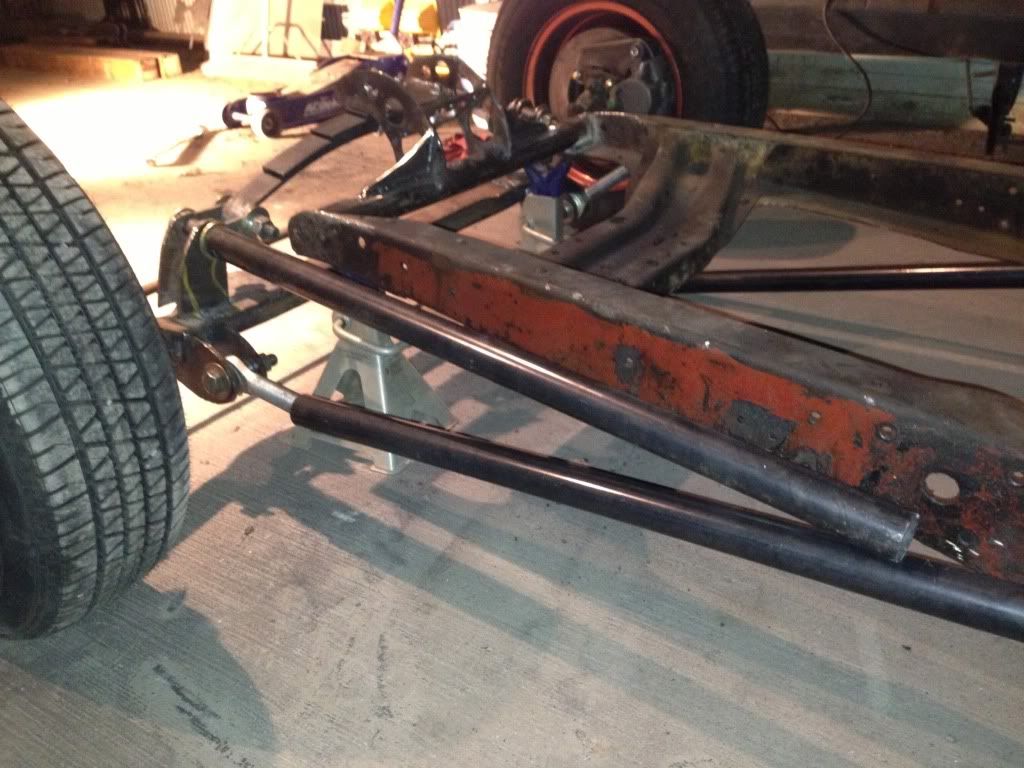
null_zps47f9c98e.jpg
 
Thats more like it. Actually, the axle would roll forward under braking, not backward as someone else said. Imagine those guys on the ricer bikes doing front wheel stands -under braking the whole bike wants to rotate forward.
 
Gotcha. I never thought building a ratrod would be so complicated. I'm learning something new everyday and seeing it transform is really giving me a sense of accomplishment and I couldn't do it without y'all's help. Thank you guys very much.
 
Yep, I believe you got it now. [cl That should work fine either as a 4 bar or a modified hairpin to keep the axle from rolling.

Lots of knowledge here to be had from some great guys willing to help! [cl
 
Uh Sam....

I stand by my previous statement. Ackerman has been reversed. Although you may be right that it won't be a big deal. I've never driven a car with anti-Ackerman, but I would think it would handle odd in corners or at least the inside tire would scream.
 
I stand by my previous statement. Ackerman has been reversed. Although you may be right that it won't be a big deal. I've never driven a car with anti-Ackerman, but I would think it would handle odd in corners or at least the inside tire would scream.

The pictures don't lie ... It's not Anti Ackerman, the angle of the steering arms has not been altered - it works exactly the same whether the tie rod is in front or back, inside wheel turns sharper. Also exactly the same on my 2010 Dodge Ram 3500 4x4 and tons of other late models with solid front axles.

To induce Anti -Ackerman (if there is such a thing :confused:) the steering arms would need to be angled outward beyond the kingpins so the tie rod ends are farther apart than the distance between the kingpins - that would put the tie rod ends well inside the rims, a highly unlikely scenario....
 
Looks like I goofed ! :eek:
After some reflection and playing with my geometry set, it looks like to achieve proper Ackerman with the tie rod in front, the tie rod needs to be longer than the distance between the kingpins. Tie rod in rear, it needs to be shorter than the distance between the kingpins.
My apologies to SamFear :eek:, BlueNorthers' pic tells the story...
 
Hmmmm, looks like I got some more work to do again...lol This learning curve is a never ending story ain't it? Anyhow, I'm thinking to flip the steering arms ill haveta cut the balls off, drill em out, and use some heims and spacers. We'll get this sorted out one way or another.
 
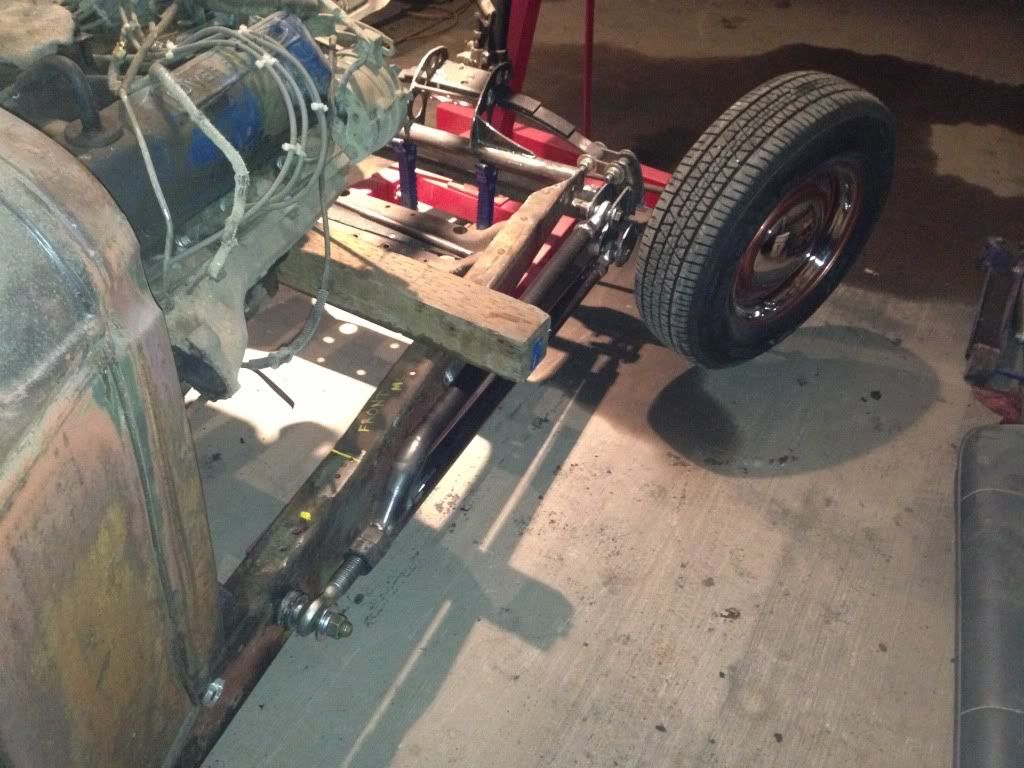
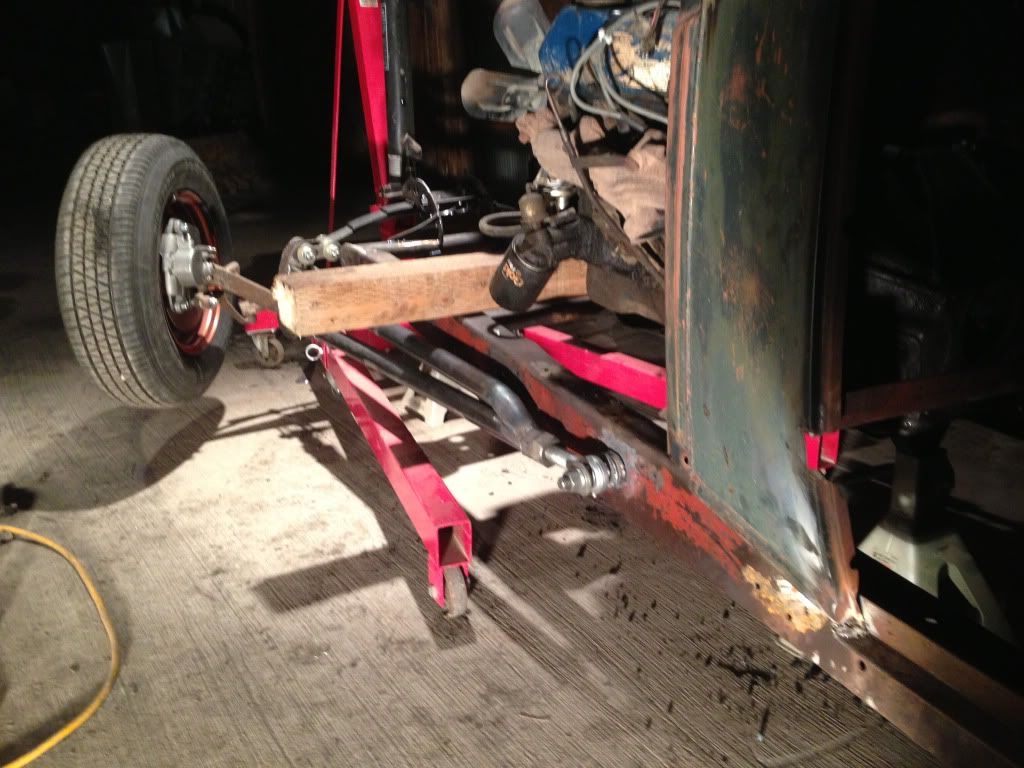
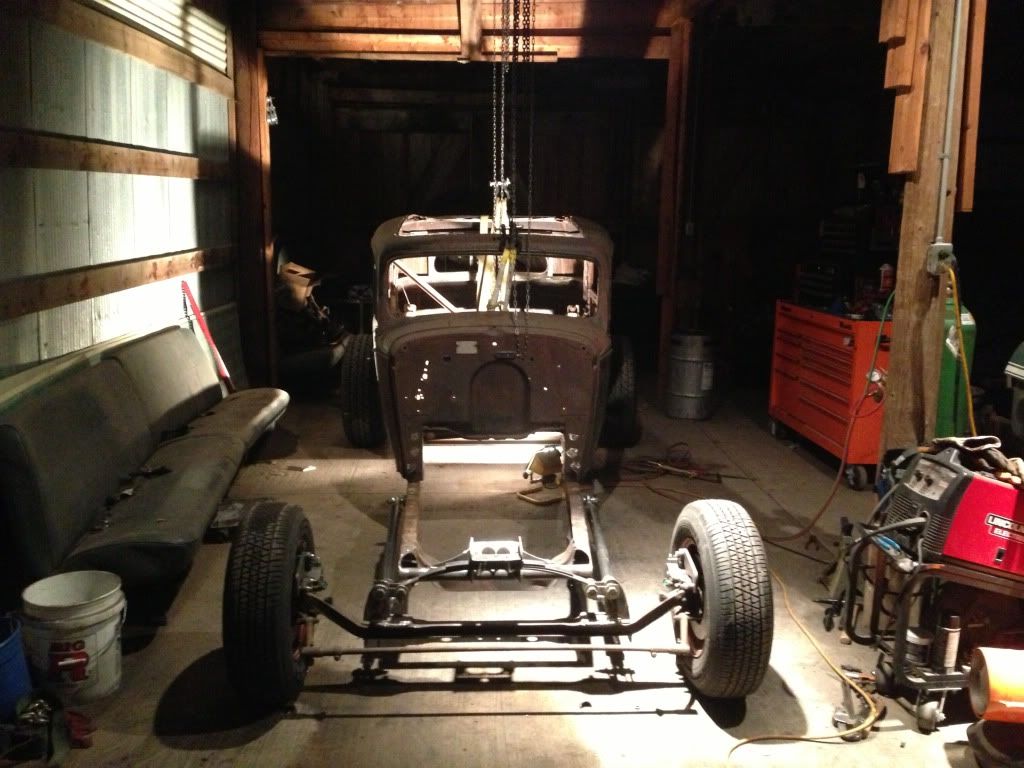
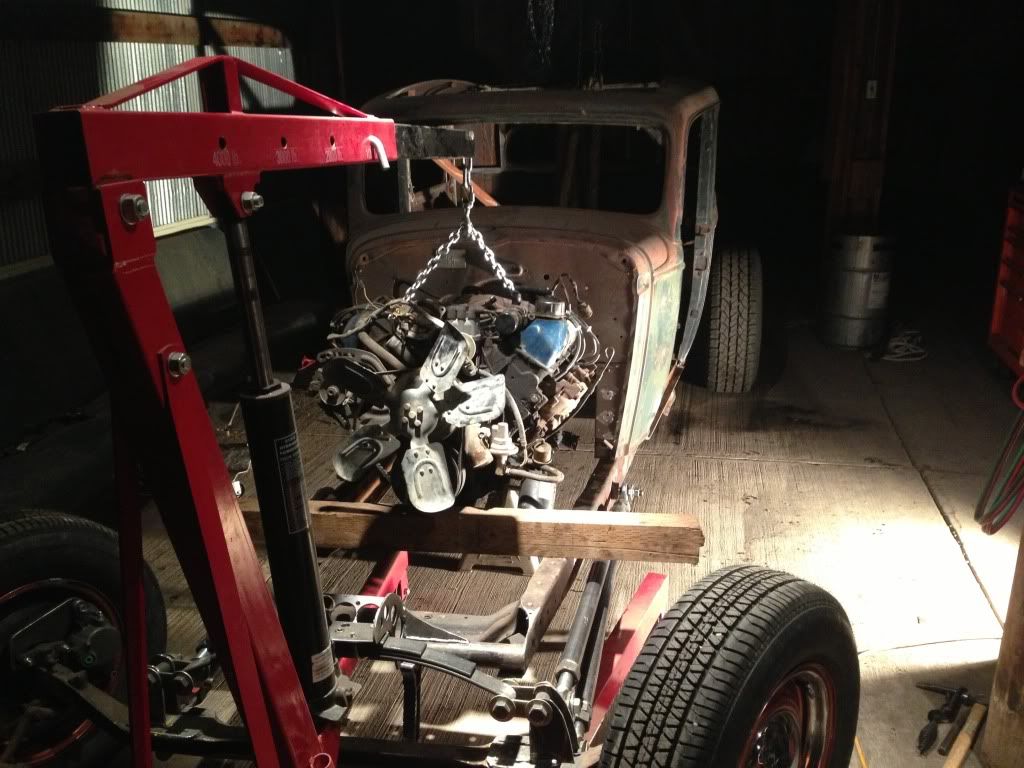
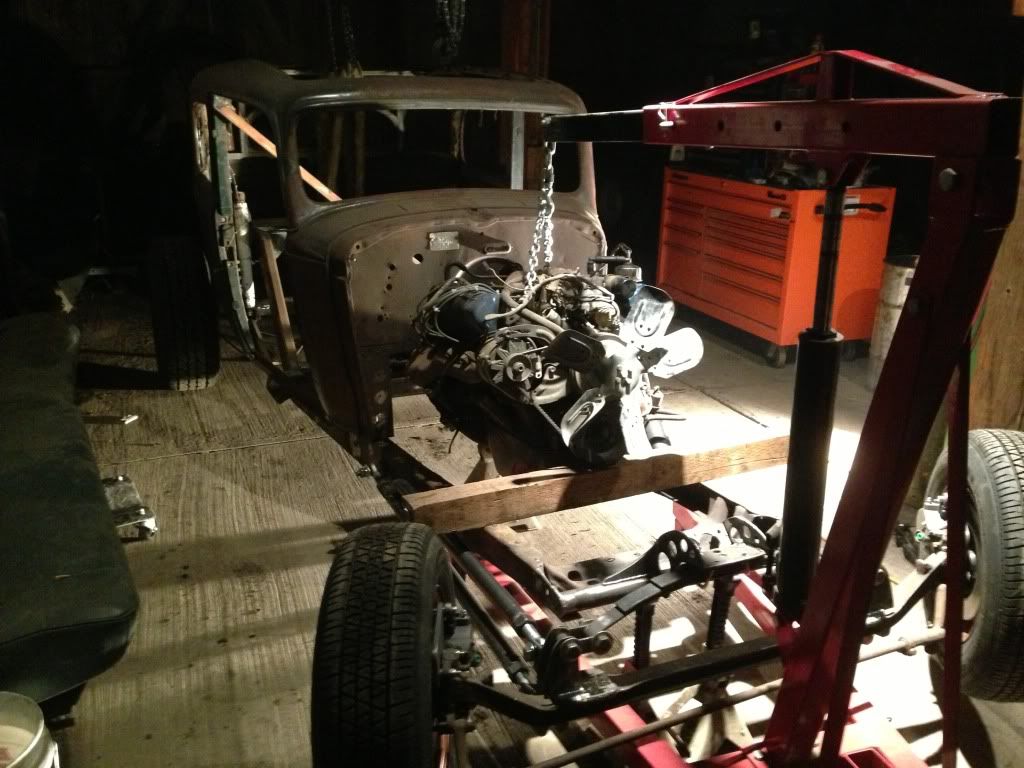
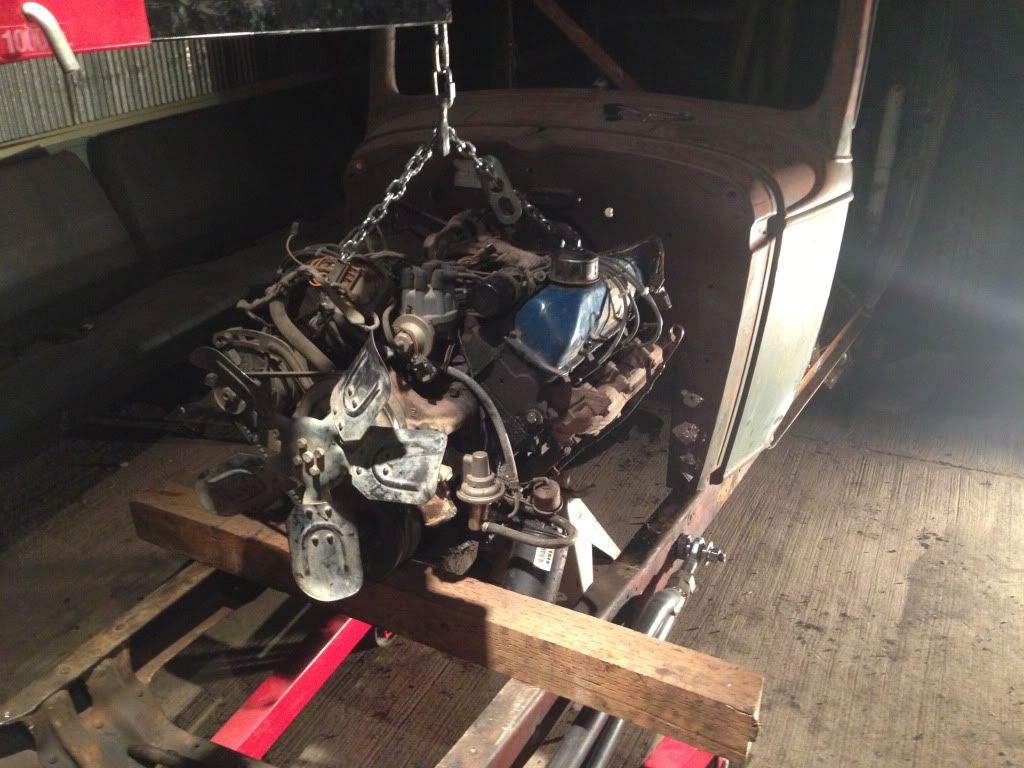
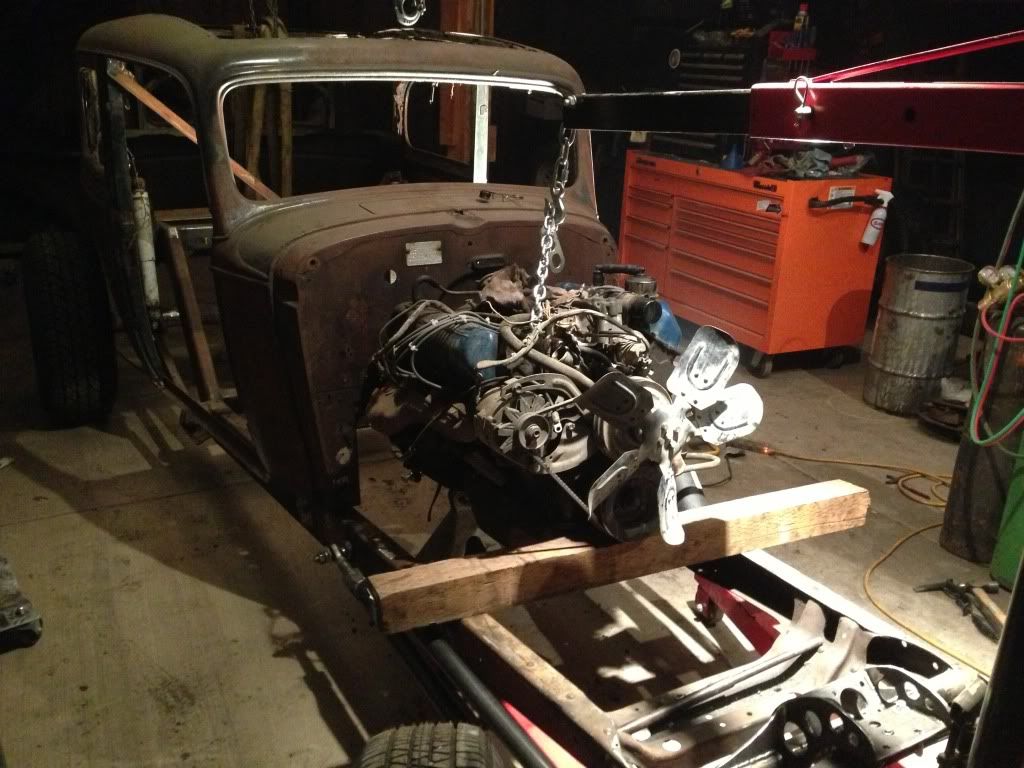
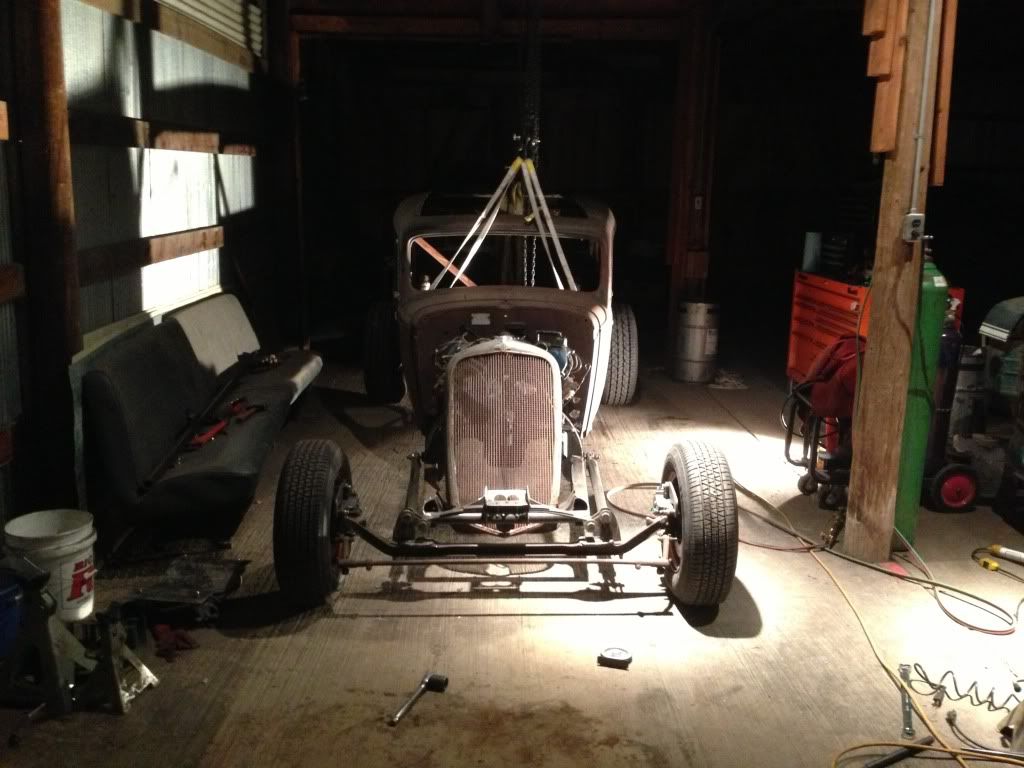
Did a bit of work tonight after work. Got the left hand nuts in yesterday so had the bottom rods all set yesterday and today I got the top rods welded on. I think it's coming along great. A lot quicker than I imagined even with all the set backs. And for $#!?$angits I decided to cut the wheel wells out and drop the body on the chassis. Seeing how I need to figure out where the engine and tranny mounts are going, decided hell with it and set the engine in its place. It ain't perfect yet but soon enough I'll have it all fingered out. Well guys, what do ya think?

null_zpsbab4ba7b.jpg


null_zps2c2a96e3.jpg


null_zps8ef41379.jpg


null_zpsc11822d9.jpg


null_zps02af4eeb.jpg


null_zps4f7597cc.jpg


null_zps209adfe2.jpg
 
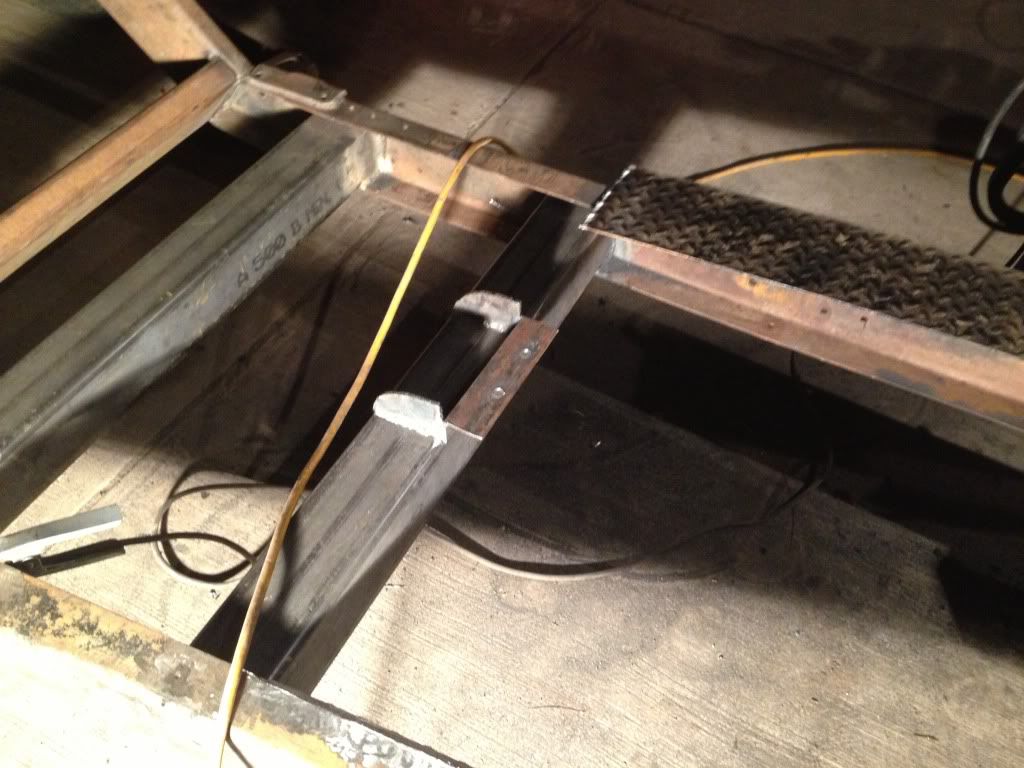
Pulled the body back off, the engine out, put the transmission on, and got the trans crossmember all welded into place. I started boxing in the frame but ran out of shielding gas so I cut out the rest of the pieces I needed to box in the frame. Also redid the front spring bolts. The u-bolts musta been like grade 5 or somethin cause they stripped out when I was trying to get the caster right. Oh well. A few pieces of 1/4 inch, 4 grade 8 bolts and nuts and much better. Here's some more pictures.

null_zps898b9826.jpg


null_zps3284f021.jpg


null_zpsbf7578d7.jpg


null_zps70e3f66f.jpg


null_zpsbb0e41fa.jpg


null_zps0f5f65ed.jpg


And I'm using the diamond plate cause it was out in the scrap bin and I would hate to see it go to waste cause its the perfect size.
 
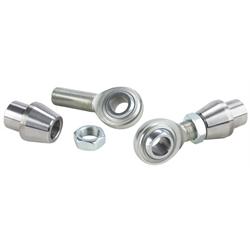
Just a quick thought about your rod ends and nuts, typically there is a threaded bung welded into the tube end for strength, then a jam nut.(And I think some of the setups have threaded inside the tubing itself) I am confused as to why I see two nuts on the tubing, if it is just for mock up disregard me. I'm just looking out for safety, and I do not think a nut welded to the tubing is the way to go here.

91645142_R.jpg

How is it any difference than the bung? Yes, the bung has the sleeve that is inserted into the tube but you cannot weld inside the tube so if anything the sleeve is nothing but a guide. Even with the sleeve, all of the stress is put onto the weld on the outside of the tube, just like the nuts. And just so y'all know, these are not your everyday nuts. They are a heavy duty 1-1/8th nut that is 1" across and uses a 1-5/8th wrench to tighten down. We use the same nuts and tubing at work to hold up locomotive journals and those are 1000 lbs verticle so controlling horizontal movement is far less weight and far less stress on the welds.
 
The bung slips inside of the tubing which gives you a better load condition not relying on only a butt weld, I believe many of the guys do a rosette weld as well in a couple or few spots around the bung through a hole the tubing. The way it is setup now, you are relying 100% on an edge weld from the nut to the tubing. I have no doubt the nut is strong enough, its the attachment to the rod I was referring to.

I love your front end so far, and I dig your build. And just like anything else, it is just a suggestion, never do I reply to builds to criticize.
 
I understand that I am relying 100% on the butt weld but there's still a few tricks up my sleeve to make it stronger. And believe you me, it'll be pretty damn cool when I'm done. I glad you're liking my front end. I love the way it's turning out. I'm going back over the rear end now to correct some things that I'm not entirely happy with. I tell you what, it's really nice to have a big torch set lol
 
Well, did a little more work to her. I'm working nights now so it's a lot harder to do anything with it. Finished the rear end so the frame and suspension are done so now it's time to focus on the body. Time to start pulling out the wood and replacing it with metal along with building my body mounts. Anyhow, a "few" pictures.

null_zps1f30dd40.jpg


null_zps8acf081e.jpg


null_zpse9bc3d51.jpg


null_zps880a97fa.jpg


null_zps3d2193b9.jpg


null_zps3410fcee.jpg


null_zps1d468784.jpg


null_zps70e7154f.jpg
 
Really taking shape now! I see your shackles look right. Q? Did you put any angle on your spring perch to match the axle caster?
 

Latest posts

Back
Top