Scrap46rat
Active member
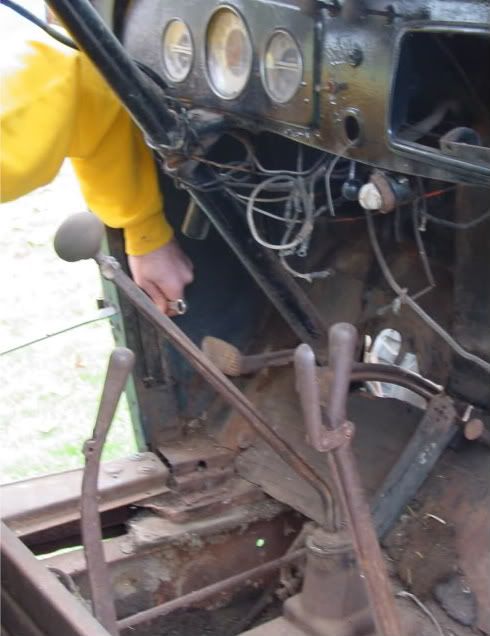
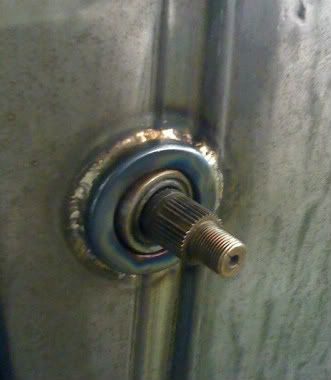
Nice work I really like the shifter, I too made my own but I don't like how easy it is to change gears or bump out of park so I will be incorporating your idea into mine.

It is fun to look back & see how your project has come along for sure. I've only had the experience of restoring our Boss 302 which took forever to finish. Just seems to bring back a lot of good times to see a pics as a project comes to life.
Yeah its fun to look back.. but at the same time it makes me realize how slow I build.. some guys have done 3-4 cars in the time I have not even done 1
Corpo, I see you live west of Chi town in corn& bean country. Tell me how the planting progress is up that way. Here in eastern Indiana we are getting waaaay behind because of the wet weather.
Thanks,Rex
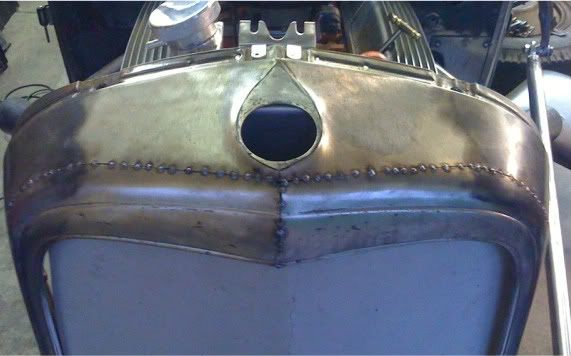
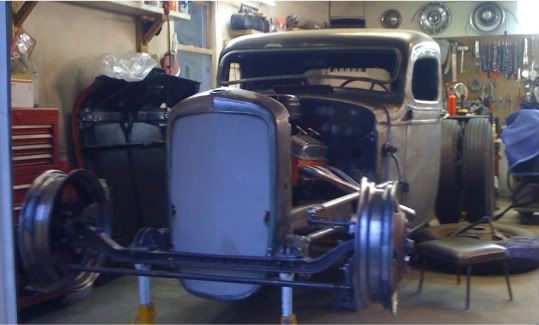
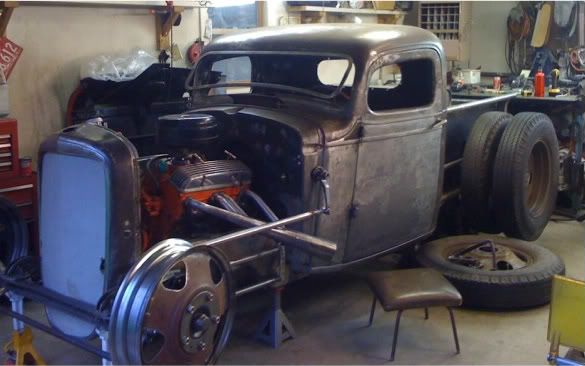
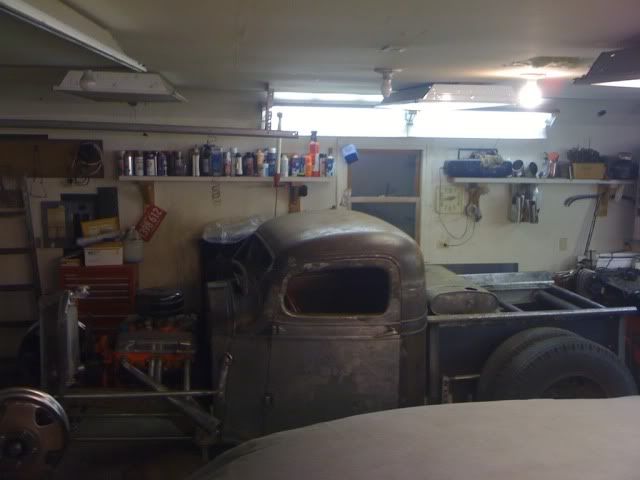
Starting to look like something now...
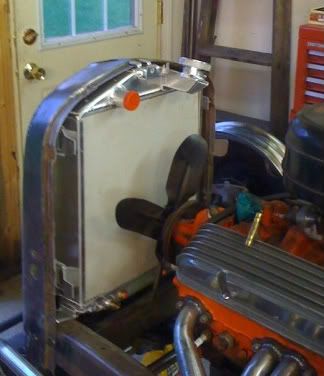
I may still try to lower it about 1/2" but its going to be alot of work to achieve that...
Its forward of stock position by about 3-4"
Enter your email address to join:
")
