1951 Ford F1

Rat Rods Rule

Help Support Rat Rods Rule:

This site may earn a commission from merchant affiliate links, including eBay, Amazon, and others.
Got the front end finished tonight. I just wanted to point out a few things to the new guys building their rods.

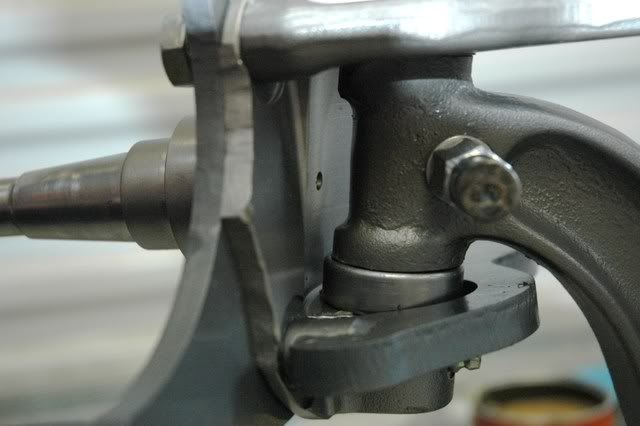
When you put the spindle on the axle the thrust bearing goes on the bottom with the dust cover facing up. Make sure you check the clearance between the axle and spindle and add shims if necessary. When you put the kingpin in make sure the notch is facing towards the inside for the locking pin to go through. I also made sure to use Locktite on all the nuts and bolts. I don't like the idea of something falling off the front end.
001-14.jpg


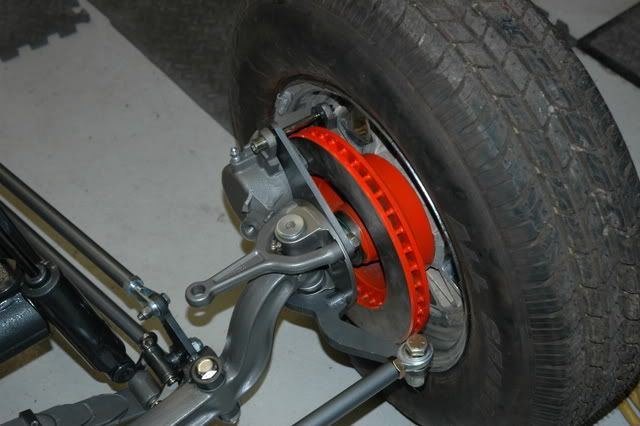
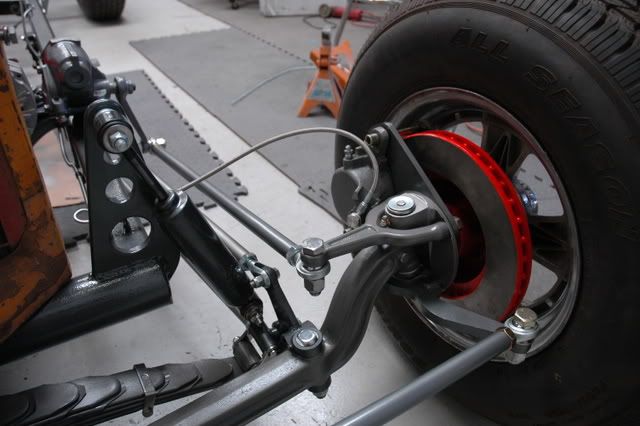
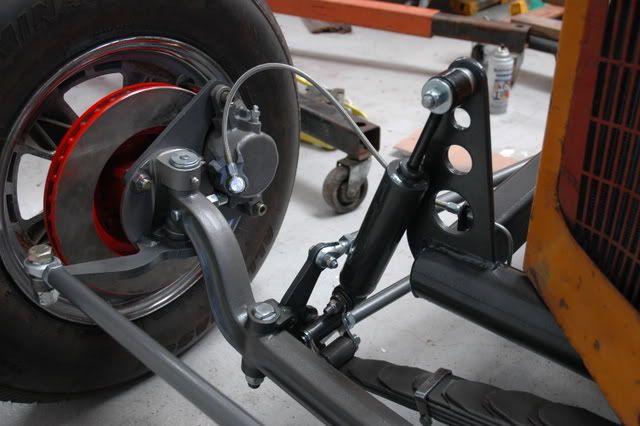
When installing the disk brakes I had to grind out a notch in the spindle backing plate for the caliper to fit correctly.
002-16.jpg


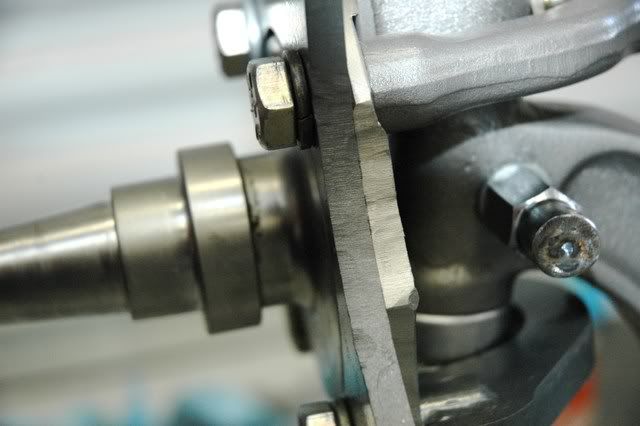
You can see in this picture how the steering arm tie rod hole is to the left of the kingpin centerline or farther out on each side. This is to keep the Ackerman angle correct with a front steer setup. These are steering arms from Total Performance.
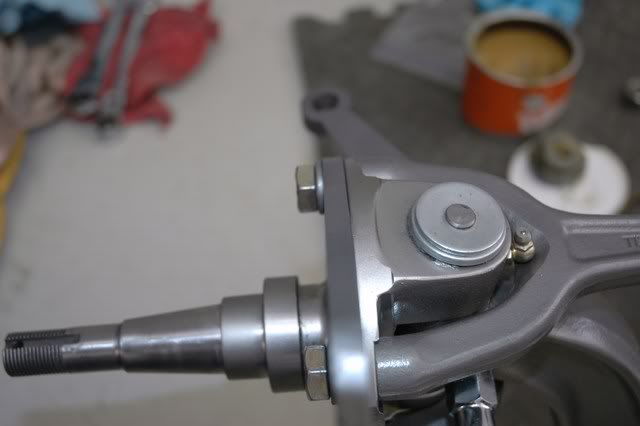
003-16.jpg


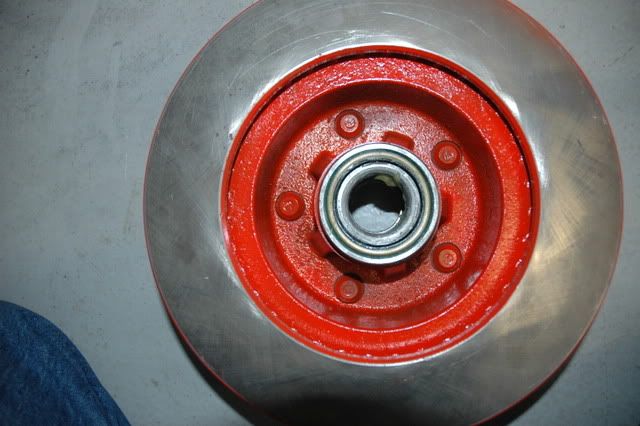
Since I'm using 5 spoke offset wheels I painted the brake disks just to look nice. I used high temp paint on these.
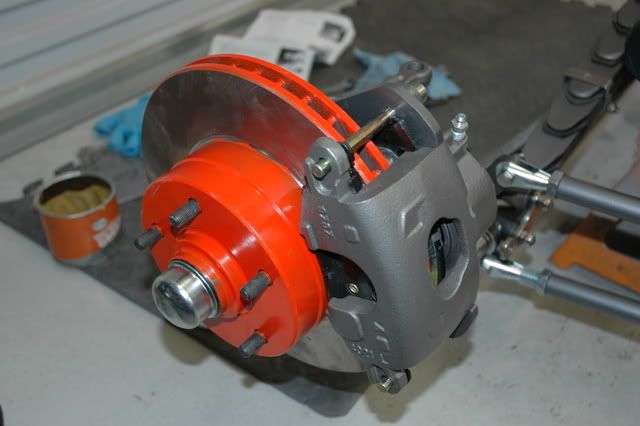
007-13.jpg
 
Last edited:
I also painted inside the rotors because you'll be able to see them.
005-17.jpg


Man. I think this is too nice for a Rat Rod. I'm going to go find a nice cab or body.
009-12.jpg


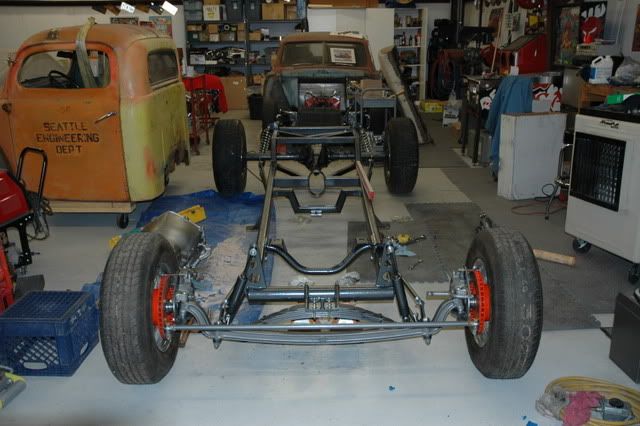
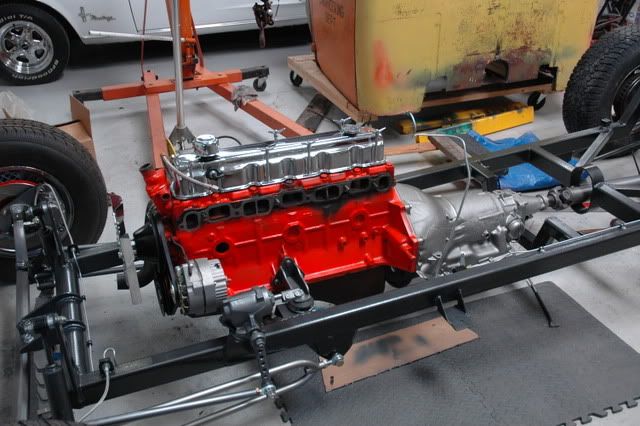
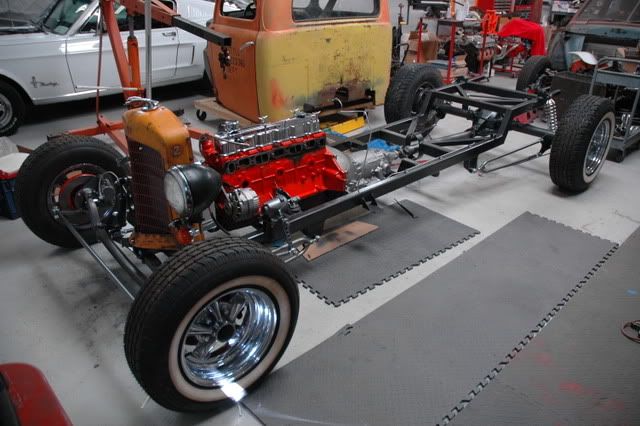
Got the rolling chassis done. It's time for the engine and transmission.
008-12.jpg
 
Thanks guys. I'm just try in help out the young guns. Some of these things are just second nature to use that have done this several times before. there are just a lot lot of little details to remember. That's one reason I like to take lots of picture during assembly so I can see how to put things back together. This is something I've learned doing restorations. Take tons of photos and notes before and during your disassembly. I know we all said Oh I'll rememer when this and that goes. But 6 months, a year maybe 2 or 3 years later things aren't so clear anymore.
 
Comin' together ,, looks good..:) good point about sharing those kinda build details for the younger guys who might be knee deep in thier first build, the internet is great, these kinds of Forums are nice, sure beats wearing out the pages of a Rod & Custom mag while yer legs fall asleep from sittin on the throne too long..:D
 
Comin' together ,, looks good..:) good point about sharing those kinda build details for the younger guys who might be knee deep in thier first build, the internet is great, these kinds of Forums are nice, sure beats wearing out the pages of a Rod & Custom mag while yer legs fall asleep from sittin on the throne too long..:D

Been there, done that! :D And then the wife yells, "You OK in there?"
 
Last edited:
I didn't work on the truck today. My wife and I went to shoot Sporting Clays at our gun club with a friend. This is the first time she has shot sporting clay and got 22 out of 100 and this is only the second time she's shot a shotgun.

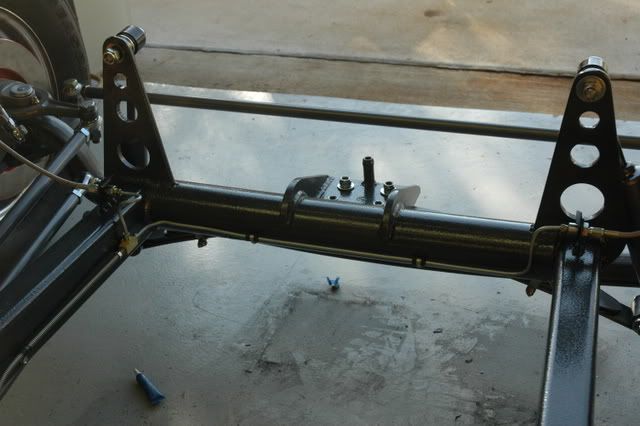
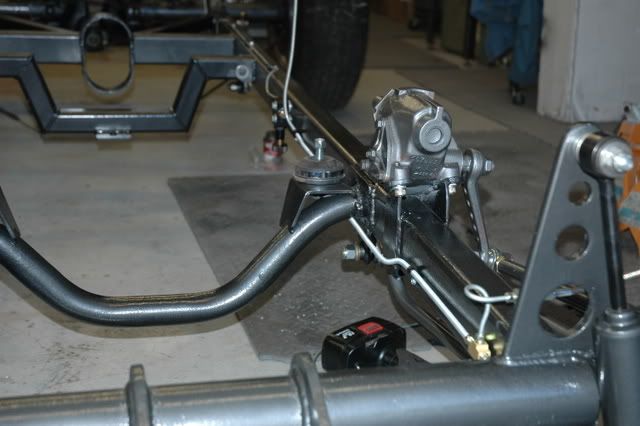
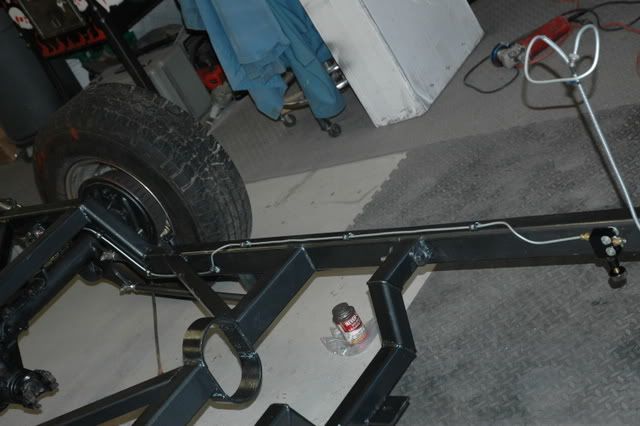
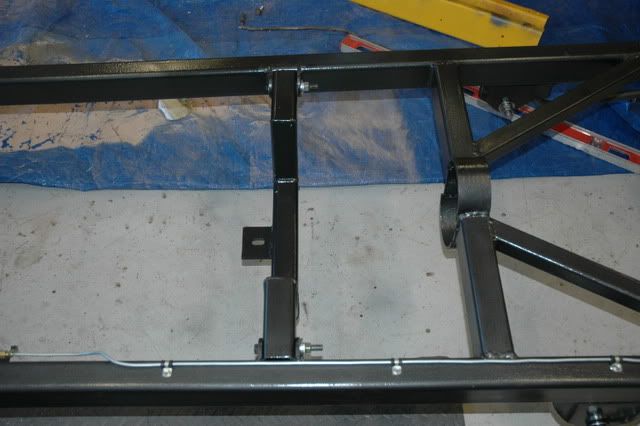
I did work on the truck yesterday just didn't upadate the build thread. I ran the brake lines and hooked uo the transmission to the engine. I had already bent up and flared the front lines. I just hooked then up and attached them to the frame with brake line clamps. I tried to run them in places where they would be kind of protected and in open areas I used the the spring type brake line protection.

001-15.jpg


007-14.jpg


I then bent up and flared the rear brake lines. I ran them on top of thefrom under the body. I have 1" of clearance betwen the body and frame so they shouldn't be problem there. I added a Wilwood proportioning valve in the rear line and mounted it on the inside of the frame up close to where the firewall is locatedand close to the master cylinder. I mounted it to the frame using Nutserts or Rivnuts http://www.imperialinc.com/grp270.shtml . These are super handy when you want to add a nut into most any material.
I didn't need to add residual valves in the lines since the master cylinder is higher than the brakes. If you mount the master cylinder under the floor you will need to use residual valves for the front and rear.
008-13.jpg
 
Last edited:
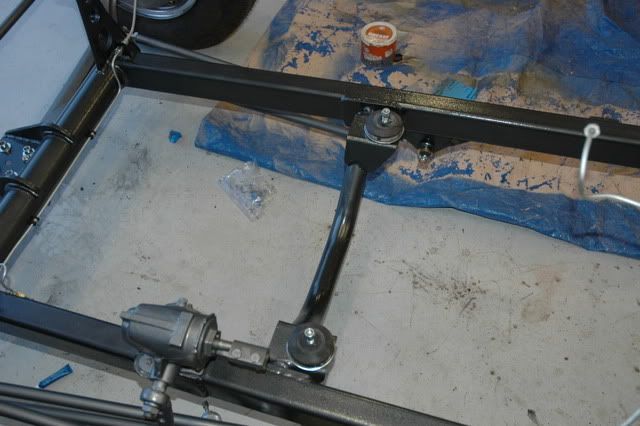
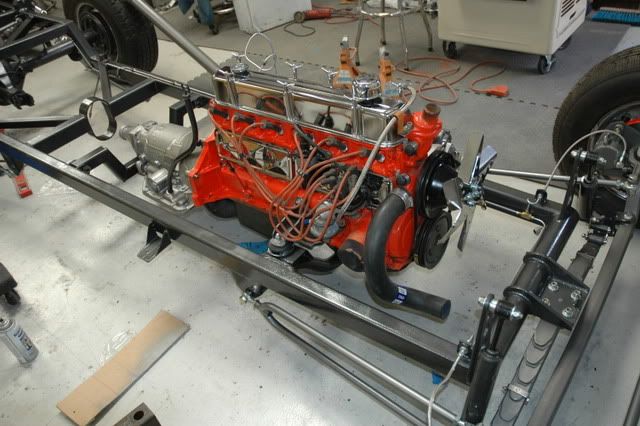
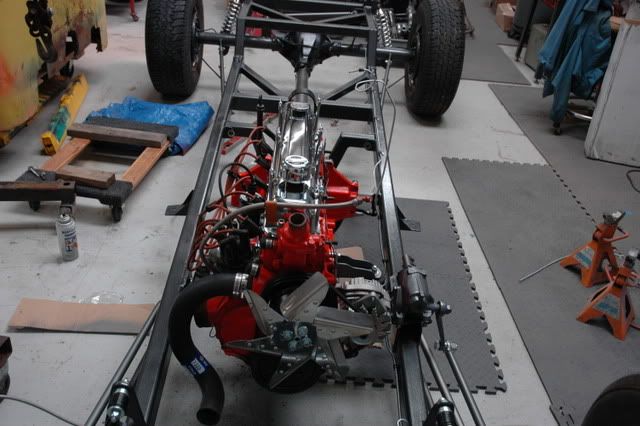
This is just a shot of the front engine crossmember with the Chassis Engineering motor mounts. When mounting the engine try to use mounts that direct the weight straight down if you don't use a cross member. I used one anyway. With angled mounts the weight of the engine will spread your frame and you will need to use a cross member.

004-17.jpg


I used a removable transmission mount just to make removal easier later.

005-18.jpg


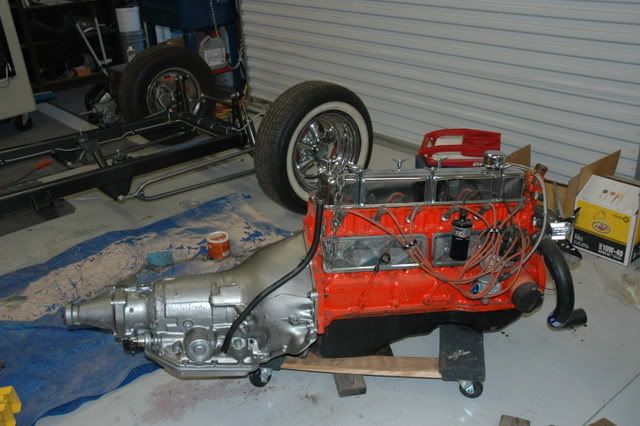
I installed the torque converter and TH350 onto the engine. Always put the converter on the engine not to the flexplate. Spin the converter until it slides onto the lugs for the front pump. Place the transmission on the engine and spin the torque converter and flexplate to line up the bolt holes.

010-12.jpg


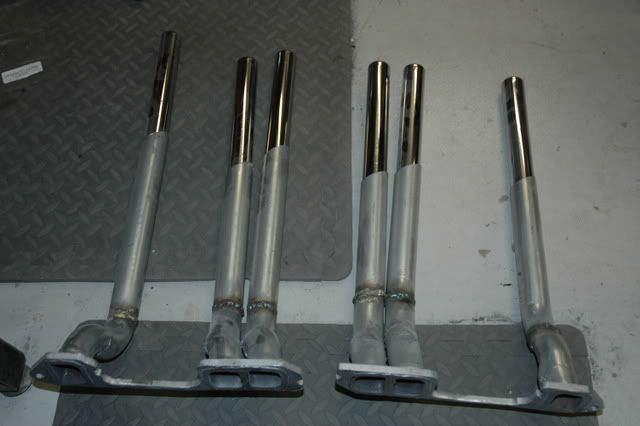
I need to extend the exhaust pipes on the engine and found that VW exhaust tips fit perfectly into the 1 1/2" dia pipe. They are some what baffled just lined with perforated metal and fiberglass packing. Should just help tone the exhaust note with very little restriction.
012-6.jpg


The plan is to get the engine in tomorrow.
 
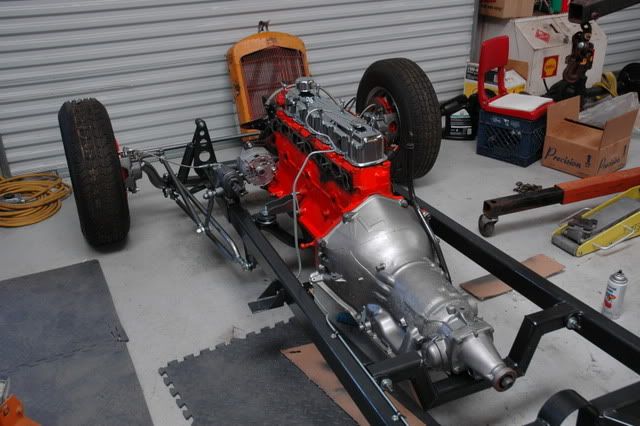
My wife helped me this morning and we got the engine and trasmission in the chassis. I stilll need to clear coat the intake manifold and rebuild the carbs. I also need to make a bracket for the throttle cable and kickdown cable.

001-16.jpg


003-18.jpg


I need a freeze plug in the first hole on the engine too.

004-18.jpg


005-19.jpg
 
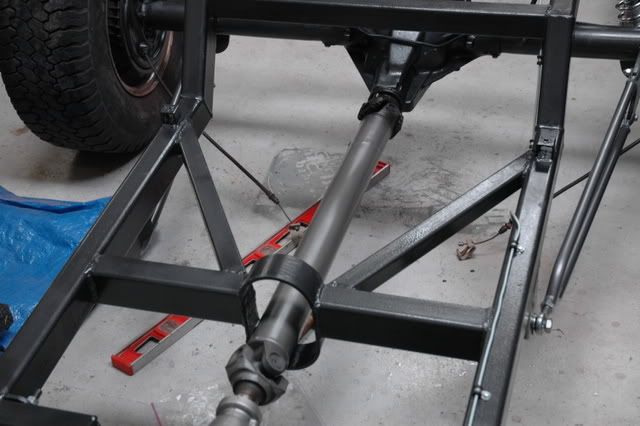
Put the driveshaft in....
006-19.jpg


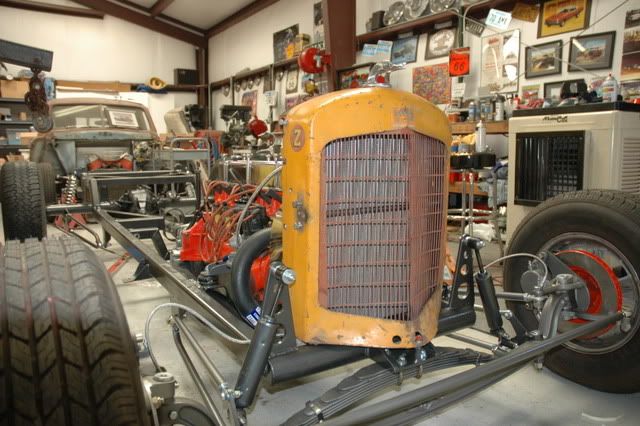
and the grille and radiator.
007-15.jpg


Once the engine was in I mounted up the front shocks. Clearance between the shock and upper bar on the radius rod is very close. Fortunately the more the front spring compresses the more clearance I gain so it should be alright.
008-14.jpg


009-14.jpg
 
Last edited:
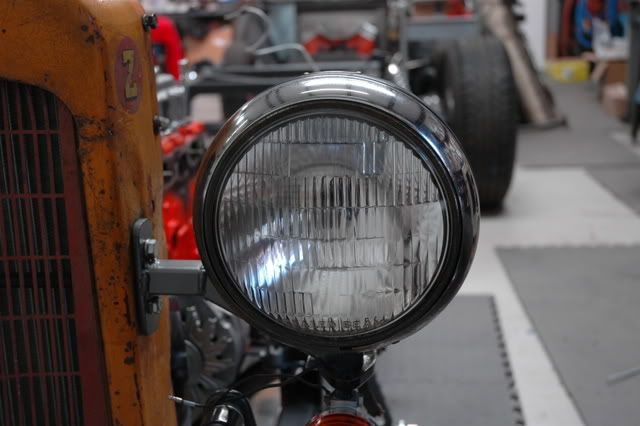
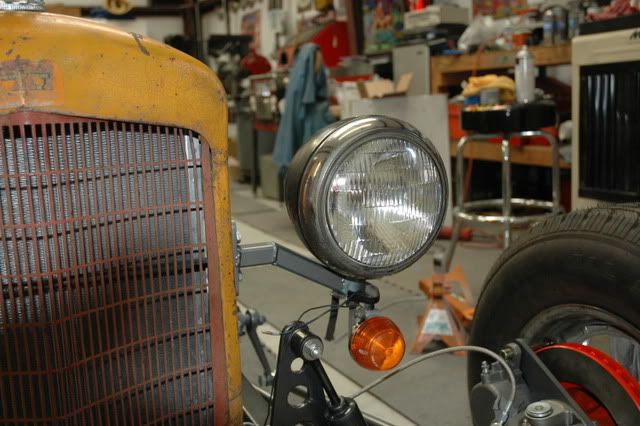
Mounted the headlights and turn siginal on one side.
010-13.jpg


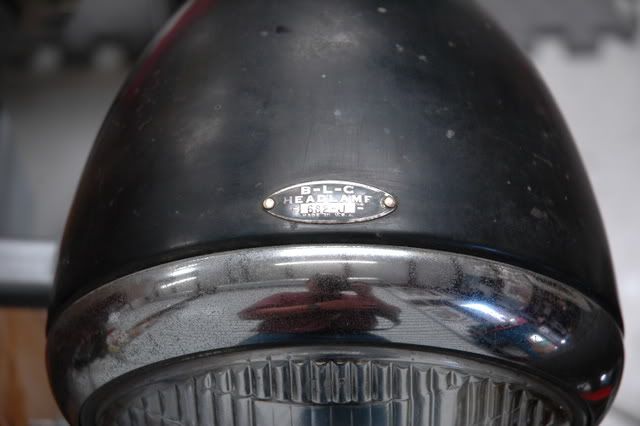
I found another pair on ebay and got them $60. The others were missing a trim ring and I couldn't find one so I just bought this pair of BLC 682-Js

011-11.jpg


This pair were in excellant condition.

014-3.jpg


When I got to this point I sat down with drink in hand and stared for an hour.
015-3.jpg
 
Looks great dmw56 I really like the color of the frame. Its all awesome :)
 
Thanks Guys.

I'll probaly leave the Chevy tailgate on for now. I don't feel like doing the extra work to make it fit right now. It has more Chevy parts on it than it does Ford parts anyway. Its a Chevordebaker Moline Chalmers! :eek:


I know it's supposed to be a "Rat Rod" but I just can't bring myself to build something that looks like crap and is unsafe. I could have left the metal unpainted and got the rusty patina look but I wanted it to stay nice. So I painted everything kind of a bare bare metal look in different shades.
 

Latest posts

Back
Top