Chevy/Reo?

Rat Rods Rule

Help Support Rat Rods Rule:

This site may earn a commission from merchant affiliate links, including eBay, Amazon, and others.
I ...Umm...might have to leave this board. I... ummm ...gold plated (painted) the prototype REO emblem and mounted it to the wall behind my PC that runs the CNC plasma. [cl

ResizedImage_1364911856152.jpg
 
jfg.....what gauge did you guys cut that out of??

I ...Umm...might have to leave this board. I... ummm ...gold plated (painted) the prototype REO emblem and mounted it to the wall behind my PC that runs the CNC plasma. [cl
ResizedImage_1364911856152.jpg

looks really thick in the pic's...(hey it rhymes)...sorry... nice work....think you could do something with SGT?? Thinking there could be a spot on the smoothed out tailgate of mine for something suttle..or not so suttle...maybe?
 
1/8" thick Sarge. To quote Jeff Gordon, it's "Awesome!"

jfg, thanks for making a downsized one. Not sure how I'll use it but I have some ideas. The check is in the mail. lol
 
Bob, I thought of another possibility for patina on the REO emblem.

We use Root Kill to copper plate. Root Kill is available in the plumbing department at home centers for about $14. It is 99% copper sulfate crystals. Dissolve 1 cup to a quart of water (not critical). Clean the metal and dunk it in the mix. Comes out looking like a brand new penny. Rinse and wait a while; it will start looking like an old penny. When it gets the color you want, hit it with clear lacquer to stop the aging.
 
looks really thick in the pic's...(hey it rhymes)...sorry... nice work....think you could do something with SGT?? Thinking there could be a spot on the smoothed out tailgate of mine for something suttle..or not so suttle...maybe?

These were 12ga mild steel so they are just a tad under 1/8". I could probably knock something out for you. Just have to give me an overall size EG: hieght and length and a style you are looking for EG: artsy, block letters, curved, script etc. [;)
 
Ouch!!!

Being a garage door repair man, so am I. Stupid spring got me the other day and I am in a wrist brace. (After 15 years, you stop being so careful I guess.)

Rev, you need to be careful....hope you heal up quick....was it one of those windup kind? Or was it the coil spring type? Whatever, take it easy man....
 
Cool, I'll pm you with the dimensions....

These were 12ga mild steel so they are just a tad under 1/8". I could probably knock something out for you. Just have to give me an overall size EG: hieght and length and a style you are looking for EG: artsy, block letters, curved, script etc. [;)

was thinking it would be cool on the tailgate since I did the inside handle on the gate....so it's just smooth with that curve across it.....maybe better with Sarge and not sgt..?? or The Sarge....man the thoughts are flowing.....[S

sorry, we return this thread to BobW :D
 
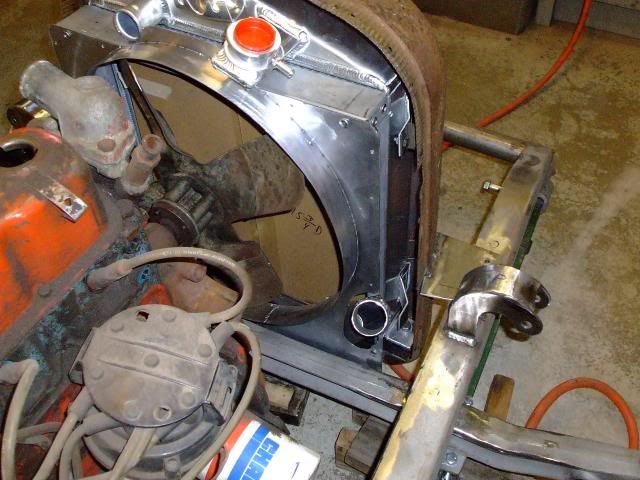
FanShroud005.jpg

Can I get a word in here? Just kidding. Always a pleasure when people are active in the thread.
After a couple false starts I finally made an acceptable fan shroud. I had a '49 Plymouth 4 blade fan so I cut it down a bit to fit this application. First attempts were out of aluminum but I did some poor measuring and after reworking it it seemed too flimsy. The new one above is made from 20ga sheet metal.

Now I can pull the engine and run all the brake lines and fuel lines.
 
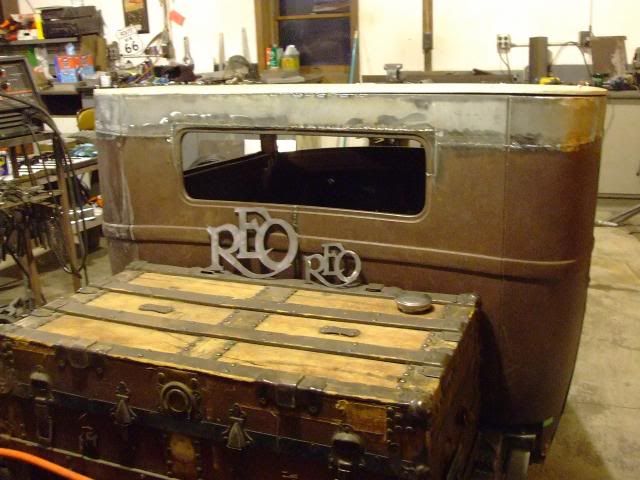
LittleReo004.jpg

John made a little REO to go with the big REO. I'll find a place for it, probably in the back.

Thanks John. Great job on it.

Spent part of the day putting valve seals in the 305 sbc in my 1940 Plymouth pickup. Then visited one of my Wed. lunch buddies (the only young one). His wife does upholstery so I am having her do the Reo seats using a wool army blanket.
 
Corners003.jpg

Got all the brake lines and the fuel line run and holes drilled and tapped for the clips to hold the lines in place
Drilled and tapped a bunch of holes to hold the floorboards in place. Made brackets for the transmission cooler.
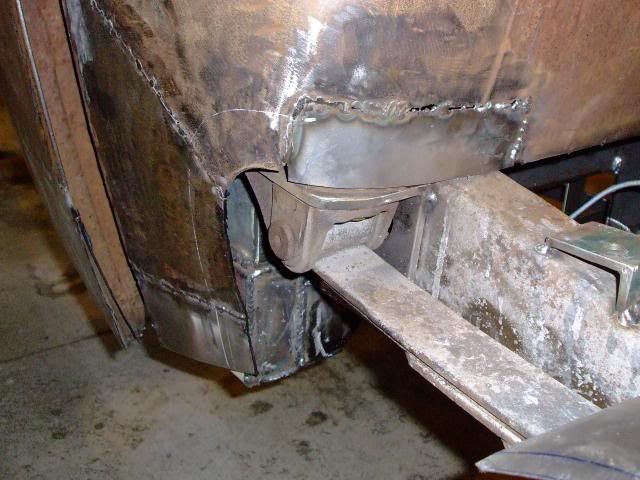
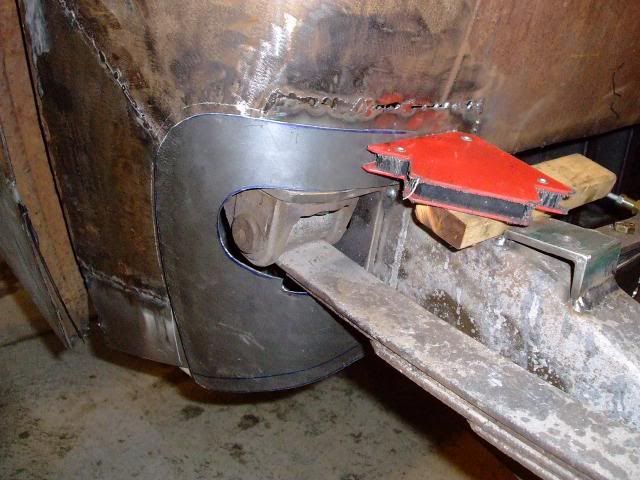
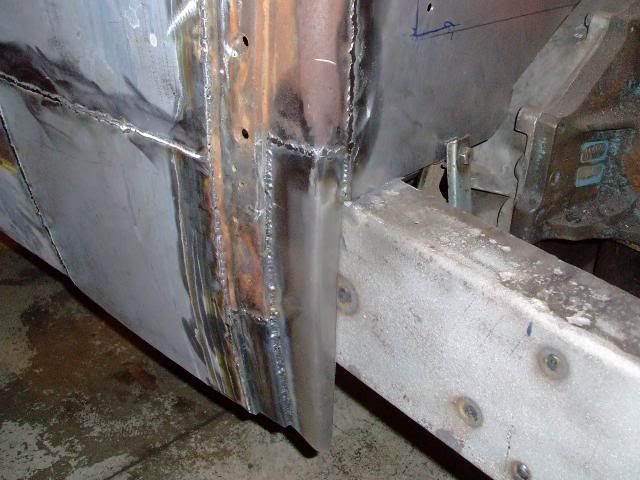
Today I turned my attention to the gaping holes in the cab corners. They're needed to get the body on and off the frame and to service the front spring bolt.
In retrospect it wasn't very smart to tuck the front of the spring into this area. Either farther in or completely behind the cab would have been better.
 
Corners002.jpg

I made a corner cover that will be riveted on after the body is installed the final time. The spring mount extends beyond the contour of the cab corner creating the need for the big cutout. When it's all one color it won't stand out so much.
 
Very nice Bob....

I think you could actually make a silk purse out of a sows ear....(not that the build is a sow ear).....oh you know what I mean!! Nice detail....should have just said that and left as is...lol... :D
 
I read post #435 and almost posted "You should make a cover that goes over the spring..." Lol! THEN I read the next post and you have hit it on the head. Seems my A.D.D. almost got the better of me. Looks good. [P
 

Spent the whole day making and installing patches. Got the passenger side cab corner done including the cover piece. Then I worked on the cowl/firewall area. This corner of the body was badly damaged. Looked like it had been smashed by a forklift in the junkyard. There's a couple more rust through areas to be patched and the door gaps need work. Getting closer to sandblasting time.
 

Latest posts

Back
Top