Skip's 39 Ford PU. How it happened

Rat Rods Rule

Help Support Rat Rods Rule:

This site may earn a commission from merchant affiliate links, including eBay, Amazon, and others.
Don't you just love it when a plan comes together?;) I'm glad you found a way to make things happen without surgery...it makes for a shorter time span before the first drive. [cl[cl
 
I took yesterday off to recover (yea, I'm a 300 lb. lightweight), and spent some time thinkin' about the seat installation. Now that it is so much higher, there is no good reason to waste the space under it. Its time to make some inside storage. Also, putting the seat cushion on top of a box is easier than modifying the current complicated risers.

The bigger issue though is gaining a bit more space around the lower left corner of the radiator for free. I could likely spring for a rack and pinion and solve the issue with a bit of time and money, but that is not in the cards. So, stay tuned. I am thinking about realigning the grille and "chin" a bit. Kick the front out just a little. If I can gain just an inch or two, life would be so much safer for the radiator. Time to go stare at if for a while. :confused: :D
 
Great to see that you are back at it brother.[cl :D [cl
The seat idea sounds good and sometimes it's easier and faster to make rather then modify.
[P [P [P [P
Torchie
 
I liked the shapes and colors in this pic so, I saved it as one of my desktop screens.
I believe this to be torchie's pic.
attachment.php
 

Attachments

  • Seat frame.JPG
    Seat frame.JPG
    45.3 KB
Well. There was no inch or tow to be gained. But I did find a half inch. Now that the radiator is in solid, the odds of it getting damaged through normal operation is pretty low. I can live with that.
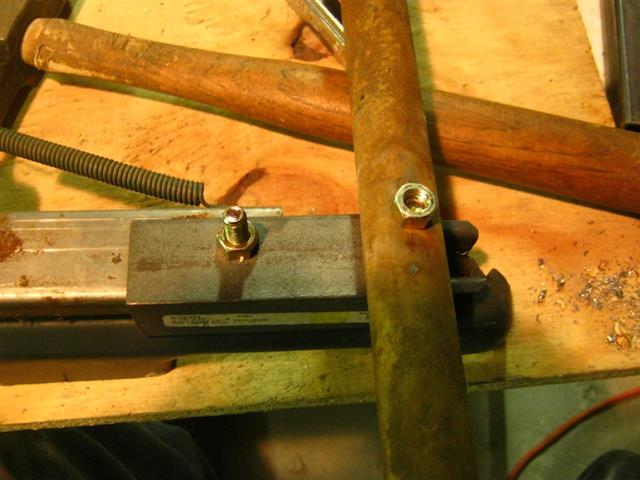
After that, I fabede a third bar to position the top of the grille. So now there are three from firewall to front. Sorry but no all-thread. :D The battery in my camera is dead again, so pics will come later today.


Time to dig around in the steel pile and find the parts for the seat riser.
 
Progress. Tomorrow, I weld.

Using the originally created riser turned out to be the better choice after all. The under seat storage can still happen. The seat uses the original quick release installation brackets. It tips forward easily, and locks in like GM created it.

Now that the seat is high enough, and far back enough, it would be way cool if the steering wheel was a few inches higher.

The hood is now easy on and off with the new grille pullback rod installed. The three bars looks OK. My apologies to the all thread lovers. :D
 

Attachments

  • P6140223.jpg
    P6140223.jpg
    105 KB
  • P6140225.jpg
    P6140225.jpg
    106.5 KB
  • P6140226.jpg
    P6140226.jpg
    86.6 KB
  • P6140227.jpg
    P6140227.jpg
    89.4 KB
  • P6140229.jpg
    P6140229.jpg
    87.8 KB
I liked the shapes and colors in this pic so, I saved it as one of my desktop screens.
I believe this to be torchie's pic.

attachment.php

That is one of mine OI. Modifying the seat riser on my last build.

Progress. Tomorrow, I weld.

Using the originally created riser turned out to be the better choice after all. The under seat storage can still happen. The seat uses the original quick release installation brackets. It tips forward easily, and locks in like GM created it.

Now that the seat is high enough, and far back enough, it would be way cool if the steering wheel was a few inches higher.

The hood is now easy on and off with the new grille pullback rod installed. The three bars looks OK. My apologies to the all thread lovers. :D

Skip,
It's been said that when you change one thing. You change everything.:eek:
I'm really happy to see you back at this with a vengeance.[cl :D :cool:
Keep on keeping on....
[P [P [P
Torchie
 
Skip,
It's been said that when you change one thing. You change everything.:eek:
I'm really happy to see you back at this with a vengeance.[cl :D :cool:
Keep on keeping on....
[P [P [P
Torchie
Its good to be back at it. Its good to have friends all over the planet that we have never laid eyes on, but we know they are out there. I think we all keep each other keeping on.
 
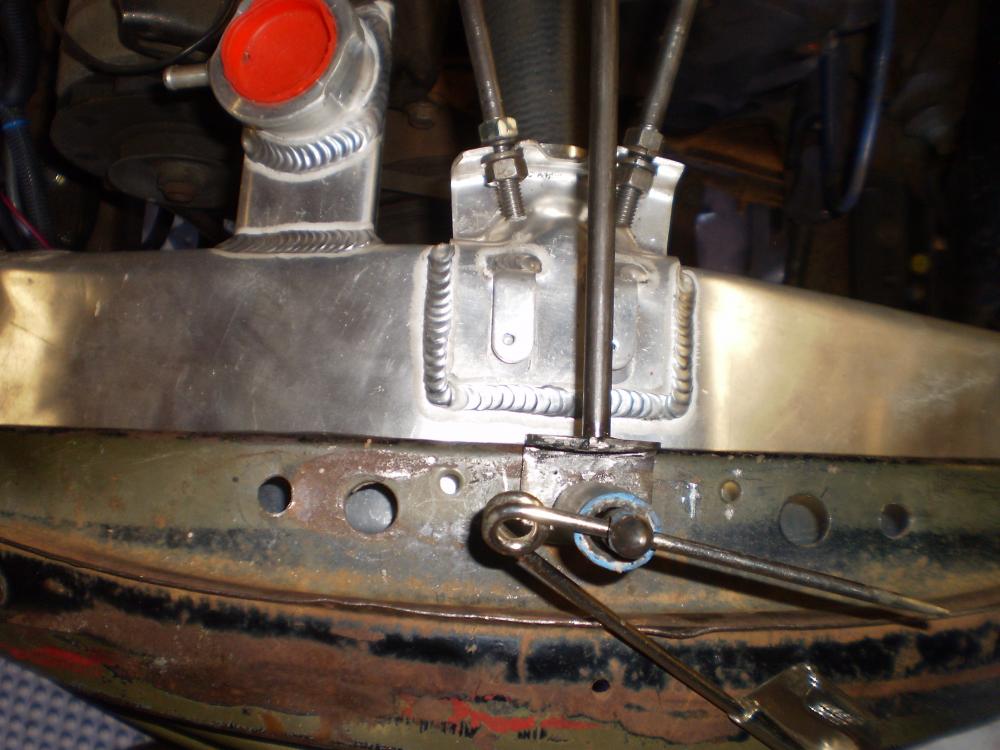
I like everything you've done so far but, I do have some concerns with the bracket welded to your radiator with the radius rods to the cowl. I know how much mine gets jerked around when I hit a rough spot in the road and think you might end up cracking the aluminum. Just my 2 cents
If you make a bracket that connected the radiator and surround together then bolt the radius rods to that It would be better.
attachment.php
OI, I can see your point, and feel that it is 100% valid. It is very soft aluminum. That said, redesigning the radiator installation a third time is not something I want to face at this time. With the first radiator ('65 Mustang) I had it set up as a stand-alone mounted to the frame. Henry didn't leave much room for massive structures in this part of the truck, so I went with something close to his original design this time around. I will think about including some "cushion" for the attach points on the radiator. That should help a bit. It is already sitting on rubber cushions at the bottom attach points at the frame.
 
What you said about cushion is a good idea. It would help a lot to have some rubber mounts between the radiator and rods.
 
I made rubber isolaters for the radiator struts. They should take care of any vibration issues at the top mount. It was in the original plan for this radiator install, but I managed to space it out during my year (?) off from this project. I hope there will not be enough flex in the frame to cause the body parts to bang into the radiator.
Thanks OI. Much appreciate your suggestions. It at least reminded me to do this. I'll watch for evidence of other assaults on the radiator.


So, the seat is in. The trans cooling lines are hooked up. The radiator hoses are hooked up. I need to finish bolting on the grille and surround, and install the front turn signals and secure the wiring. Then its fluids and engine noise time again. I hope.

I think I see a way to raise the steering column about an inch or so. But I'm going to stare at it some more before I start cutting on things again. In the current location, it is either rubbing on my legs, or completely blocking the gauges.
 

Attachments

  • P6150230.jpg
    P6150230.jpg
    75.8 KB
Skip, I watch my rad and grille shell dance sideways a lot on rough roads because I have no hood on my '36 truck. I was surprized at that, so OI was good to speak up. Your rubber spacers will soften the jarring. Keep on tinkering.
 
Have you thought about the possibility of a smaller wheel. ( He says. Not knowing what you have on there now.[ddd ).
I myself prefer the look and size of the original steering wheels but it's usually a simple way to gain some space.
[P [P [P
Torchie
 
Have you thought about the possibility of a smaller wheel. ( He says. Not knowing what you have on there now.[ddd ).
I myself prefer the look and size of the original steering wheels but it's usually a simple way to gain some space.
[P [P [P
Torchie

Ok. Disregard above suggestion. I back tracked and saw the pic of you in the cab with the steering wheel. It's small already.:eek: :eek:
Torchie
 
Ok. Disregard above suggestion. I back tracked and saw the pic of you in the cab with the steering wheel. It's small already.:eek: :eek:
Torchie
I just make it look small. :D I have some smaller ones than the current one. I am thinking about trying one again. I started with a flat one out of an '80s Firebird that is about two inches smaller. The one I have on it now is actually not as big as stock, but pretty close.
 

Latest posts

Back
Top