1940 Plymouth Truck

Rat Rods Rule

Help Support Rat Rods Rule:

This site may earn a commission from merchant affiliate links, including eBay, Amazon, and others.
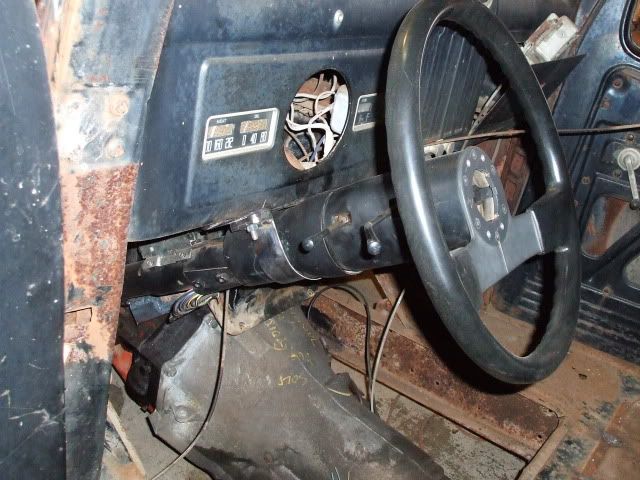
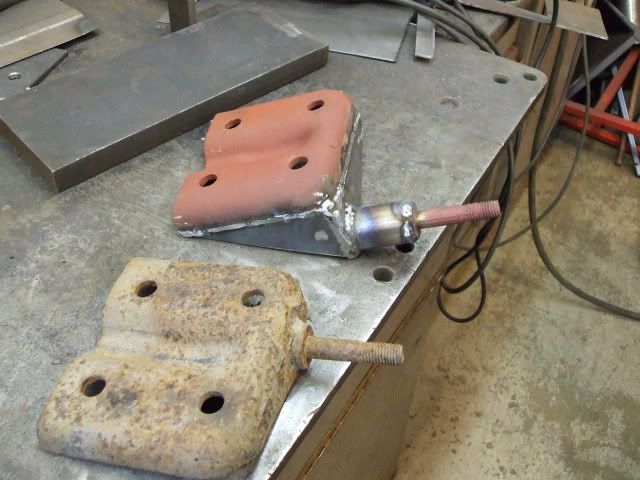
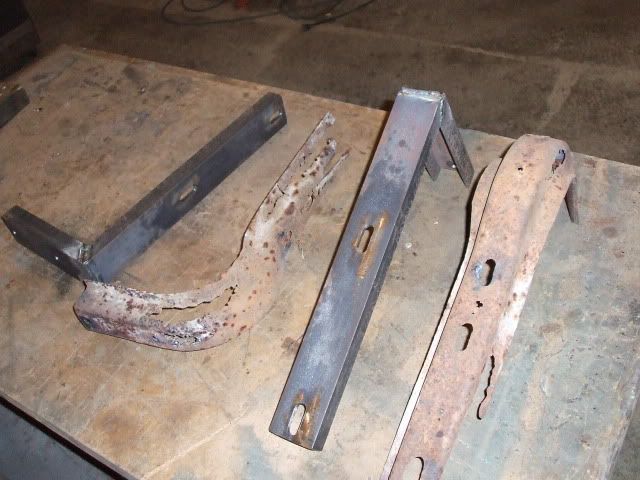
hey bob, good to see another report! dad calls it the domino effect(i'm sure others have as well) when one part/piece gets changed then another has to be....and another....and another:D:D

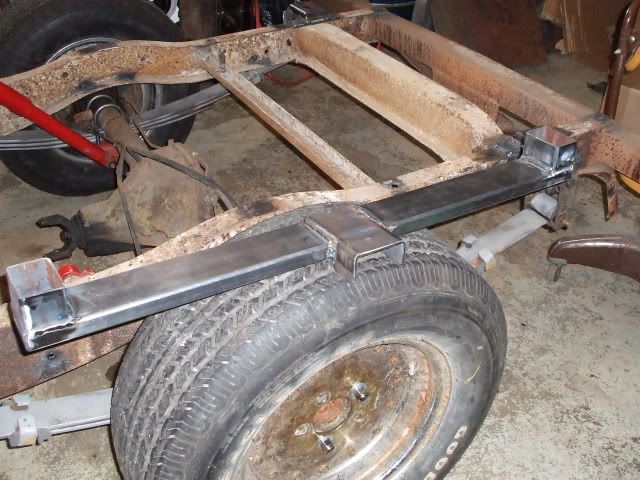
was at my shop today for a little while and was looking at all my junk, when i noticed a mid-late 70's chevy truck had same basic idea/set-up as the ford...but i do not know if the thru-bolts are the same as the s-10 springs---i know that they are on the ford
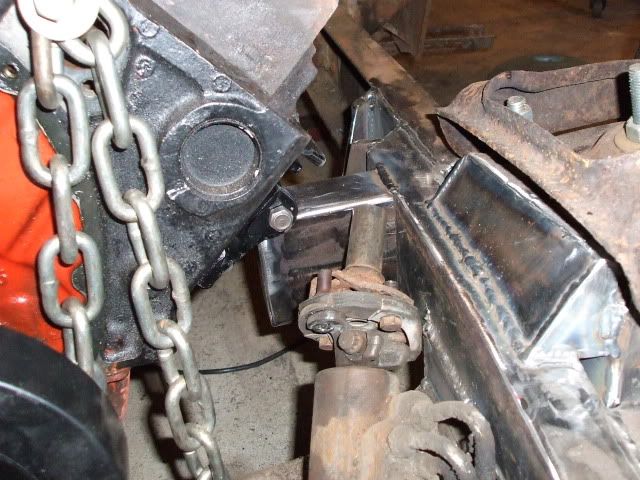
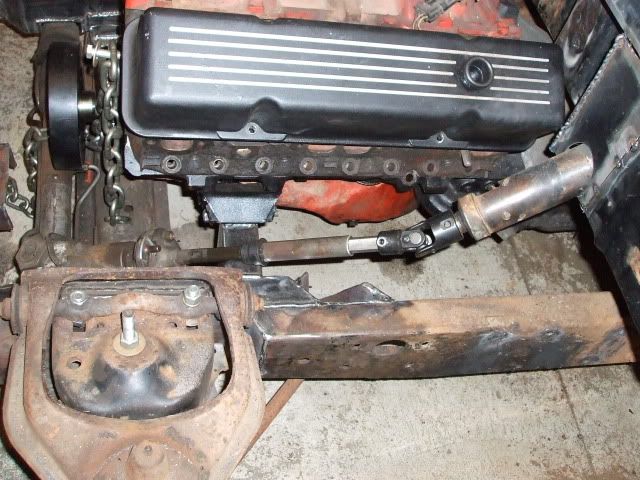
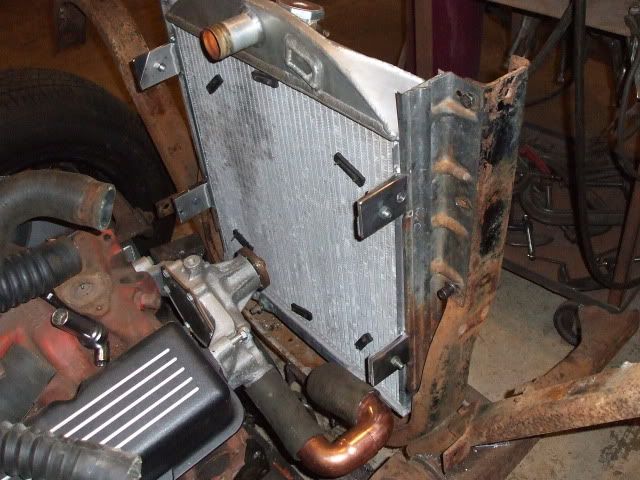
also by using this type of set-up the front mount or the axle perch may need changing to keep your pinion angle right---but i'm sure you knew that already:D
 
2009Xmas018.jpg

Got motor mounts. Just chunks of .120 wall 2" by 4" rectangular tubing capped off on the end, with a 2 1/2" length of 1/2" i.d. by 3/4" o.d. tubing welded on top.
 
2009Xmas021.jpg

A half hour after this pic of the transmission crossmember was taken it was welded in place. It is .120 wall 1" by 3" rectangular tubing. It needed to be a little below the Plymouth frame so the end pieces were added. It was welded to the bottom of the frame. A similiar piece will be welded to the top of the frame once the cab is removed. That will leave lots of room for exhaust pipes to run through that area.
 
thats a good solid lookin trans cross member.. thats still on the long list of things to do for me...
 
Firewall004.jpg

Part of the firewall is moved back 2 1/4" to make room for the heads and the distributer.
By moving back the original firewall less fabricaton was necessary and it retains a stock look. I recently watched an instructional DVD by a master English metal man. He was demonstrating gas welding. It reminded me that I hardly ever use gas welding anymore. So I did a fair amount of it on the firewall. It was fun.
 
Firewall003.jpg

The steering linkage is mocked up. I had to disassemble a GM rag joint and a no -good Mustang II rag joint and make a hybred unit for this application. MUch cheaper that a new MII rag joint. A u-joint was purchased from Speedway and arrived in one day. The shaft is very close to the center dump exhaust manifold so I might have to try a rear dump manifold.
 
Firewall005.jpg

The tilt column is installed about 3" left of the original location. The bottom of the dash was modified accordingly. A column clamp was made out of a chunk of a 3 1/2" driveshaft.
 
try some s-10 v8 headers they fit tight to the block and exit out the rear. I bought a new set at a flea market for 60 bucks. And there was three different sets at the same flea market.
 
Hey Bob kinda dayjavoo. Totaly differnt, But same cab. I had to wak my firewall for same reson. Actually mismeasure in my case. Gonna make a nice truck.
 
PlyFloor004.jpg

Finished the floor, except there's lots of welding remaining. You can see the firewall setback. There is rust repair at the outer edges near the rocker panels, the kick panels and under toeboard. If you're interested, in the Welding/Metalworking Q & A forum in the thread titled, "What metalworking tools...", you can see my extensive sheetmetal area.:D
 
PlymouthTruck013.jpg

I posted pics of this truck when I was looking at it. Well, I bought it and my friend Barry & I trailered it home a week or so ago. The deal was it was going to sit until I got the Crosley put back together. However, a small crack in the 400 block (steam hole to head bolt hole) has slowed the assembly of that engine. I have found that if a stud is used in that bolt hole usually there is no problem. I'm waiting for a stud. With time on my hands I took the Plymouth apart from the firewall forward. The engine still had antifreeze in it, so it might be ok for a restorer.

love this pic[cl
 
Perches001.jpg

Since the Plymouth has S-10 rear springs, I used S-10 spring plates. In order to have the shock line up with the upper mount on the frame it was necessary to move the bottom mount inboard 1 3/4". On the left is a stock plate. On the right is the trimmed plate, the original shock stud which was cut off the plate, the tubular spacer and a couple gusset plates.
 
Perches002.jpg

All welded together and ready to test fit on the truck. It does move the shock out a ways from the plate but hopefully the gussets will prevent any deflection.
 
Latestpics003.jpg

Since my Crosley is now a drag race only car, I stole the big radiator out of it for the Plymouth. The sheetmetal side pieces were unsoldered from the original radiator, then trimmed and tabs were added to fit the new radiator. By using these pieces the radiator fit the original support nicely. The home improvement store yielded some copper elbows to make a u-turn in the bottom radiator hose.
 
Only those brackets and cockroaches will live through a neuclear blast , those units are HEAVY DUTY , those will never rust out like the original ones did !
 
Latestpics003.jpg

Since my Crosley is now a drag race only car, I stole the big radiator out of it for the Plymouth. The sheetmetal side pieces were unsoldered from the original radiator, then trimmed and tabs were added to fit the new radiator. By using these pieces the radiator fit the original support nicely. The home improvement store yielded some copper elbows to make a u-turn in the bottom radiator hose.

There's just something about copper of any kind on a rat rod that makes me smile. :D Great choice for plumbing the radiator. Rubber hoses are so boring! I really like all you've done with the build Bob.
 

Latest posts

Back
Top