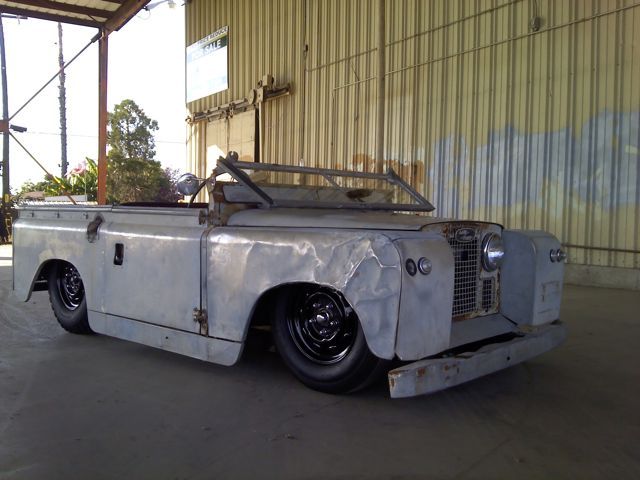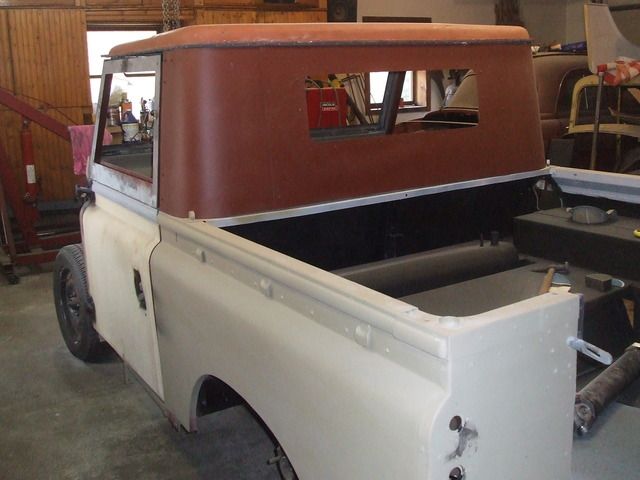
I sanded on the roof cap for a day and a half and thought I had it in final form. For those who have not back tracked through the thread, the original roof was aluminum and had a very high crown to it. I wanted a flatter, more modern look so I made this roof cap with foam core and fiberglass and retained the steel mounting flange from the original roof cap. It looked okay sitting on saw horses but now that it is in place I see some contour problems. So more Bondo and sanding to come.
Also working on mounting the windshield frame. When I chopped the top 2 1/2" I didn't lengthen the roof from front to back. As a result I lost some roof overhand at the top of the windshield. The holes don't line up. Also might have to add a visor to improve the appearance. Time will tell...
Thank you to everyone who is following this thread and adding comments.

 [P [P [P