AaronOregon
Active member
- Joined
- Sep 2, 2012
- Messages
- 37
Wanted to start a build thread here for my future reference and any help I might need from you guys. I also want people to be able to search in the future for '46 Ford Truck builds to maybe help them along being theirs not a lot on the net.
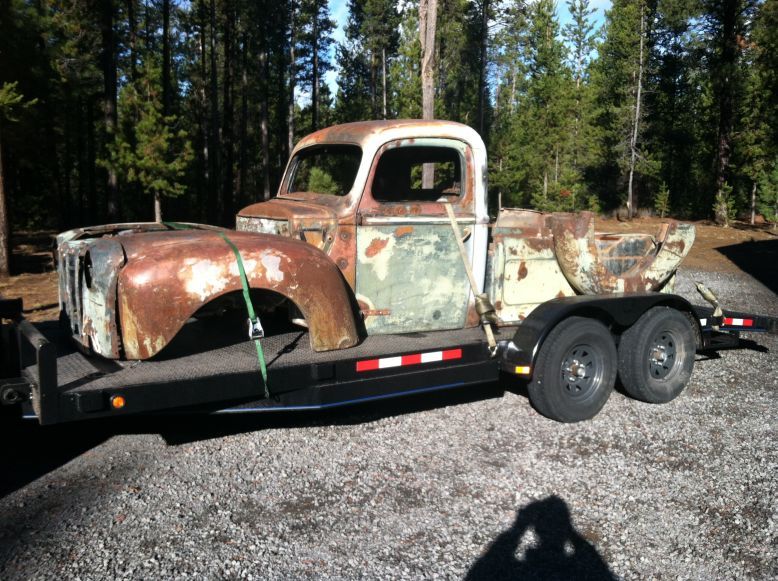
I started out with a 1946 Ford Truck that I picked up from a local guy here a couple months ago. I was originally going to rat rod it on a Z frame, but just didn't have the heart to tear it apart that far the way it sat. I wanted to give it a second life, but I also wanted it to be a lowered, ass kickin' truck that had a late model suspension and an LS motor to throw under the hood. Here it is as bought.
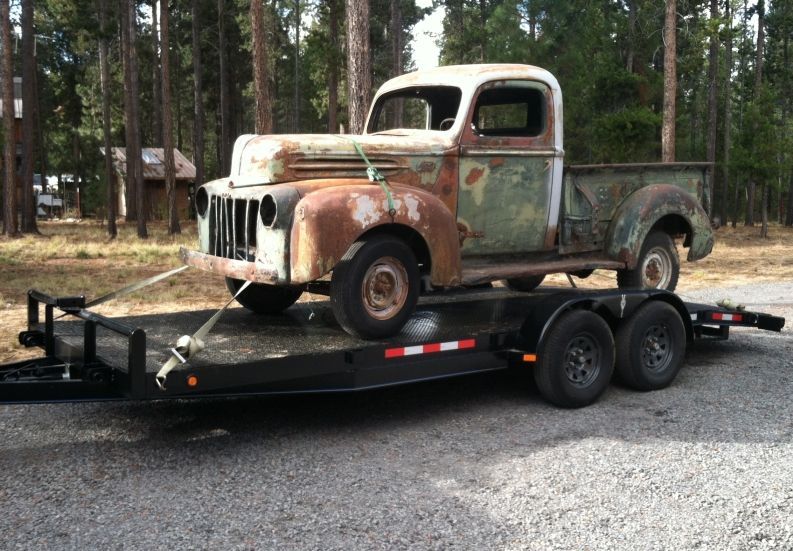
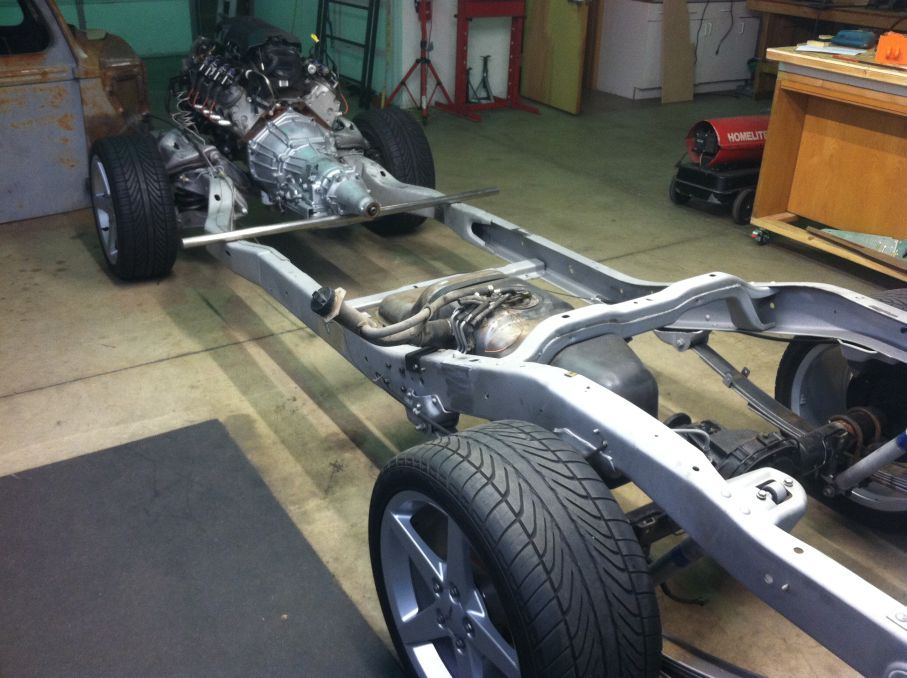
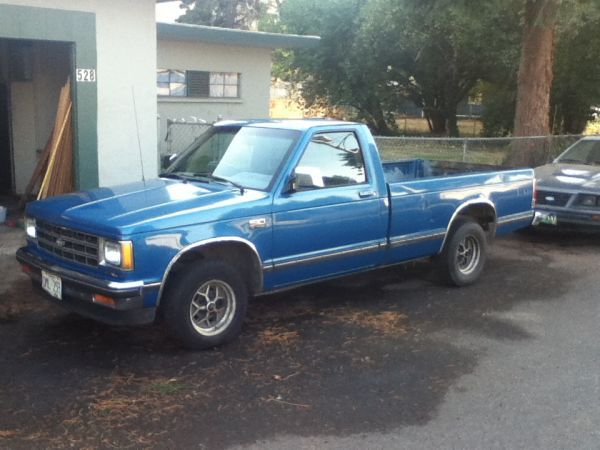
I found a long bed S10 regular cab that has a wheelbase of 117" as a donor frame. The '46 Ford is 114". Here it is at the sellers house before loading it on the trailer.
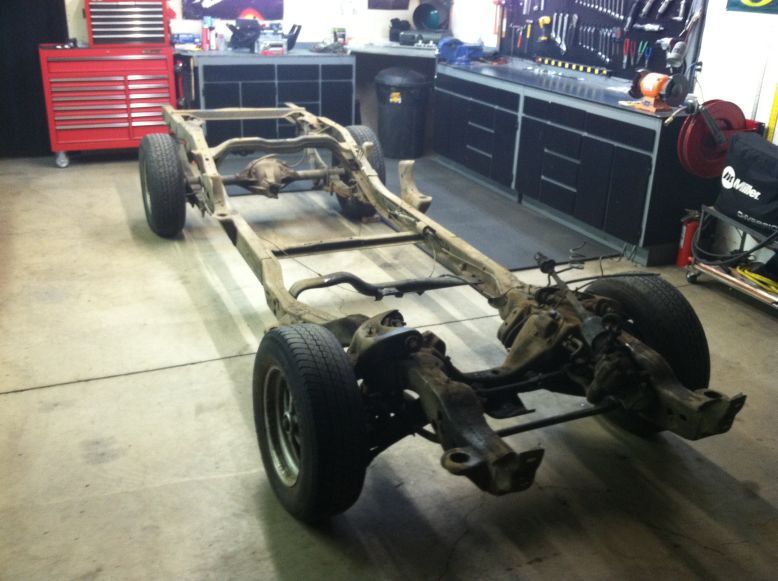
Here it is stripped down within a few hours.
Here it is sandblasted and ready for the real work to begin. Old body mounts are also stripped.
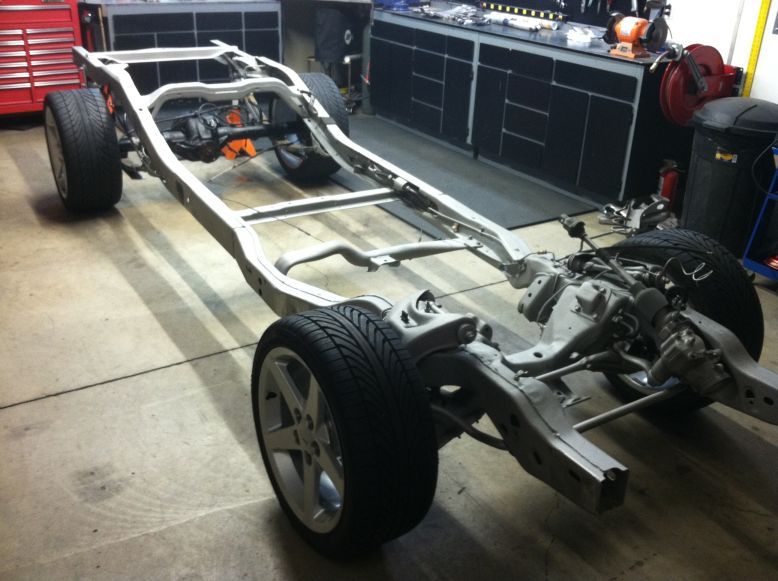
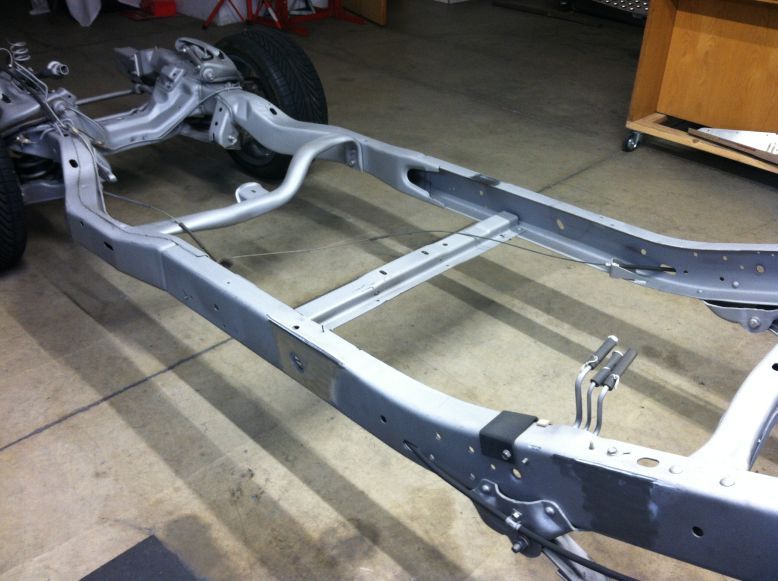
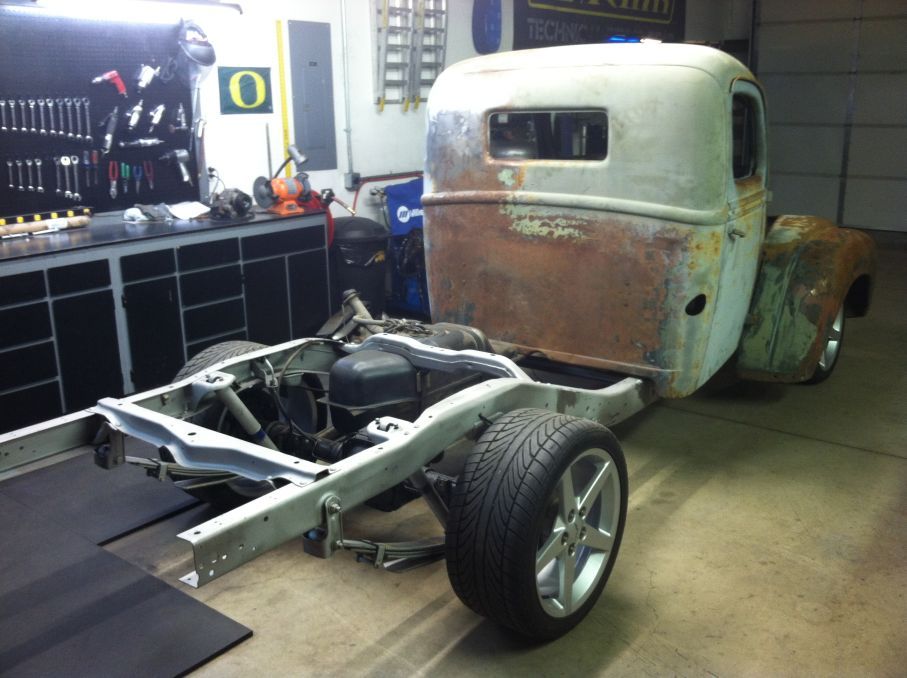
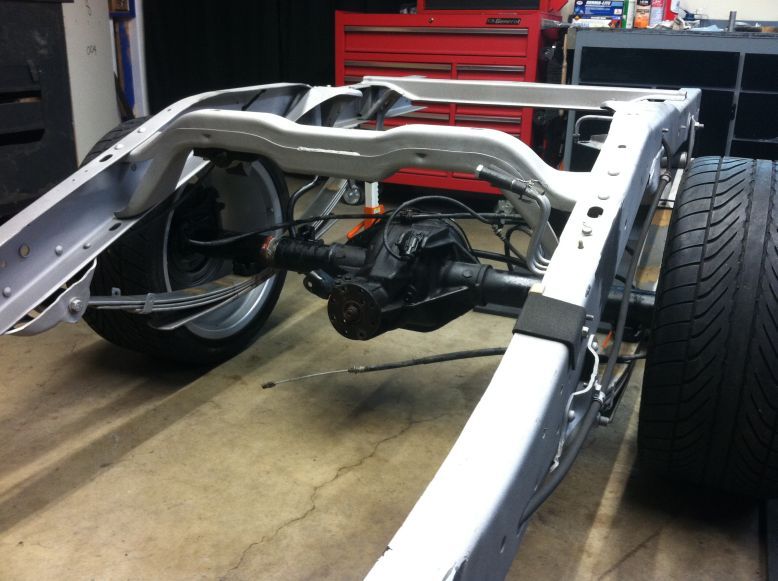
While it was being sandblasted, I was actively looking for a Ford 8.8 rear end that is a 4:10 posi to throw under it. It is pretty much a direct bolt-in to the stock 2WD S10 and the wheels and tires I picked up were going to be a good fit. The S10 WMS distance was 54-1/2" and the new Ford 8.8 WMS distance is right at 59-3/4" which is perfect width with 1" wheel spacers that also converted the 5x4.5 to the 5x4.75 wheel bolt pattern for me. No axle drilling or anything needed. A direct bolt on. By the way, the wheels and tires are from a 2007 C6 Corvette.
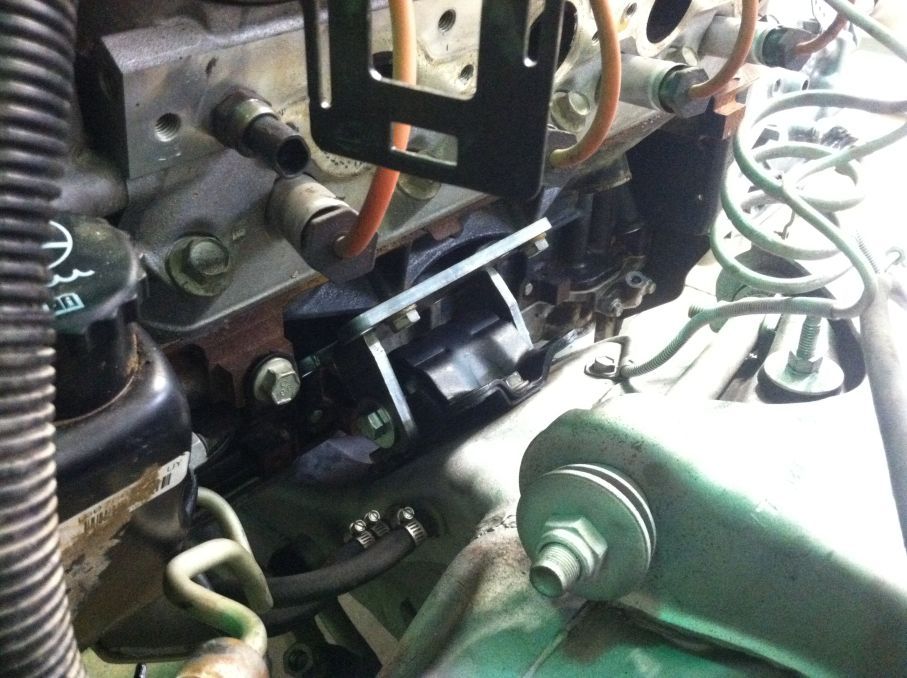
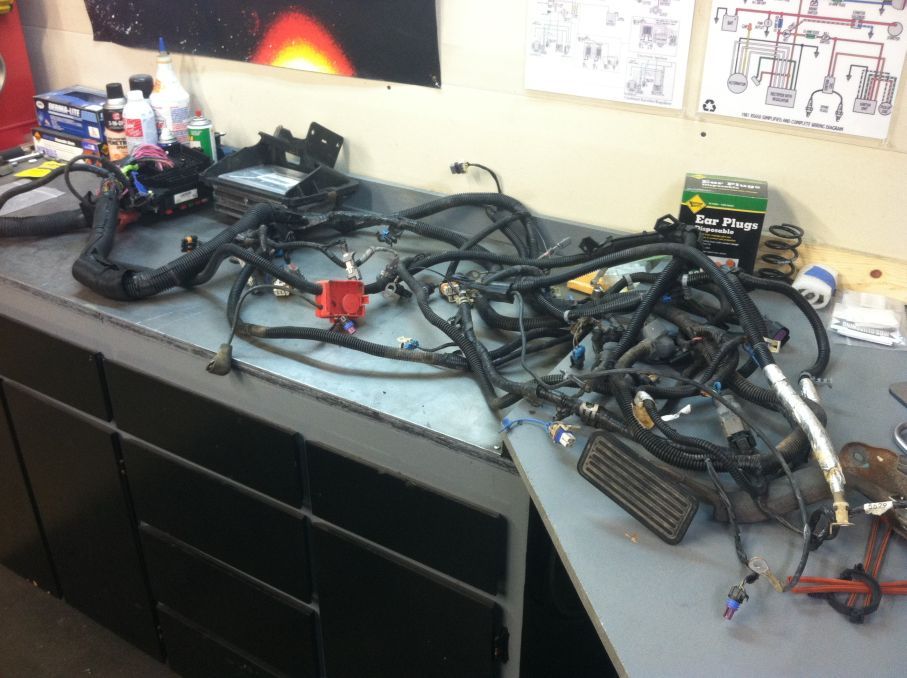
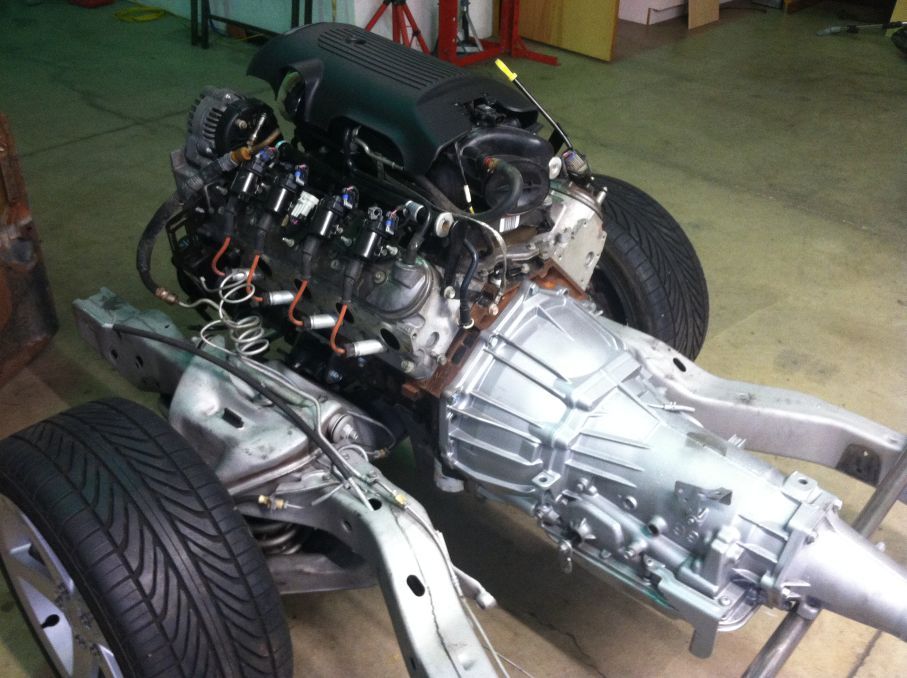
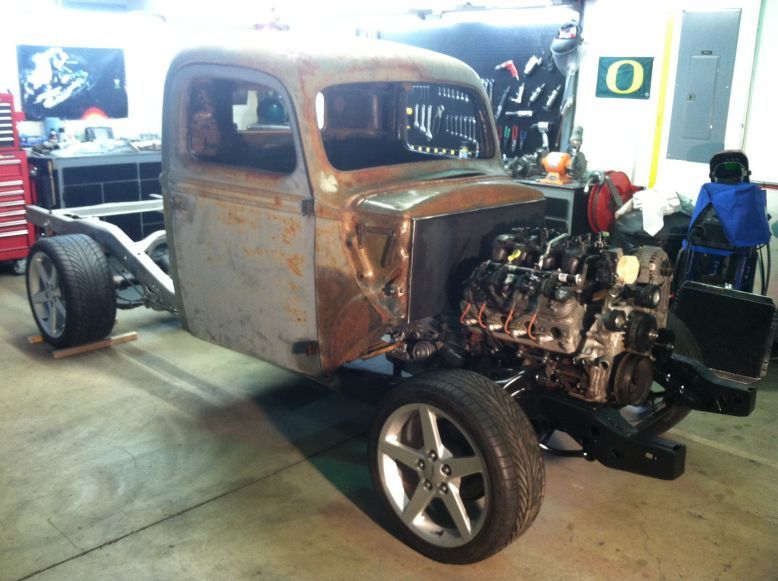
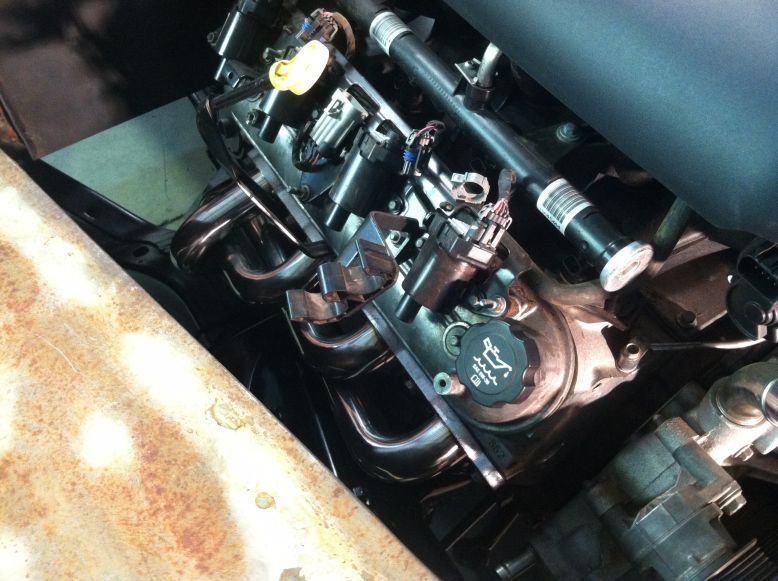
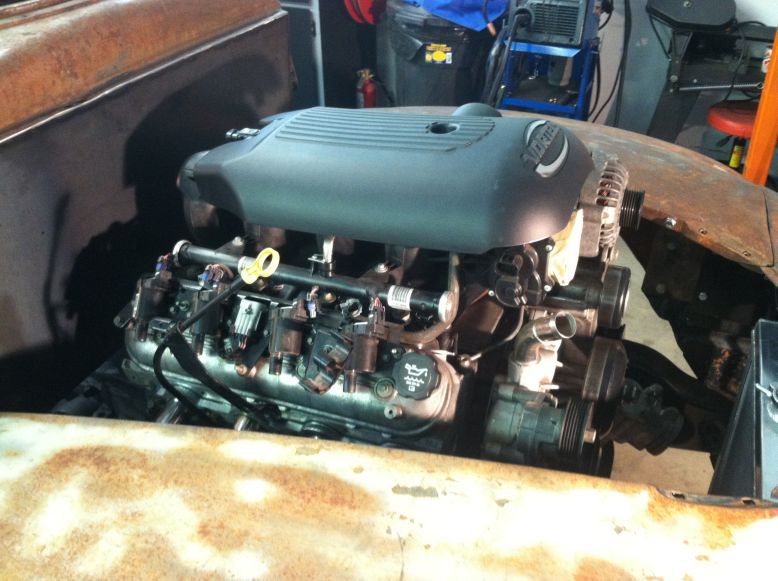
I also picked up a 2004 5.3 LS truck motor and the 4L60E that came with it that have 64,000 miles on them. I am currently in the process of swapping out the tail shaft because it was a 4x4 and the 2WD output shaft is longer. Yes, it had to come almost all the way down to swap the output shaft! Ugh..... Anyways, also got the entire wiring harness off and it is being shipped out tomorrow to Oklahoma to get 4-wired, which means totally simplified for install. It will have a positive, negative, ignition, and starter wire. Pretty simple!
Also got the old body removed yesterday for mock-up. Now the real work begins. I will keep posting as I go here.
Body removed and now the stock rolling chassis is up for sale.
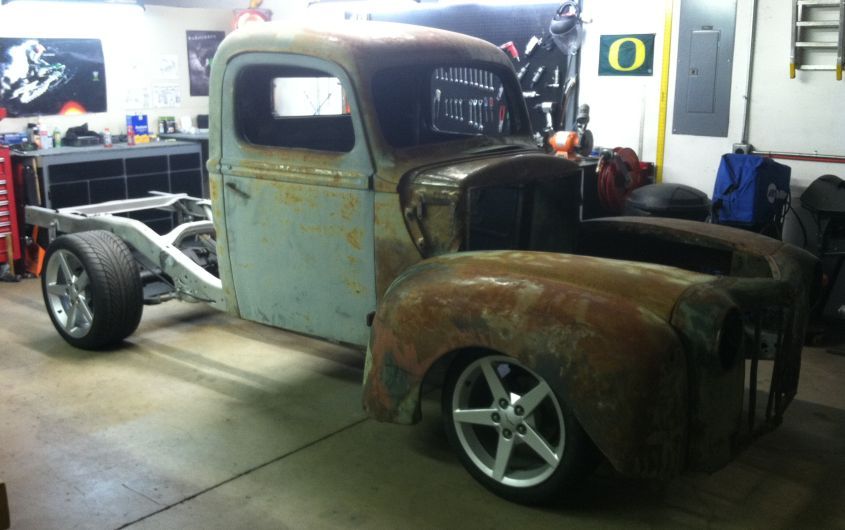
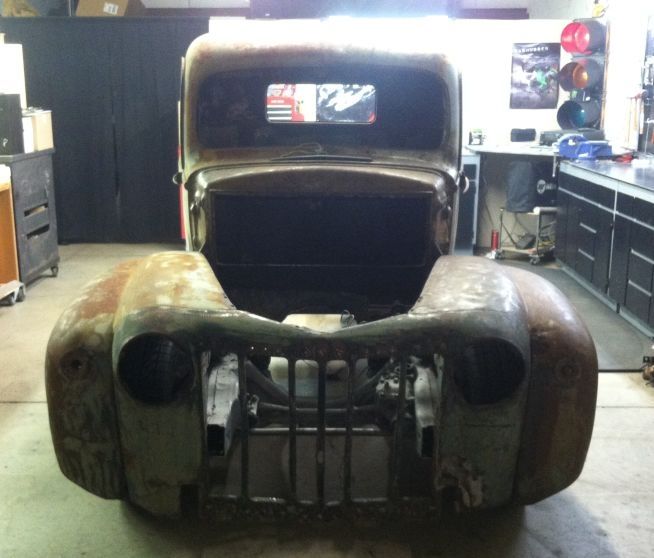
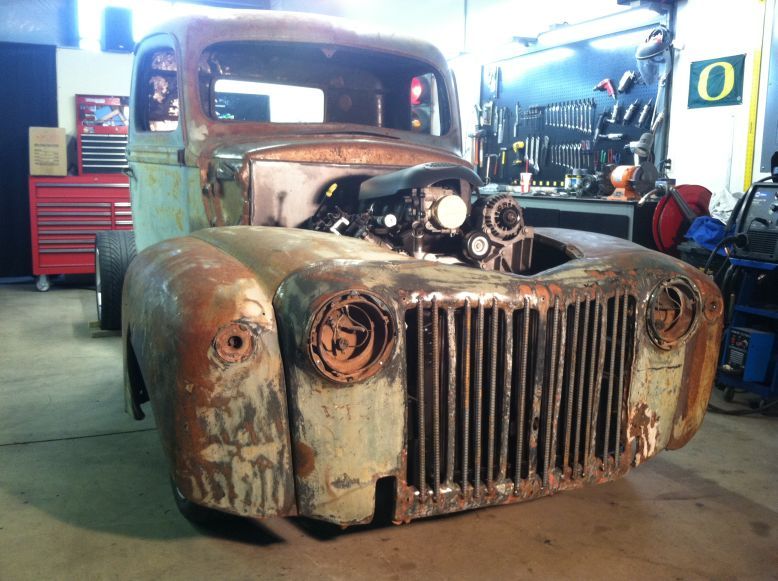
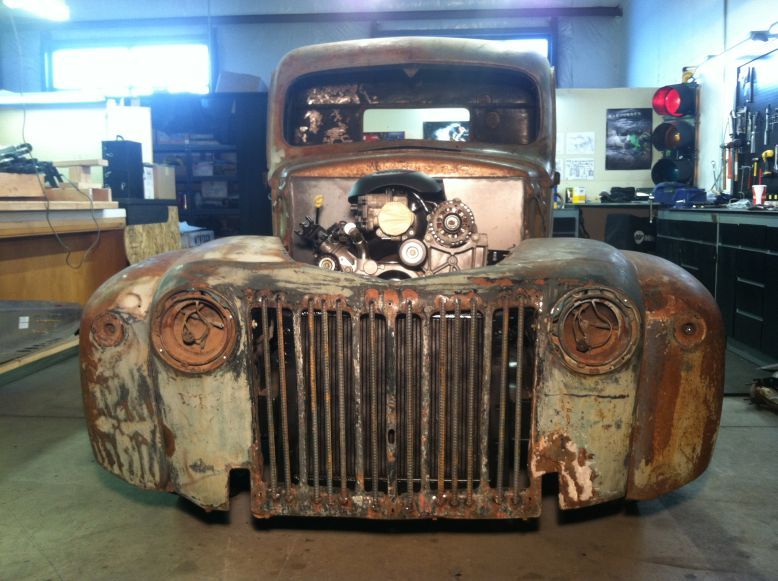
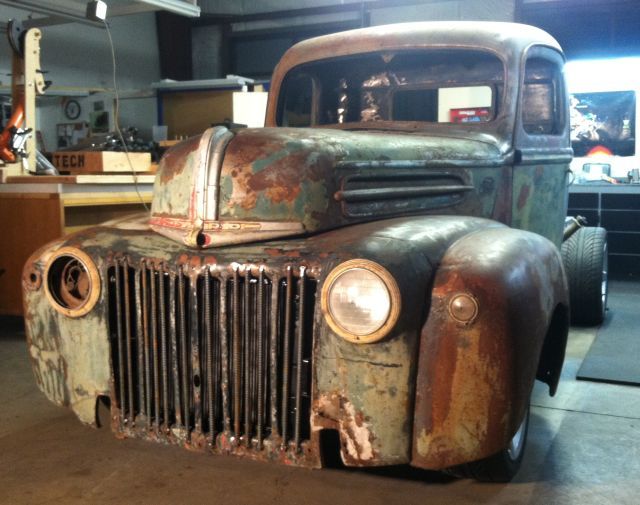
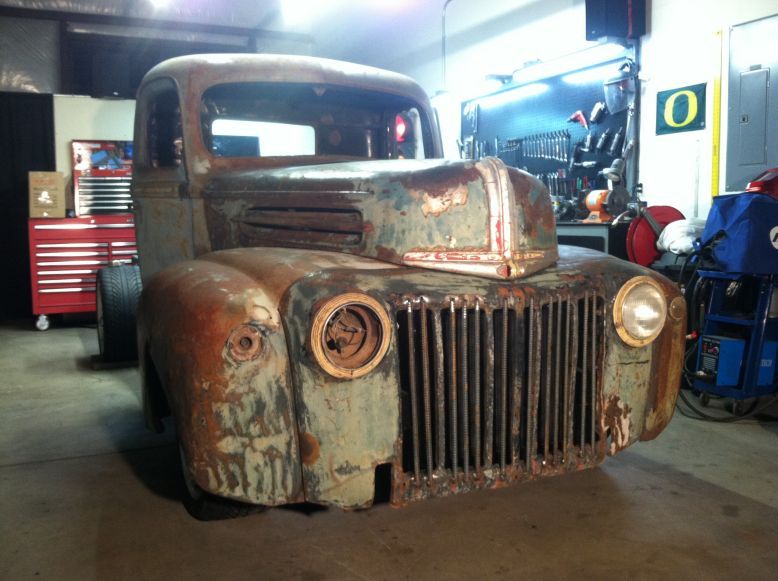
First stage of mock-up
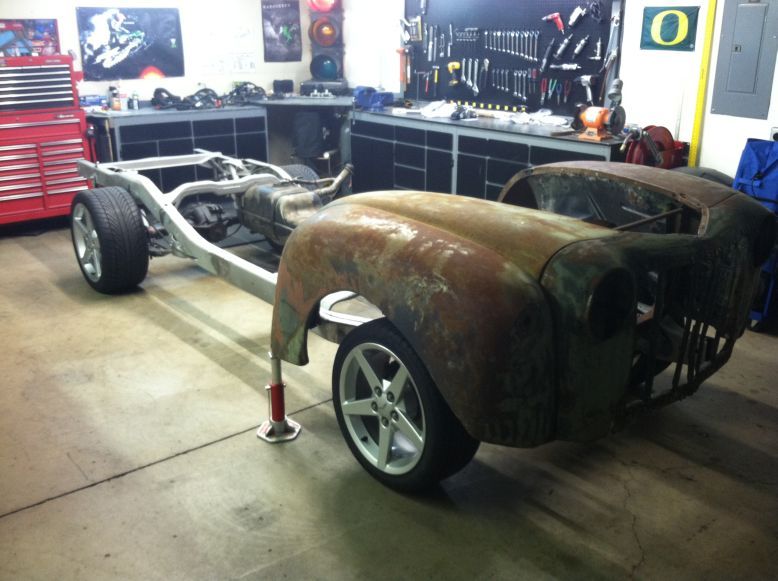
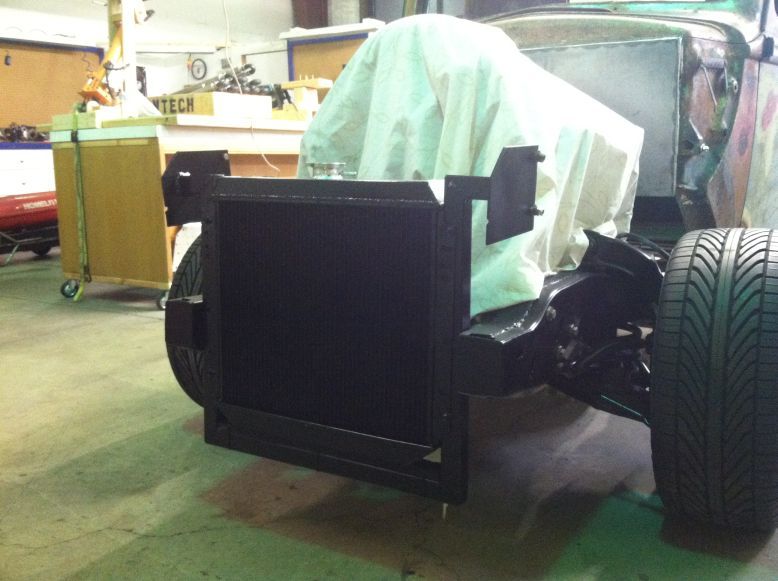
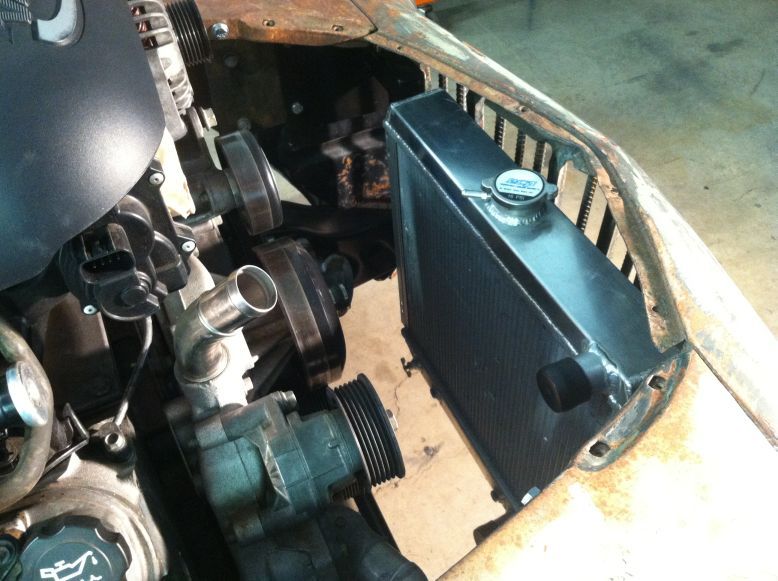
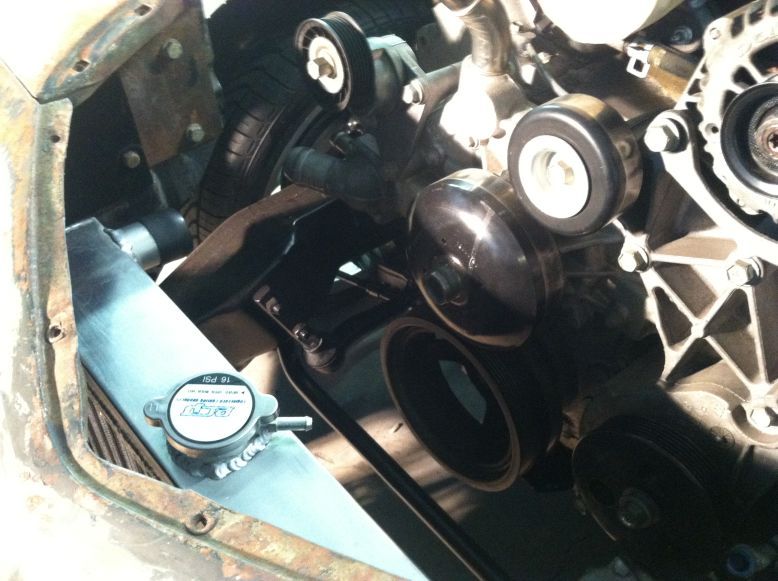
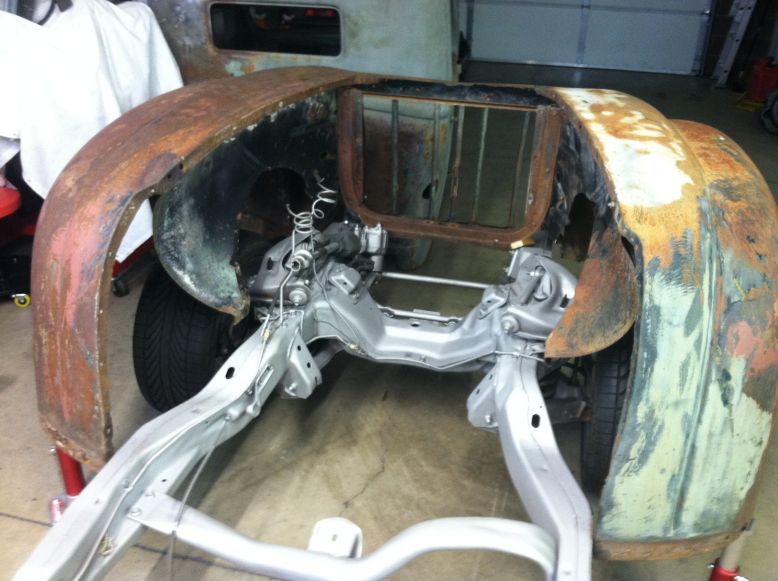
The front end placement will determine where exactly to put the cab for new body mounts to be fabricated. As you can see, it is going to take quite a bit of fabrication to make the front clip work. I will also need to modify either the frame or the front cab corners for it to look right.
I started out with a 1946 Ford Truck that I picked up from a local guy here a couple months ago. I was originally going to rat rod it on a Z frame, but just didn't have the heart to tear it apart that far the way it sat. I wanted to give it a second life, but I also wanted it to be a lowered, ass kickin' truck that had a late model suspension and an LS motor to throw under the hood. Here it is as bought.

I found a long bed S10 regular cab that has a wheelbase of 117" as a donor frame. The '46 Ford is 114". Here it is at the sellers house before loading it on the trailer.

Here it is stripped down within a few hours.

Here it is sandblasted and ready for the real work to begin. Old body mounts are also stripped.


While it was being sandblasted, I was actively looking for a Ford 8.8 rear end that is a 4:10 posi to throw under it. It is pretty much a direct bolt-in to the stock 2WD S10 and the wheels and tires I picked up were going to be a good fit. The S10 WMS distance was 54-1/2" and the new Ford 8.8 WMS distance is right at 59-3/4" which is perfect width with 1" wheel spacers that also converted the 5x4.5 to the 5x4.75 wheel bolt pattern for me. No axle drilling or anything needed. A direct bolt on. By the way, the wheels and tires are from a 2007 C6 Corvette.

I also picked up a 2004 5.3 LS truck motor and the 4L60E that came with it that have 64,000 miles on them. I am currently in the process of swapping out the tail shaft because it was a 4x4 and the 2WD output shaft is longer. Yes, it had to come almost all the way down to swap the output shaft! Ugh..... Anyways, also got the entire wiring harness off and it is being shipped out tomorrow to Oklahoma to get 4-wired, which means totally simplified for install. It will have a positive, negative, ignition, and starter wire. Pretty simple!
Also got the old body removed yesterday for mock-up. Now the real work begins. I will keep posting as I go here.
Body removed and now the stock rolling chassis is up for sale.

First stage of mock-up

The front end placement will determine where exactly to put the cab for new body mounts to be fabricated. As you can see, it is going to take quite a bit of fabrication to make the front clip work. I will also need to modify either the frame or the front cab corners for it to look right.

Last edited:


