zzrodder
It ain't grey hair, it's chrome!
Started on the top install, cut the old nailer edge off the opening and melted and wire wheeled the lead out of the corners.
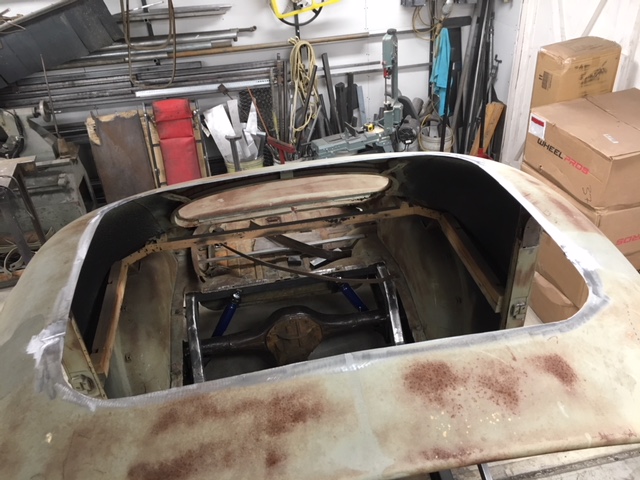
Laid the new piece on and weighted it down, marked the edge on the underside with a felt marker.
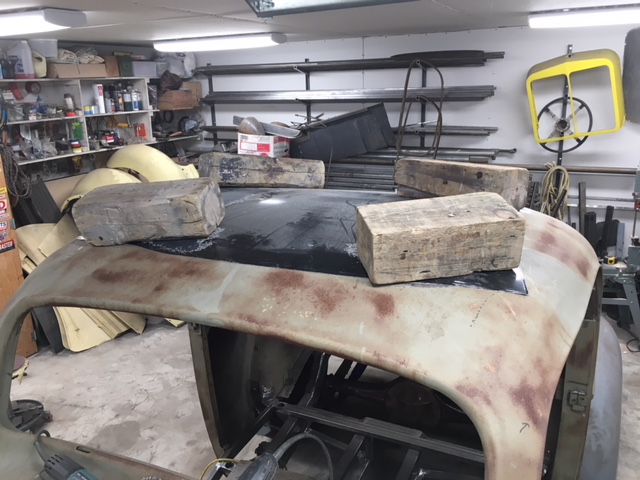
Cut the insert to the line, leaving these tabs around the edge.
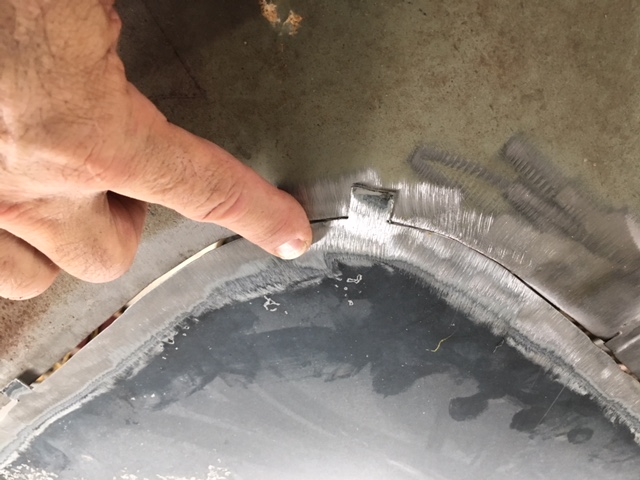
Laid the insert on the roof, the tabs keeping it in place so I don't need supports to hold it up.
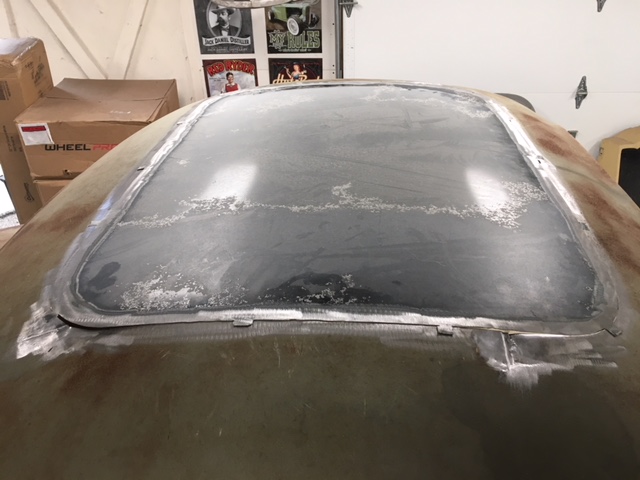
Tacked all around, cutting the tabs off after I had a few done. I'm no expert but I have learned one important lesson with this sort of work - DON'T RUSH IT. Take time to make sure the edges are flush when tacking, if they get out of alignment or you get some warpage, stop and hammer it flat, don't keep going and think you can fix it later, it will only get worse and require a lot of corrective heat shrinking and hammer & dolly work and frustration.
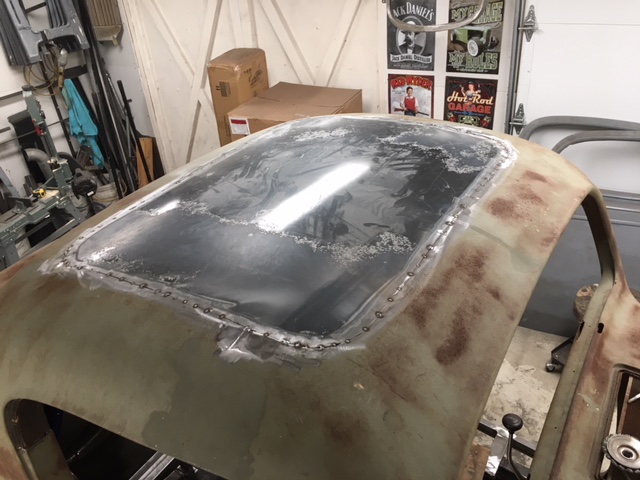
Only 1000 more tack welds to go (literally)
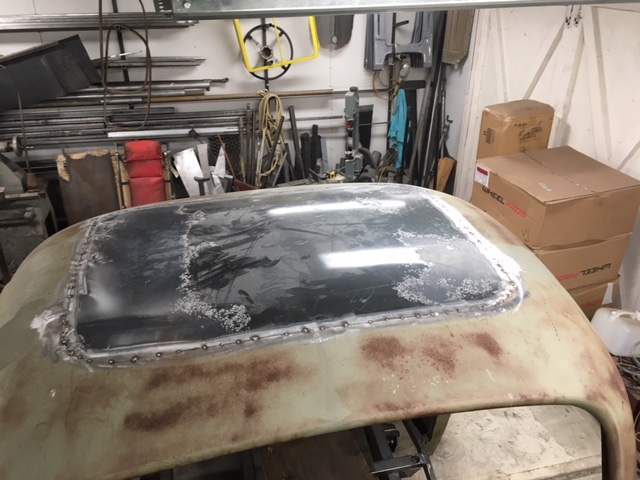
Laid the new piece on and weighted it down, marked the edge on the underside with a felt marker.
Cut the insert to the line, leaving these tabs around the edge.
Laid the insert on the roof, the tabs keeping it in place so I don't need supports to hold it up.
Tacked all around, cutting the tabs off after I had a few done. I'm no expert but I have learned one important lesson with this sort of work - DON'T RUSH IT. Take time to make sure the edges are flush when tacking, if they get out of alignment or you get some warpage, stop and hammer it flat, don't keep going and think you can fix it later, it will only get worse and require a lot of corrective heat shrinking and hammer & dolly work and frustration.
Only 1000 more tack welds to go (literally)


