International L122 B Binder Rat Build

Rat Rods Rule

Help Support Rat Rods Rule:

This site may earn a commission from merchant affiliate links, including eBay, Amazon, and others.
Man this thing is cool. And 27 MPG!! Wow, that's incredible. I back tracked the thread a little and don't think I saw what you did to the windshield. Did you find a modern car with a good curve for it? Have fun with it, glad to see it on the road.

Well, ya caught me.
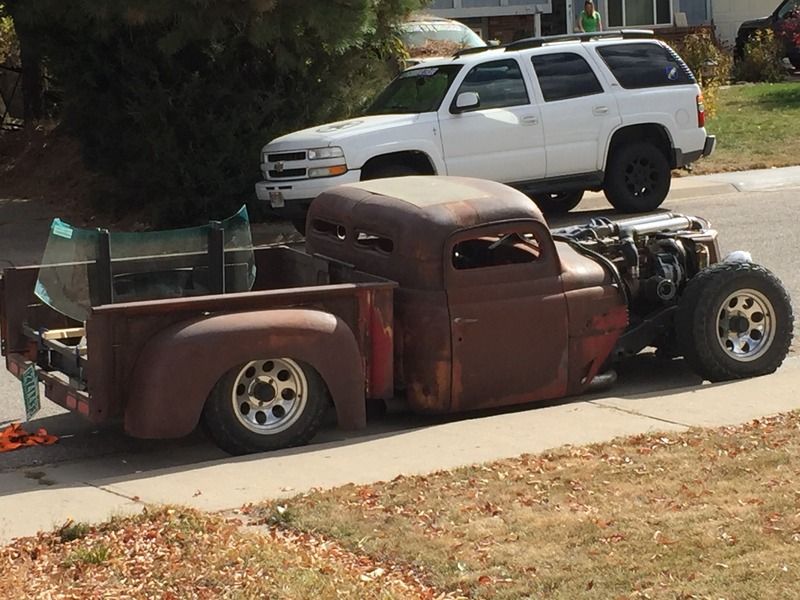
I don't have glass in the front yet. I installed lexan temporally to get the truck to the last couple shows of the season.
Come to find out that this stuff is a static machine. And I live on 2 miles of dirt road before I see pavement so every time I leave t gets coated inside and out with dust.

Ironically enough, yesterday I picked up the donor glass for the cause.


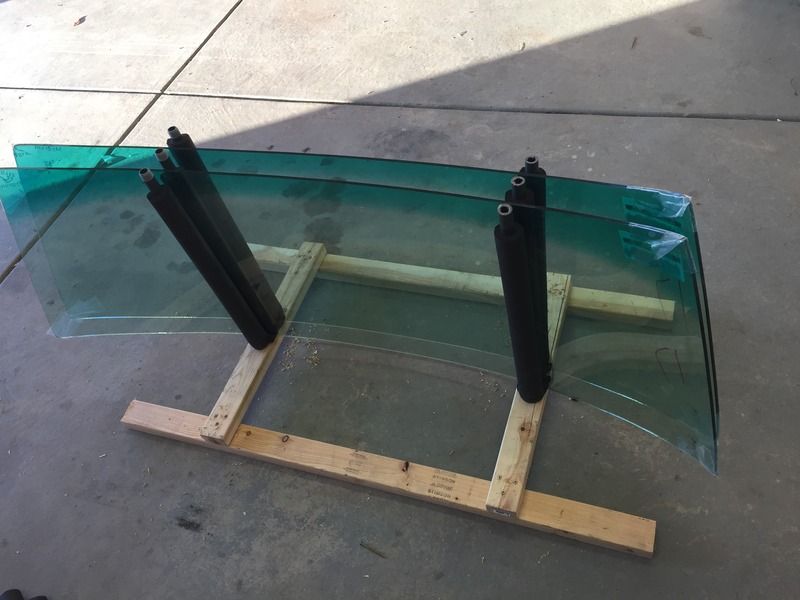
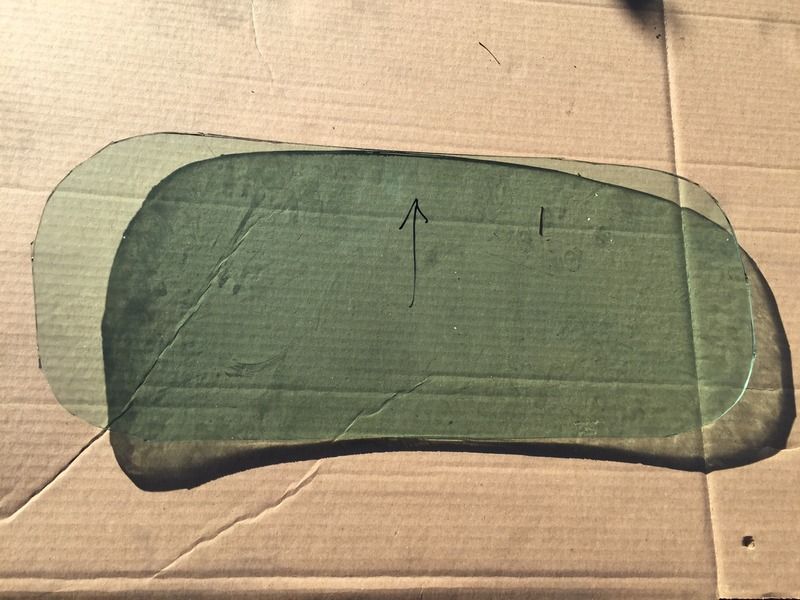
These are two windshields out of a 1986 Saab 900.
I had made a template with the radius quite some time ago and went to the junk yard on a search for some cars with the right radius. I found 2. 1972 Datsun 280z and the Saab.
The Datsun glass was pretty difficult to come by, so the Saab it is.
My buddy is a glass guy by trade but he's used to dealing with custom shower enclosures that are typically flat. However, he does have ALOT of experience in cutting glass so I've solicited his assistance in a couple weeks to cut these down to the right size.
I got these for $120 each, so I won't be heartbroken if we break one or two in the process.
The glass for the international came in at the tube of $500 before shipping. I couldn't stomach the chance of breaking one of those trying to get two pieces out of it so I thought this might be a better route.
We shall see.

I'll post up progress on the glass once we start going to town on them.
 
Static?

I had an old CJ7 years ago and bought some kind of cleaner/polish specifically for plastic windows that also helped with the static...Can't remember what it was called? Maybe try a Jeep site for some insight?
 
Looking forward to seeing the glass cut. Be sure to post up as many pics as you can.
I have seen more then one chop never get past this point due to not being able to get the glass to fit.
Torchie
 
I'm REALLY looking forward to it myself! I mean, not looking forward to actually doing it, but looking forward to the end result :)

I've probably got 5-600 miles on the truck already (hard to tell with just a pile of wires hanging out of the hole where the speedometer is supposed to be).

I've had to wipe down the "windshield" at least once, sometimes twice per drive and now it's getting swirls scratched in it making it hard to see in direct sunlight.

I'm pretty confident in my buddies abilities but glass is glass.

I'll be sure to post pictures up, and if all goes well on the first piece, I'll see if I can do a video of it too. Haven't fired up the old GoPro's in a long while, but this might be a good occasion for one.
 
I've also learned something about myself I didn't know.
Only made it to two shows so far, and the first one is more of a cruise. The second was a show. Park your ride and sit.

Turns out I'm not much of a show guy. At least on the participant side of things.
I feel like I'm just sitting and waiting for some kind of approval or pat on the back from everyone. Not my thing, despite my bazillion page build thread on the truck.

There is 1 show I was trying to make this year but couldn't. This one is dedicated to rat rods. That one might be worth parking in :)

I much prefer seeing the random looks and reactions I get from people, especially kids when driving around.
People, who might not even be car people, seem to get a kick out of it.

Yeah, sit and wait all day, and you have to pay for the privilege. I'm not much for doing that either.

Looking forward to seeing the glass get cut, too.
 
You get my second on the shows as well.
When I used to have an old car/truck as my daily driver I would get people asking me all the time if I took them to shows. My pat response was always the same."Why. When there is a car show in my garage everyday." :)
[P [P [P
Torchie
 
Alright boys and girls. Here it goes

Built a quick rack to haul these two windshields over to my buddy's house.
Hard to haul glass in a truck with no bed floor.


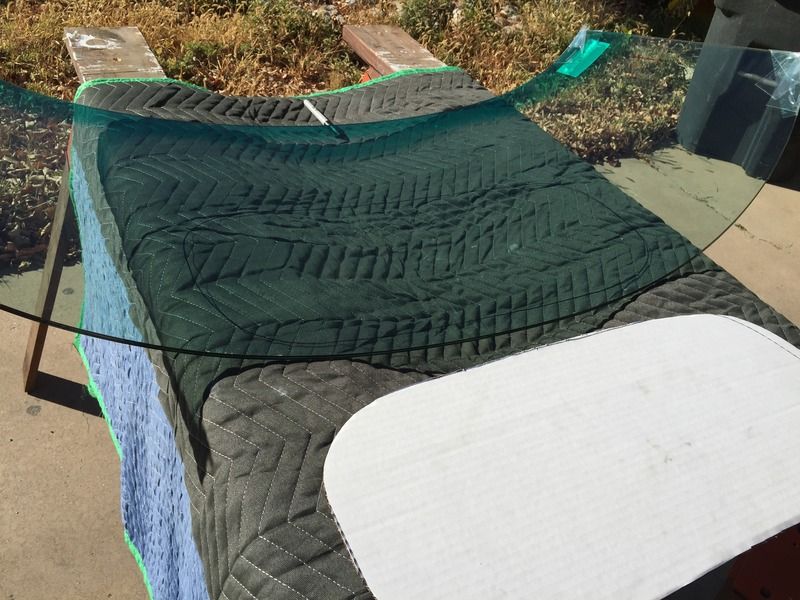
First one on the chopping block. Quite literally. Not sure if I mentioned earlier in the thread but these are windshields from a 1986 Saab 900. One of the few cars I could find that had a matching radius.


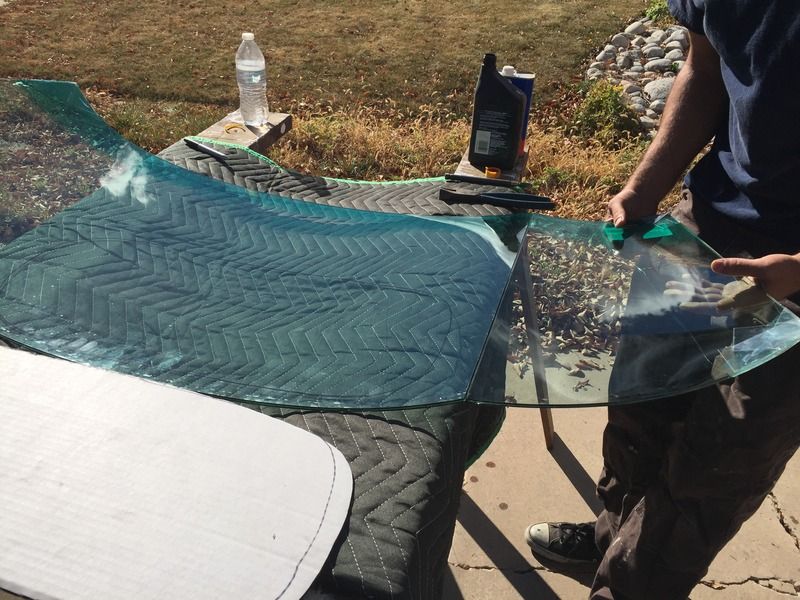
First big piece off.


A few things we learned during this process.
1st.
You MUST cut the outer piece of glass and run it FIRST! If you cut the inner piece first, it won't run right and go off track. I heard this in a video somewhere, and it's accurate.
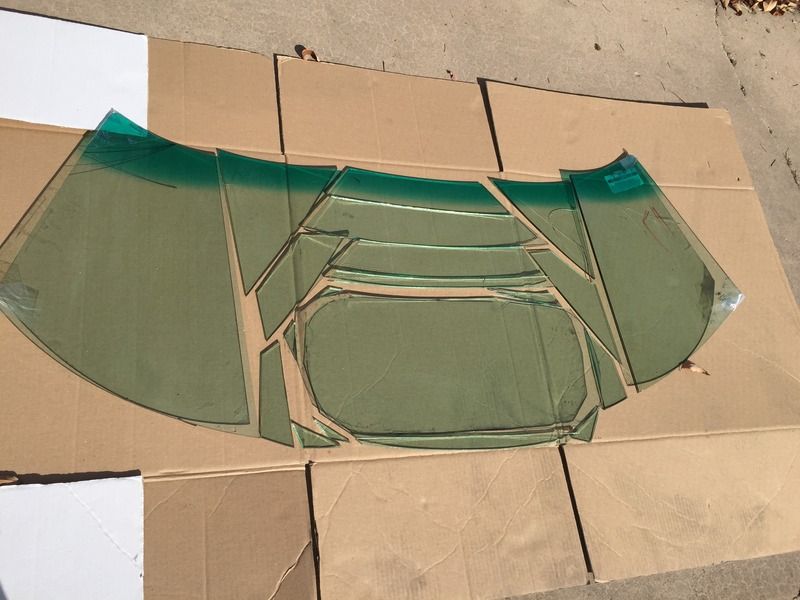
2nd. You MUST cut the corners off before cutting across the top or bottom width as there is a stree point that causes the runs to go off track if you don't. We learned these the hard way right off the bat.


This is all the pieces cut to form glass #1. If you look close at the top left triangular piece, you can see a crack. The crack we learned the two lessons above.


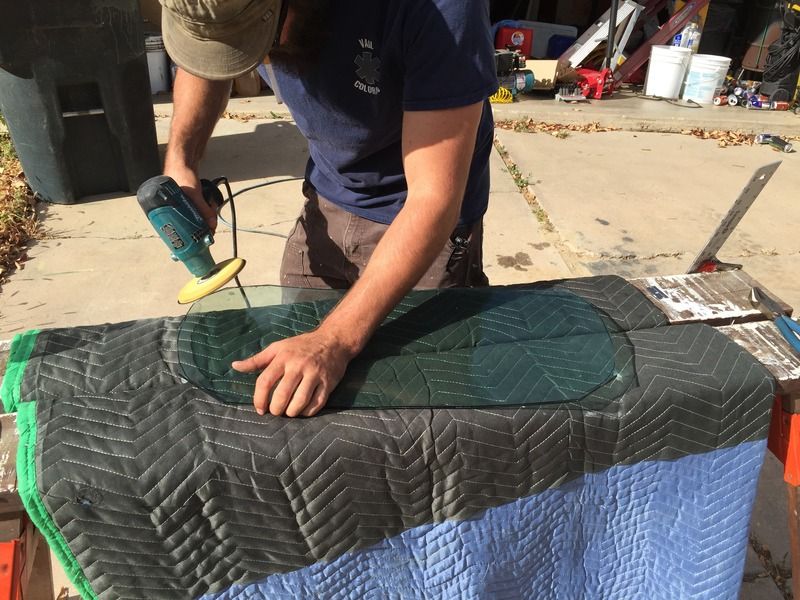
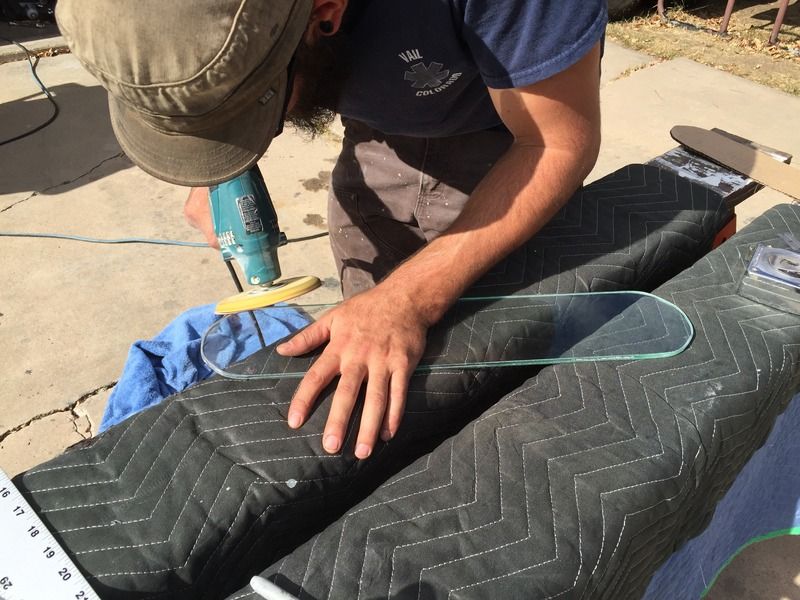
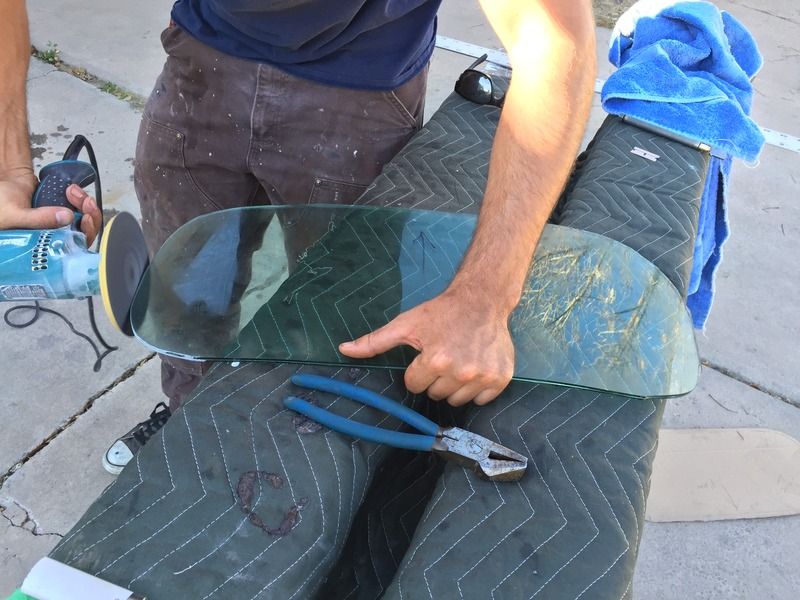
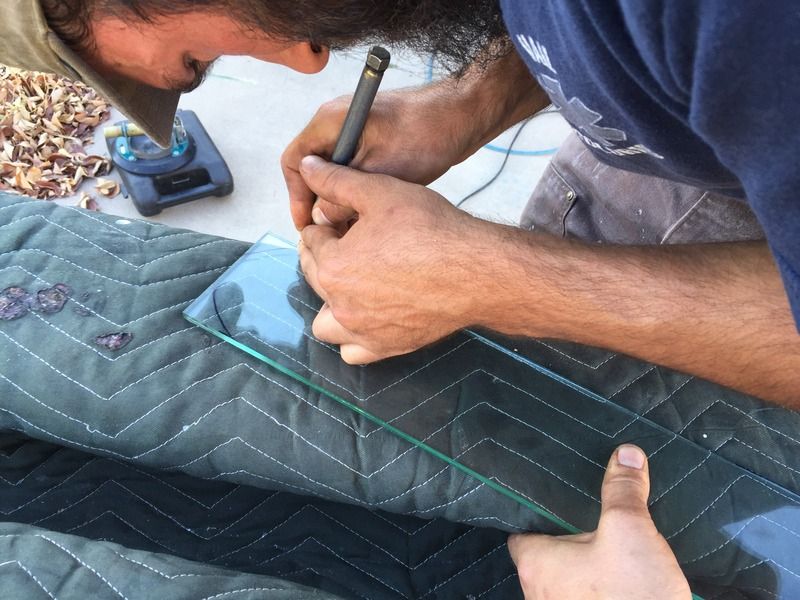
Grinding off the edges. We used dedicated diamond grit sanding disks on a corded polisher. We tried the local hardware store Diablo disks, but they were basically worthless. Spend the time and money and get dedicated disks.


Windshield #2 waiting to get chopped up.


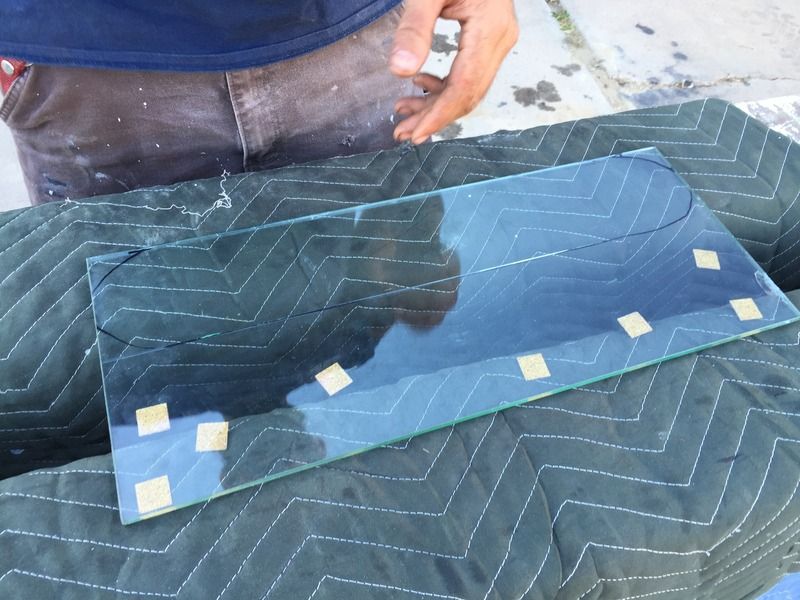
We took a break from curved glass and cut up one of the flat rear pieces.


This ended up being a blessing in disguise as we hadn't yet installed the first windshield. There was lots of grinding to do to that one so we wanted to tackle a rear glass.
This piece ended up being the only causality as we made it far too big and it broke when we tried installing. Turns out we were being far too tight with our numbers to size it. The rubber really needs some room to flex. If the glass is too big, you can't fold the rubber over the lip. Caused this piece to break. Once we figured that out we went back to the first windshield and found our size was wrong there too.
We were WAY off. We were lucky in the fact that we could re-cut the glass vs having to grind it down.
Rule of thumb. You can cut off whatever the thickness of your glass is.
If your glass is 1/8", you can cut 1/8" off. Any less and you have to grind.
 
Last edited:
With windsheild #1 successfully installed, we moved to #2.
It took us about 4 hours to knock out #1. #2, hour and a half.
Gotta tell ya, it's quite interesting cutting glass. It's not a ridigid and unmanageable as I expected it to be. It sounds weird, but it has a personality of sorts. It likes certain things, and doesn't like others.

When you cut your clipped corners off before cutting on the X or Y axis, you cut the outside first. It takes a ton of effort to flex to run the crack. When you flip it over and score the inside pane, you hardly need to look at it and it'll run.
When you run it, you need to go to the end till you hear a small pop. This indicated the run made it all the way through then end.
We deemed this sound, "the sound of satisfaction". Because when you hear it, the crack is completed and it won't run away from you :)

This is windsheild #2. These are literally all just cuts, and no griding.
We got a little brazen and started scoring round pieces. This REALLY helped minimize grinding needed t clean up the edges.


Few minutes of smoothing the edges and we were done with #2


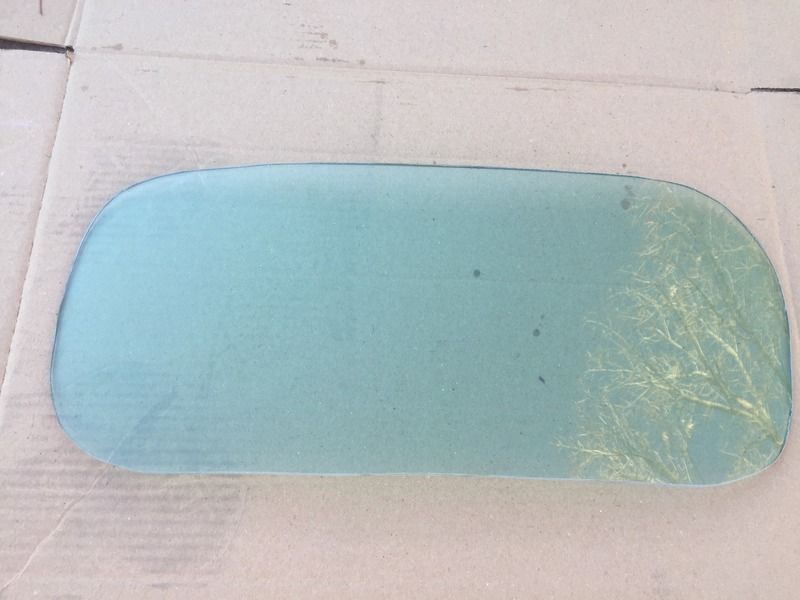
Finished piece.


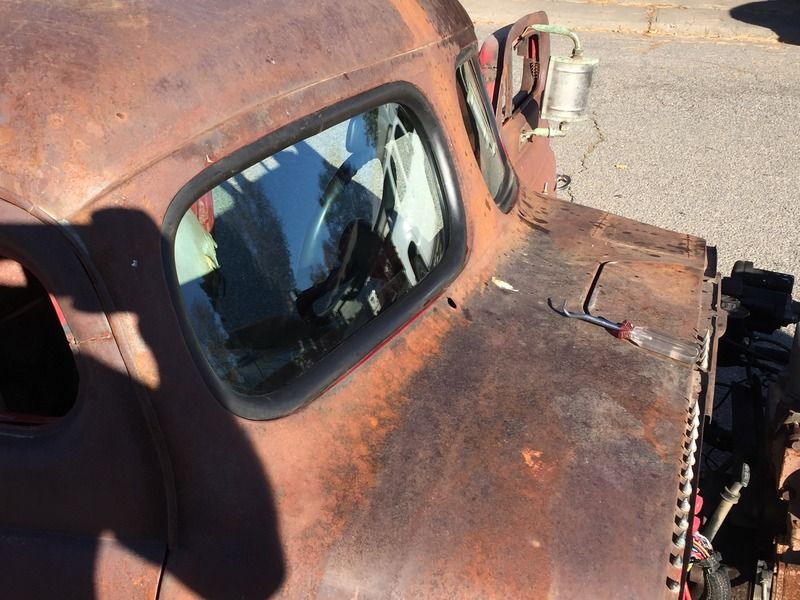
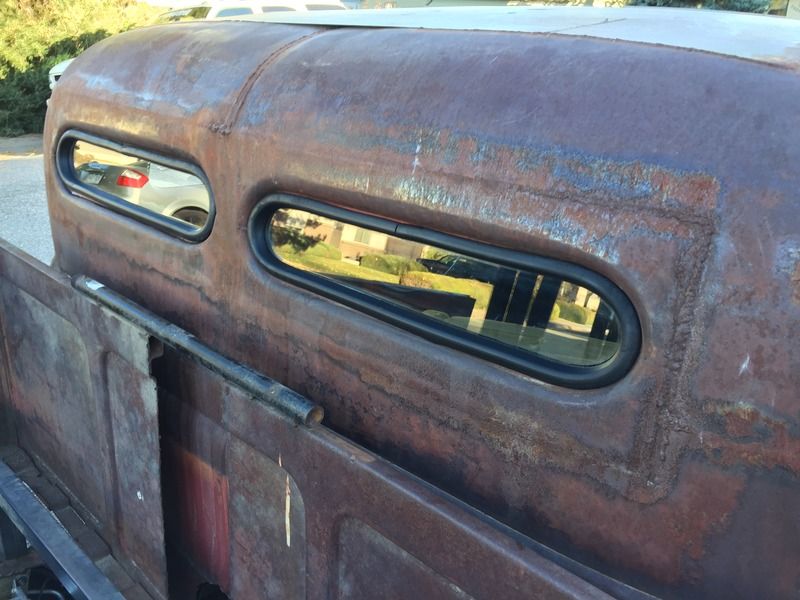
Installed


Also installed


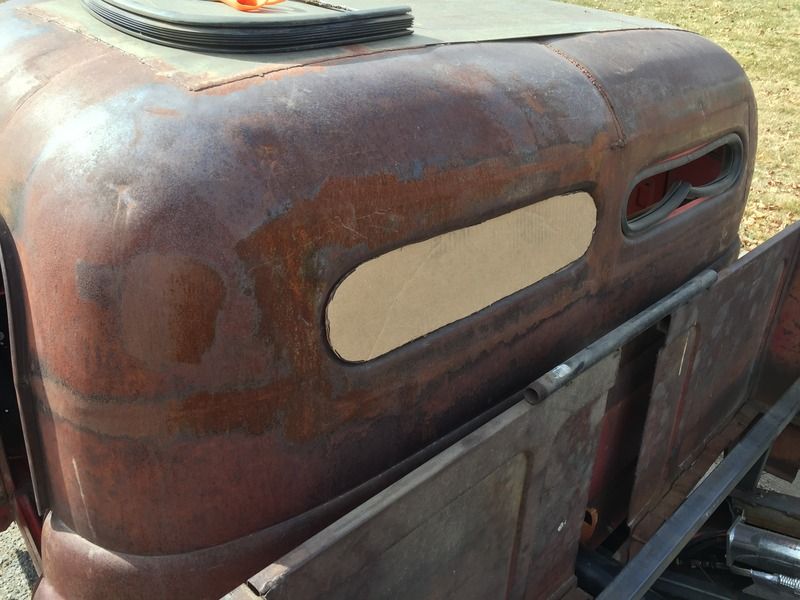
Backmto the rear glass. These each took only about 20 minutes each to cut down and polish.


Aaaaaaand....... installed :)


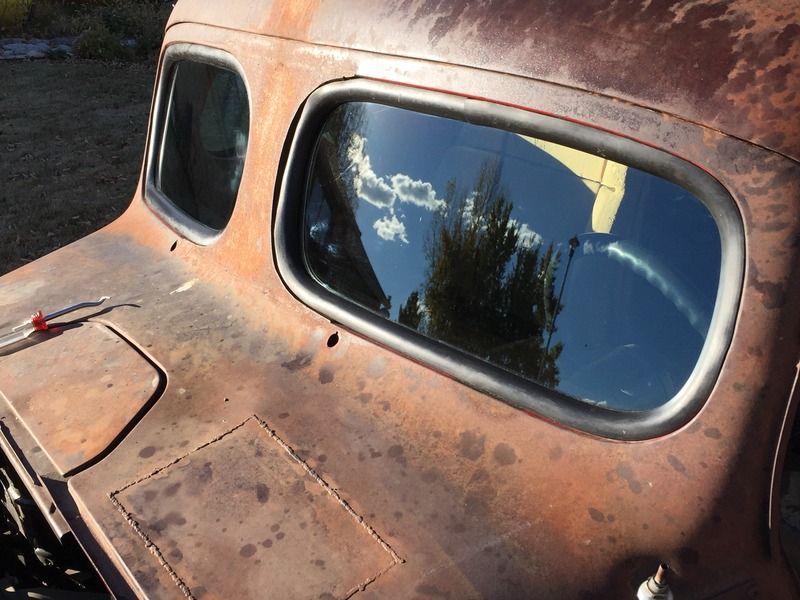
Wait........is that a piece of gas pipe holding the front of the bed together?!
I suppose I should get to that
 
Thanks for showing the glass. It's got to be a good feeling knowing that is done and that you don't have to find another couple windshields.
 
It's amazing how most of the time the first piece takes longer to do that the rest :confused:
It's good to see glass in your ride [cl :cool:
 
Nice job on the glass. when you cut the glass, what did you use to cut it. did you score it with a glass cutter first on the outside then the inside and then break it. just curious on the steps you took and how the plastic between the two layers of glass is cut. Thanks.
 
Nice job on the glass. when you cut the glass, what did you use to cut it. did you score it with a glass cutter first on the outside then the inside and then break it. just curious on the steps you took and how the plastic between the two layers of glass is cut. Thanks.

Just a Toyo TC-17 glass cutter. It's the kind you fill with cutting oil but we didn't have it fillled. It makes a mess if it's filled.
Simply score one side in one fail swoop. Then gently bend the glass on one end or the other to start the crack, then slowly work the crack across the score to the other end till you heard a slight pop indicating the crack made it to the end of the glass. This s completes the "break" on just thenoutter piece.
Flipped it over and freehand scored the inside piece on the same line as the outter piece. Run that crack all the way across, then uses a razor blade to cut the plastic in the middle.
Use a solid amount of downward pressure on your cuts. If you ove quick while scoring, you'll hear it scoring the glass. The slower you go, the less you hear.
On the longer or thinner cuts we used denatured alcohol to burn the plastic a bit before cutting.
We used ATF fluid as the cutting fluid. Dipped the cutter in it for each new cut.

DO NOT STOP halfway through your score. You can NOT stop and start again. It must be one fluid motion all the way from one end to the other.
Also, you can not cross scores. If yuh make a score one direction, then decide you want to to cut it a different way, canphange your mind back. Once you've scored it, you've created a fracture point that can't be undone.

Like I said, you always want to score and run your outer piece first, then cut the inner second. Also, before cutting horizontally, clip a section of the corner off to get rid of the stress in the corner.
 

Latest posts

Back
Top